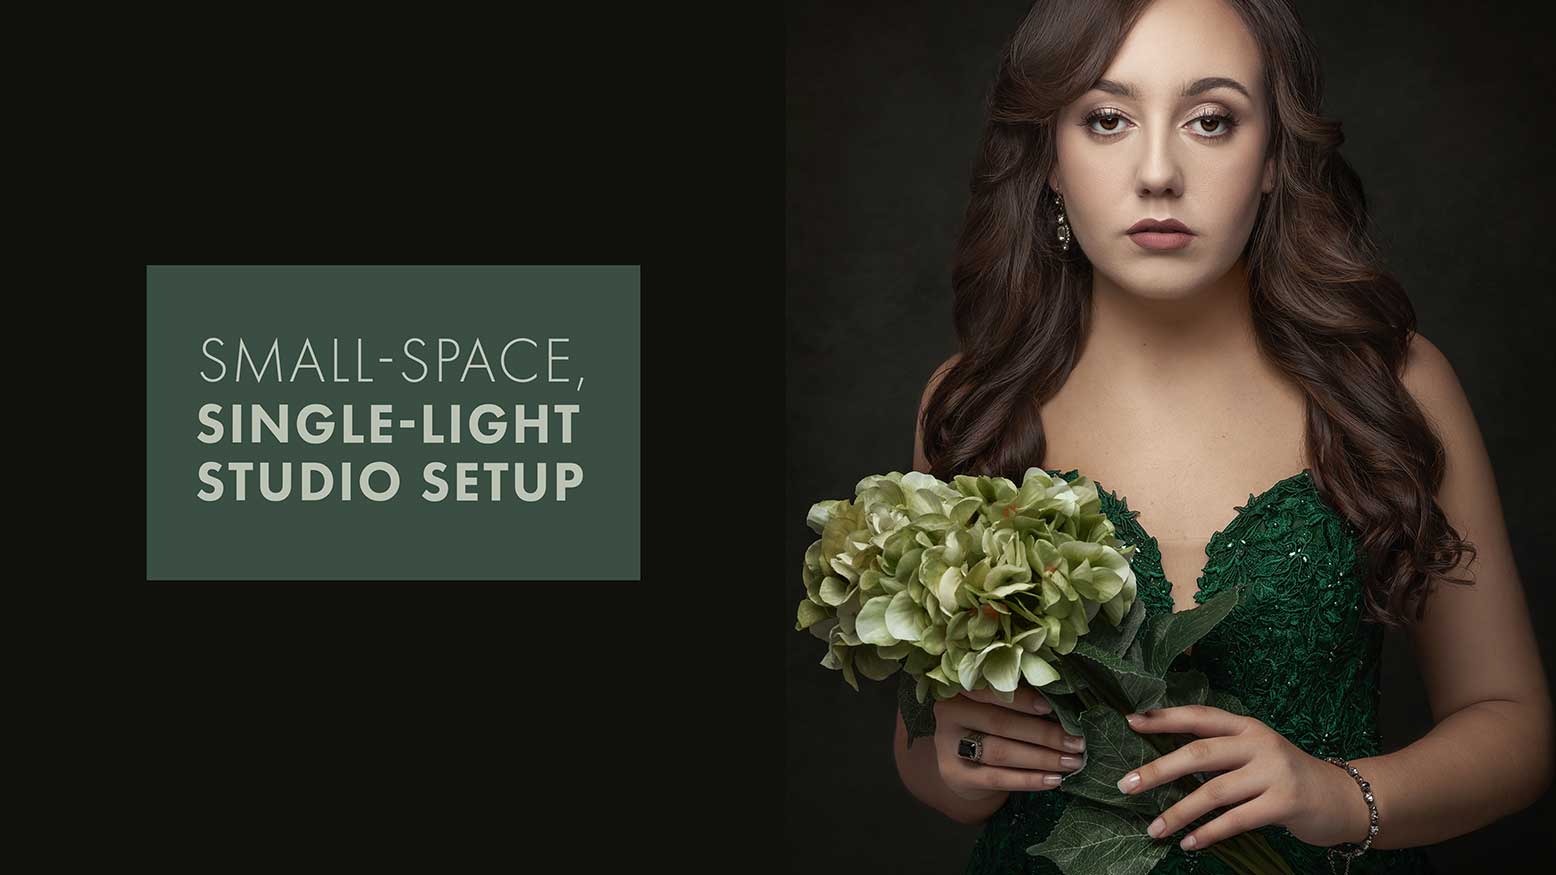
Small-Space, Single-Light Studio Setup with Lisa Jones
As a professional portrait photographer, the bulk of my work is done in my studio by choice. From the beginning of my photography career, I have been in love with studio portraiture. As a new photographer, I was eager to learn how to light my subjects through tutorials, online classes and workshops, but the demonstrations were typically held in large spaces with high ceilings. I did not have access to a large studio space, so I knew lighting my subjects in the manner I was most drawn to would be one of my biggest challenges.
My first studio space was a small bedroom in my home, which was only 160 square feet with an 8-foot ceiling! I worked out of that bedroom for several years. Three years ago, I converted my garage into a studio for my photography work. This move gave me an extra foot of ceiling room and an additional 500 square feet of working space. While the addition now allows me to offer studio portraits to families, it’s still not very large… especially when you consider furniture, props and equipment taking up some of the floor space. Over the years, I have learned to adapt lighting to fit my small spaces, which in turn has allowed me to create beautifully lit portraits and headshots for my clients.
In this article I would like to introduce you to three simple setups that can be used in small spaces for portraits as well as headshots. You’ll only need one light and minimal equipment. I’m also going to tell you about my three favorite light modifiers that I will never be without! Whether you are using an area in your home or your client’s home or office, being limited in space doesn’t mean that you must be limited in the variety and creativity that you can offer to your clients.
BOUNCING LIGHT
When I started my photography career, I did not immediately go out and buy an arsenal of equipment. I started with my camera and one light, then added more as the need arose—and as I could afford the purchase. If you have a dedicated shooting space where you can paint the walls, paint them white because one huge advantage to working in small spaces is the ability to bounce light! If you have only one light source (strobe or constant light), you can use that light as your main light for your subject while bouncing light onto a white wall or corner which will become your fill light. A fill light is very beneficial because it can fill in shadows and help separate your subject from your background. If you are renting and can’t paint your walls or if you are working on location, there are still several ways you can bounce light back toward your subject, so do like I did and get creative!
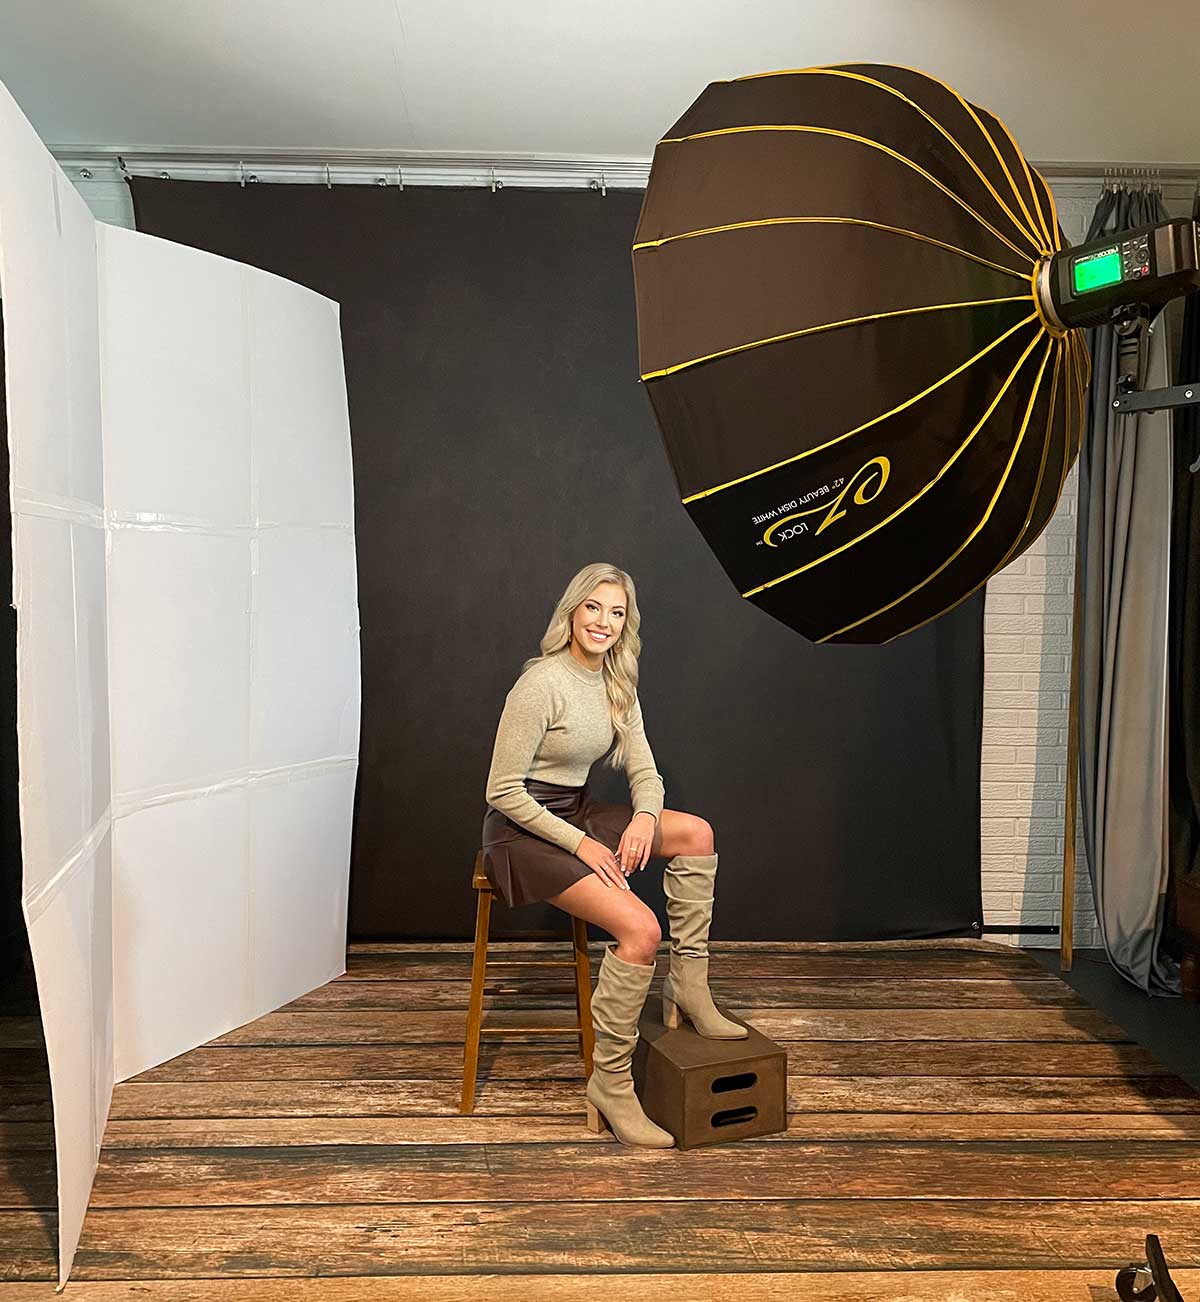
One of the most used pieces of equipment in my studio are my “redneck” V-flats. (In the first image, you’ll see what I mean!) The cost of one of my homemade V-flats was less than $20. It’s 12 pieces of white foam core from the dollar store that I taped together with white duct tape. I use it ALL THE TIME! I have a black wall in my small studio which subtracts light, so when I need to bounce light back onto my subject, I simply spread out my redneck V-flat and place it against the wall or stand it in a V shape opposite the direction of my main light.