
Soft Light 3 Ways with Michael Corsentino
When it comes to soft light, size matters! Yep, I went there. Hey, come on, who can resist a good cheesy photo joke? Not I! But seriously, its true—when you want soft light, the larger and broader the light source used, the softer the quality of the resulting light.
In this month’s lighting how-to, I’ll share with you my three favorite techniques for creating soft light, starting with two simple one-light setups and progressing to a more gear-intensive but equally doable solution. Each technique produces stellar results guaranteed to wow your clients.
First, let’s define “Soft Light.” In broad terms, there are essentially two qualities of light: hard and soft. Both exist in nature and can be created using the artificial light techniques described below.
In a discussion of soft light, it’s helpful to first understand the opposite effect—hard light. Both hard light and soft light are defined by how the shadows and highlights created by the lighting transition from one to another. With hard light, the transition from highlight to shadow is rapid, resulting in hard edges, crisp delineation, and high contrast or specularity between the two. Soft light, on the other hand, is the opposite effect. Transitions between highlight and shadow occur very gradually. The result is a softer, more diffuse quality of light. Consequently, edges are softer, delineation is more diffuse, and contrast is reduced as compared to hard light. Each quality of light has its place in your lighting repertoire. When you want an edgy, specular look, hard light will get you there in a hurry. When you want soft, classic, understated, pretty light, soft light is your go-to.
The basic rule of thumb is that the larger the light source, the softer the quality of light. Distance also plays a crucial role. The closer the light source is placed to the subject, the larger its size in relationship to the subject and the softer the light created. In other words, your best, easiest bet for creating soft light is to use the largest light modifier you have and place it as close to your subject as possible without it being in the frame.
Technique 1: Large Octabank
I’ll start with the simplest-to-execute, least-complex, and least-gear-intensive of the soft-light techniques. This one-light method utilizes a large octabank, in this case an Elinchrom 74”. This modifier is an excellent choice for creating soft light, not only due to its six-foot diameter but also to the indirect orientation of the strobe placed inside of it. The flash faces into the modifier, away from the subject. This reduces the centralized hot spot you get with most modifiers. While this modifier isn’t a must-have, it definitely does a great job softening and broadening the light. Orientation and placement are also key. With this technique, the light and modifier are placed at a 90-degree angle (essentially an L), perpendicular to the model. This is the key light, and it should be placed just outside the camera frame. The model is placed just behind the modifier in order to be illuminated by the softest part of the light coming out of it. This is known as feathering the light. A large, white V-Flat is placed on the opposite side of the model to reflect light from the key light back onto the shadowed side of the subject. The amount of fill light created can be easily changed by simply adjusting the distance of the V-Flat. Closer to the subject for more fill; farther away for less.
Technique 2: Diffused Beauty Dish
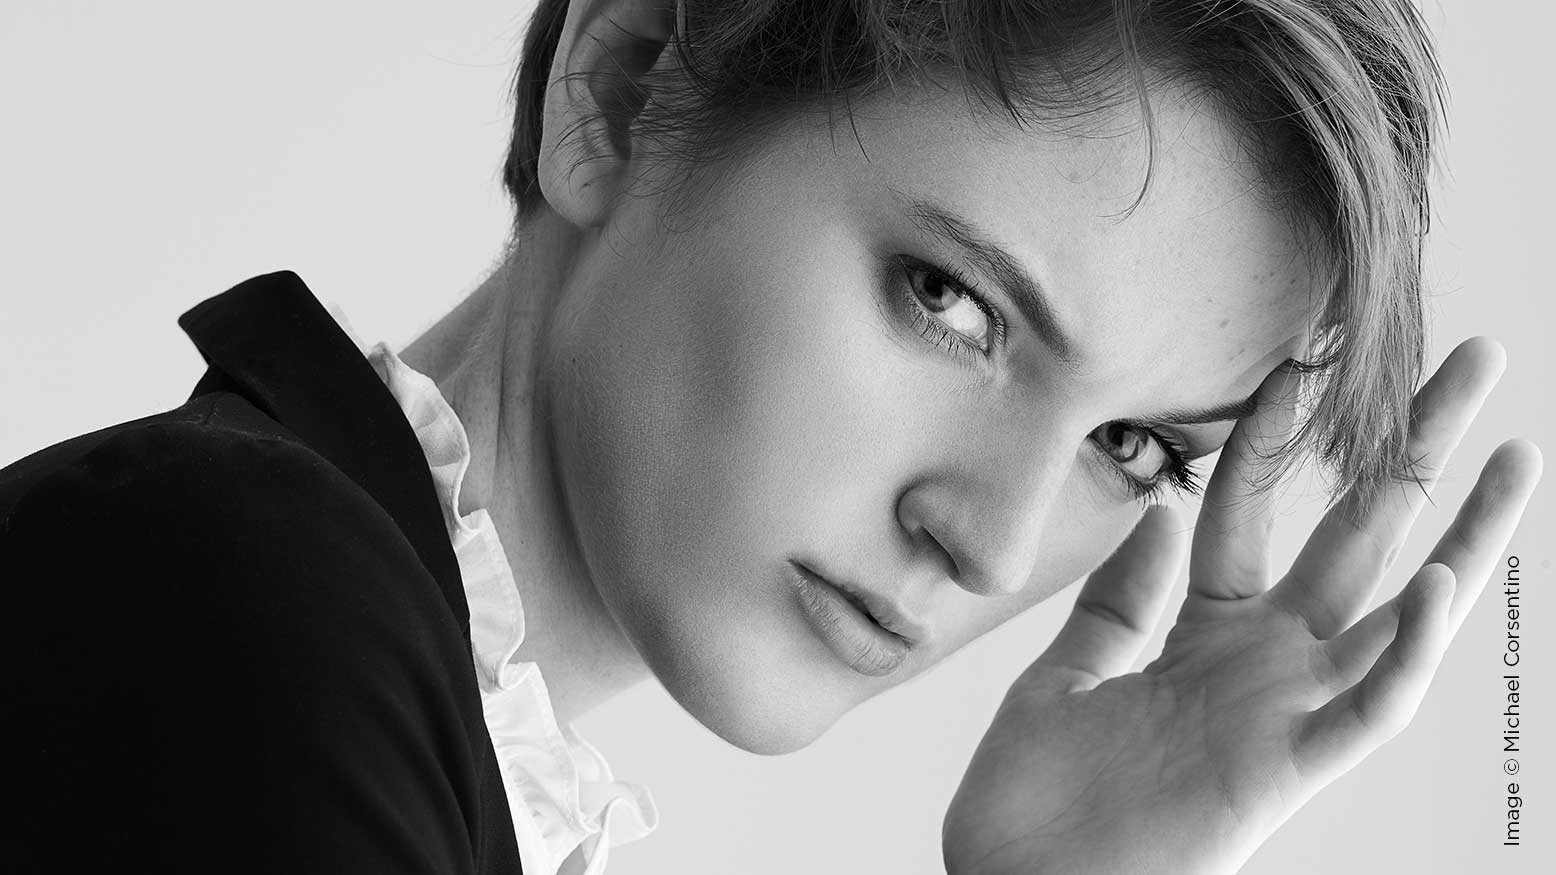
Next, we’ll take a light modifier not known for its softness and create beautiful, soft light with it for a classic portrait. For this technique, I’m using a beauty dish, renowned for its sparkly light and its ability to diffuse, broaden, soften, and reduce its output. My first step was adding diffusion fabric to the front of the beauty dish; this is known as a “sock.” This was my first softening step. Next, I added two layers of neutral density gel in front of the beauty dish to reduce the amount of light it was delivering. I did this because, despite my flash being dialed down to its lowest setting, it was still creating an overexposure. My last, most important step with respect to soft light was placing a 3×3 scrim approximately one foot in front of the beauty dish. This broadened the light, taking a 22-inch beauty dish and turning it into a three-foot source. Like with the last setup, I used a V-Flat opposite the key light to open up the shadowed side of the subject’s face. The quality of light created is a nice mix of the beauty dish’s sparkle (albeit reduced), and soft, broad light via the 3×3 scrim.
Technique 3: Large Scrim Two Ways
This last setup creates gorgeous, soft light. Of the three techniques, it uses the largest light source, an 8×8 diffusion scrim. You just can’t beat the beautiful, soft, wrapping light you can create with a large scrim diffusing the sun or one or more strobes. I’ve included two examples, one a location image with a scrim diffusing only the sun, and another a studio image, where four strobes were bounced off V-Flats to indirectly illuminate a scrim and create beautiful, soft, wrapping light that looks just like natural window light.
As you can see, there are numerous ways to create soft light. Each has its own level of complexity, tools, applications and effects. These are just my three current favorites. Don’t let a lack of gear hold you back! If you don’t have an octabank, indirect or otherwise, use a large, inexpensive, shoot-through umbrella. Westcott makes a great one for around $100. No jumbo scrim? No worries, make your own! It’s easy using PVC piping and a shower curtain or diffusion material from your local fabric store. In other words, no excuses. Get out there and create some soft light. Try one or all of these techniques, and I’m confident you’ll be as impressed with their results as I am.


