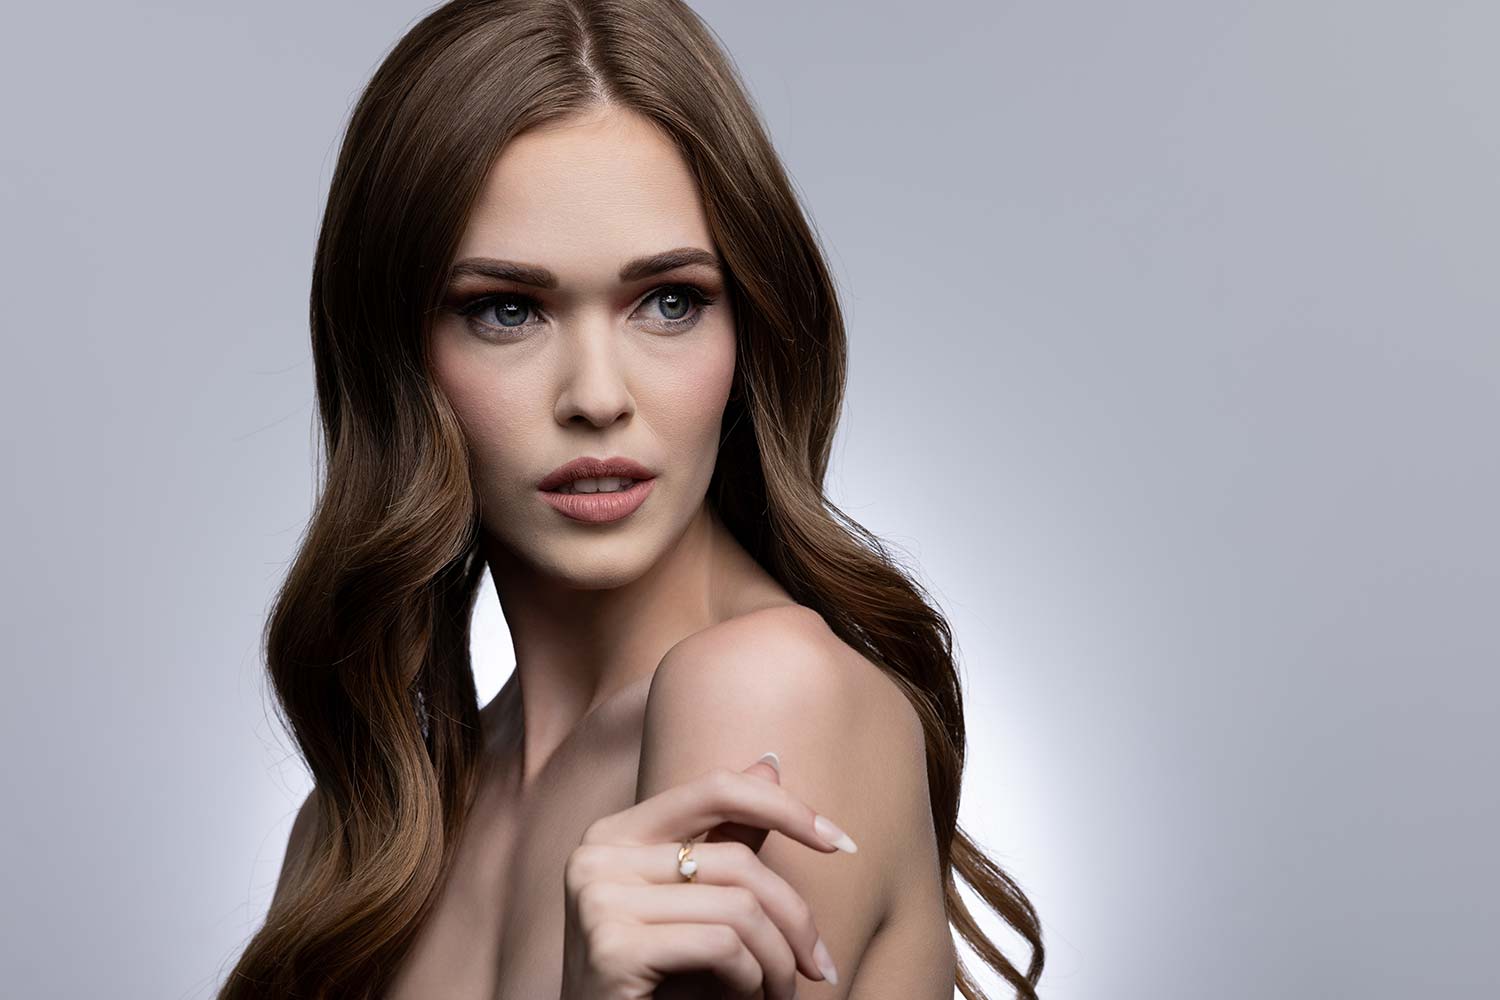
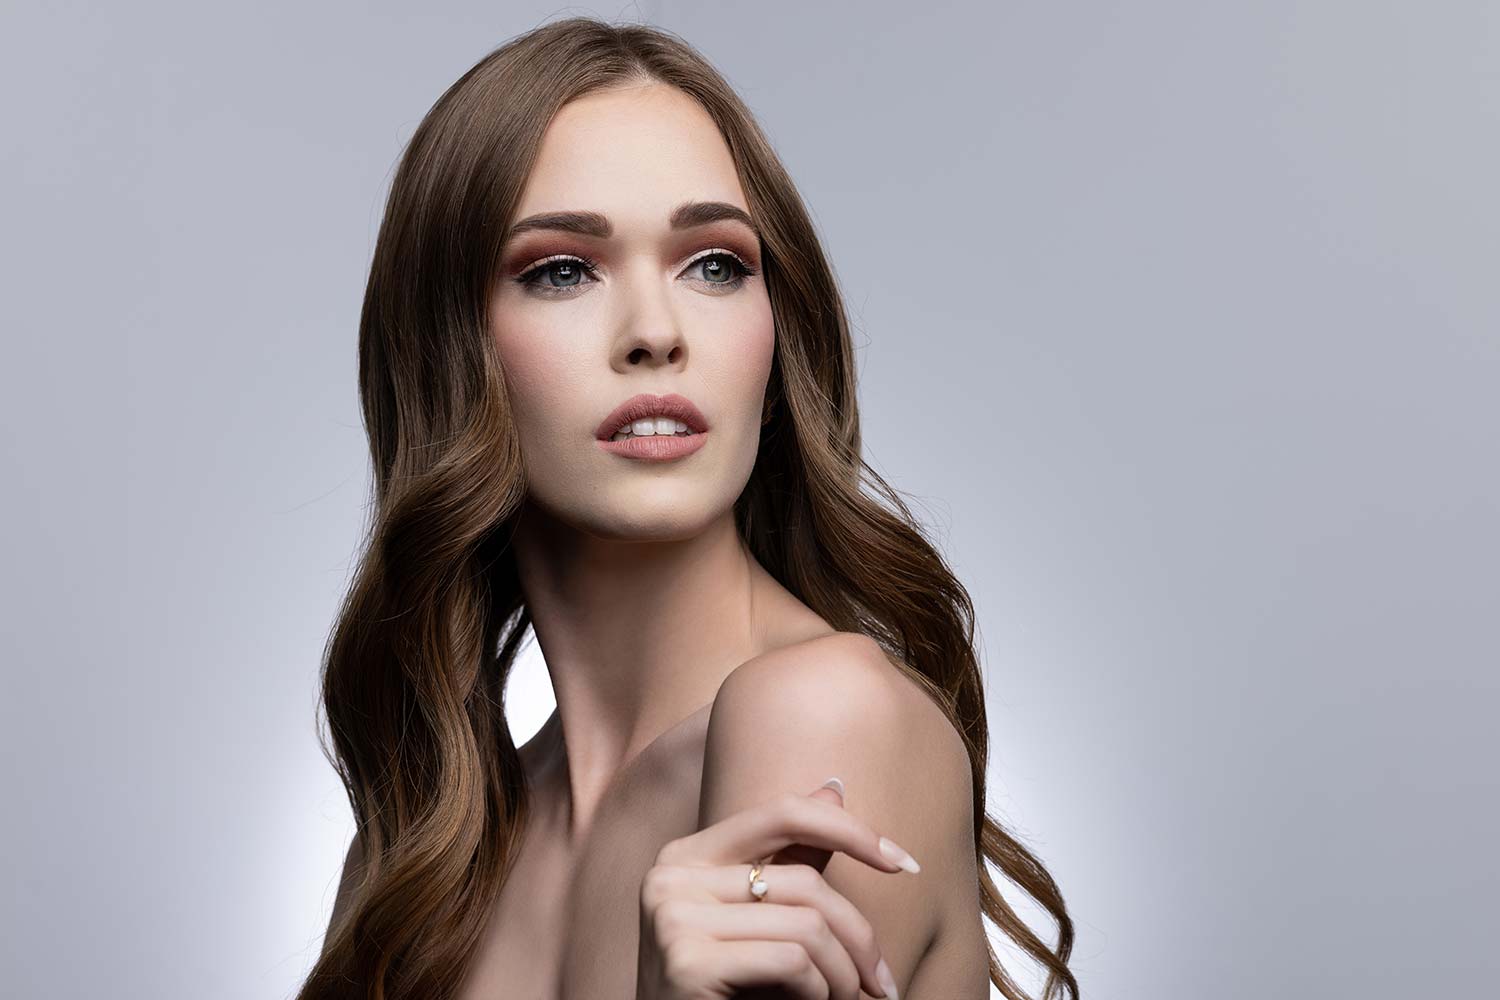
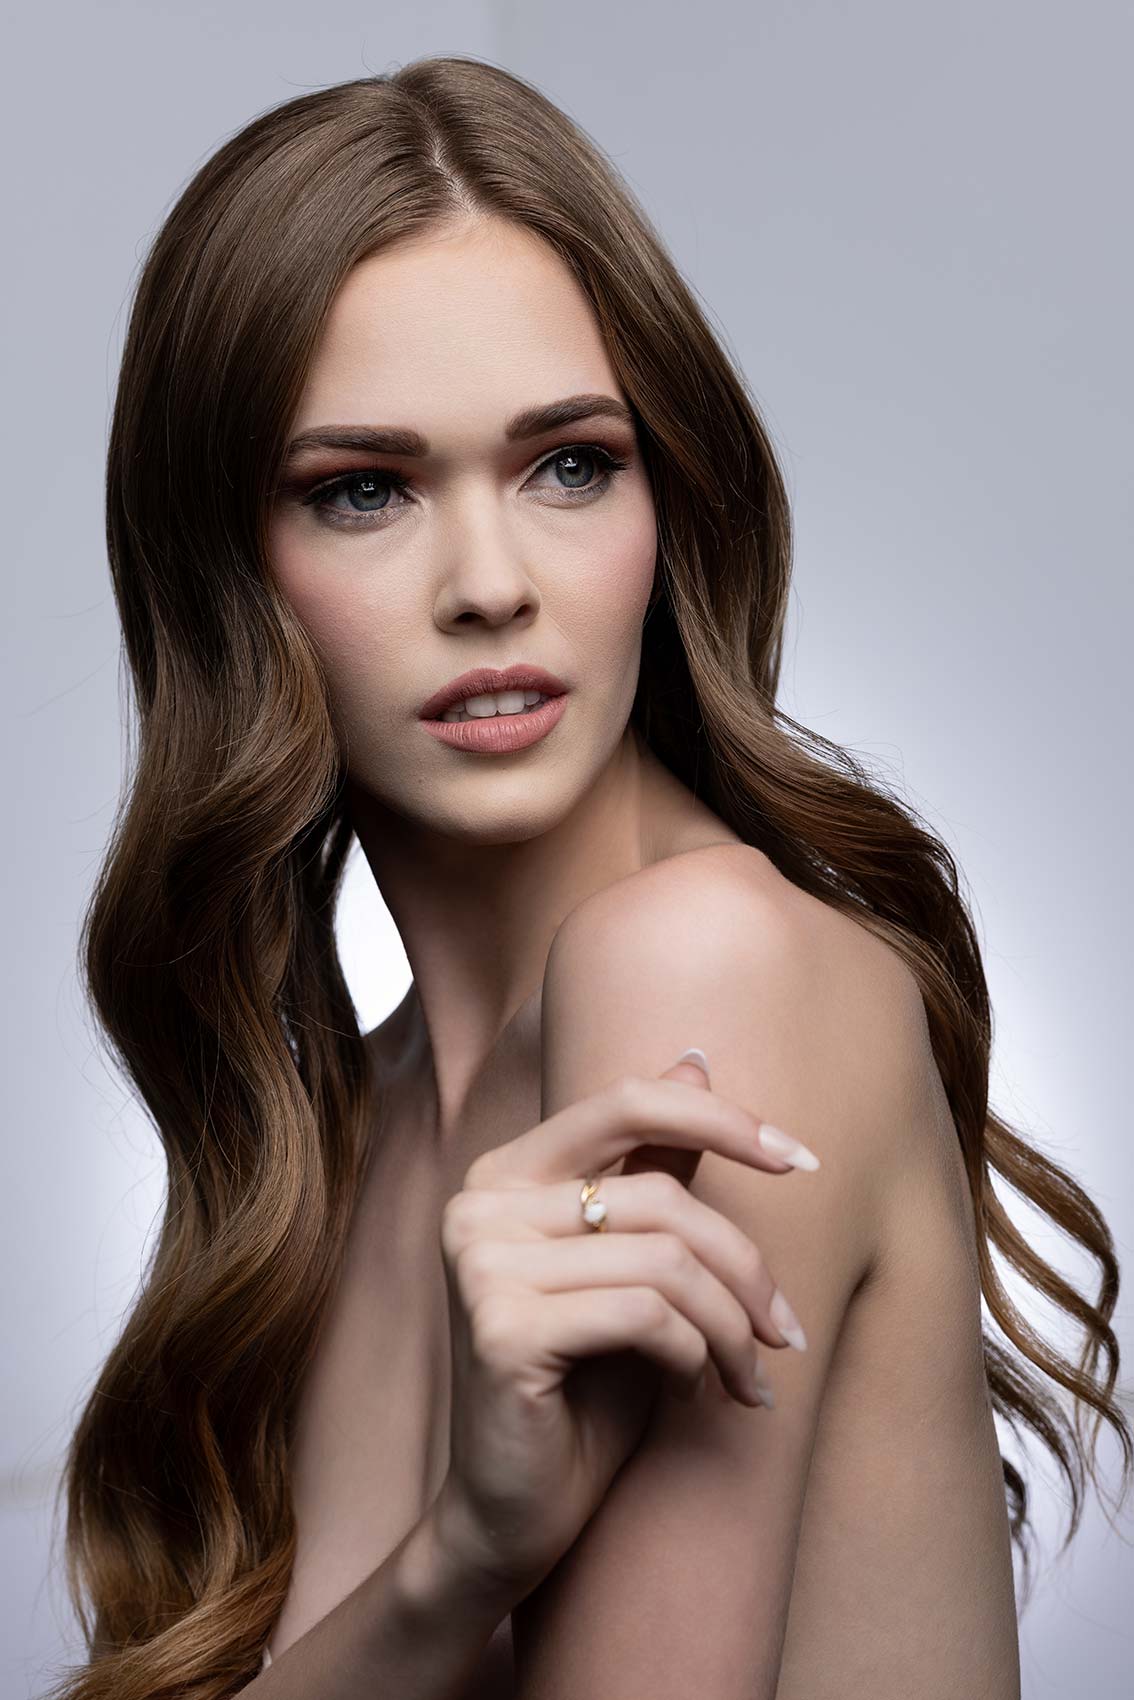
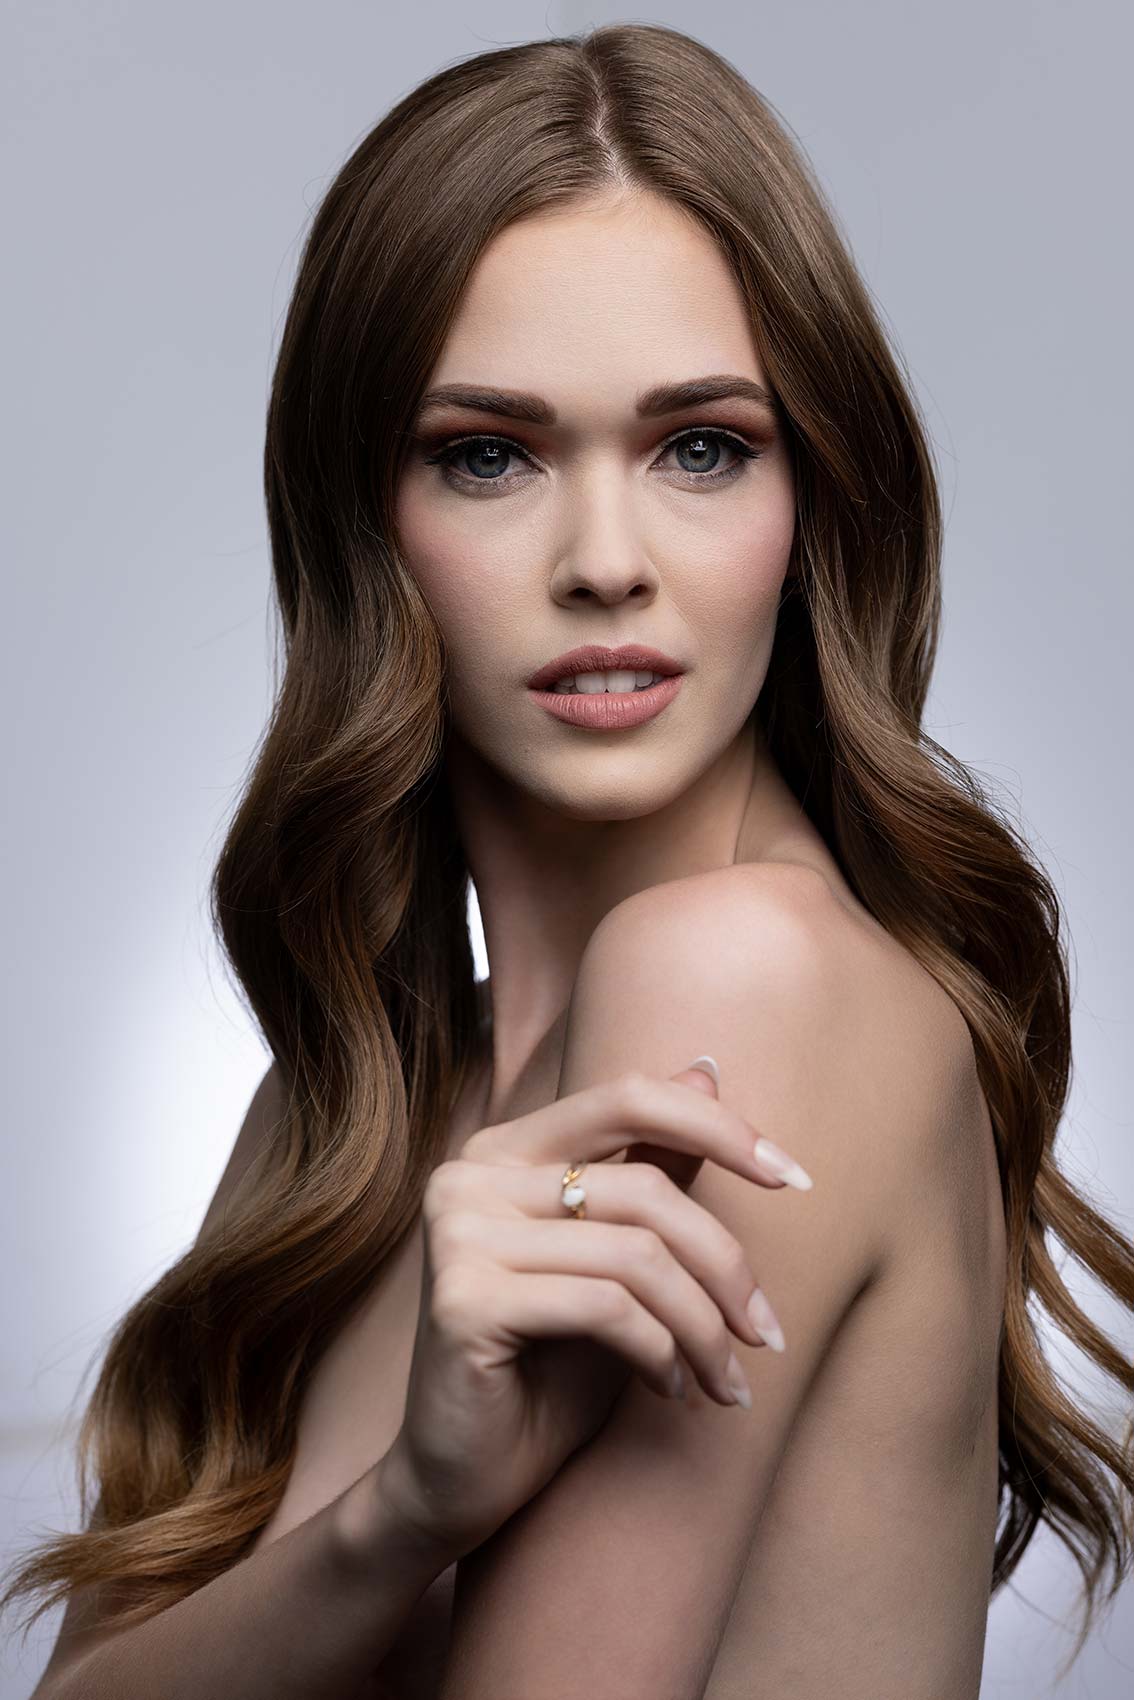
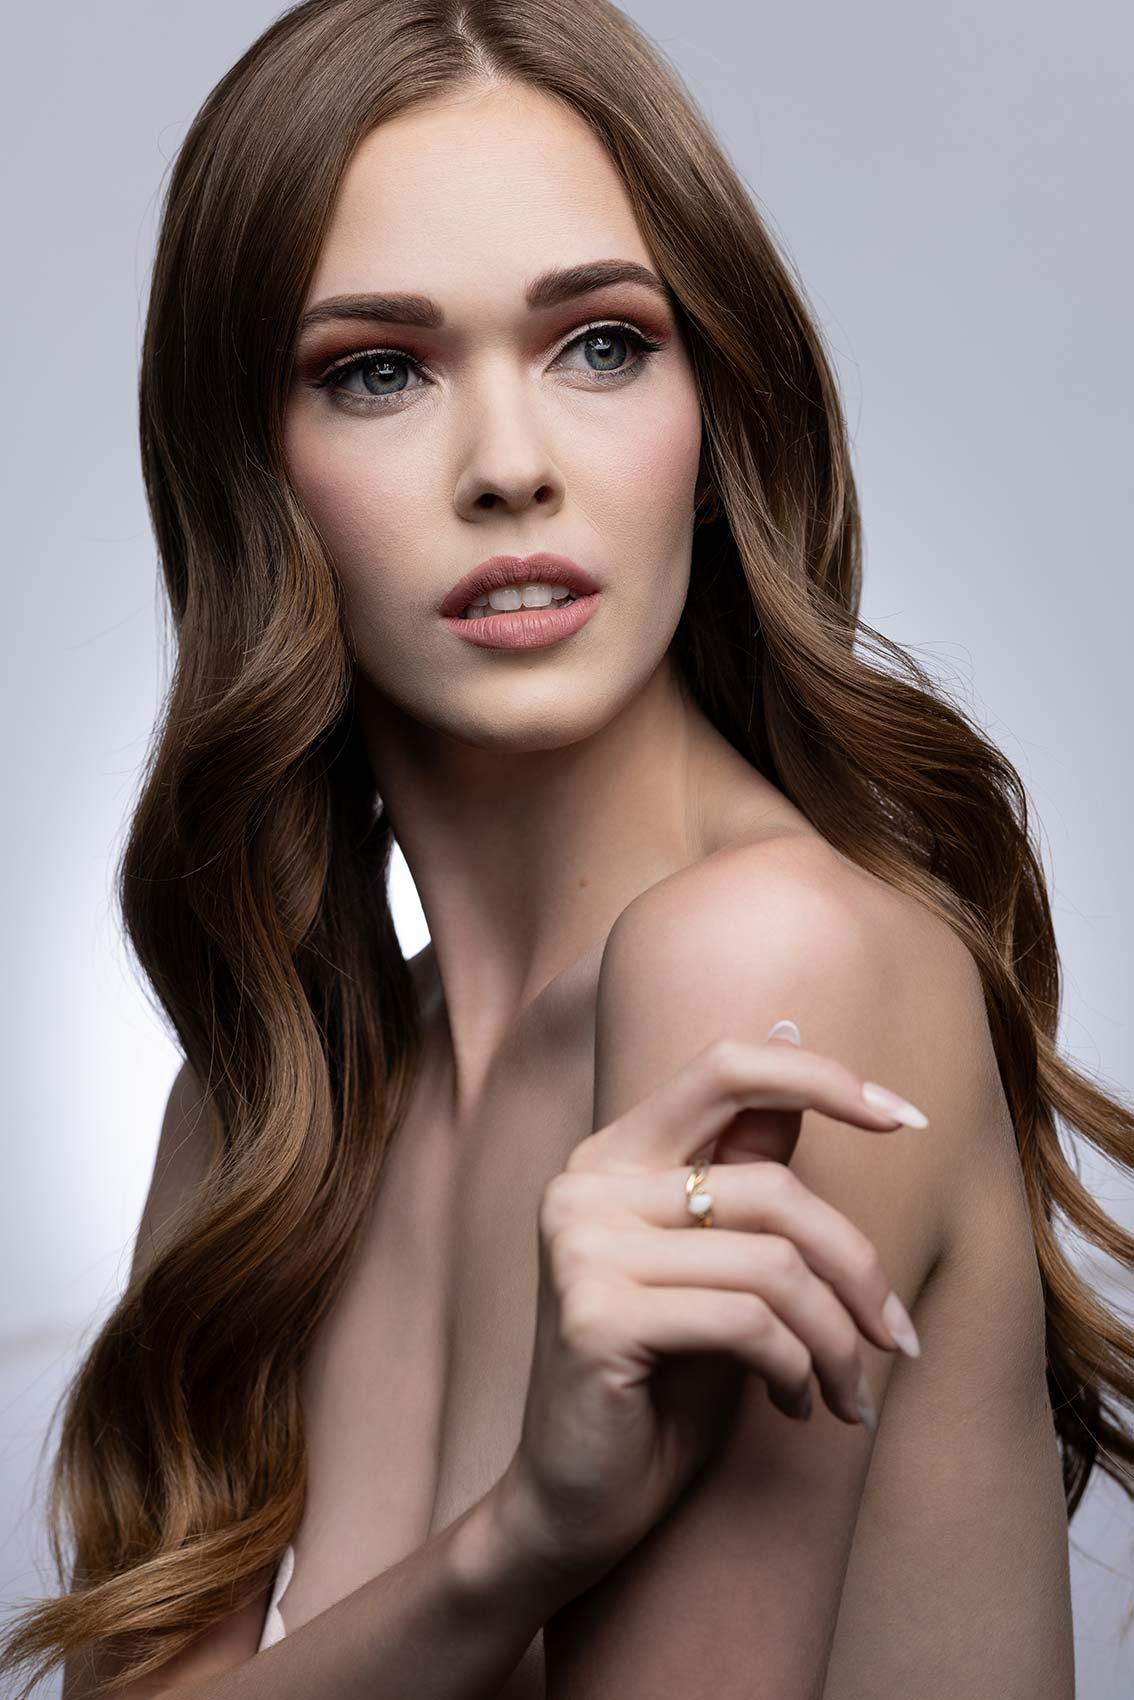
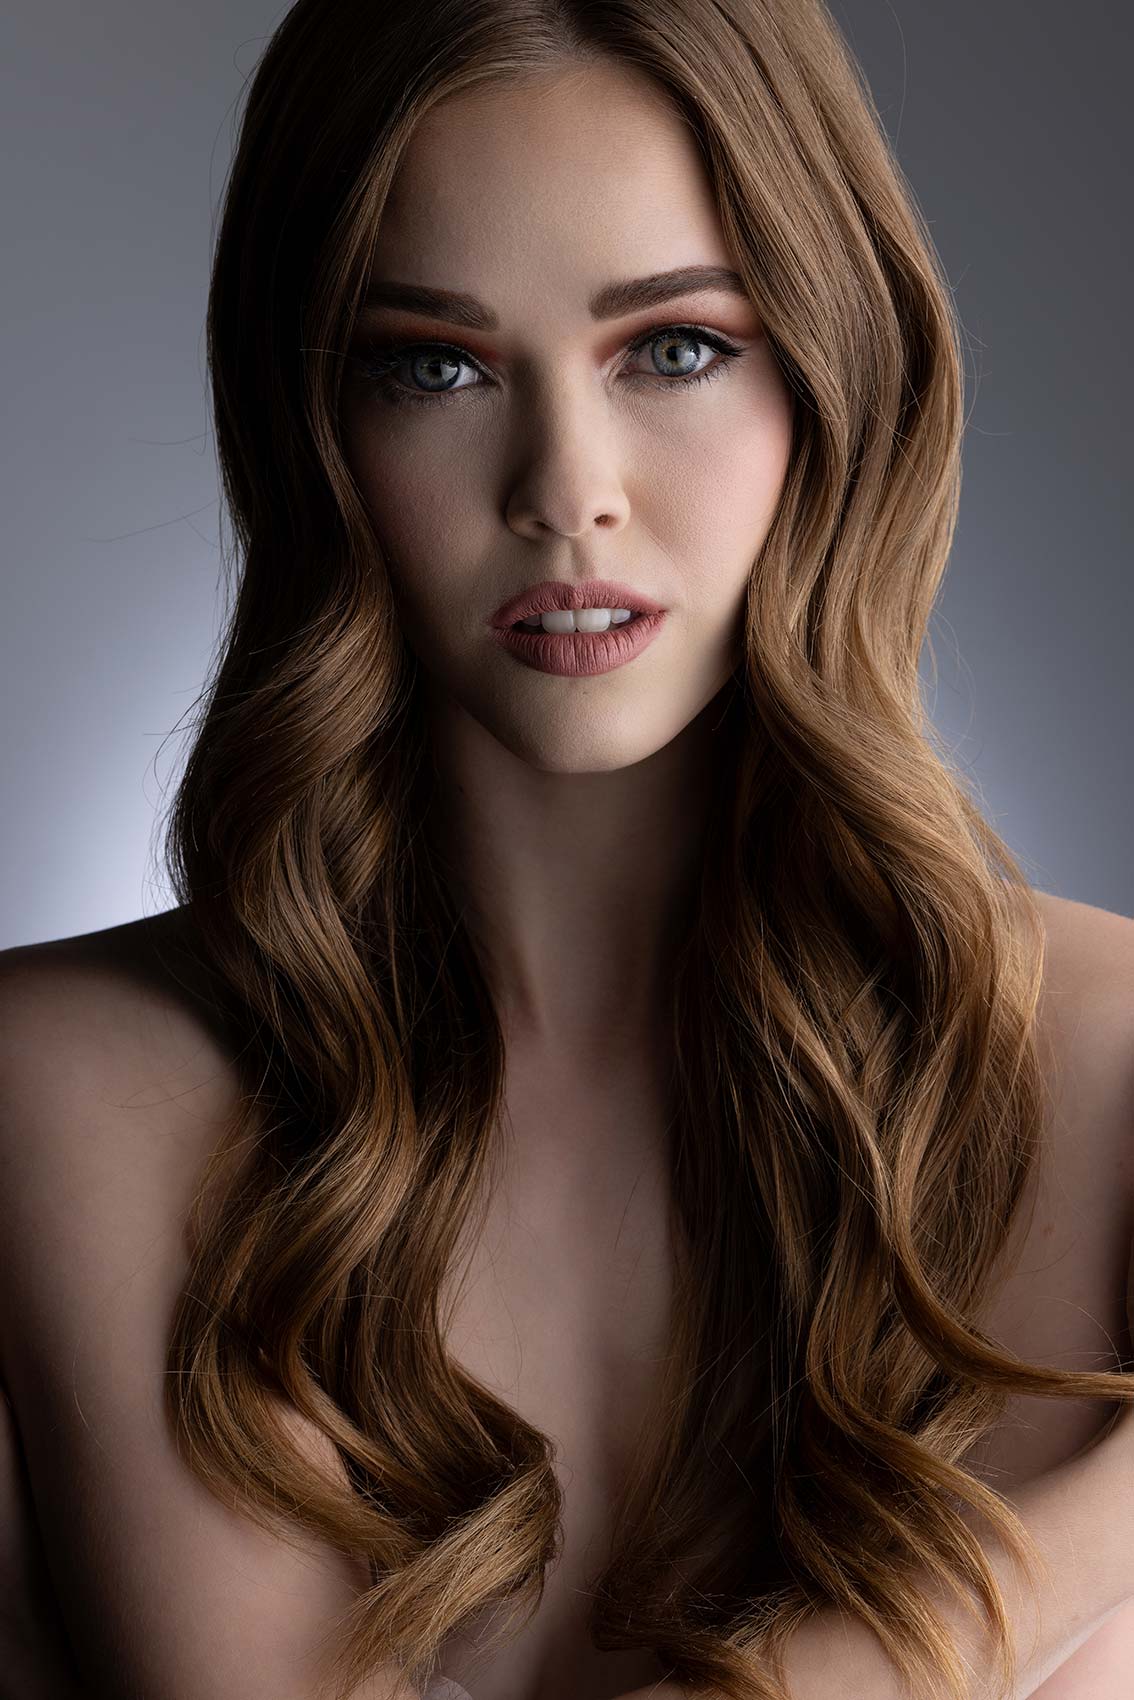
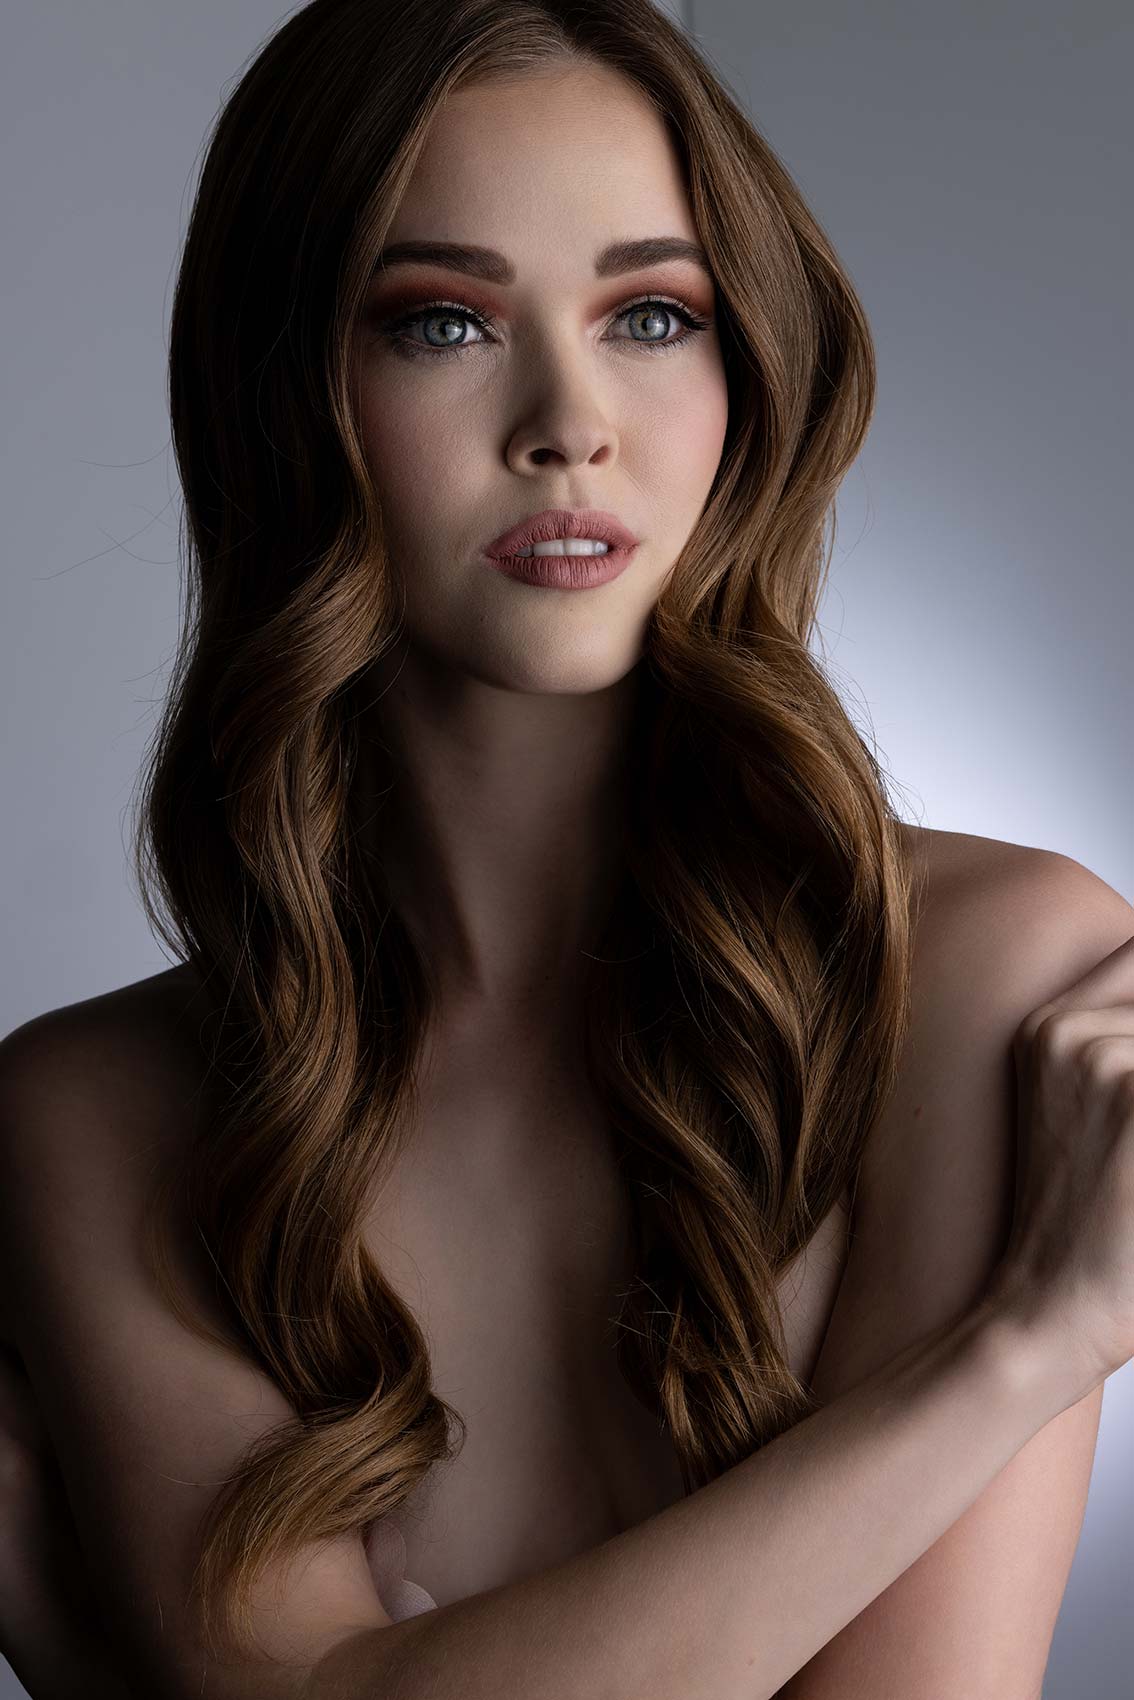
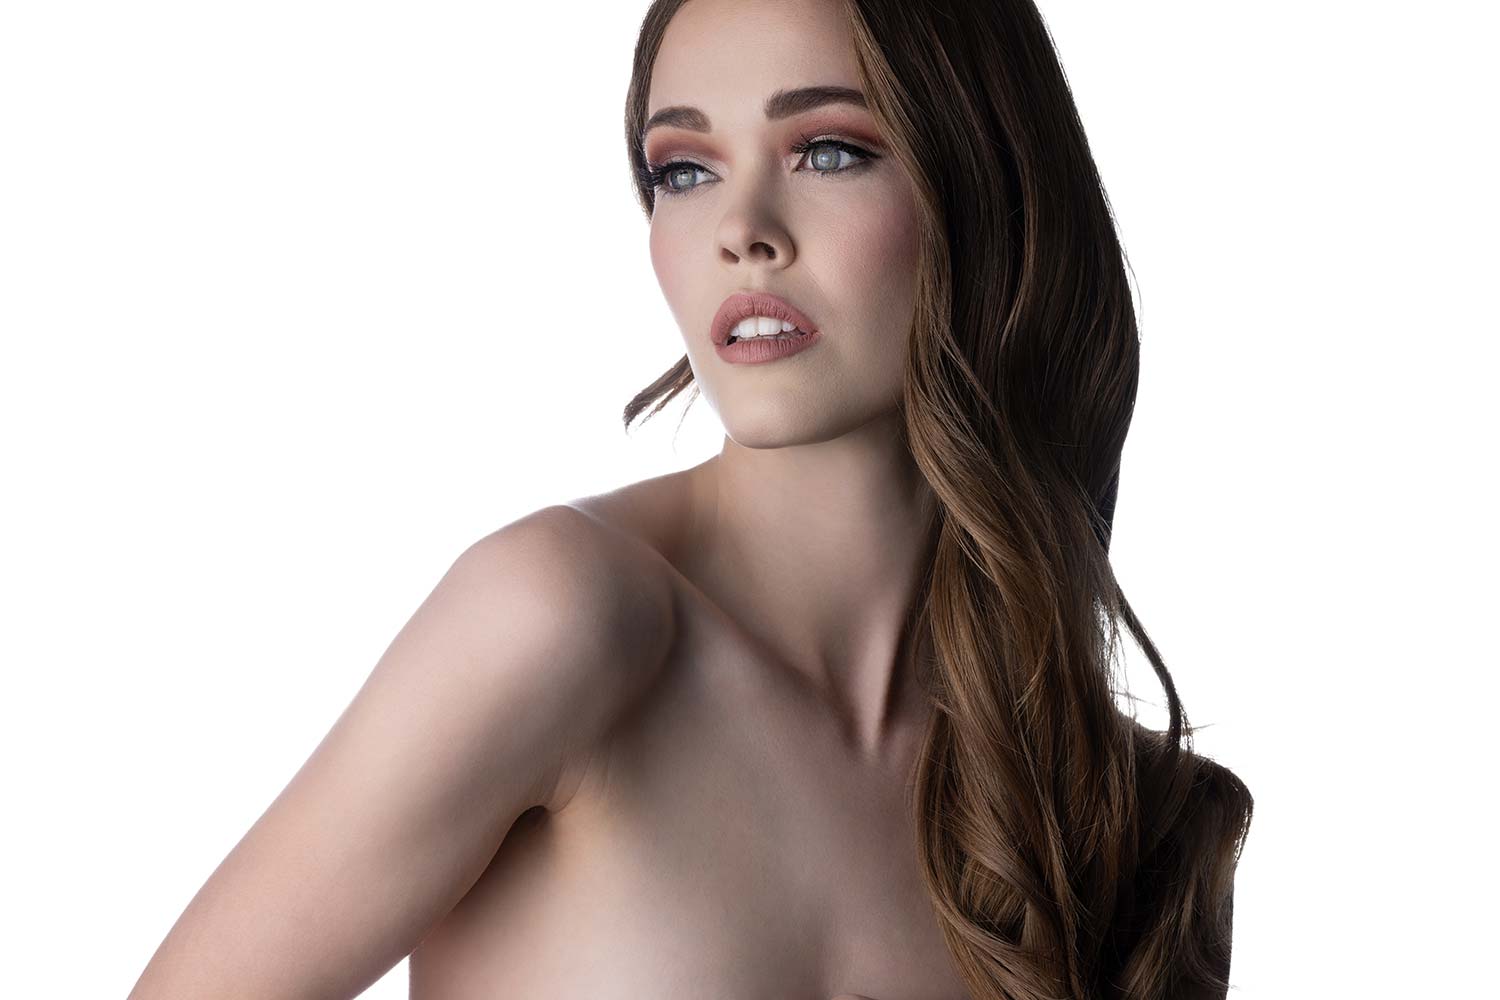
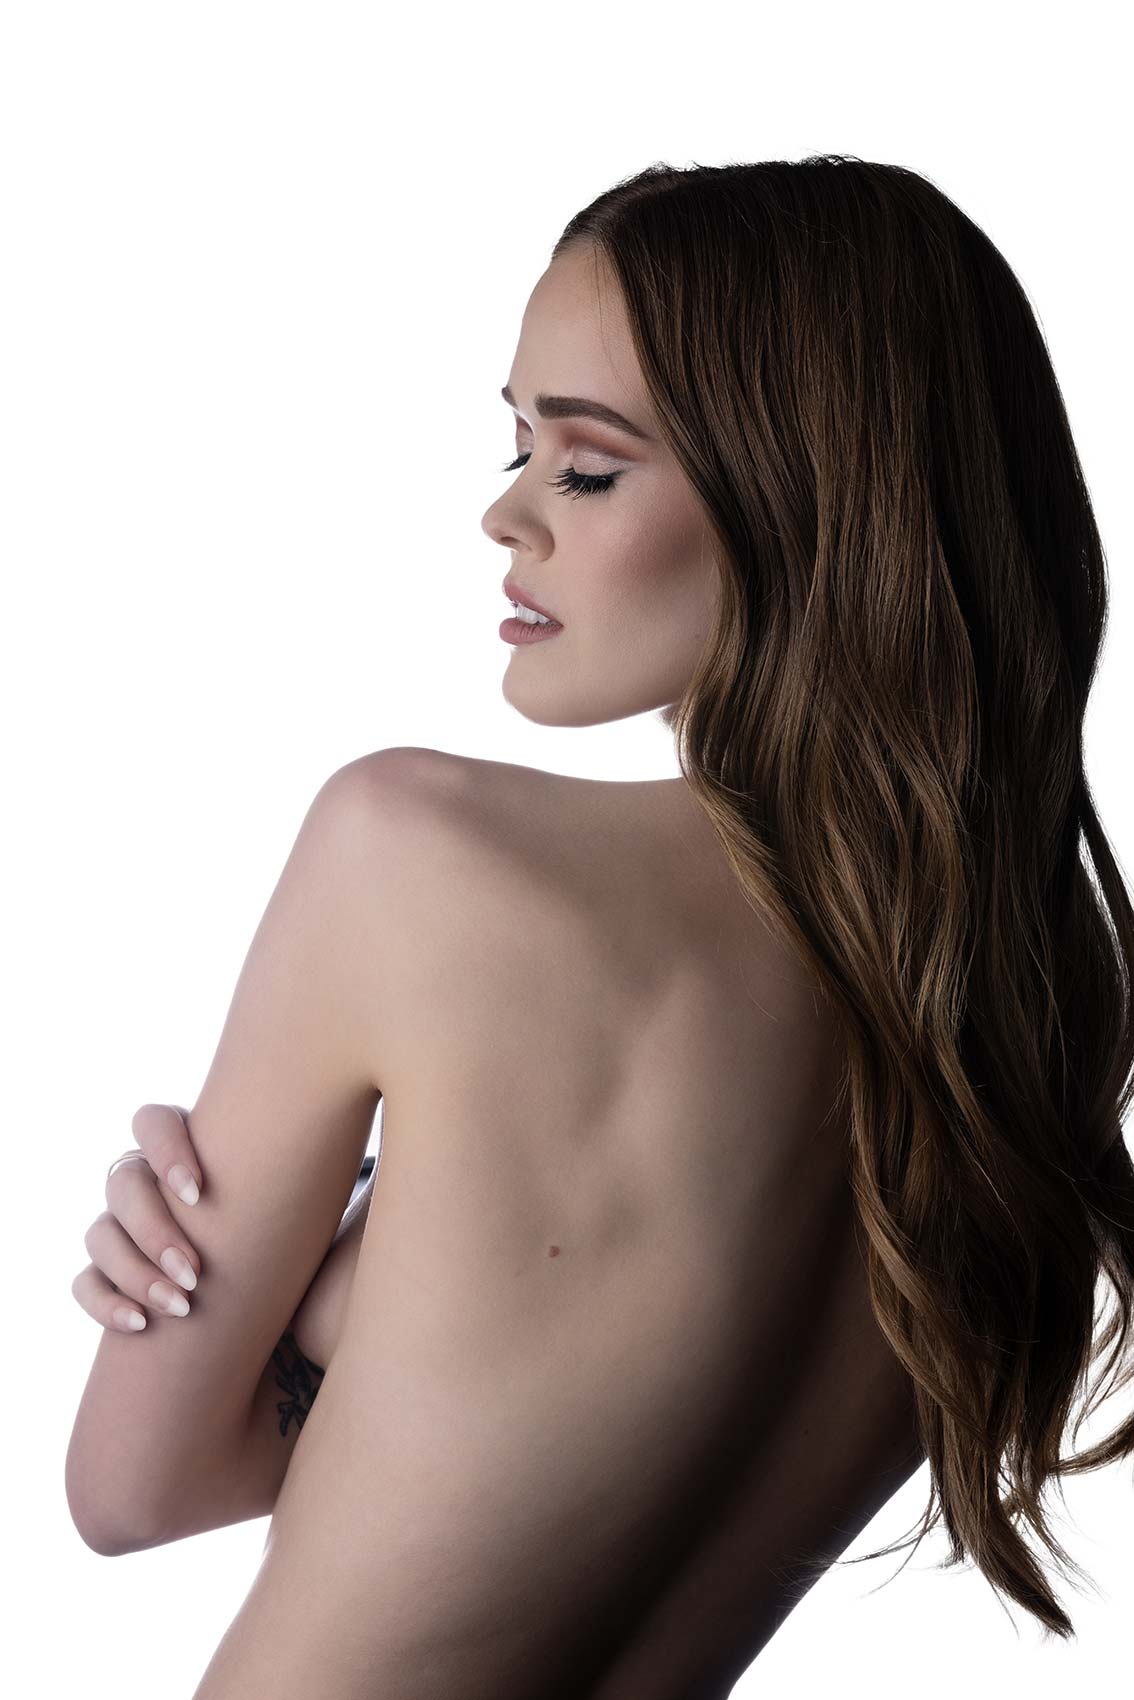
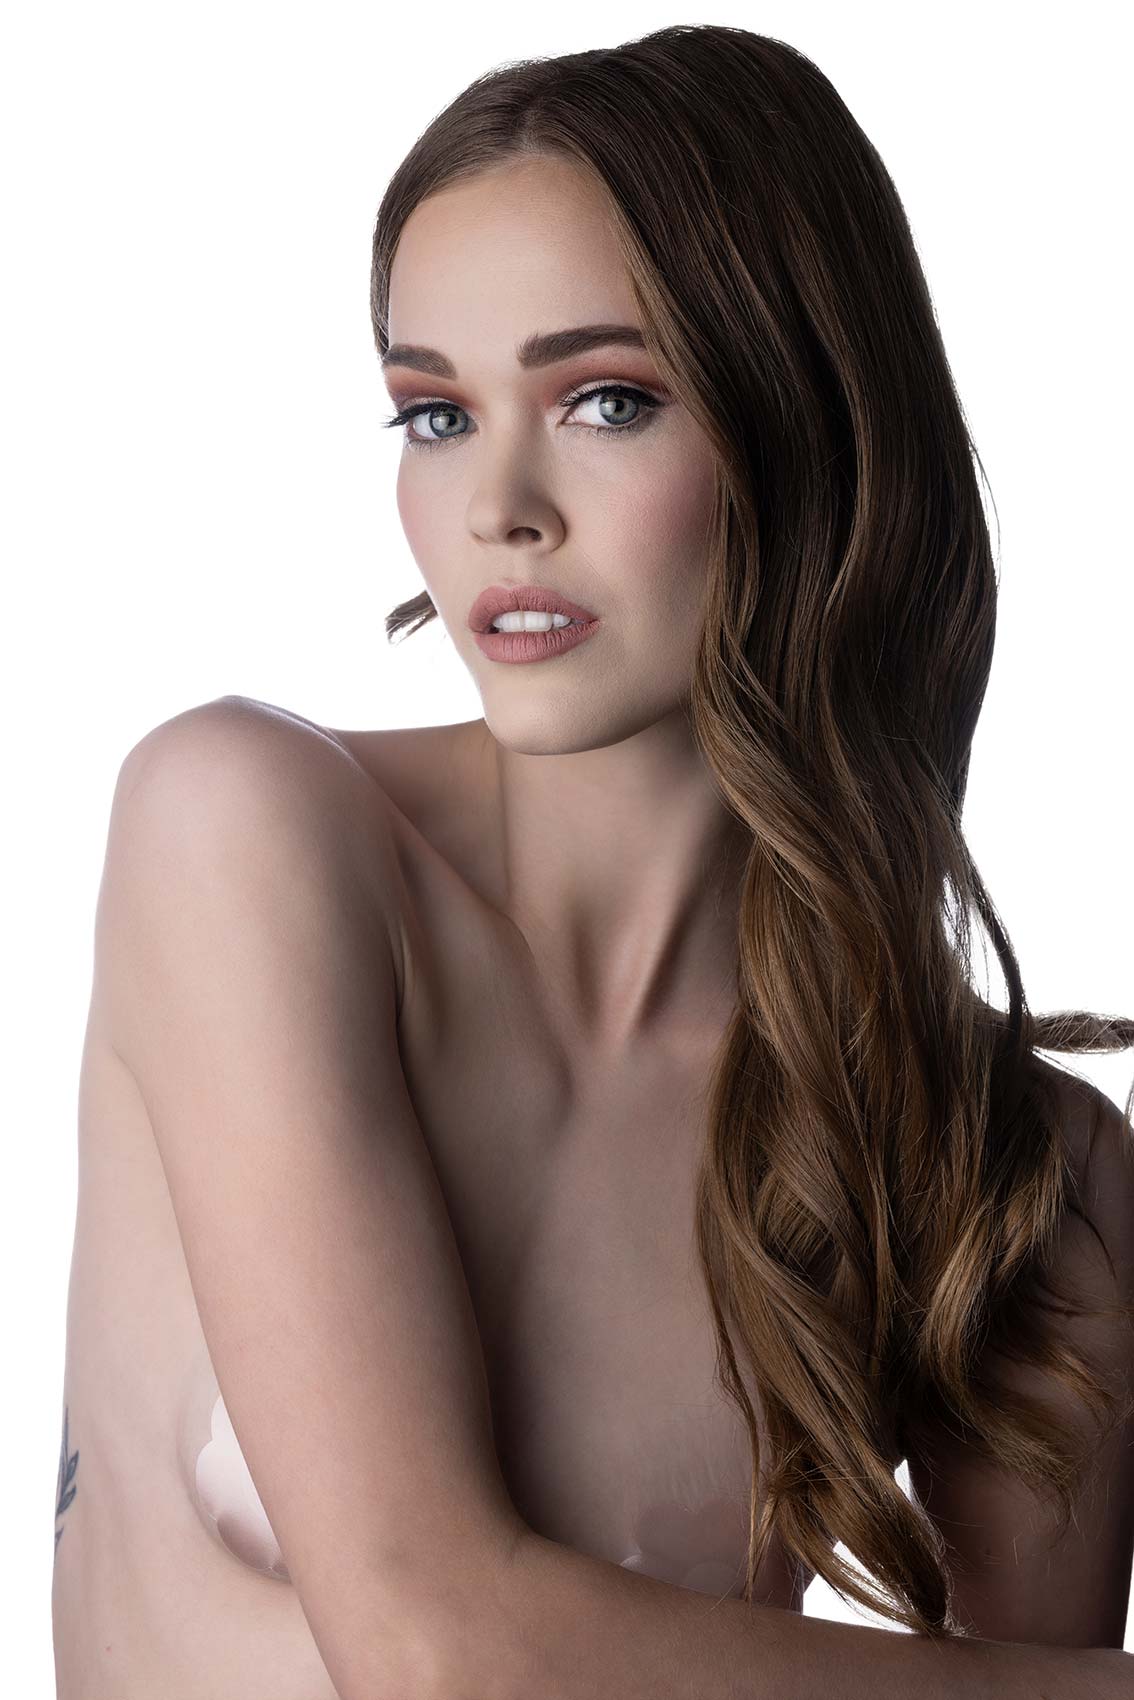
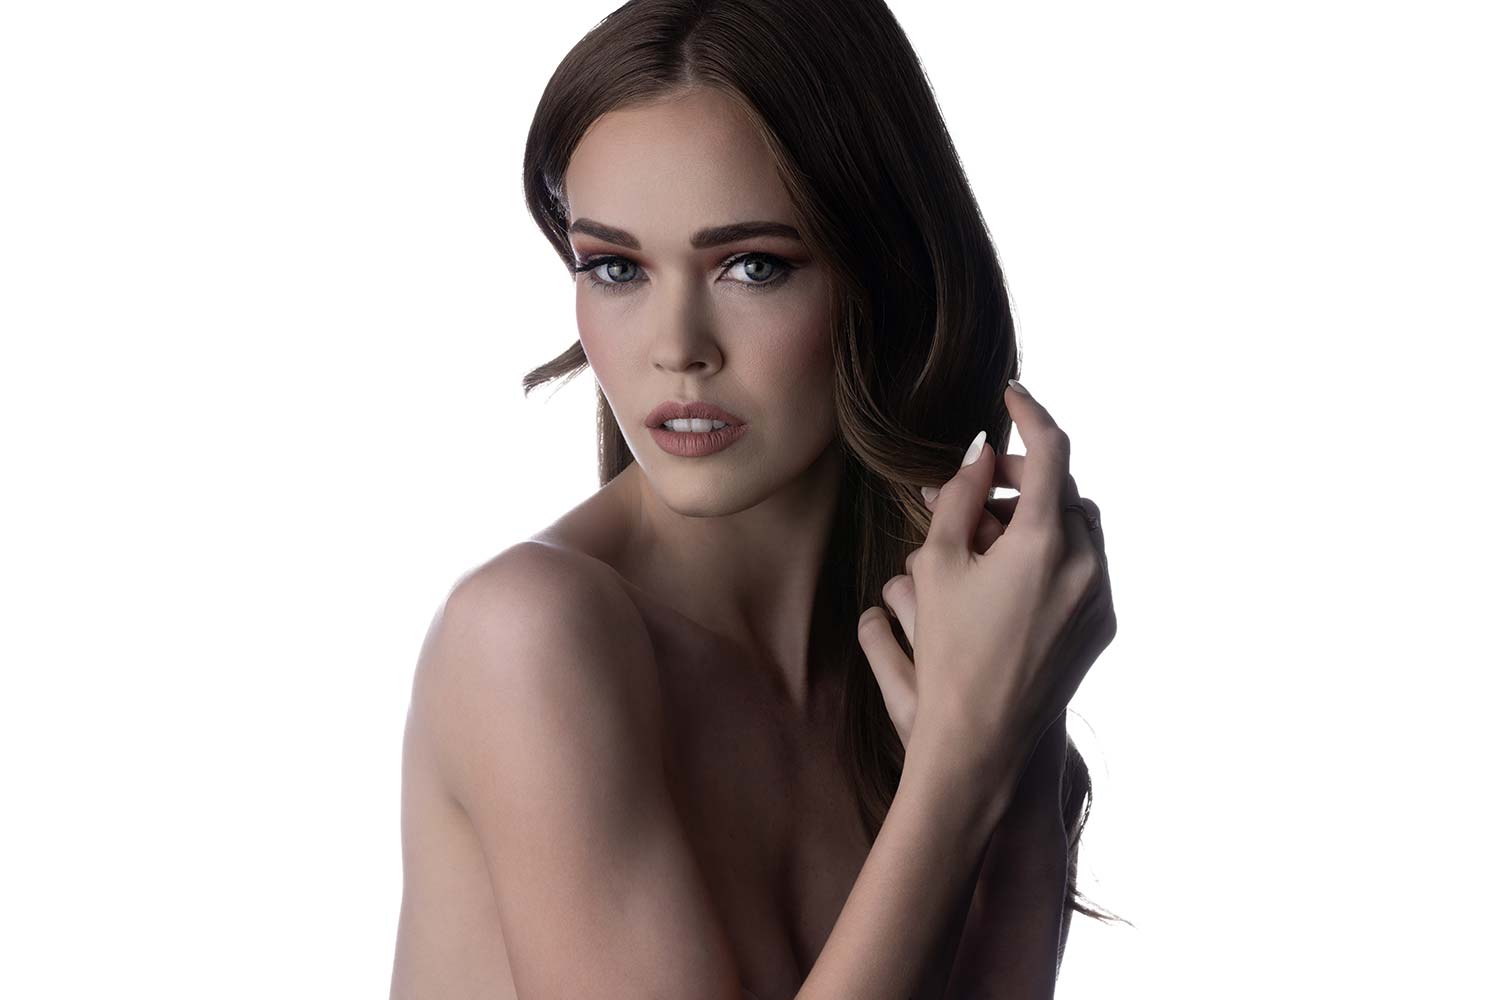
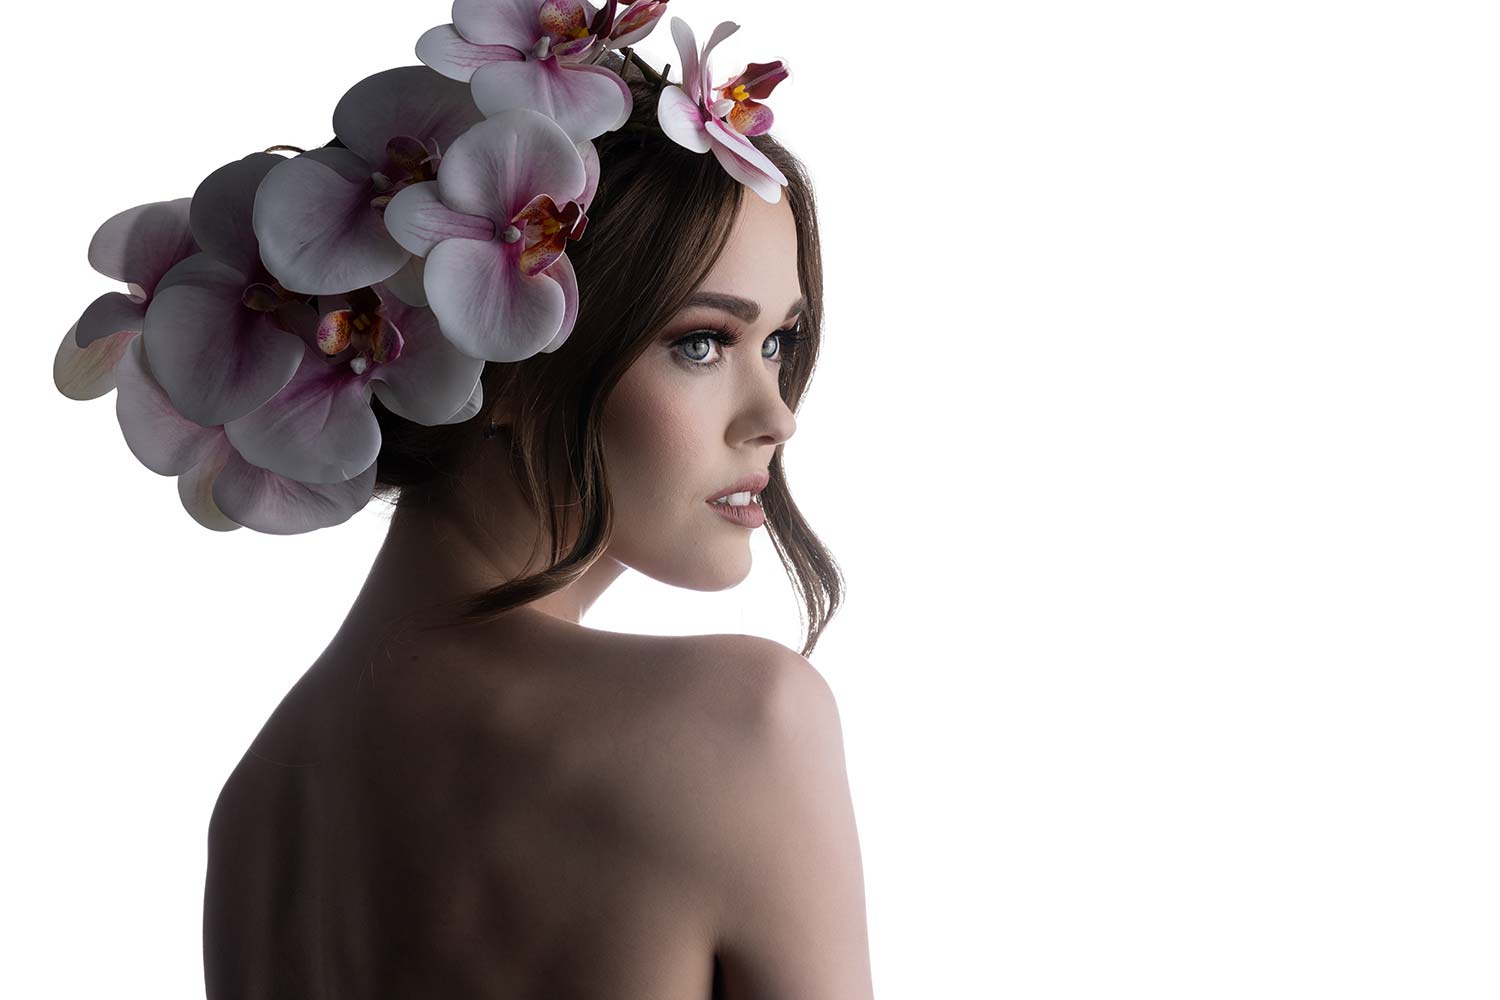
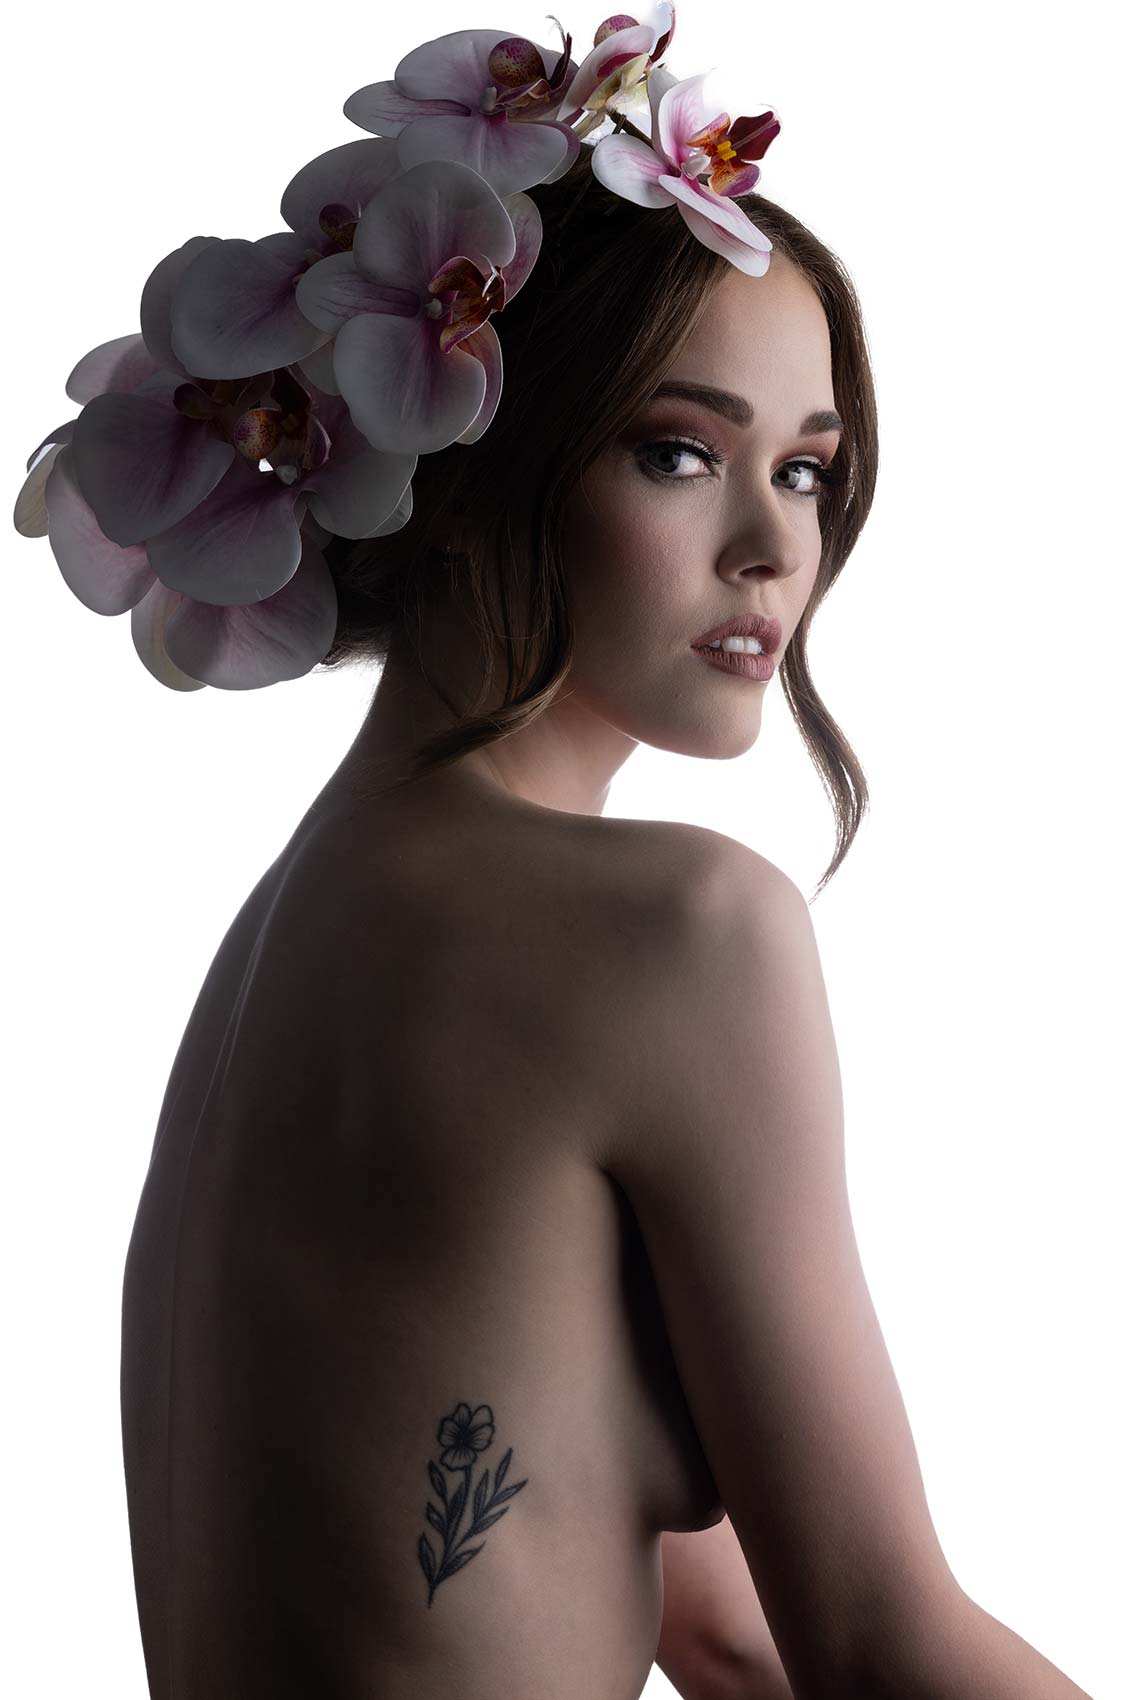
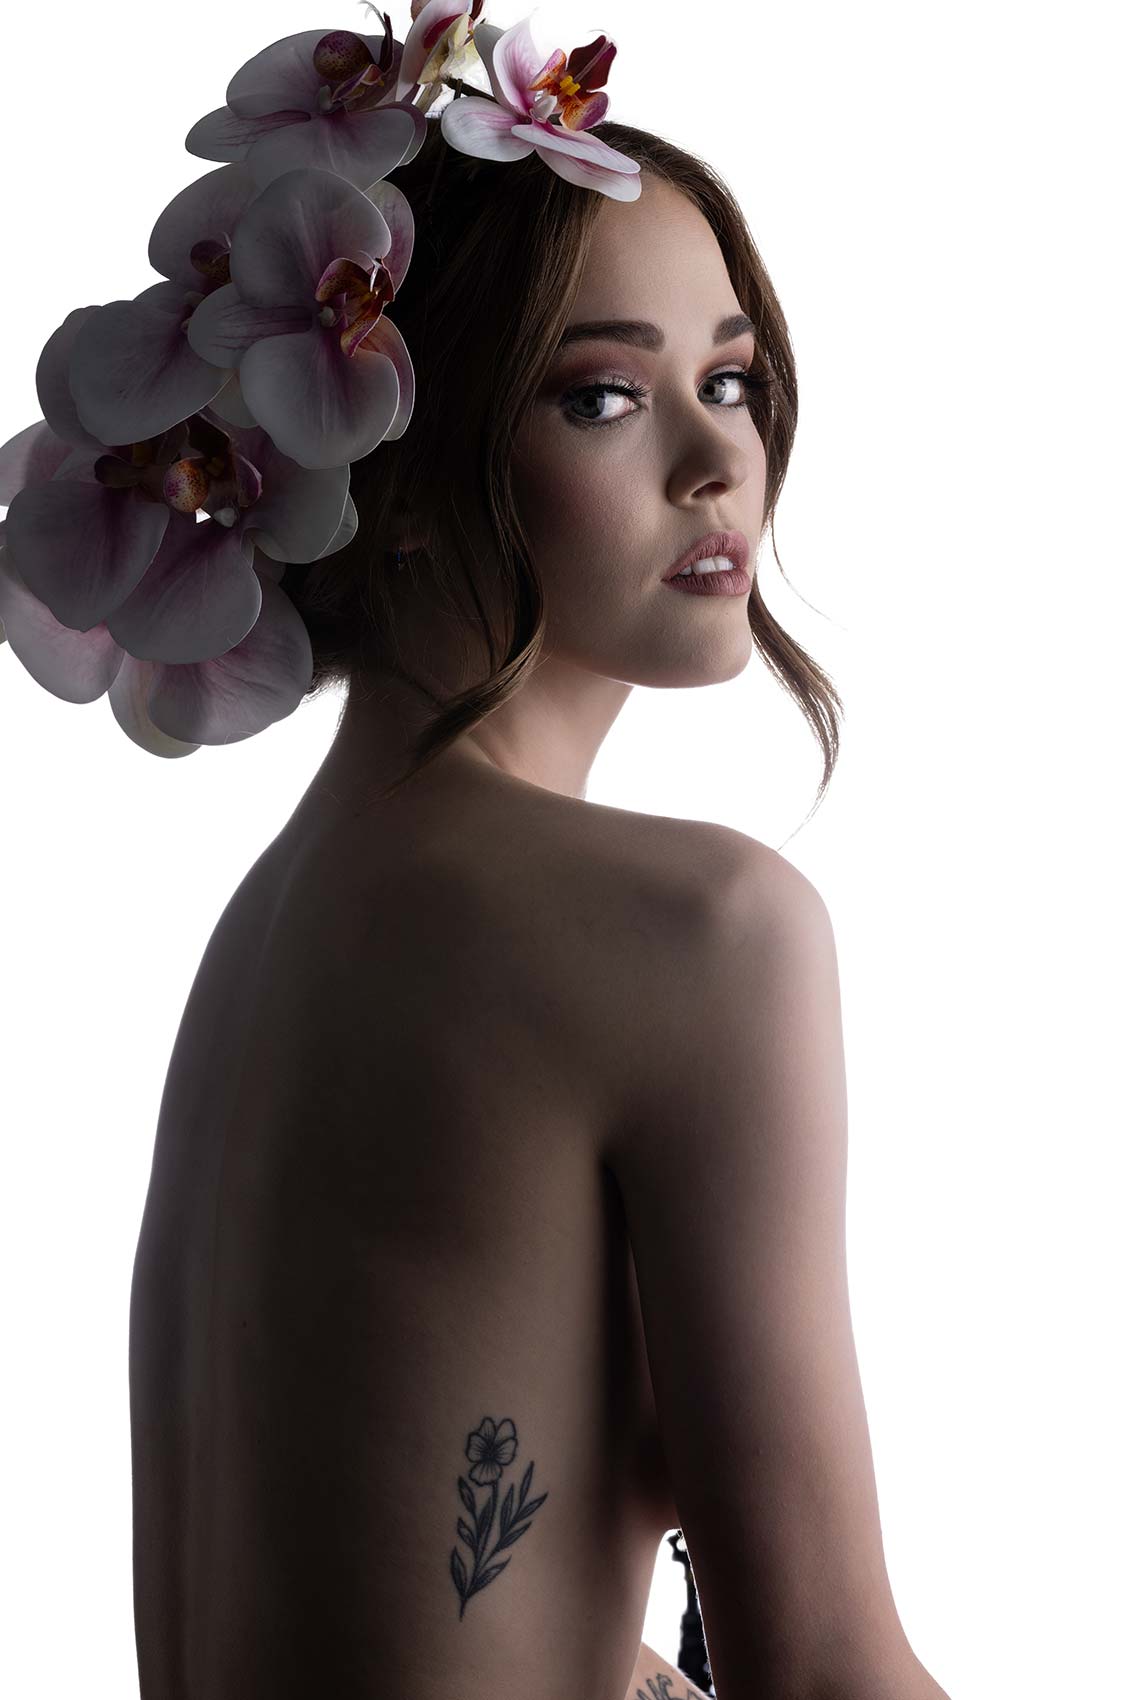
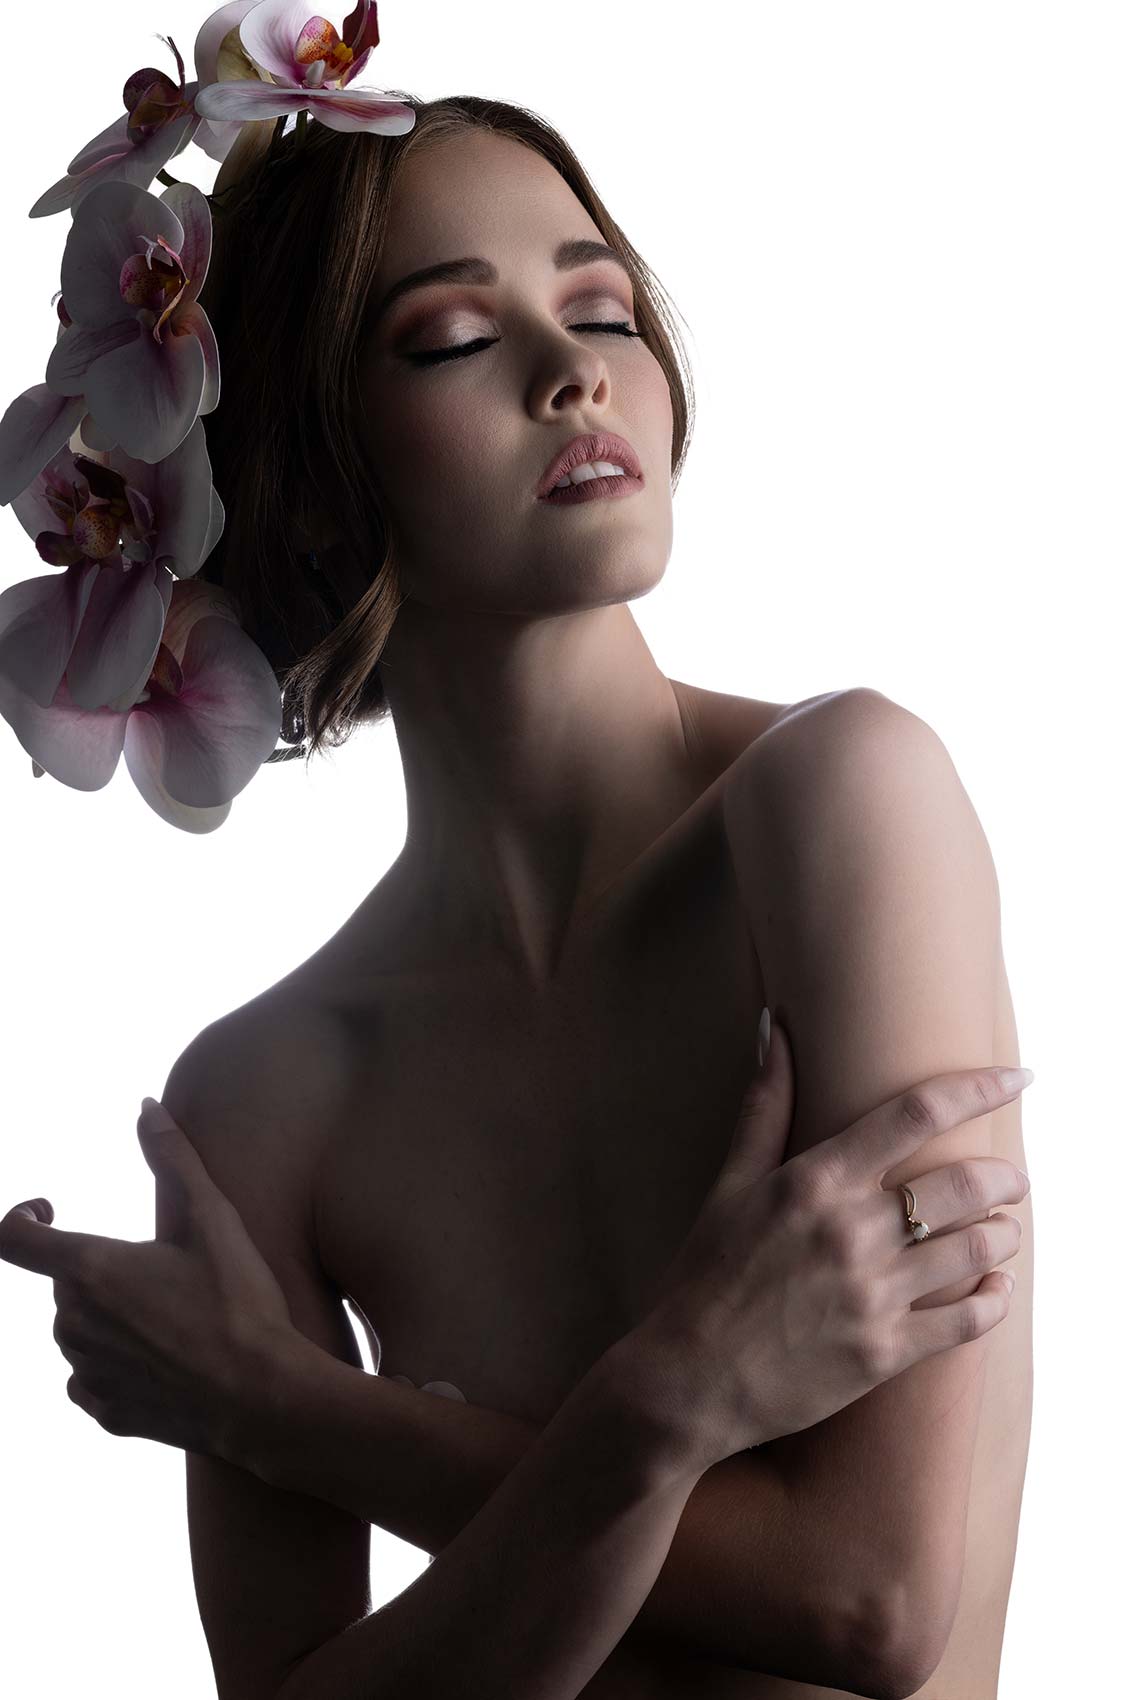
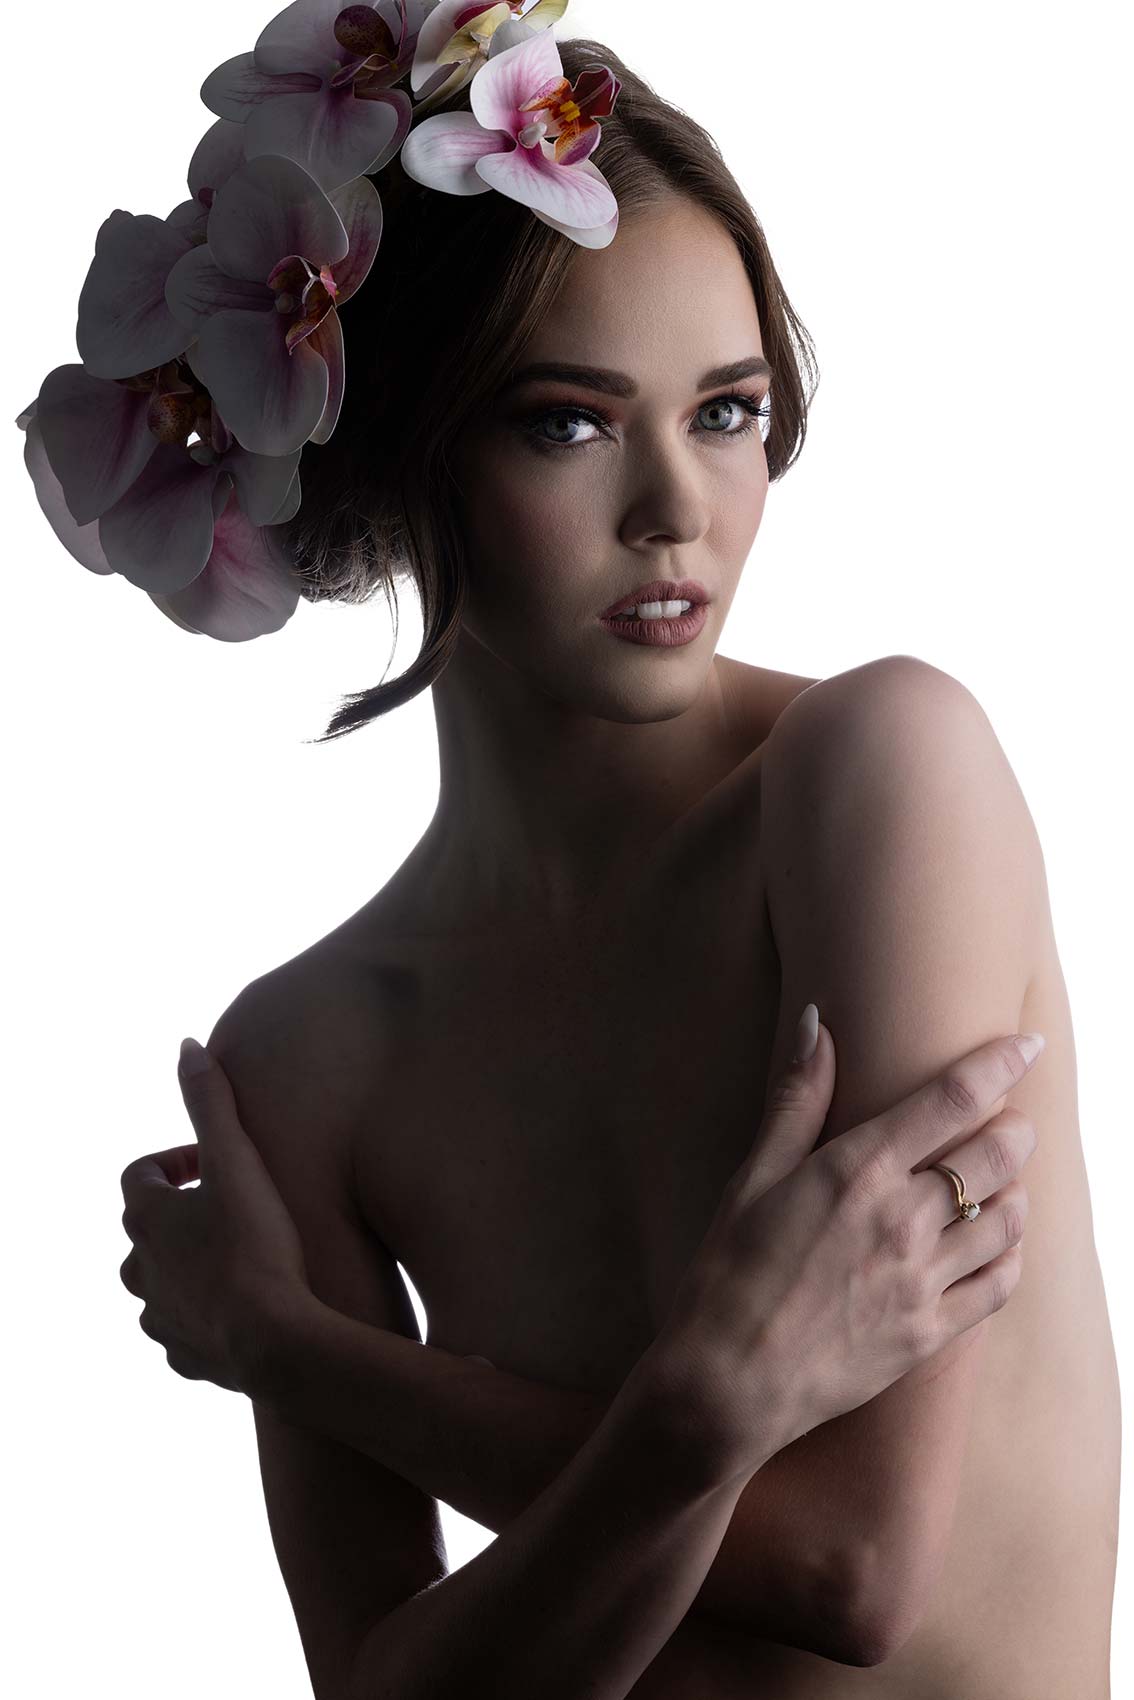
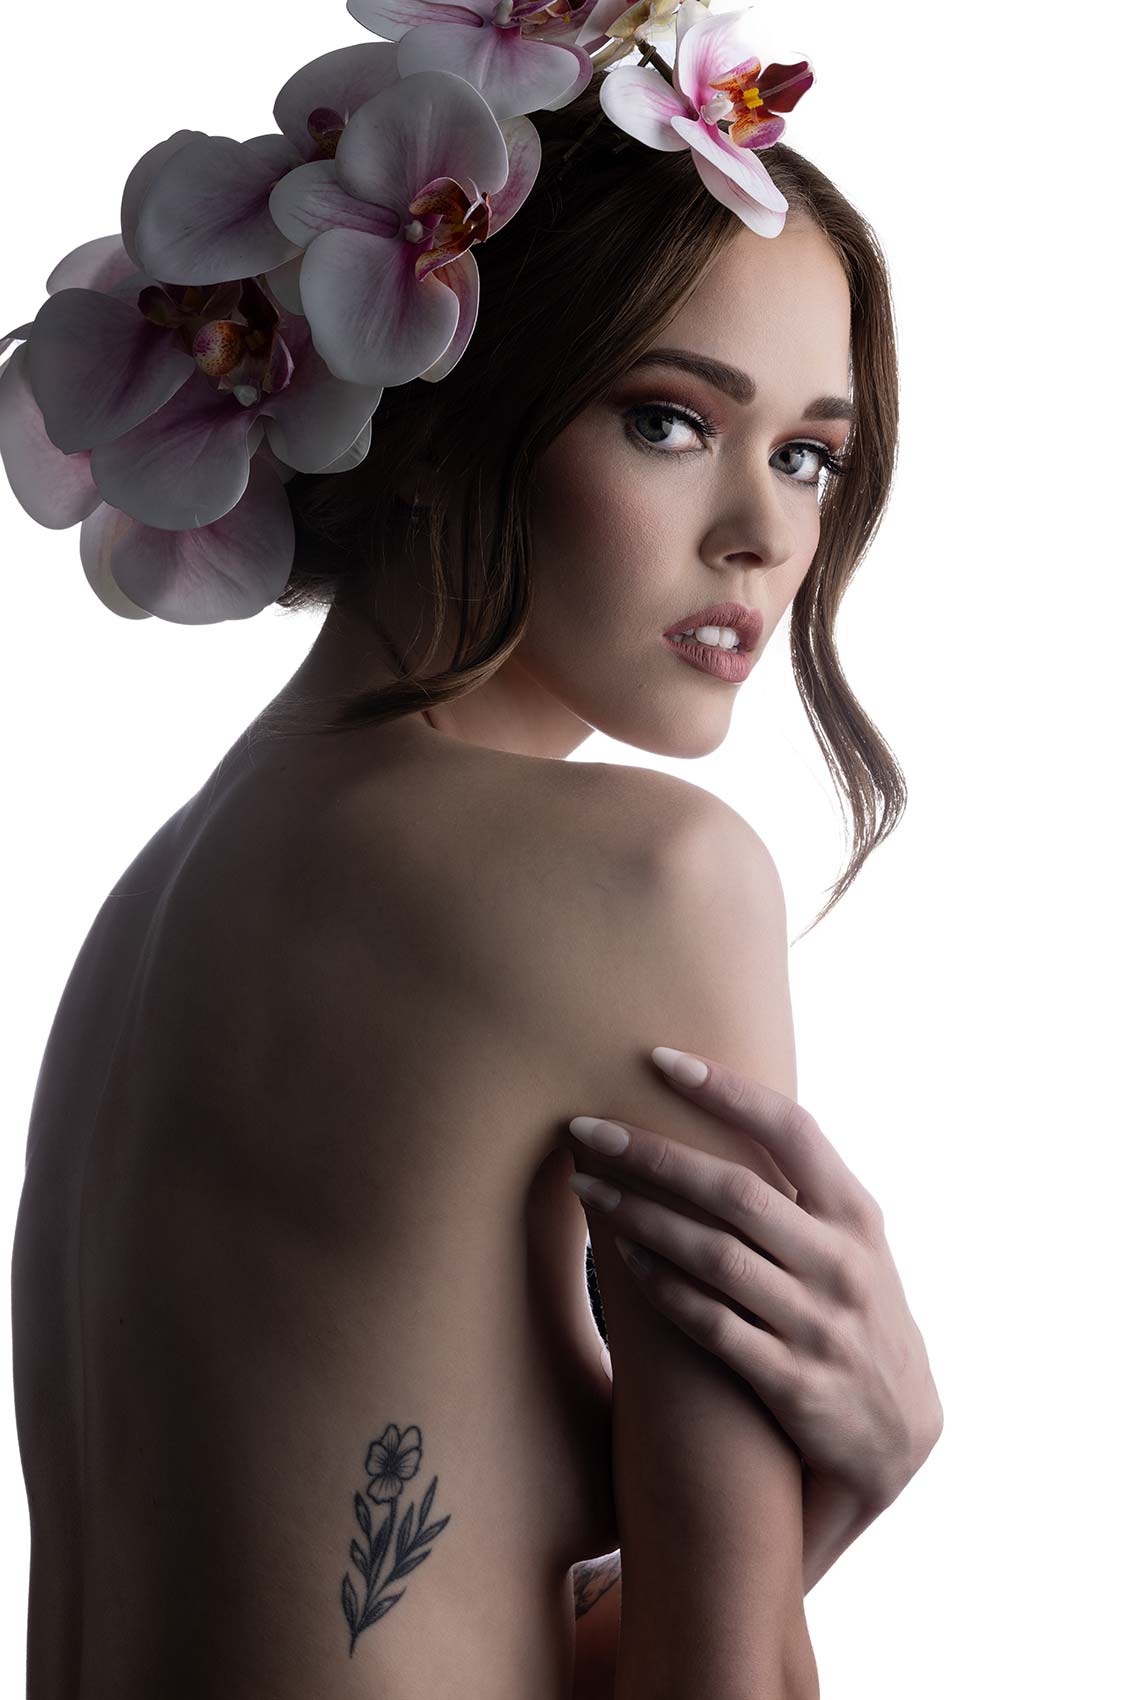
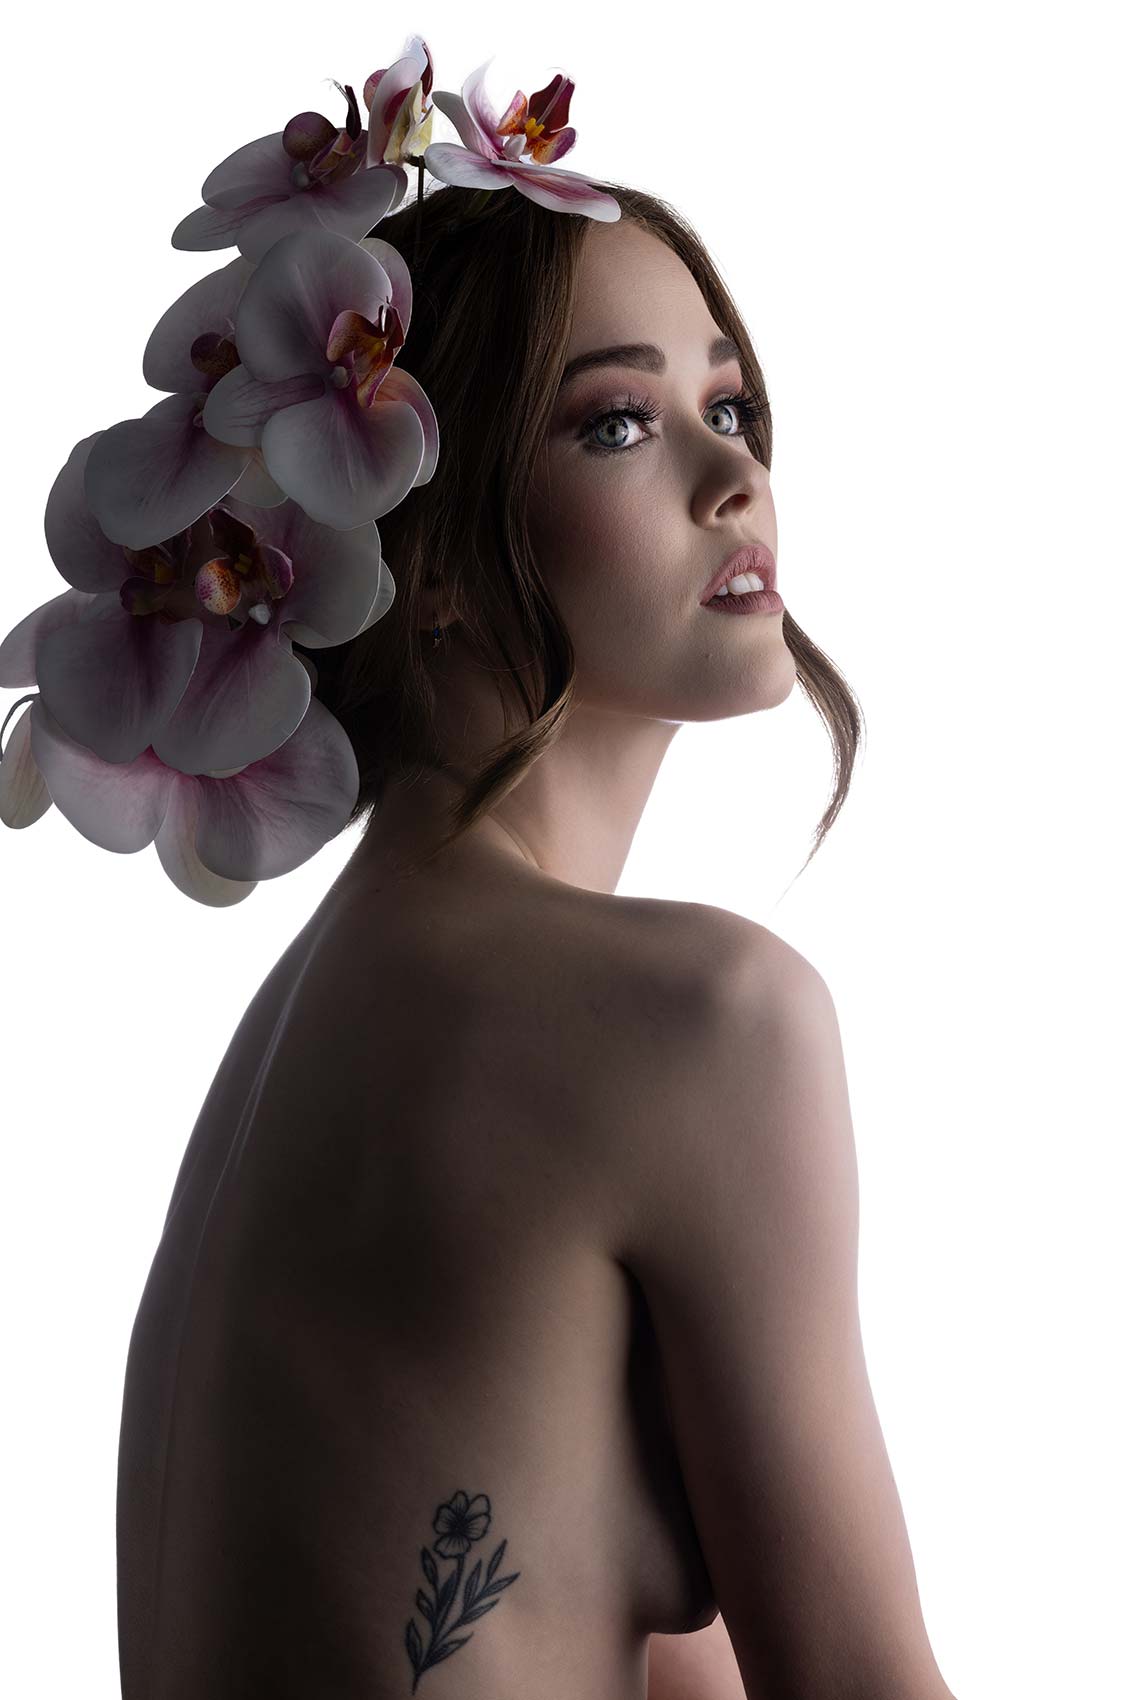
Soft Light Beauty Portraits with the Profoto B10 and their 5ft octa. In this behind the scenes photography lighting tutorial we explore how to create soft light beauty portraits and how to set up lighting to create the most stunning portraits. Off camera flash photography can be soft and it can be beautiful, you just have to know how to work with it to create stunning portraits. Studio photography doesn’t have to be dull and boring. You can create stunning portraits by using the correct lighting.
Equipment Used:
Camera: Canon EOS R5
Lens: Canon RF85 f1.2
Light:Profoto B10
Modifiers: Profoto 5ft Octa
Team:
Photographer: Sal Cincotta
Model: Violet Deardorff
Hair & Makeup: Brandi Patton, Refine Beauty
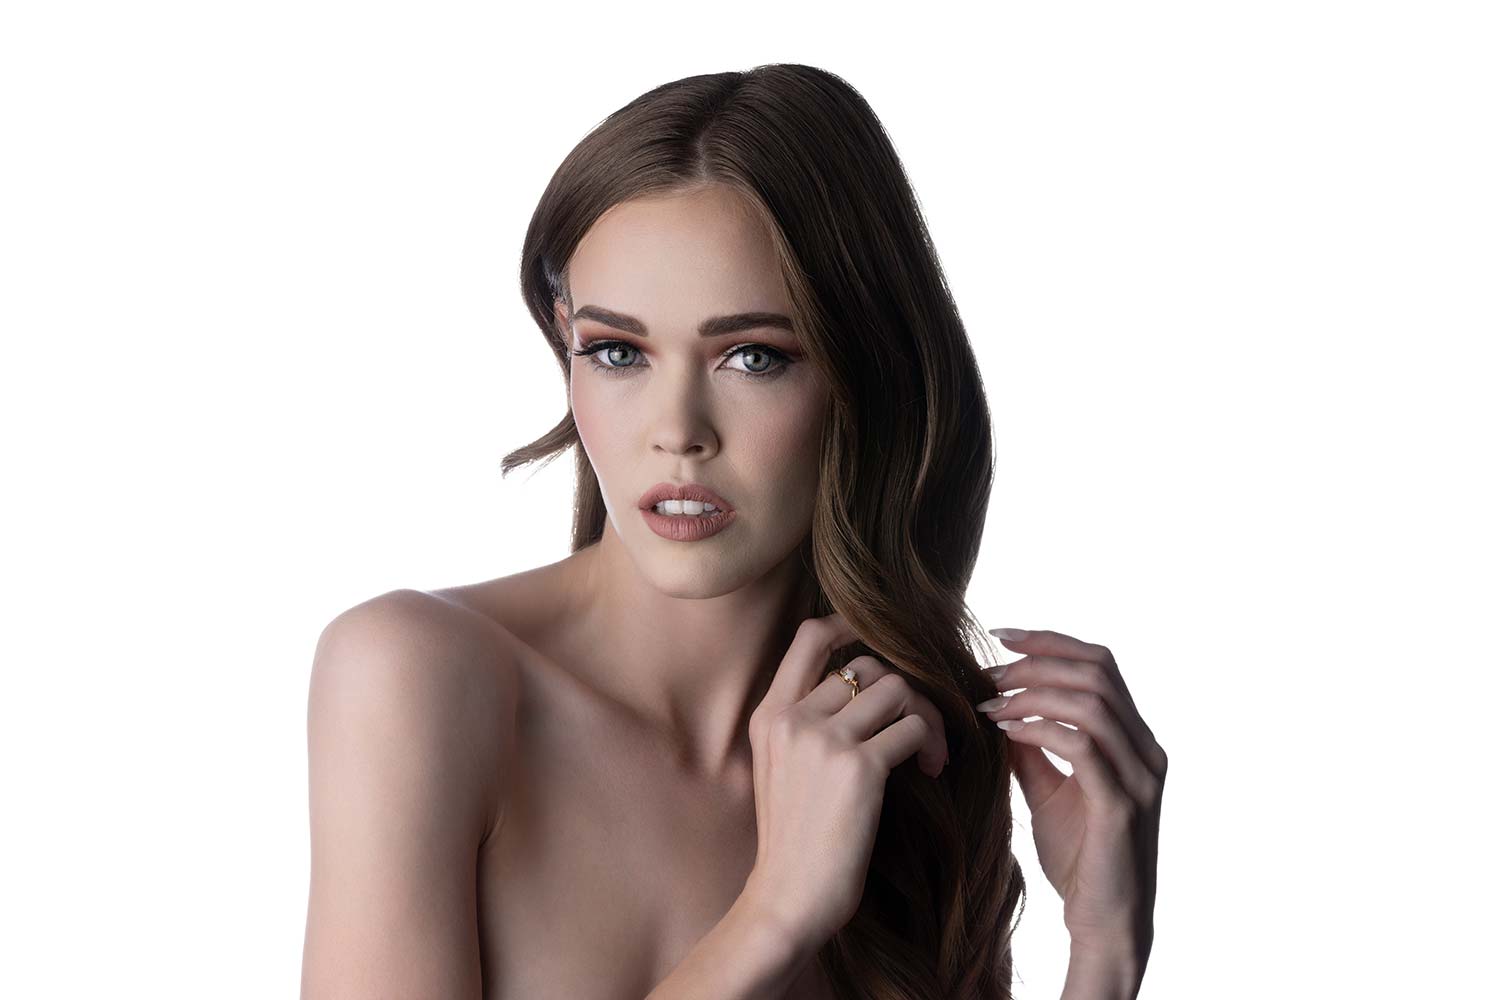
Soft light beauty portraits, first thing to keep in mind is what is a beauty portrait? This is something that is constantly subject of debate. Beauty portrait isn’t just a picture of someone who is beautiful. That’s not what a beauty portrait is. Beauty portrait is typically much tighter in crop, usually right it around the bust to the top of the head, or it can be even tighter, especially if it’s for commercial photography and you’re showcasing maybe makeup or lipstick, eye makeup, earrings, things like that. So that is kind of niche or realm of beauty portraits. Now, in practical applications, if you’re a wedding, portrait, boudoir photographer, the rules can be stretched a little bit. You can pull back a little bit more and not everything has to be a commercial look. But it’s fun to find the balance, and that’s what we’re going to do with Violet here today. So my goal is soft light beauty portraits.
Settings: f/11 @ 1/200, ISO 100
Soft light usually means a very large light source. It is a 5′ Profoto Octa box. For the light source we’re using a Profoto B10 is our main light source. And then I’m using a V-Flat in the background, it is white. And then I’ve got another Profoto B10 back there, gridded. So I’m just going to have it look like a high key shot. We don’t want the background distracting from the photographs, so it’s going to be this white background. So that’s kind of our setup. I like to get exposure as close to perfect as possible. Obviously if she moves around a little bit, the light might move a 10th of a stop, but I want to get as close to perfect as possible in camera.
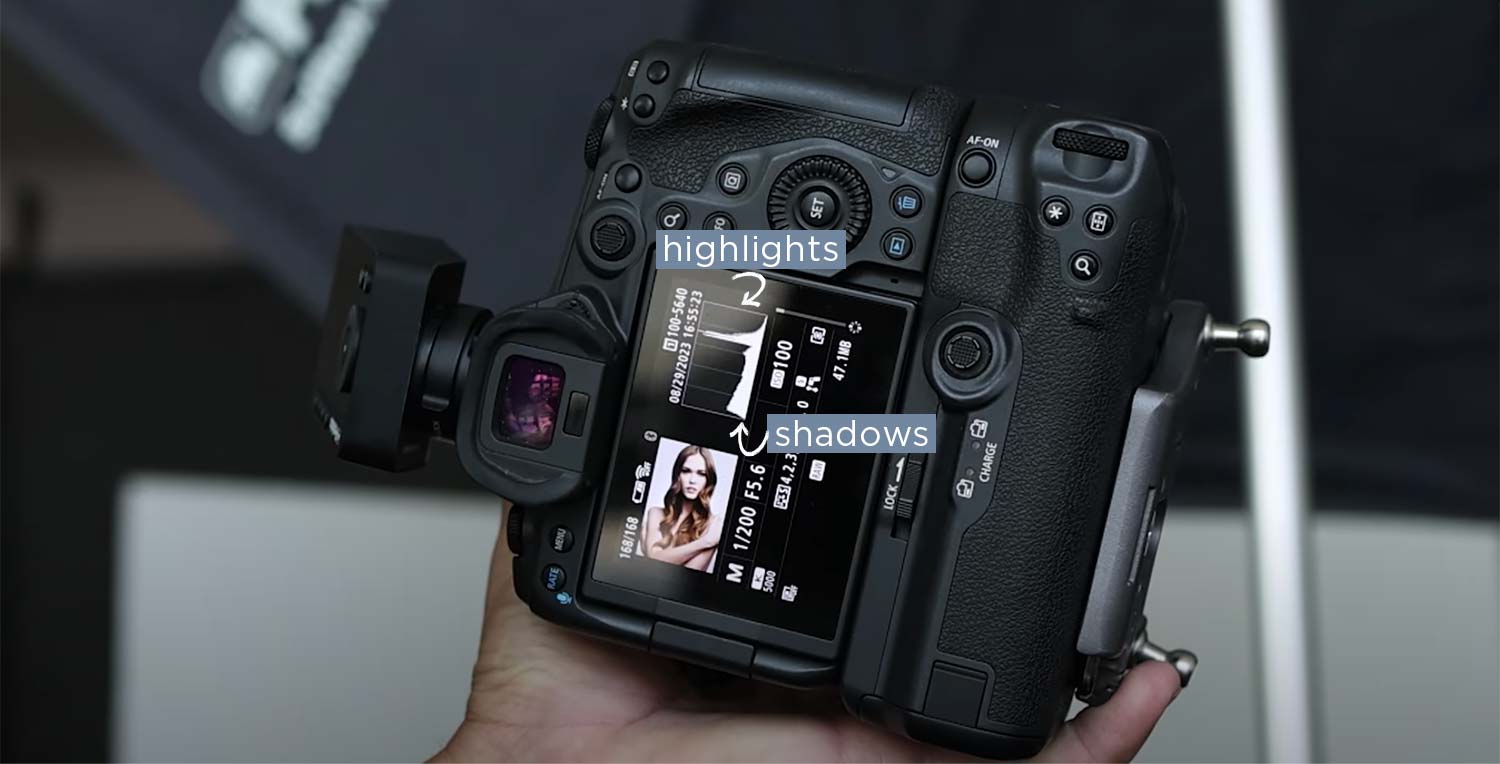
So main light’s going to be five, six. Background might have to be at F8 because we want to blow everything out, but we’ll see where we’re at. Main light is at five, six. I’m going to set my camera to five, six, ISO 100, 200 of a second. So right out of the gate, we got this beautiful high key beauty portrait. The back of the camera is the worst thing you can look at for exposure details. You got to trust your light meter. So that’s one thing we know, and then what you want to do is look at your histogram in the back of the camera. This side of the histogram is your shadows. That side is your highlights.
So while that picture, in the back of my camera, looks really, really bright, it is, you can see here that there’s no blown highlights on the image. And so that’s just the way, I trust my light meter, it’s just a way of double checking
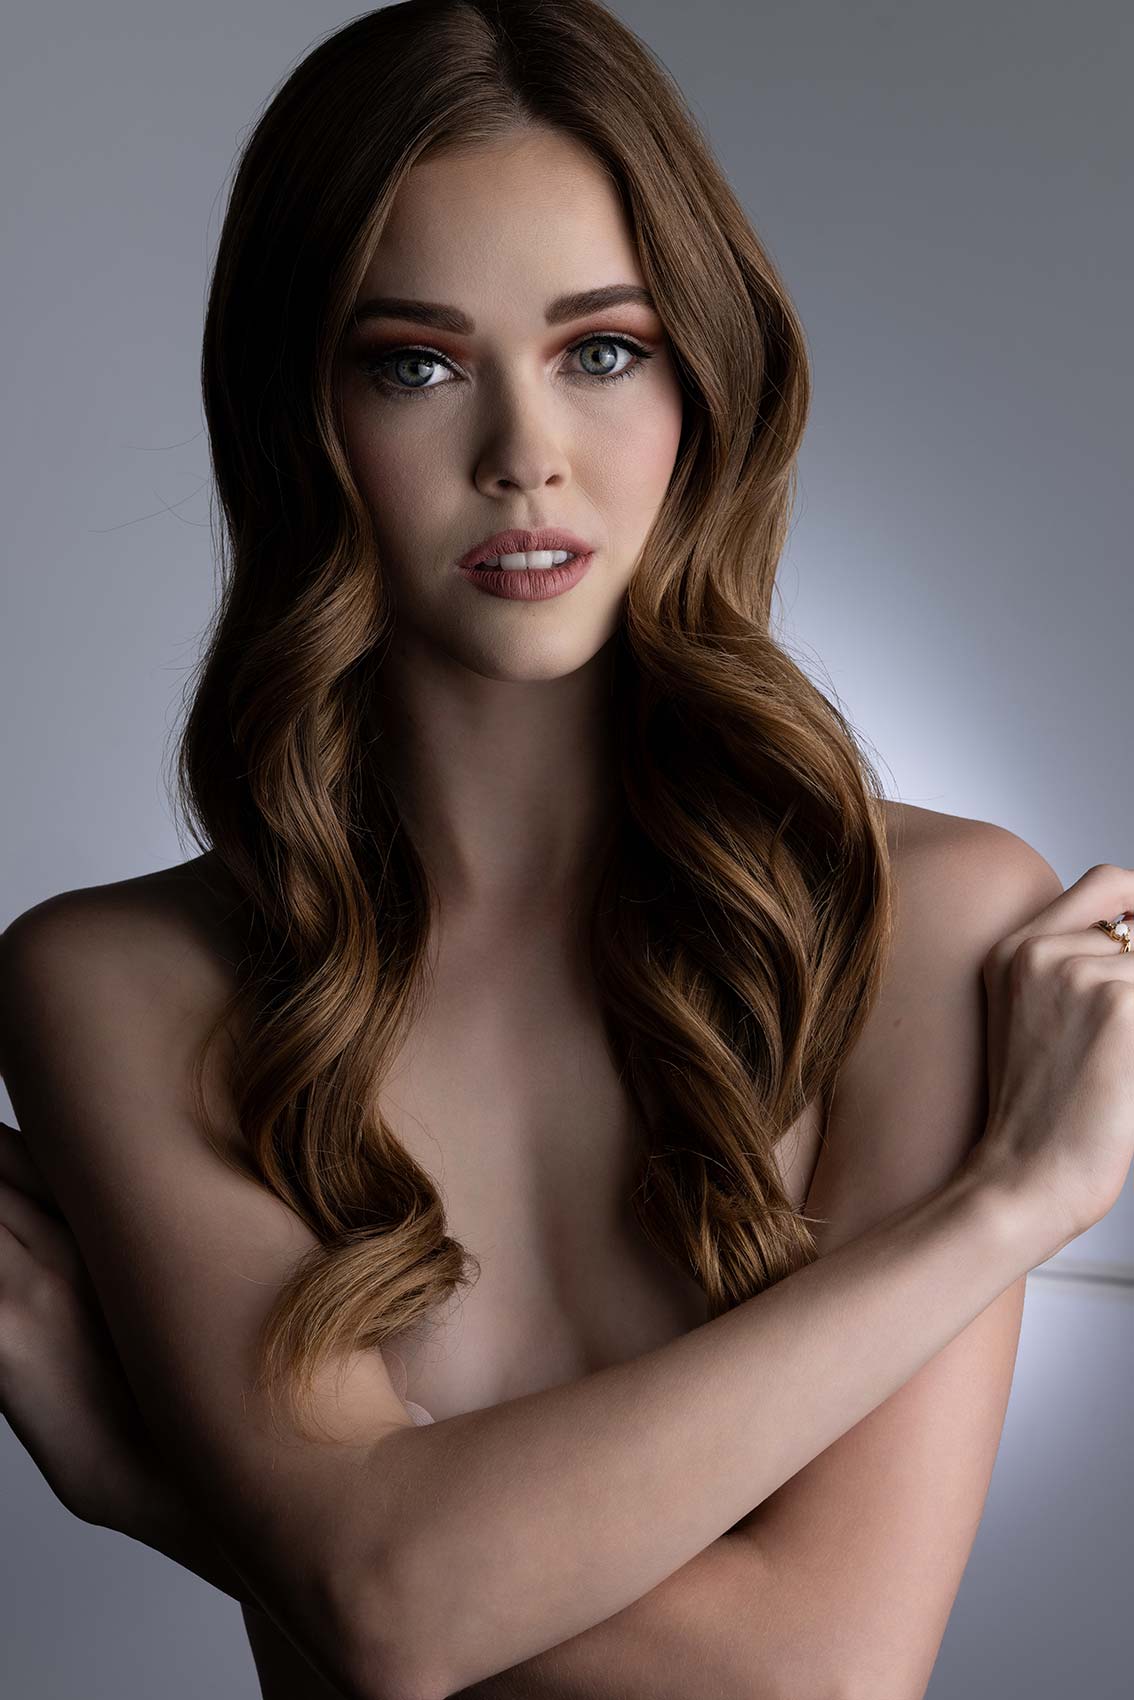
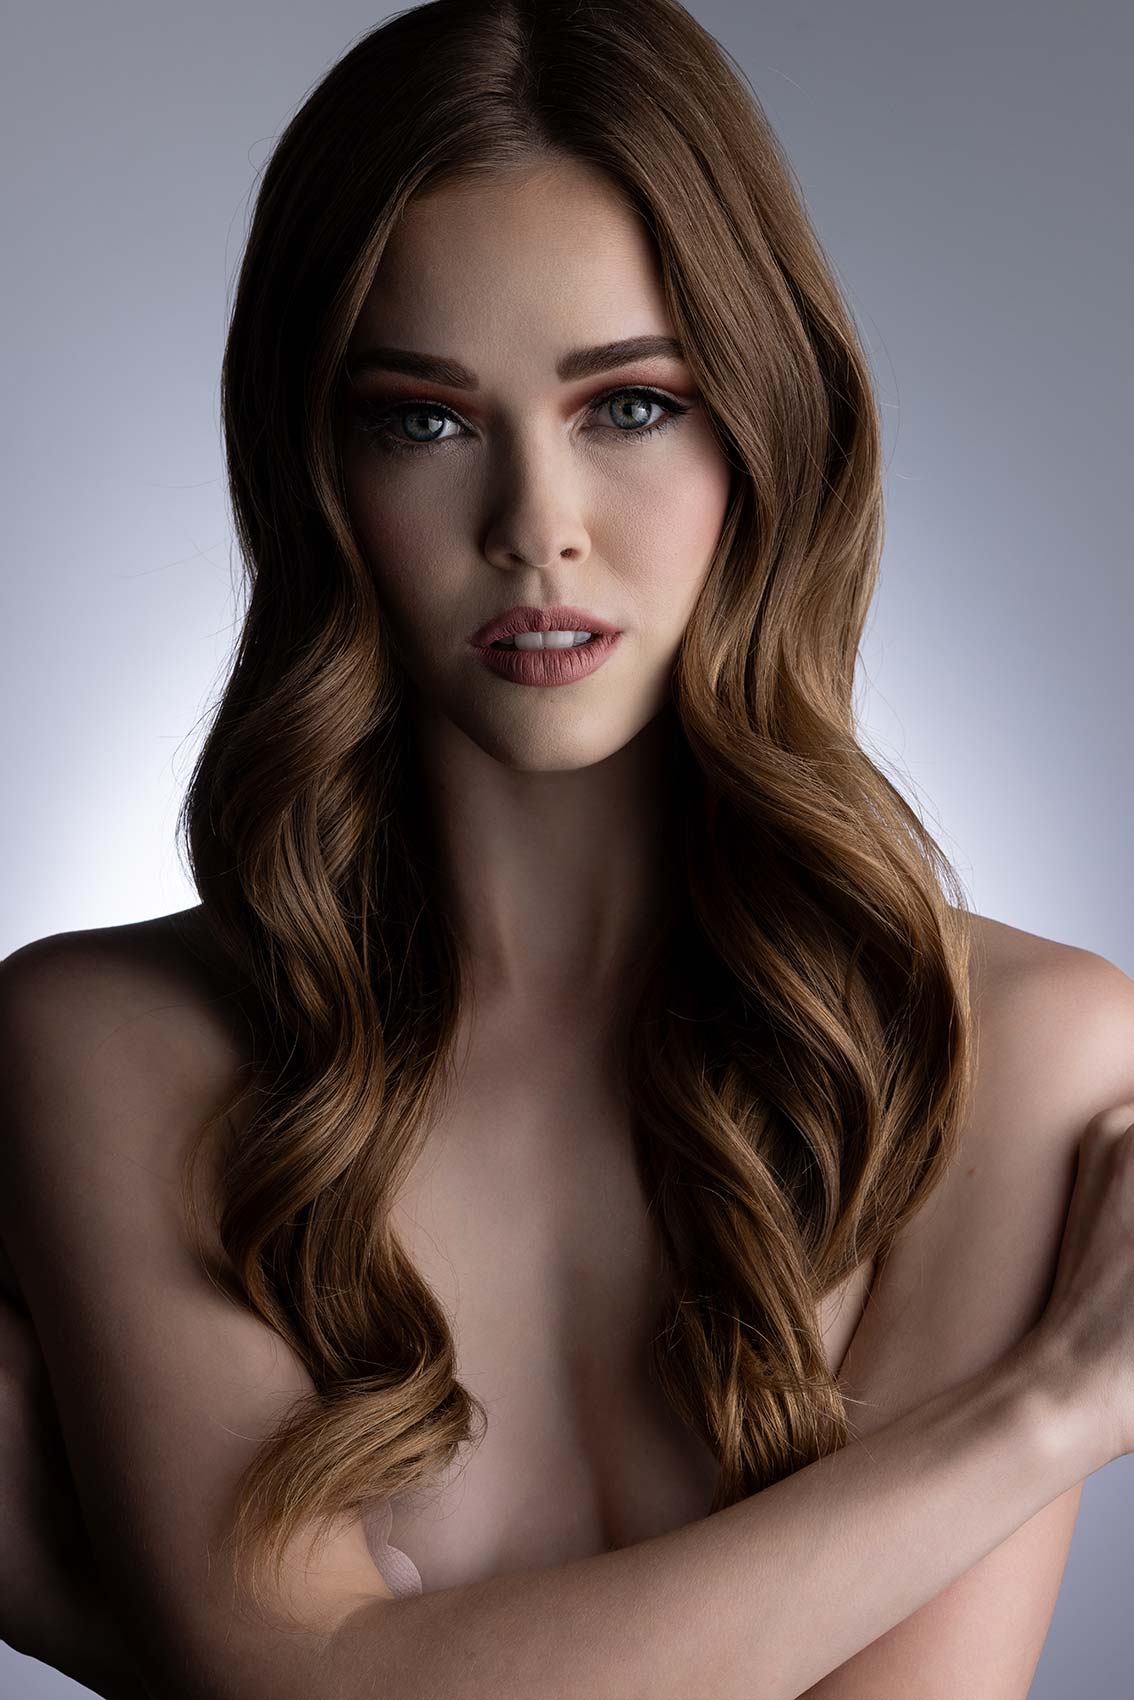
Something to consider with soft light, you want the largest source of light you can possibly come up with. Everybody’s different, you’ve got umbrellas and they don’t get quite as big, but a 5′ light source is pretty big in our world. And then you want to get that as close as possible to your subject, and because it’s such a large light source, it will wrap around her. If this were a smaller light source and I had it off to the side, it would create really hard shadows. And this will not, this wrap her with big, soft light. And again, the closer I can get it, the softer it’s going to be. And so these are the kind of things, when you’re working, you’ve got to decide what’s important to you.
So I do want to meter this in, and this is going to go through the roof because it’s so close to her now. It’s jumping to F11, which if you know me, I hate shooting at F11, but let’s take a test shot here. So our back light’s not firing on this test shot. Oh, it is firing, but I didn’t adjust exposure there. It was at F11, so it’s coming out a little evenly. But check out this shot. It’s a happy accident, but you’re getting some nice, big, soft light. And because the exposure’s not too bright on the background, that background’s actually going a gray.
So I am getting a shadow, but it’s very soft. We’re getting almost a Rembrandt style. So I’m going to wrap this around her a little bit more. So you’re seeing a completely different look than it was from those high key portraits, and I really do like the way it looks. Now, what I’m going to do is I’m going to raise the power on this to get that background fully white again.
Settings: f/11 @ 1/200, ISO 100
So that was one look we got. We kind of experimented a little there with a happy accident. We got that gray background popping in. Let me know what you think in the comments. Now we’re going to do, we’re going to stick with beauty portraits, but we’re going to add an element to it. We got a flower that we’re going to work into her hair, same thing, soft light, high key background, and see what we can get from there.
Settings: f/11 @ 1/200, ISO 100
With beauty light, it tends to be very evenly lit. Not a whole lot of directional light. Even though this is soft light, we don’t have a two light set up. A lot of beauty photographers, they want two lights, evenly lit, no shadow. So this is a creative decision I’ve made. I want one light for the beauty portrait. I want dimension on her, and that’s what we’re trying to do. What’s going to happen is this is going to hit her, wrap around her face, but this should go into a little bit of shadow. So we’ll have this reflector just here, just pushing in a little bit of light. Doesn’t have to be a lot, but I just don’t want too much shadow. So you just want this opposite.
All right, everybody, that is a wrap. Let us know in the comments, which one was your favorite on the soft light beauty portraits. Remember, it’s just about getting a big light source, putting it close to your subject, and for the beauty portrait, typically, we like to focus on a much tighter shot, jewelry, hairpiece, lipstick, eye makeup, things of that nature. But if you’re a boudoir, even a wedding photographer getting close, showcase the details, showcase the beauty of your clients with big, soft light. Hope you loved it. We’ll see you in the next video.

