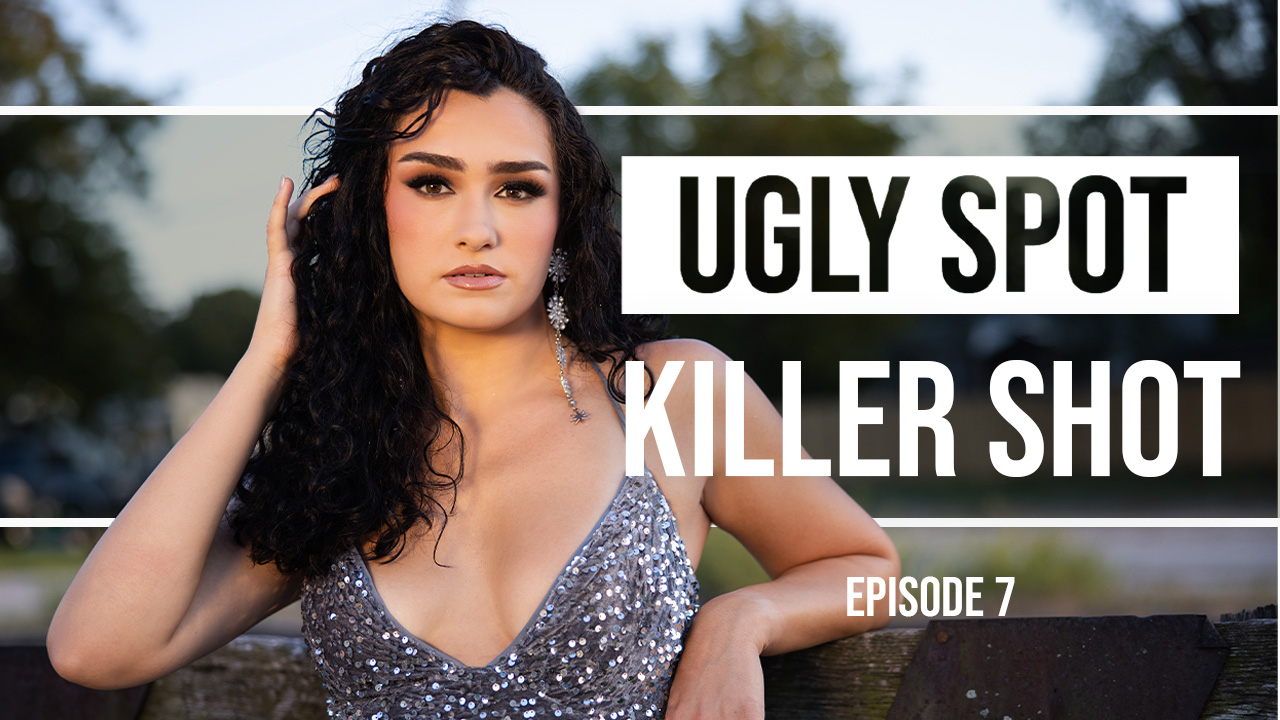
Studio Lighting for Seniors: It’s Not Always Black & White with David Beckham
Finding the right light indoors can be just as difficult as on location. This article looks at a few setups for studio-lighting seniors. Each image has a pullback showing how the lights were arranged, the equipment used and the setting for camera and lights.
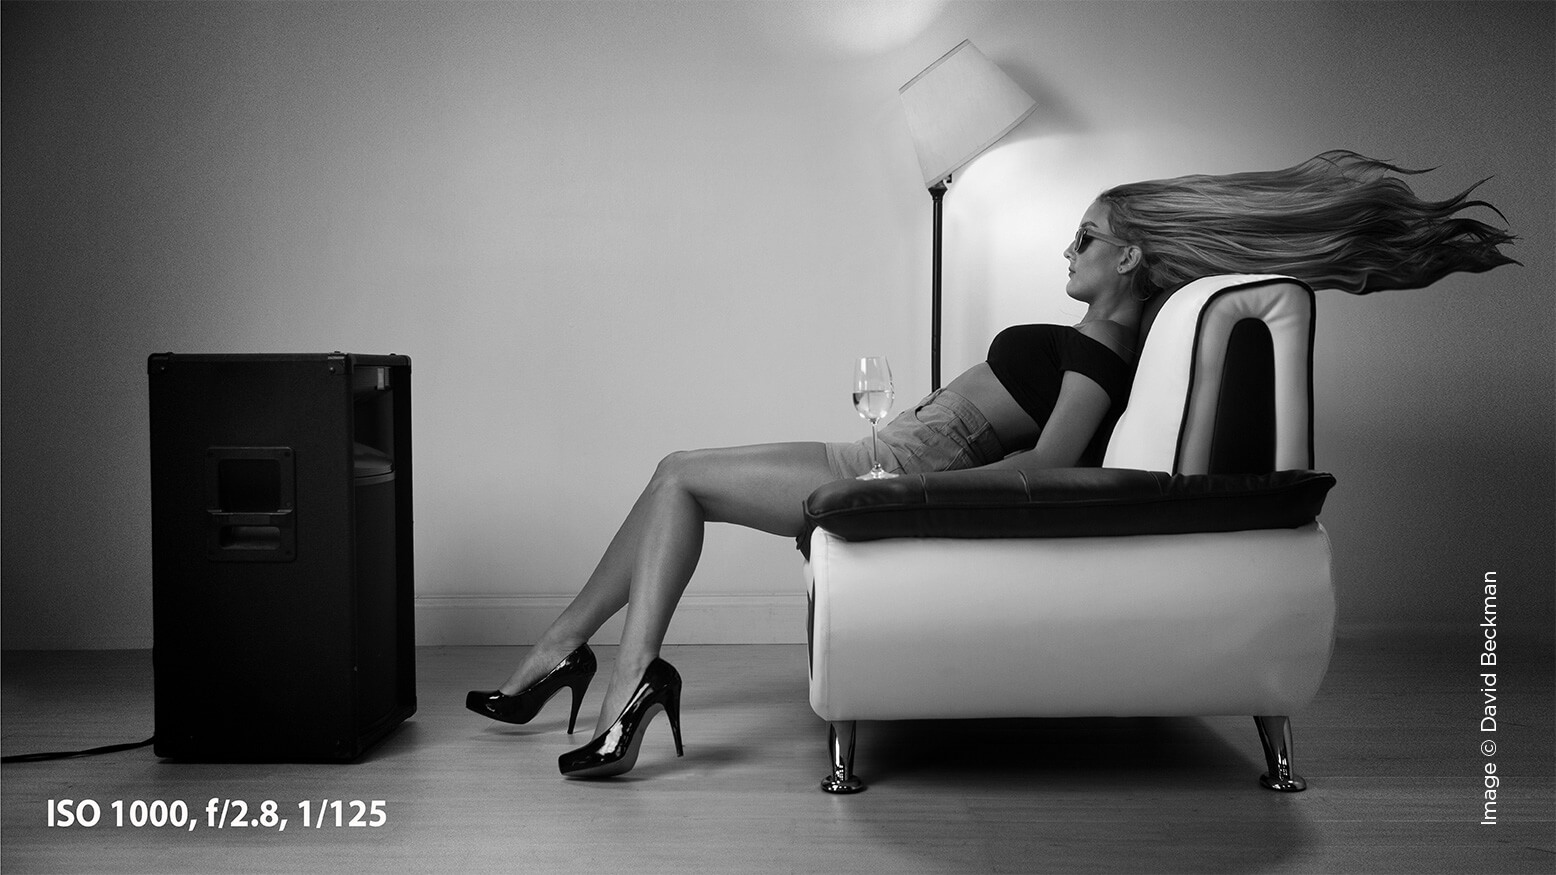
The cover photo is a remake of the iconic Maxell cassette tape commercial. Some Photoshop was used to get Caitlin’s hair to emulate the blowback, but everything else was shot in camera. The lighting was a PLB1000 halogen continuous light by Paul C. Buff. These aren’t available anymore, but there are similar 1,000-watt variable light heads on Amazon. I love using this type of light for soft-light settings. It was coupled with a 36-inch-square softbox placed just out of view, camera left. For the finish on the photo, I added some noise to give it a vintage effect. Using the continuous light source also allowed me to use the light in the lamp prop. I tried this shot with a strobe and wasn’t able to get that added aspect of the finished photo because even at low settings, the strobe was too strong. The continuous lights are also great for teaching and demonstration because you can see exactly what it will look like before you take the shot. Shooting with halogen lights can be a little tricky. They get incredibly hot, so your modifiers can’t be too close to the bulb.
Flower Wall
I shot Caitlin in the flower wall with the PLB1000s. I chose a Bowens beauty dish for the main light without a diffuser sock and placed it 42 inches from her face to get that soft glow and eliminate harsh shadows. The backlight is 6 to 8 feet away so I could get a more evident rim light on her body. You can see the difference in mood by shooting with and without a backlight in the two samples. It also helped sculpt her abs and cheeks with the contrasting highlights and shadows. To get the color tones right, I set the WB to 3100K. The pullback is SOOC.
To Grid or Not to Grid
I use grids on almost all of my studio backlights and sometimes on the main light too. I shot the main image of Tiffany with an AB1600 and a Larson 14×48 softbox with a grid. This allowed for a controlled light drop-off around her, which pulls your eyes back to her. The face of the box is set about 4 feet from her face to keep the shadows soft. The grid creates more straight-line light, which tends to cause harsher shadows. I kept those shadows soft and glamorous by placing the softbox close. In the pullbacks, you can see a difference between the grid removed and a larger softbox without a grid.
Window Light
If you are lucky enough to have window light in your studio, you should take advantage of it with every senior. Ideally, they should face north so only ambient light comes in. Mine face north and west so I have two sides of light coming in; even then, sometimes that’s not enough. My most popular wall prints are set like the one of Devan in the chair. It has bright and airy light everywhere. To get this, we reflect light back from the ambient light source. If you have ever heard me speak, you’ve heard me say, “The best light comes from above.” Those reflectors need to bounce light down on your subject—never up, unless you are looking for Blair Witch lighting. The other two examples show how to reflect the best light back on Devan. Moms are useful for holding reflectors, but boom stands work too.
Two-Light Setups
These are great for sports and dramatic light. I used grids on both softboxes in the shot of Devan in her ball uniform. We used two AB800s on full power and pointed them directly across from each other. I like the main to be larger or wider than the backlight. As you have the subject step between the light, you can broad-light them by how their body is turned. Sometimes I like their body short-lit and have them look back into the light.
The largest shooting area in my studio is all white. I used eggshell-white paint with texture sand mixed in. This gives me a glare-free surface that still bounces soft light around. It also makes for great lighting with one- and two-light setups.
These shots of Kenzi sitting in the white chair use a single AB800 on full power. The first one uses a 24×36 softbox. The light fills the area, giving us a nice bright image. Kenzi has large catchlights, minimal shadows on her face and wonderful, even skin tones over her whole body. The second one uses a beauty dish with a scrim. The light on her face is amazing, with incredibly soft shadows and beautiful catchlights. The drawback to using a beauty dish is the dropoff of light around her. Her face is brighter than her body (but Kenzie loves how tan she looks).
The third setup is my favorite: just one 12×36 softbox with a grid. It is aimed with the center of the light about at her neck. Because the AB800 flash tube is inside the modifier, it can fill the whole strip box with light. The grid puts it just on her and the falloff around her is dramatic. I love the editorial mood. Since the modifier is so close, the catchlights are unique and the shadows are soft. I used my 24–70 lens to stay under the modifiers. Her pose makes her legs look longer because I am shooting at 42mm focal length. The controlled light leaves highlights on her skin and shows off her muscle tone.
The last shot of Kenzi uses a snoot on a Flashpoint Xplor 600. The snoot directs the light exactly where I want it, and concentrates it for a “sun ray”-like effect. So when we point the light through her hat, it leaves patterns on her face. If we used a softbox this close, it wouldn’t give this effect. Typically you have to put the light 18 to 20 feet away to get those kinds of shadows and light patterns.
Gracie loves to dance, and these two-light setups work great on the white background to show that off. The first shot uses a 30×42 softbox as the main and a 12×36 for a touch of backlight. The second one has the light much closer, and rather than place them opposite each other, they are on the same side, one in front, one in back. The main is there to light her face and body with even light. The backlight is there to cut across her body and make brilliant rim light. I removed the scrim on the backlight to let a harsher light flow through. I put the scrim on the outside of the grids to make it easy to adjust the intensity of the backlight.
Another way to get strong rim light is to use a cone with a 20-degree grid to direct the light exactly where you want it. I use these on cloudy days with a two-light OCF setup to create backlight that looks like sun. It is also what I did with Gracie in the green dress. You can see the highlights on her arms and hair, which adds separation from the tapestry behind her.
In Gracie’s last shot, we are back to a single light source. I stumbled across this a couple months ago when I was putting my new parabolic modifier on the Xplor 600. I turned on the model light and got this great radiating pattern on my wall. I needed to shoot at ISO 640 and f/2.8 at a slower shutter but got some interesting and unique setups that were ideal for her tap-dance outfit and poses.
The last set with Katie is more traditional, with a Savage Evergreen paper backdrop. The lighting consists of two AB800s with gridded softboxes set at full power for back and rim light. The other AB800 has a 7-inch cone with the 20-degree spot grid to highlight behind her, creating a natural vignette. It is set at about three-quarter power. The main is an AB1600 set at half power with a Paul C. Buff white beauty dish to light her face and upper body. We used a Wescott Eyelighter with the matte white reflector to brighten her irises and soften the shadows under her chin. I prefer this modifier over the original because I wasn’t a fan of the reflections in the subject’s eyes.
The next time you have a rainy day, grab your favorite model and experiment with these simple lighting techniques.