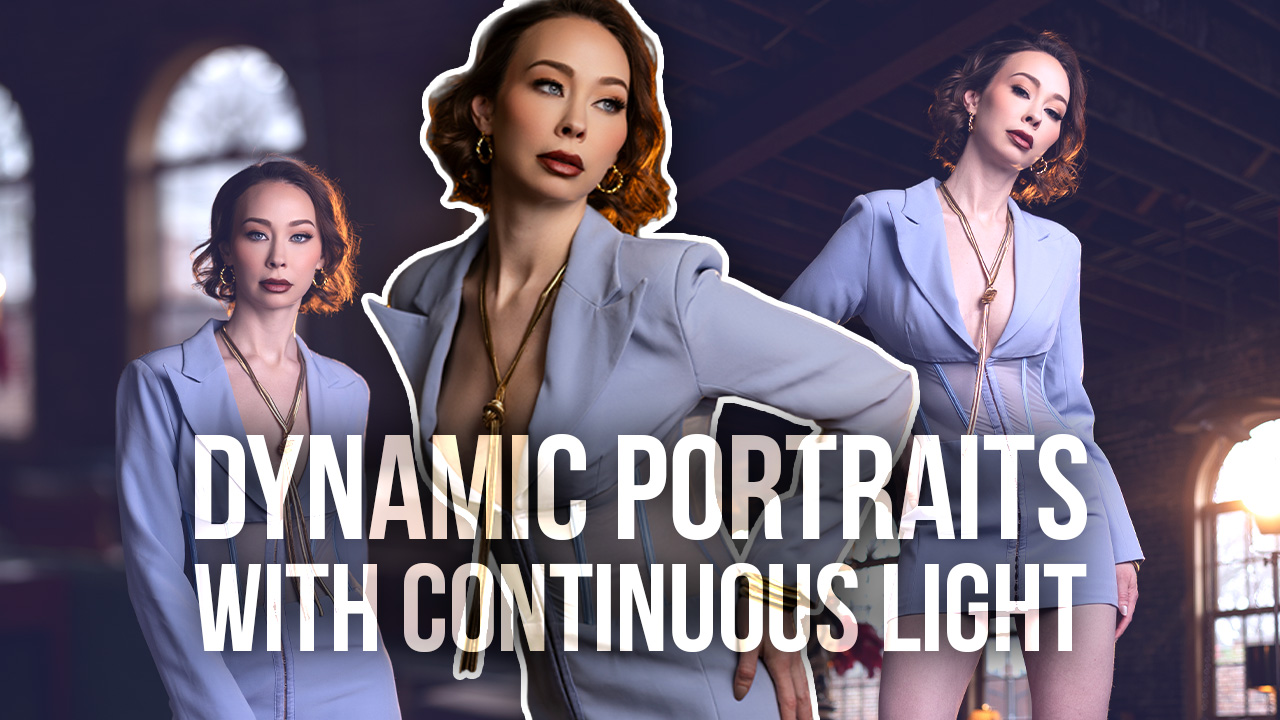
Three Different Light Setups That Work Anywhere with Michael Anthony
Location-based photographers need to be able to create lighting under any circumstance, at any time. Once a photographer’s schedule becomes more and more filled as their business begins to grow, the luxury of shooting all clients during the beautiful, golden-hour, natural light will become a thing of the past.
Thankfully, modern technology has allowed us to work in any scenario by offering high-powered, battery-operated strobes. This allows us the ability to create lighting diagrams that would have been nearly impossible in the past without very high-end equipment and lots of space. Today, with lights like the Profoto B10 Plus, we are free to create beautiful images with a small footprint.
For those who have been following my Shutter Articles for the last five years, you may recall many of the lighting-specific articles that I have written. Today, I am going to show you three different light setups that work in any given scenario.
Understanding Light Ratios
Now, I have always stayed away from teaching lighting ratios, as they can seem complex for those just getting started with off-camera flash. Today, however, I am going to walk you through light ratios. Light ratios are often represented as two numbers with a colon separating them. The colon can be interpreted as the word “to.” The key light is often your first number, and the fill light is often your second number. For instance, if a light ratio is 1:1, that means that the key light and the fill light are equal in power. Putting both at an equal distance from your subject on opposite sides of your subject’s face will result in flat lighting (provided that the modifiers are the same), as both lights are equally filling the shadows.
It is important to understand light ratios today, because they will be the basis for what I am teaching you.
To obtain your light ratio, you will need to use a light meter. This isn’t always practical, so it’s best to practice these techniques until you are able to eyeball them. Some of the more modern-day lights like the Profoto B10 and the Flashpoint Pro line have very accurate power outputs, so setting your fill two stops lower than your key can work as well, providing you calculate stop lossage through the modifiers and distance, but I prefer to leave math out of it as much as possible.
Understanding the Inverse Square Law
Another obscure term that I have avoided because it tends to create a lot of confusion is the inverse square law (ISL). The ISL is not a photography-specific term, but more of a physics one. It is often used to describe the relationship between distance and light characteristics.
The ISL covers a lot of ground in regards to light behavior, but for today I want you to understand just two concepts. First, the farther the distance from your subject, the more gradual the transition of light. Second, the farther the distance you get from your subject, the less intensity the light will have. The second you probably have discovered for yourself over time, but the first will affect your imagery once you learn how to master it.
So with that being said, let’s jump into three light setups that will work in any scenario.
1. Clamshell (3:1)
This is your basic studio lighting setup that says that your key light should be three times more powerful than your fill light. Doing this allows you to fill in shadows that are created by your key light by filling them in, but still allows you to preserve the crucial highlight-to-shadow transition that is so essential for three-dimensional photography
It also allows you to control that contrast to your liking. Having a three-to-one ratio is ideal for retaining good tonality but still preserving detail in the shadow areas.
For this type of setup, I prefer to use a stripbox for my key light, and either a large light source like a softbox or bounceflash for my fill light.
Now, with all fill light, it’s important that you allow your light to spread out. You can do this by utilizing the inverse square law, and moving the light farther away from your subject, which will allow it to spread. Use your light meter to measure your light intensity.
The most common way that I use this technique is to bounce my key light into the corner of a room, and then use my strip light on my subject OR utilize window light controlled by curtains. As always, it’s best to find natural light first, then move onto off-camera flash if it’s not available.
2. Focus Light With Fill
This light setup is a bit different than what many of you have practiced in the past. It involves a minimum of two light sources and will take advantage of the inverse square law again.
The purpose of this look is to craft dimension on your subject and on the entirety of the scene independently. It will allow you to bring dimension to your subject’s face, while still lighting an overall scene.
In order to do this, you will need your fill light to be much larger than your key—for example, this could be a softbox for your key light with sunlight reflecting off a building for your fill (think natural light first). You could also use a softbox for your fill light and a speedlight for your key. You get the point, right?
This will allow you to focus light on your subject while still lighting your overall scene, thereby reducing contrast and keeping a more dynamic lighting composition.
It’s best to use this lighting setup in situations that are not super contrasty to begin with. Open shade is one place this works well; the reason is that it’s not too easy to get enough power out of your light with your larger modifier on it from far away.
3. Cross Light With Backlight
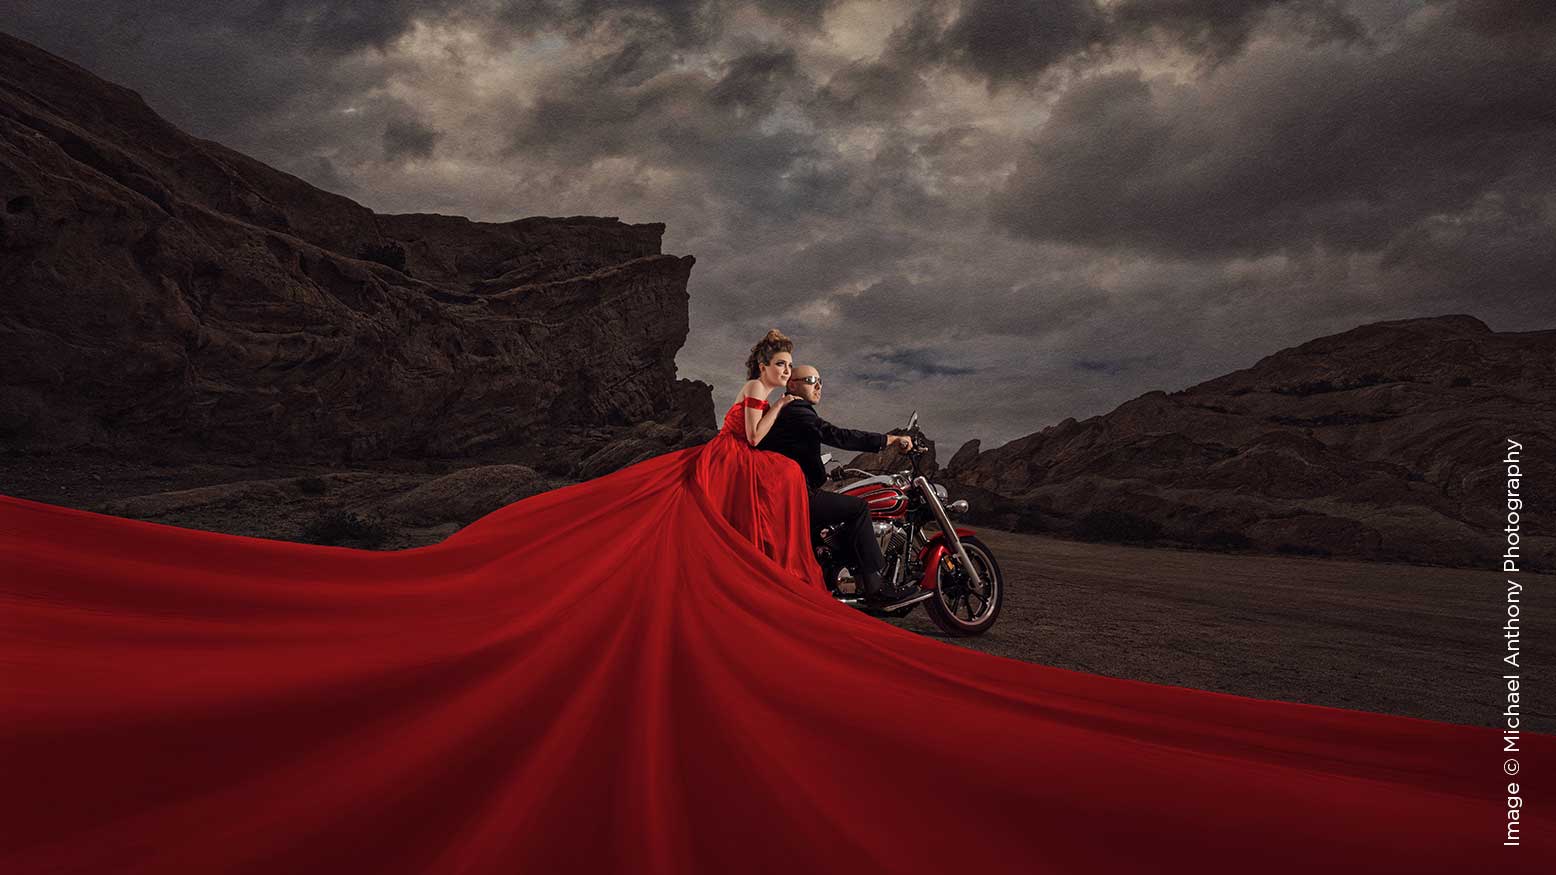
This light diagram is what I call an anywhere studio. This works well if you have a boring scene that you need to add interest to. I do this all the time in getting-ready rooms, or any other time that I need to make something extraordinary out of something that was pretty dull in person.
To do this, you will need three lights. Modifiers are up to you here, but I recommend a gel for your backlight, and I recommend you match your modifier with your surrounding ambient light. So for instance, if you are in shade, use a larger modifier; if sunlight is falling on your background, then you’ll want a harder modifier. It will most likely be the latter.
You can use this in conjunction with a fill light on the opposite side of the key between a 3:1 and 5:1 ratio, but it’s entirely up to taste here. I recommend playing around with it in order to find a look that you like.
Your kicker should be used opposite your key light to give three-dimensionality to your subject. I recommend that you use a 5:1 ratio for subjects with light hair and a 3:1 ratio for subjects with darker hair. Don’t get all caught up in those numbers, however; it’s best to get set up and adjust by eye, but the sample ratios I gave you should give you somewhere to start.
Your backlight should be used to give dimension between subject and background, as an abrupt change in luminosity or color can give you that separation.
The important part here is not to overpower your backlight. Remember, my number-one rule in lighting is that your subject should be at least as bright as the brightest part of the image to ensure the viewer’s attention goes where it needs to go.
Lighting Doesn’t Have to Be Complicated
Photographers tend to overcomplicate lighting often. It’s understandable, because when we start bringing terms in like “Inverse Square Law” and “3:1 Ratios,” it can be a bit overwhelming. The important part is that you are always practicing, so if these terms don’t quite make sense yet, then I want you to just practice the diagrams I laid out in this article. If you want more insight into light position, check out the video that I made to go along with this article on Behind the Shutter’s YouTube Channel.