Turning Bad Light Into Great Light with Michael Corsentino
The one thing you can count on when you’re shooting on location is that you can’t count on anything except a variety of challenging lighting situations. These all fall squarely into what I like to refer to broadly as “bad light.” Bad light is any quality of light that is inconsistent with the lighting desired for the images you’re about to capture. This can be anything from harsh, mid-day sunlight, to blown-out backgrounds, to underexposed foregrounds, to gray overcast days lacking light, direction and contrast. Essentially, bad light is the light you’re just given rather than the light you actually want. More often than not, what mother nature provides isn’t what’s going to work best for our images. As you’ve probably experienced more than once, natural lighting conditions are as unpredictable as they are changeable; as the saying goes, “subject to change without notice.” As working photographers, we need to prepared to deal with these situations.
The good news is that for every lighting challenge you’re likely to encounter on location, there also exists a lighting solution to help you overcome that particular obstacle. It’s all about developing the skills and know-how and arming yourself with the tools necessary to work around what you’re given so you can create what you want. After all, making pictures is about “creating” something that didn’t previously exist, isn’t it?
That’s where Shutter Magazine and these monthly tutorials come in. Together we’ll arm you with the knowledge and skills you need to take your images and businesses to new heights. The gear, while important, is secondary to the knowledge and skills you’re building. Once you understand the hows and whys of the techniques, the gear will fall into place. For many of you, this is gear you may already own but are underutilizing or haven’t fully mastered. If you don’t currently own a piece of gear called for below, don’t sweat it and think you can’t apply the following techniques—trust me, you still can! It took me years of hard work and trial-and-error to acquire the tools I now use. Keep in mind, there are brands and tools for just about every budget. Equipment can also be rented and borrowed, and eventually budgeted for.
This article is largely an outgrowth of the three lighting classes I taught at this year’s Shutterfest. Each class focused on a different aspect of location lighting, but upon reflection at the end of the day, the one unifying theme was overcoming bad light. Let’s look individually at each of the lighting challenges you’re likely to encounter on a regular basis and the tools and techniques you need to tackle them.
Harsh sunlight
With the bright overhead sunlight you’re likely to encounter shooting on location at midday come harsh, unflattering shadows and a hard quality of light rarely useful for image making. Your main refuge from this awful light is finding open shade. This can be the shadow cast by the side of a building, an overhang, tree cover, etc. Absent the availability of onsite shade, diffusion panels, which cut and broaden the light, are the go-to solution. These come in a wide variety of sizes, from small hand-held pop-up models all the way up to large 12×12 panels. Collectively, they are referred to as scrims.
It depends entirely on the prevailing lighting conditions but sometimes a diffusion panel is all you need. Typically, I’ll add a fill flash for a kiss of light that provides sparkle in the eyes and allows more control between the background and foreground exposure. More on that later. Additionally, I like to add a pop-up reflector below the subject to brighten their eye sockets and the area below the chin. You simply vary the distance of the reflector to adjust the brightness as desired. Combining these three techniques works like a charm, knocking down the harsh light, brightening the eyes, and producing very flattering, even light—every time.
Overcast skies
Every shoot is a series of problems that need to be solved, and the lack of light is as much of problem as too much light. This was the case during each of my Shutterfest classes. I had planned to demonstrate the techniques above, and I did so, but without the aid of bright sunlight to fully illustrate the results. The Saint Louis weather had other ideas. However, three days of overcast, rainy weather did provide an equally usefully opportunity to demonstrate the lighting techniques I use when there’s an absence of light. With overcast days, you get gray, bluish, flat lighting with little to no contrast. Not my favorite, and just as problematic as harsh light.
In this scenario, my go-to solution is a combination of one or more strobes, the appropriate modifier for the desired quality of light, reflectors, and in many cases, the use of orange gels to reintroduce the warm-toned light absent without sunlight. The goal is replicating a sunny day. When you work with ambient light and strobe, it’s important to keep in mind that you’re working with two independent sources of light, each controlled independently using different camera and strobe settings. Having two independent light sources allows for unparalleled control between the foreground and background exposure, and coupled with high-speed sync this makes balancing exposures significantly easier.
The basic rule of thumb when working manually is that the contribution of ambient light, in this case the dominant light source on location, is controlled by adjusting the camera’s shutter speed. On the other hand, the amount of strobe contributed to the exposure is controlled by adjusting the power output of the strobe or dialing in an FEC (Flash Exposure Compensation) value when using TTL. This makes balancing the foreground subject and background a snap. If your background is too bright, you simply use a faster shutter speed to lessen the amount of ambient light. You then use strobe to properly illuminate the foreground subject.
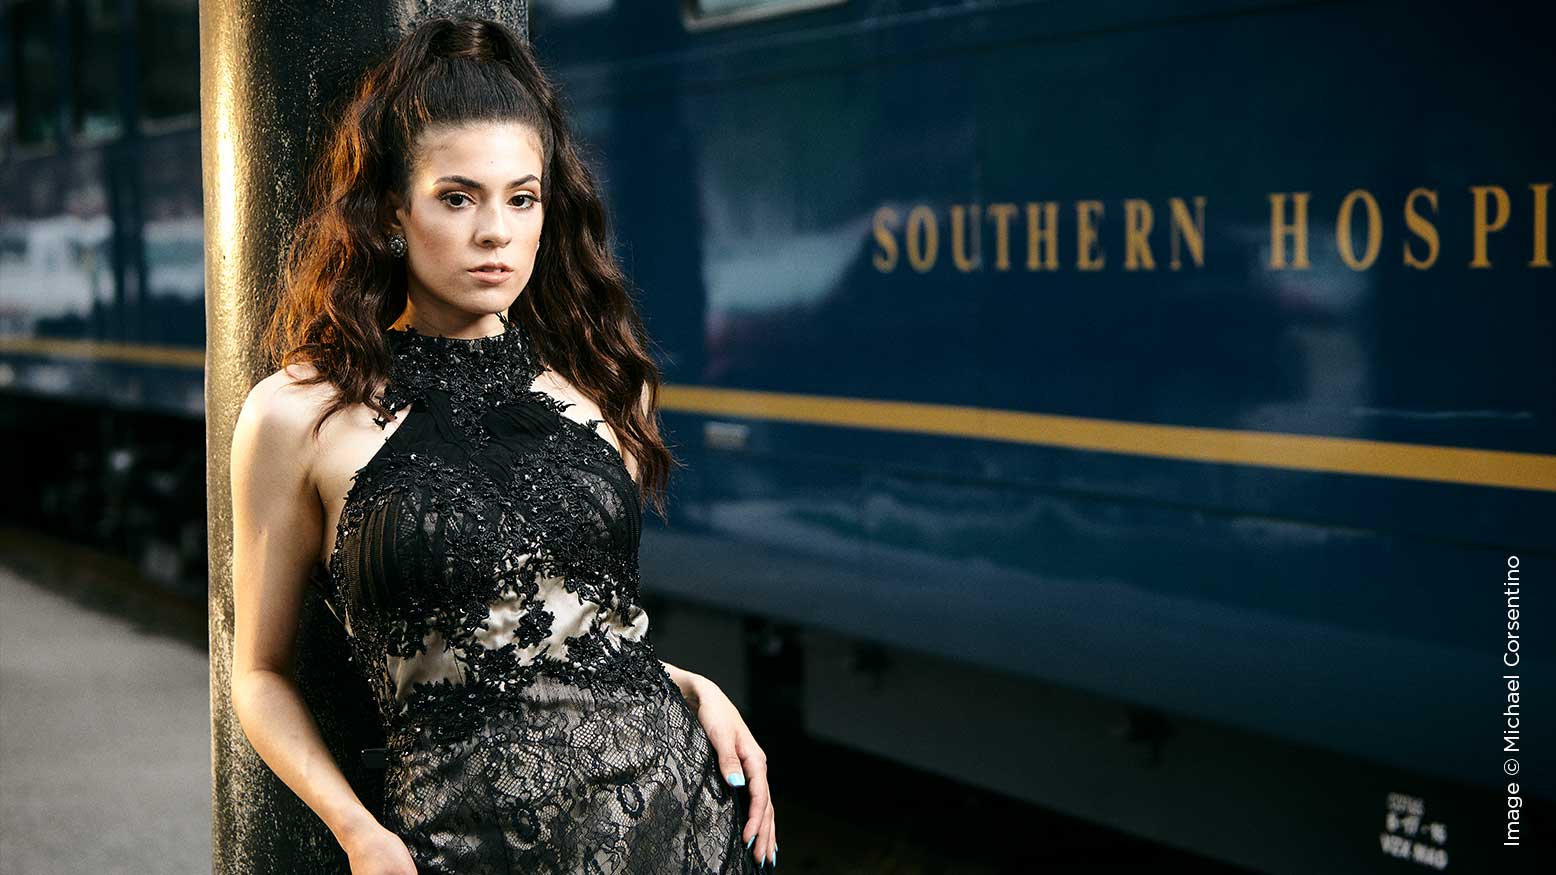
My typical workflow, as you’ll see in each of the three location shoots in this article, is as follows. The first thing I do is establish an ambient exposure without any flash. This way, I can judge what my next steps should be and decide which, if any, tools need to be added. Next, I’ll add a key light to illuminate the foreground subject, matching or exceeding the ambient light value. In overcast scenarios, I’ll add a second strobe gelled with CTO (color temperature orange gel) opposite the key light and behind the subject to add the missing warmth of the sun.
My next step is seasoning to taste the amount of ambient light contributed to the overall exposure. In cases where the background is too bright and falls way out of balance in relationship to the foreground, I’ll employ shutter speeds beyond my camera’s maximum sync speed using high-speed sync. High-speed sync is extremely useful, as it allows you to use shutter speed to balance your exposure rather than adjusting your aperture. This is especially important when shooting on location, where you’re likely to be relying on your aperture for creative effects such as reducing distracting backgrounds and keeping the focus on your subject. High-speed sync means you’re not forced to shoot at f22 to bring the exposure into balance. Instead, you can shoot with much wider and more pleasing apertures and use a shutter speed anywhere up to 1/8000th of second to control the ambient light. Then, you simply adjust the power of the strobe illuminating the subject as needed. It’s that kind of control that makes this photographer a happy man!


