
As a photographer, we must understand leading lines and composition and how they work together to create compelling art work and imagery. In this tutorial video, I show you how to see leading lines and how to use composition to your advantage. This is a recent photography workshop I conducted in London in a very busy area – as you will see in the video. You can watch step-by-step as I set up the shot and direct our bride on how to pose for best results. These techniques will help you create better portraits.
Equipment Used:
Camera: Canon EOS R5
Lens: Canon RF50 f1.2, Canon RF70-200
Light: Natural light
Team:
Photographer: Sal Cincotta
Model: Aistė & Gulnara
Hair & Makeup: Brandi Patton, Refine Beauty
All right, leading lines composition. We’re in London, let’s get to it. I want us to focus on leading lines down this path. And this is especially, I think, useful technique when we’re working in high crowded areas, right? So one of the things you’ve seen in my portfolio, I get all these shots, you might think I’m editing all these people out. I’m really not, I’m trying to minimize it. And so, what we’ve got here, and you’ll see this is two walls converging. So these are not only leading lines, they’re converging lines driving us right to her waist, which it should be. We’ve got light coming here right off the river, I want to use that light to photograph her, I’m not gonna fight it. So I’m not gonna have her look at the wall. If I want her looking the other way, then we’re gonna switch directions, but I don’t. So I want her looking out this way. She cannot look towards the wall, it’s gonna be all in shadow. Yeah, we could get a reflector, we can get strobe, and that’s just gonna slow everything down. So in areas like this where it’s high population, high foot traffic, it’s not realistic for us to expect everyone to get out of our way. This is public space, we are in their way. So I wanna minimize our footprint. We can all work at the same time, but you can see there’s gonna be gaps, right? And what you should be trying to do with that gap is finagle your body so that we have converging lines, that’s the first priority. And then if there’s one person out there in the background, that’s an easy removal, right? If we got a group of 10, that’s not an easy removal. Stop shooting, take a break, let her move to the side. Reset. Does that make sense? Shallow depth of field, that’s gonna be our friend here because there’ll be all that fall off both behind her and in front of her. And then what I am gonna do is have somebody kind of throwing that veil, that’ll also shield some people behind her. So I think it’s a really cool wedding trick to work in this area. So, let’s get to it.
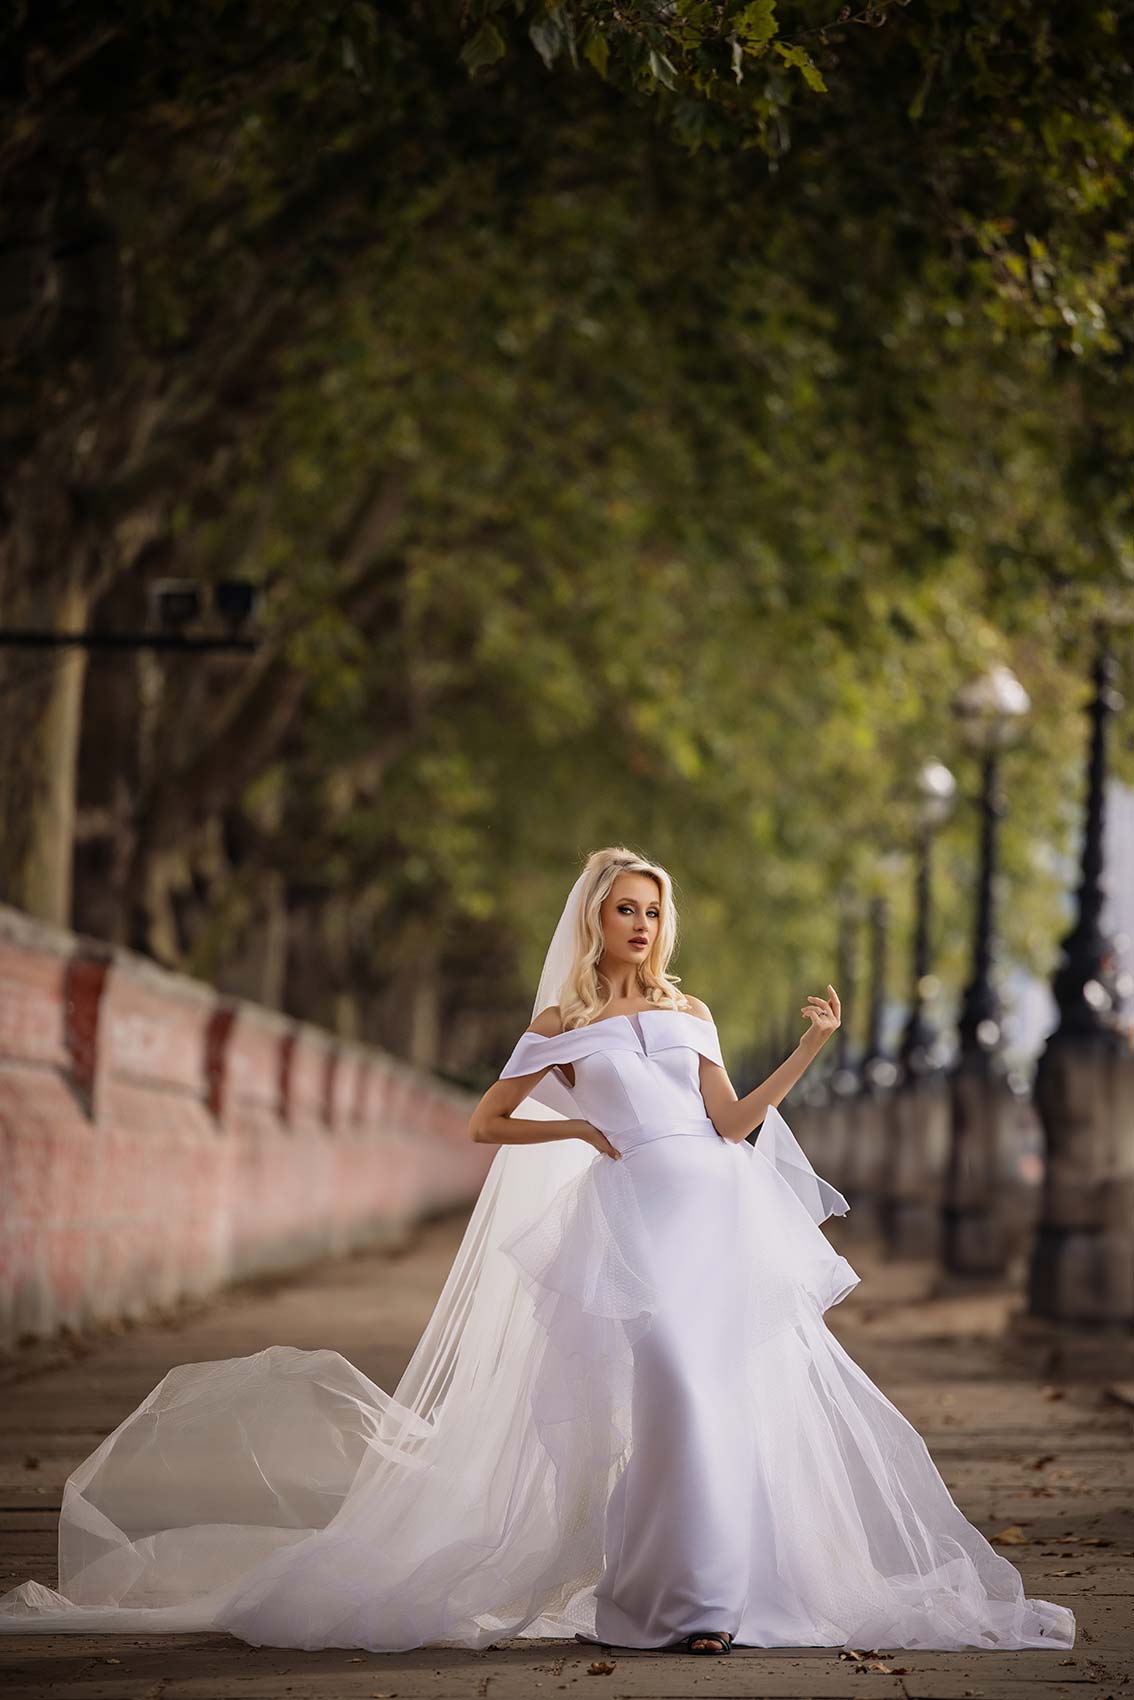
Settings: f/2.8 @ 1/1600, ISO 200
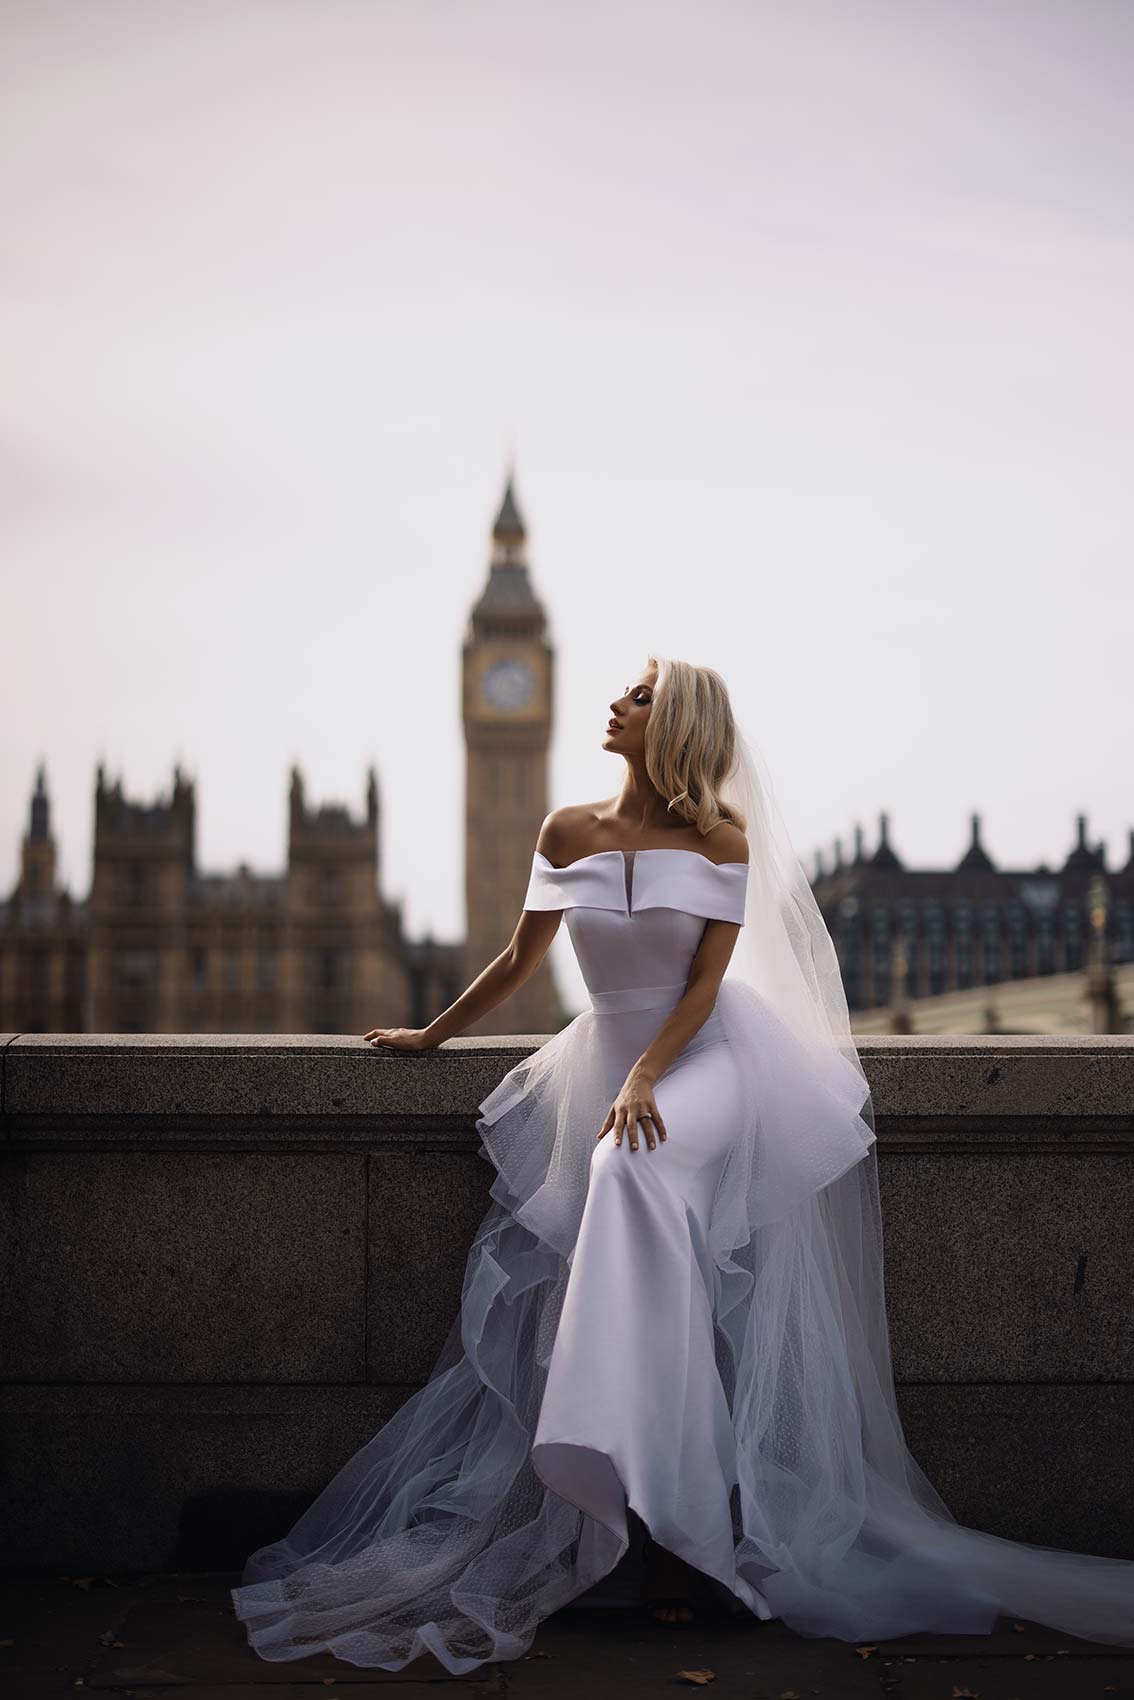
Settings: f/1.2 @ 1/8000, ISO 50
All right, so one of the things we’re doing is we’re making sure people get through so we don’t block ’em. Some people are cooperative, they’re nice, they get outta the way, but they don’t have to, right? Again, public space. What you’re seeing in camera is getting that vertical shot, nice compression at 200 millimeter and then getting a horizontal shot, also nice compression. We’re gonna have to move some people out in Photoshop, but it’s an easy edit. So, what could be really nice from a compositional perspective is trying to get that, a little bit of that bridge. Maybe frame her in the bridge in a way that looks nice.
So guys, what I’m doing here is I am kind of using the building behind her. Really, it’s part of the shot. I mean, it’s just an absolutely beautiful kind of high-key shot, right? Work with the sun, the exposure’s even across both. So this is my point, when that crop helps, right? I’m trapped, I’m at a 50 millimeter and I wanna get tighter, but I don’t wanna run back to my bag. So now I’m putting that 1.6 crop and I’m still getting this gorgeous look out of her. And there’s an angle you can pick where you get the flags in play without getting the umbrellas. So, what I want to do is use this as a leading line. Remember, we’re still talking composition here, so I wanna use this ledge as a leading line, but you also have to be careful of the bridge behind her. That bridge is gonna start cutting through her face, which is why I like a 1.2 shallow depth of field here ’cause then we can kind of blur that and soften it. And I understand you may not have that 1.2 then you’ve gotta commit, that is either cutting through the center of her face or her head is completely in the green. So you’ve really gotta commit to where you’re going with that.
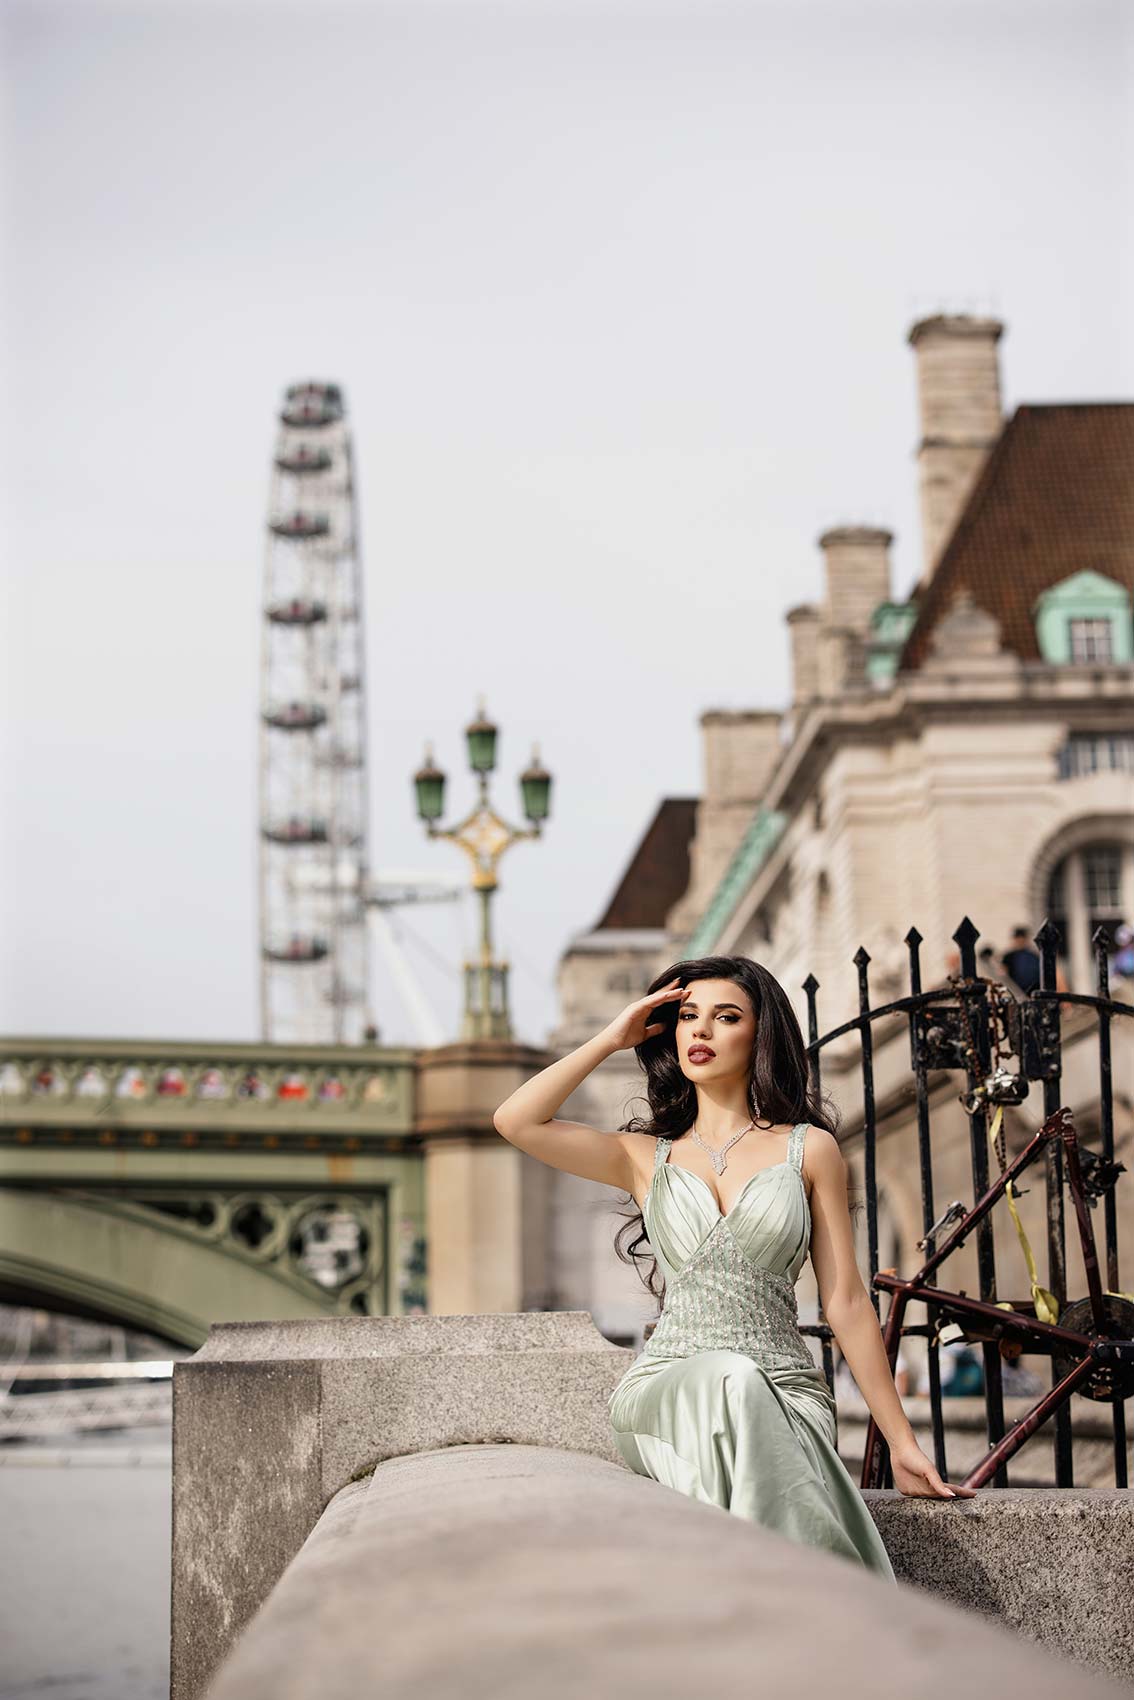
Settings: f/2 @ 1/2000, ISO 50
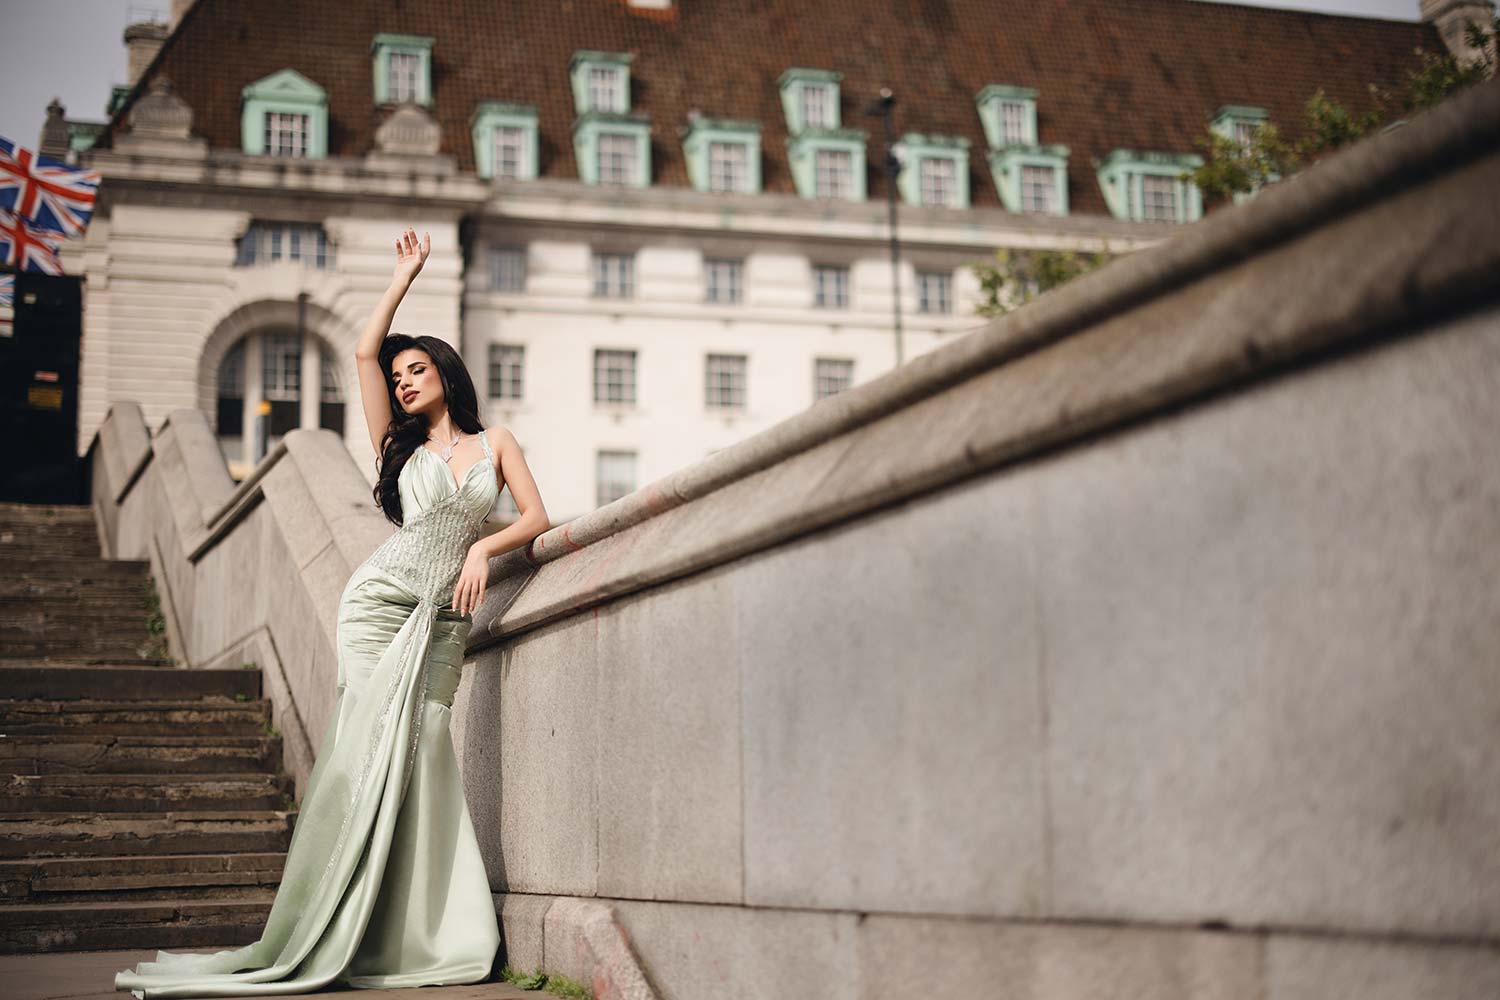
Settings: f/1.2 @ 1/8000, ISO 50
All right, everybody, that’s a wrap. We are here in London, so hopefully you see all the different, I mean honestly, we’re within 50 yards of each shot that we’re taking and we’re using all these different compositional elements to create incredible imagery for our clients. So get out there, try it. Lemme know in the comments below which one was your favorite. I’ll see you in the next video.


