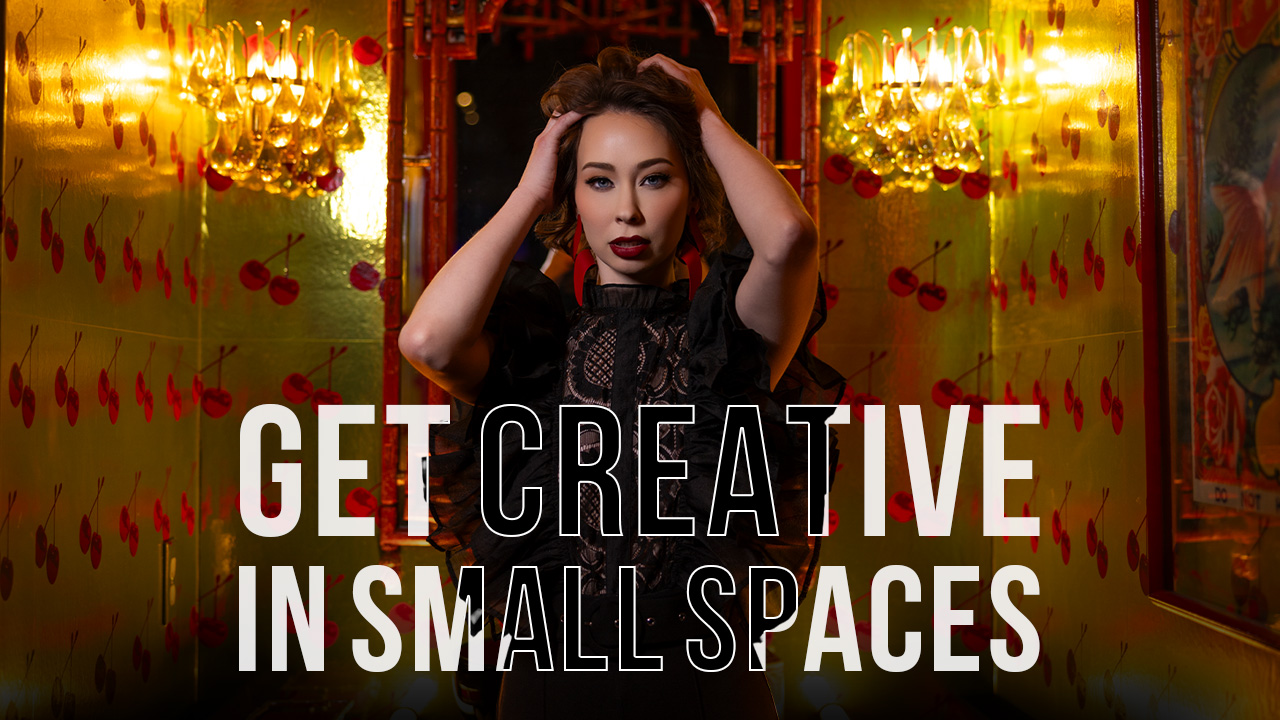
Unlimited Background Colors With Gels with Michael Corsentino
You can never have enough background colors to choose from in the studio. The background color that performs perfectly for one outfit, complexion, hair color, makeup style or concept will likely fall flat for another. You can invest in an endless assortment of colored rolls of seamless paper, but at anywhere from $50 to $100 each, this rainbow requires a pot of gold.
Not only that, but as good as colored seamless is for numerous tasks, they take up a considerable amount of space as your collection grows. They also need to be carefully stored so they’re not ruined by creases. Stored rolled and upright, you need ample ceiling height. The space for one, two or even five rolls is typically no problem for moderately sized studios. Increase the number of colored seamless paper to 10 or 20 rolls, and you’ve entered a whole different ballpark. Even in my decent-sized studio, I keep just six rolls of white, black and dove-gray seamless on hand at any one time.
Seamless paper is also a consumable, meaning it doesn’t last forever. As you use it, it can get wrinkled, dirty and scuffed. Once all the clean seamless runs out it, it’s time to buy another roll. Fear not. There is another way. This month, I show you how to create virtually any color you want without the cost or clutter of seamless paper.
Gels to the Rescue
With one or two reasonably priced packs of colored gels used in conjunction with a dedicated strobe to illuminate the background, you can create almost any color imaginable. You certainly could use a speedlight, but I find that a strobe produces more consistently accurate and stable color. With speedlights, the color produced from the gel can shift over time as the battery power fluctuates, impacting the amount of light being output.
The one light source I don’t advise using with gels is any constant light that produces heat, which can easily and quickly melt gels placed in front of them. Even with strobes, you’ll want to turn off built-in modeling lights to avoid a gel flameout.
I use gels by Rosco, which are available in rolls or sheets. For most applications, I use gels from one of Rosco’s 12×12-inch gel pack kits, available in a variety of color combinations at a reasonable price point.
How It’s Done
At its most basic level, this is a simple but powerful technique for creating colored backdrops to your heart’s content. You’ll need a few things to do it right, starting with a white background. This can be a wall, sheet of foamcore or a roll of white seamless paper. White provides a neutral base that won’t impart unwanted color casts or change the color of your gels in unpredictable ways.
Next you’ll need a strobe (I use a 500WS Profoto B1), a colored gel of your choosing and a short light stand. Place the strobe behind where your subject will be standing and tape the gel to the strobe head at the top. The best way to keep white light from spilling out from the strobe and contaminating the background is to simply use one piece of light-tack gaff tape. The Profoto B1 is perfect for this because of its flat-fronted diffusion disc and wide spread of illumination when unmodified.
The distances between the background and each of the lights on set impacts the color saturation. As a general rule, the more distance you have to work with, the better. I placed my background light and gel at approximately 7 feet from the background to achieve an even, well-saturated effect. As you move the background light closer to the background, the light gets brighter at the center and darker as it falls off. The farther away it is, within reason, the more even the coverage and color will be.
Ideally, you want to treat the background as a separate lighting zone and avoid contaminating it with light spilling from the keylight or fill lights. This is easily achieved using distance and V-flats. The more space you have from the background, the better. My model, keylight and fill light were each placed about 10 feet from the background, but I still had issues with light spilling onto the background, partially washing out the color from the background light.
This can be corrected in a few ways: adjust distance; move the keylight/fill lights closer to the subject and turn down their power to reduce spill; use V-flats behind the lights to block them from contaminating the background; or a combination of all three. I opted for all of the above, which provided the most saturated background color possible.
Blocking the Background Light
There are several ways to illuminate a background with your desired colorcast. You can use multiple lights and V-flats to block them, especially useful for full-figure work, but I wanted to demonstrate the simplest and least expensive way to do this. In this case, we’re using only one light and relying on the model’s body to block it from the camera’s view. You’ll need to pay special attention to your model’s movements because these shifts can easily reveal the light behind them.
This is a delicate balancing act that requires continued direction between the photographer and the model. You can determine whether the background light is hidden or visible only from the camera position.
Color Considerations
The are numerous things to consider when adding color to either background or background and subject. What colors work best together? What colors work best given the subject’s complexion, hair color, makeup and wardrobe? You can work intuitively, but as you learn how to work with color, you may find it helpful to consult an online color wheel chart.
Even if you have just one pack of gels, you can easily create multiple colors with each gel—or, more accurately, varying degrees of color saturation with each gel. This allows you to produce multiple colors. Just adjust the power of your strobe from low to high, easily taking a red gel from deep burgundy to bright red or all the way to pink. The same principle applies to any colored gel. The amount of light you put through it determines the amount of color saturation.
Modifiers
There is no shortage of lighting modifiers that work well with gels. Lately I’ve been getting good results with umbrellas. These modifiers do a great job of amplifying color. If you’re looking for a very saturated effect, give them a try. For this shoot, I used two medium Profoto white umbrellas. White provides the neutral base needed to accurately reflect the colored gel. If you need more contrast, swap in a silver umbrella on one or more lights.
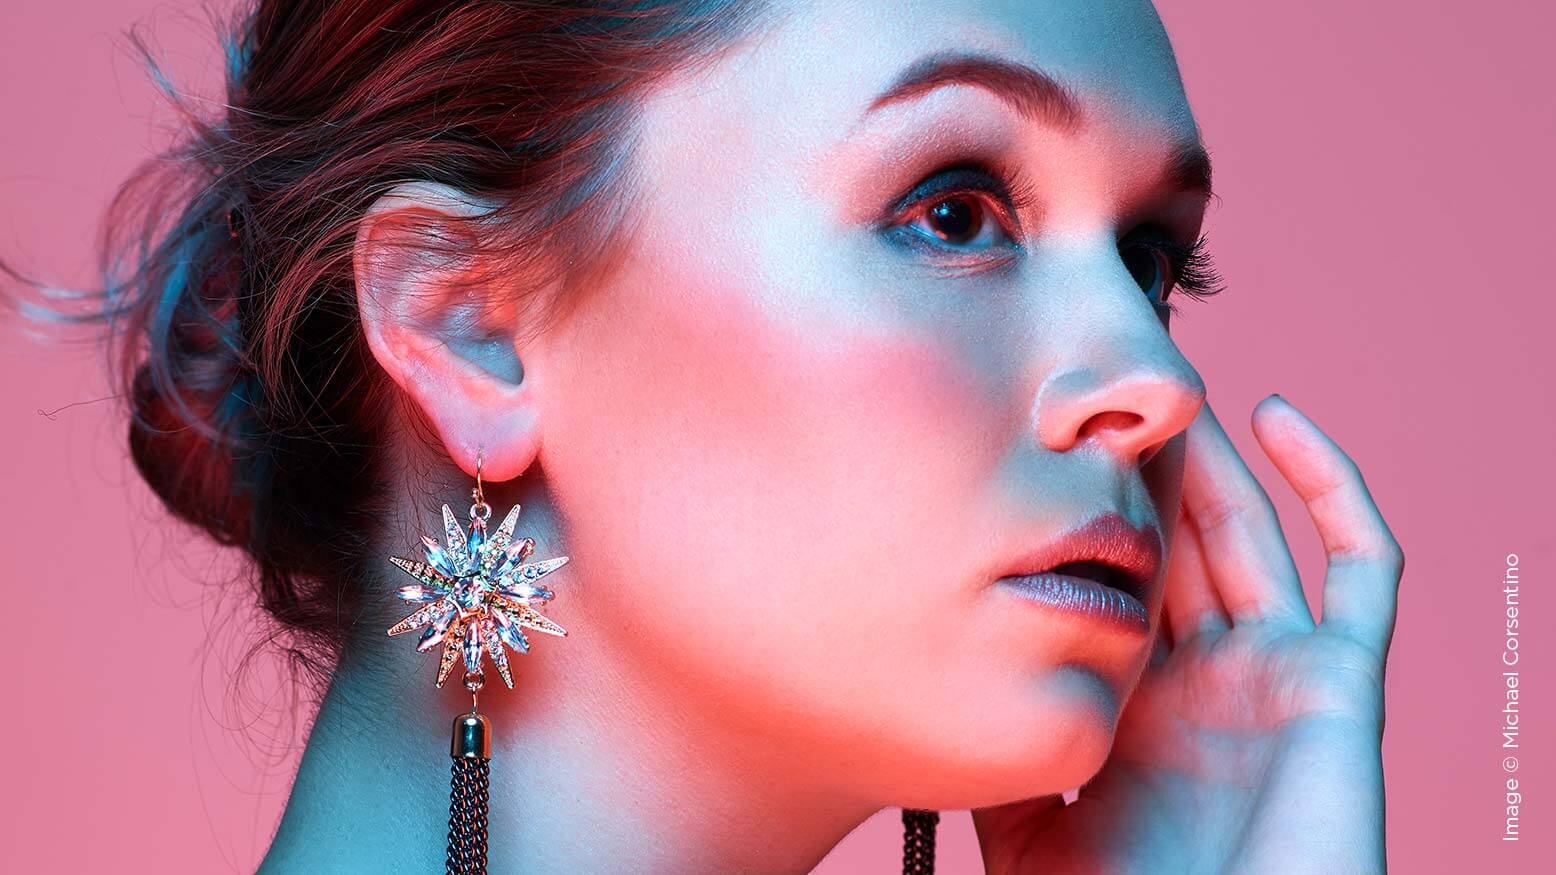
Look 1
For this dramatic look, I used a classic cross-lighting pattern with white bounce-back umbrellas on the key and fill lights, and complementary colored gels. This setup produces plenty of saturation and moody shadows.
Gear:
- 3 Profoto B1 strobes
- 2 V-flats to keep the light from the key and fill from spilling onto the background and desaturating its color
- 2 white Profoto medium umbrellas, one for the keylight and one for the fill
- Rosco gels for each of the strobes
Look 2
For this second beauty-inspired look, I used classic clamshell lighting. The key and fill lights are stacked in an over-and-under arrangement at the camera position.
Gear:
- 2 medium Profoto white bounce-back umbrellas to maximize color saturation of the key and fill
- 3 Profoto B1 strobes
- 2 V-flats to keep the light from the key and fill from spilling onto the background and desaturating its color
- Rosco gels for each of the strobes
As you can see from this fun shoot, with a pack of gels and a few strobes, the world really is your oyster. Now that you know how to rock colored backgrounds without a studio full of colored seamless paper, go get your color on!