
How to use Neutral Density Filters
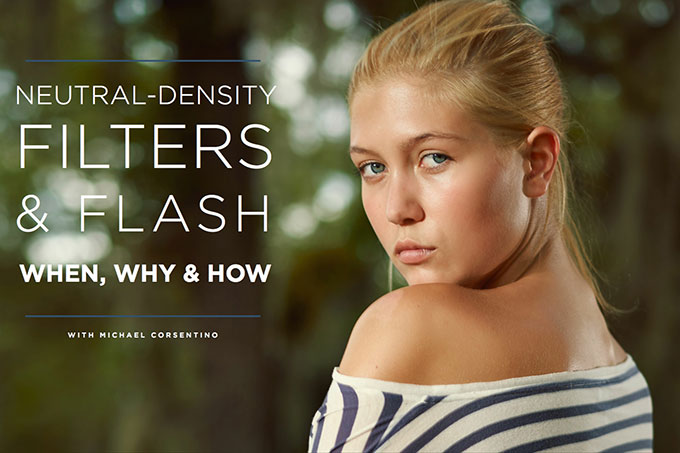
Neutral-density filters, aka ND filters, have long been the go-to tool for nature photographers looking to incorporate motion into their scenic images. You’ve seen the classic nature shots, the ones with flowing waterfalls and ethereal, shimmering, glasslike shorelines. These are all accomplished with ND filters, which reduce the amount of light that’s able to reach the camera’s sensor. This allows significantly slower shutter speeds to be used, which means more motion. This is essential in bright ambient-light situations in which
it is impossible to use a shutter speed slow enough to capture motion while still maintaining a properly balanced exposure—without an ND filter.
Neutral-density filters aren’t just for nature photographers, though. They are also very useful to portrait photographers, both in the studio and on location. Think about it—they cut light, which means they can give you additional latitude not only in your shutter speed but also your aperture settings. This is especially useful to portrait photographers working with speedlights or strobes. Even at reduced power settings, many strobes are so powerful they necessitate shooting with the lens stopped way down to narrow ranges such
as f/11, f/16 and so on. This is true in the studio as well as on location, where additional ambient light also becomes an important part of the equation. Being constrained to small aperture values becomes problematic in portrait situations where soft backgrounds via the use of wide aperture settings are often desired.


This Post Has One Comment
GOOD INTRO, WHY NOT CONTINUE IT WITHOUT LOGG-IN? THIS IS A VERY IMPORTANT ARTICLE