
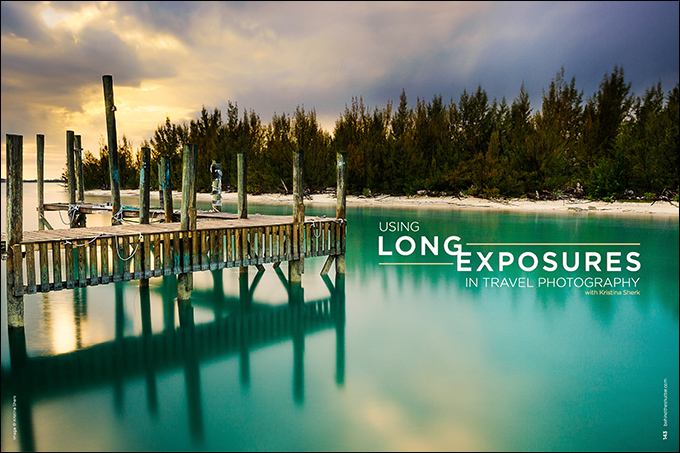
Using Long Exposures in Travel Photography with Kristina Sherk
When you work in Washington, D.C., and you photograph corporate headshots day in and day out, it’s very easy to get burned out. You may even ask yourself why you became a photographer in the first place. Where is that creative spark you need in order to be fulfilled by what you do?
No matter what your career is, we all need breaks from our daily grind, and that’s why I think traveling, especially for photographers, is so important. It allows you to see the world, opens your eyes to new experiences and allows you to also fall in love with taking pictures again.
I’ve always been drawn to the water. So when I travel, my favorite landscapes to photograph have some aspect of water in them. I especially love the way water looks when it is photographed over a long period of time. There’s just something ethereal about it. So in this article, let’s dive in and learn about long-exposure photography.
If you’re not a big fan of the water, don’t be deterred. You can still capture amazing long-exposure images of subjects that don’t have water in them. The possibilities of long exposure are endless, and create a completely new look at two things that we see every day and take for granted. A long-exposure frame can do so many things, from capturing star trails in the night sky to eliminating people walking through your frame. Learning this skill will absolutely help you in your everyday photography and also push you to take a second look at all the mundane things in the world, to see them in a new perspective.
When I travel, there are a few staples in my camera bag that I can’t do without. I never go anywhere without my little travel tripod. If you’re looking at purchasing one, remember that weight is definitely a factor. Also, look for a tripod that folds up easily. The other two items you’ll need (other than your camera) are a shutter release cable and a neutral-density filter.
Shutter release cables can be wired or wireless. Phottix has a few great options. Just remember to get the model that has the right plug for your camera (Canon or Nikon). The second thing you want your shutter release cable to be able to do is lock in place. Otherwise, your finger will have to press the shutter button for quite a long time, depending on the length of your exposure (sometimes up to five minutes). Don’t make the mistake I did, and have to MacGyver a replacement for your shutter release with a battery and hair tie. This was definitely not one of my proudest moments.
The last thing I never leave home without is a neutral-density filter. Think of it as sort of like sunglasses for your camera lens. All a neutral-density filter does is decrease the amount of light that shines through your lens and hits the camera sensor. My go-to filter is the B+W Neutral Density 110. I love this filter because it decreases the amount of light coming through your lens by 10 stops. It allows you to keep your shutter open for much longer than otherwise possible, even under the midday sun.
If you’re going to take multiple lenses on a trip, purchase the filter diameter that matches the widest lens you own. Let’s say you’re traveling with two lenses, a 77 mm diameter and a second, smaller lens that has a 62 mm diameter. You’ll want to purchase the filter that fits the largest-diameter lens, then use a filter adapter ring to connect the larger filter to your smaller-diameter lens. In the image below, you can see how one filter can fit on three different lenses with three different diameters with adapter rings.
I know you might find all this stuff boring, but I’d be remiss if I didn’t give you all the information you need to take a stellar long-exposure shot so you don’t run into problems when you’re ready to take your first image. And I promise, we’ll get to the fun stuff really soon.
When you’re getting ready to shoot a long exposure, you’ll first need to switch your camera mode dial to “B” for bulb. This allows you to shoot for more than the 30-second max most cameras have while you’re in manual mode. But after you do that, your in-camera exposure metering tool won’t work. Since that camera itself isn’t in charge of how long the shutter will be open, it won’t be able to accurately project whether the shot will be underexposed or overexposed.
Once you’ve got all your equipment set up, it’s time for the fun stuff. Here are a few long-exposure images I took on my most recent trip to the Bahamas. In order to get the glassy appearance of the water in the first image below, I used my shutter release to keep the shutter open for 240 seconds. To my advantage, it was a still day, so the clouds didn’t move that much.
Sometimes I find it difficult to imagine what an image will look like in my camera once the neutral-density filter is on. So I take a test shot at a very high ISO and then try to imagine what the water will look like once I change to a longer shutter speed. In this example below, there are three different images. The first image is my test shot that I took just to make sure I liked what I was seeing. I tried to envision it with smooth water. The second image is the shot I took with a 61-second shutter speed. And the third version is what the final image looks like after I used some split toning techniques in Lightroom. As you can see, the possibilities are endless when you tackle long exposures as an art form.
There are endless applications for long-exposure photography. Back in 2010, I traveled around Italy for a few weeks. I wanted to get a photo of the famous Trevi Fountain with as few people as possible around, so I went very early in the morning. To my dismay, I was not alone. There were a few people there, including a man thigh-high deep in the water walking around the fountain picking up all of the “wished” coins. I knew a quick workaround to make the people in my image disappear. I set up my tripod and got ready to take a long exposure of the fountain. Because most of the people were constantly moving around, they would not show up in my image.
In this first version of the image, which has only had Lightroom adjustments added to it, you can just see the ghosting of a man in the lower right corner. This exposure was 75 seconds long, which is why you see a bit of him. But in the second version below, you can see how I easily cleaned it up to get that almost perfect shot of the fountain I was envisioning.
Next time you are heading off on an interesting trip, try long exposures. It could help you reconnect with photography in some way and revitalize your love for what you do.


