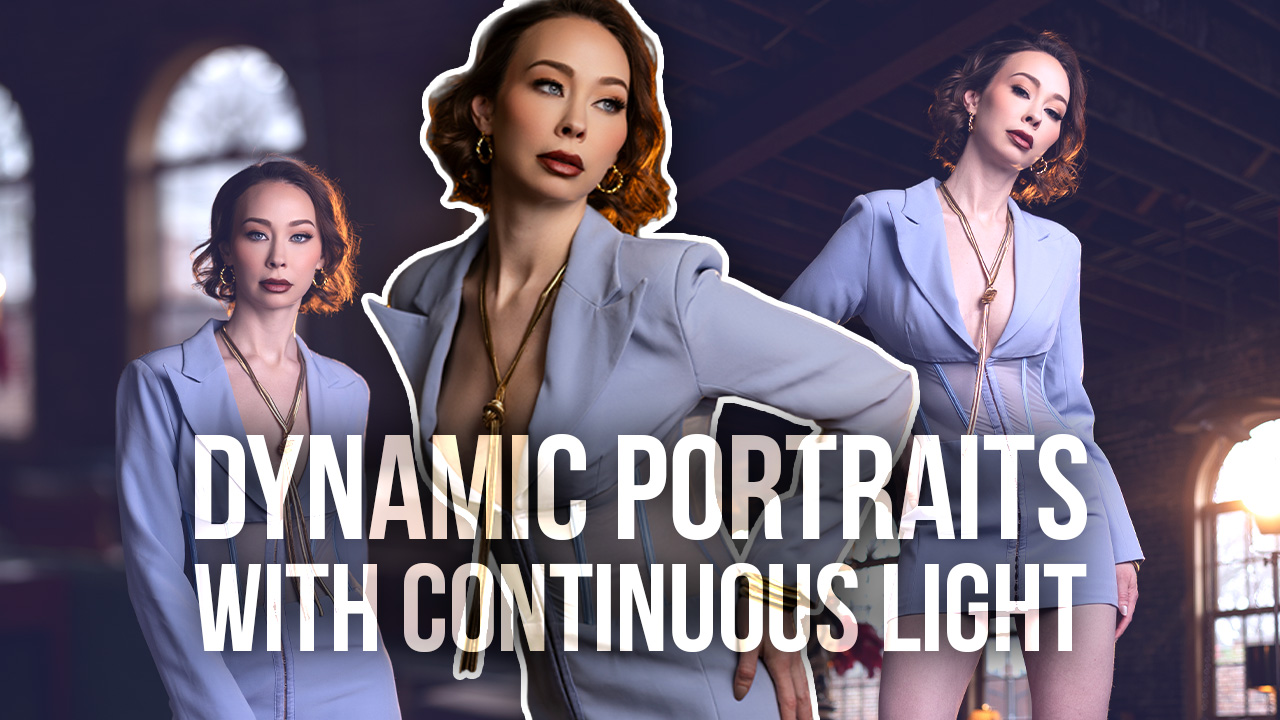
V-Flats 5 Ways and a Bonus with Michael Corsentino
I recently picked up a new set of V-Flats for the studio from the aptly named V-Flat World. This got me thinking that a tutorial about the myriad ways these versatile, relatively inexpensive lighting tools can be used would be a cool idea. V-Flats, a studio staple, are typically comprised of a pair of two 4×8 sheets of foam core—black on one side, white on the other—taped together along their long end to create a book-style configuration of panels that can be opened (hence the V in V-Flat) or closed. There was little, if any, innovation in their design until V-Flat World introduced their new sturdy, foldable, compact and portable V-Flat design. I’m so happy to finally be retiring the flimsy 1/25” inch sheets of foam core I’ve been using for so long. While they’ve served me well, by now they’re bendy and prone to falling over—no fun!
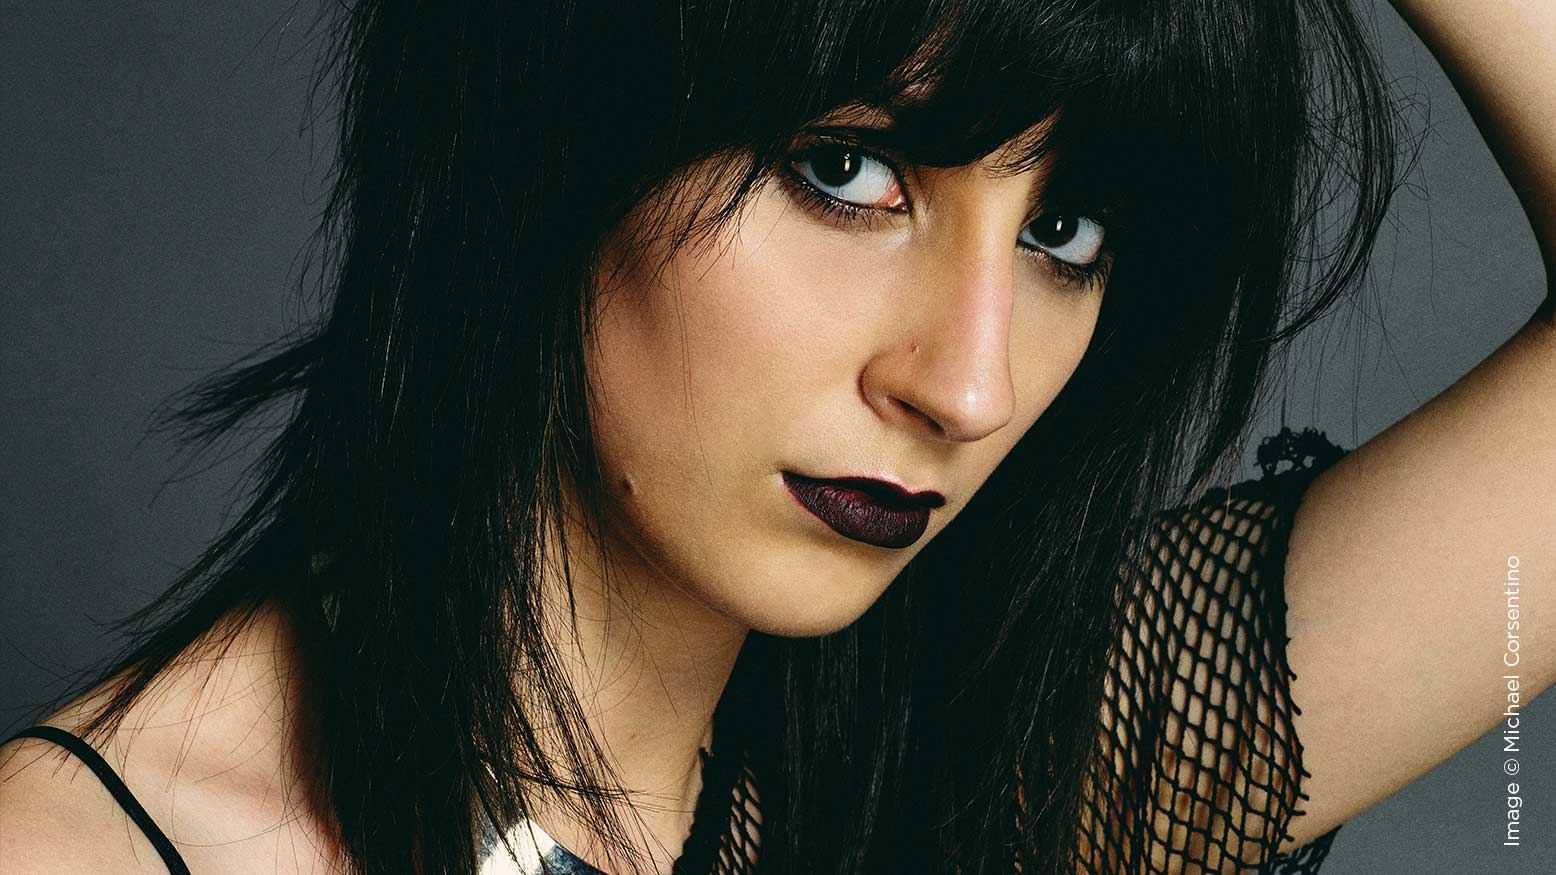
V-Flats are also large and stupid expensive to ship, and if you don’t live in a large city with a nearby Expendables supply shop, they’re difficult to source individually. Ordered online, 4×8 sheets of black/white foam core are typically only available in packs of 25, which as I mentioned above are expensive to ship as they’re oversized and also take up precious storage space in the studio. Because these new V-Flats fold in half, they’re much easier and less costly to ship, and they’re also portable, making them ideal for use on location. V-Flats are incredibly versatile and easily one of the least expensive yet most often-used lighting tools in the studio. Below are my five essential ways to use V-Flats, along with a bonus round. There are even more ways to use V-Flats, but these five techniques are my go-to must-haves. With the help of the lovely model Christina Stuehrenberg, I set up a shoot to demonstrate each of the five V-Flat techniques. Below, you’ll find final images and BTS pictures for each method. Be sure to also head over to www.behnidtheshutter.com‘s YouTube channel for this month’s companion video!
1.White V-Flat Fill
One of the most common ways to use V-Flats is to create fill light. By positioning a V-Flat opposite the key light, with its white surface facing the subject and key light, you’re able to bounce light back and fill in the shadowed side of the subject as desired. Because a white surface is being used and that surface is large, the quality of the resulting fill light is very soft, broad and flattering. While V-Flats don’t have a knob to dial up or down the amount of light they contribute, by bouncing it back from the key light, you can still control the amount. By simply moving the V-Flat further away from or closer to the key light and subject, you can reduce or increase the amount of fill light being created. If you want the softest effect possible, place your V-Flat just outside the camera frame, and then adjust its distance to create the desired level of fill light.
2.Black V-Flat Subtraction
Just as V-Flats can be used to add fill light, they can also be used to subtract light. That’s where their black surface comes in! Don’t underestimate this use, as it’s a great way to add more shadow and drama to a subject. Subtracting light is also extremely handy when you’re working in a small space with white walls splashing light here there and everywhere. Subtraction panels allow you to control where you want light and where you don’t. Placing a black-faced V-Flat opposite the key light and subject, exactly the same as fill light but now with a black surface, will subtract light on the shadowed side of the subject. This effect can be modulated to some extent by adjusting the distance of the V-Flat from the subject.
3.V-Flats as Backgrounds
Here you get a two-fer! Because V-Flat panels are reversible, with a white surface on one side and black surface on the other, and also large, they make great monochromatic backgrounds for headshots, ¾-length, or even full-length images. And because V-Flats are typically sourced in pairs, when you use one as a background, the other can be used as a fill-light source, as I did in the example images for this technique. It’s as simple as choosing the background color you want, white or black, and placing the appropriate surface of the V-Flat behind your subject and facing the camera. The second V-Flat can then be positioned opposite the key light and subject to add fill light or subtract light as desired. When using the white side of the V-Flat, you can easily take your background tone from white all the way to a very dark grey by simply moving your subject and key light farther away from the V-Flat. If you want bright white like I have in the example images, place the subject and key light as close as you can to the V-Flat.
4.White Background Using V-Flats
Another essential use for V-Flats in the studio is to evenly bounce strobe from the left and right when creating white “blow-away” backgrounds. In this instance, V-Flats do double duty: not only do they bounce light onto the background, but they also block the light used to illuminate the background from directly entering the camera’s lens and contaminating the exposure. Done properly, creating a blow-away background requires two independent light sources, one for the background and one for the subject. Typically this is done by positioning two V-Flats, left and right, along the white background to be illuminated. Both V-Flats are opened into a V shape with the white surface facing the background and the black surface facing the camera. One or more strobes are placed behind each V-Flat and fired into them to illuminate just the background. A separate key light is then used to illuminate the subject. Additional V-Flats can be used to add fill as needed.
5.V-Flats Folded for Clamshell Lighting
This technique is specific to these new foldable V-Flats, although you could just as easily use a large sheet of foam core or a proper reflector, but this technique is great in a pinch. When folded, these V-Flats are the perfect height for creating fill light using Clamshell beauty lighting. Simply fold one V-Flat in half, placing the white surface below the subject’s face as I’ve done in the example images.
Bonus Round! Blocking Window Light
Like I mentioned at the outset, there are myriad ways to use flats. Above are my five top essentials, but I’m throwing a bonus round in for good measure. There are times, working on location in interior settings, when window light is gorgeous and hard to beat. There are other times, of course, when it’s not. Using a V-Flat, it’s easy to eliminate harsh midday sun streaming in through a window and use strobe to create soft, flattering light. Place a V-Flat or two, with the black surface facing the window and the white surface facing the subject, set up your key light desired, and you’re off to the races with beautiful, controllable lighting.