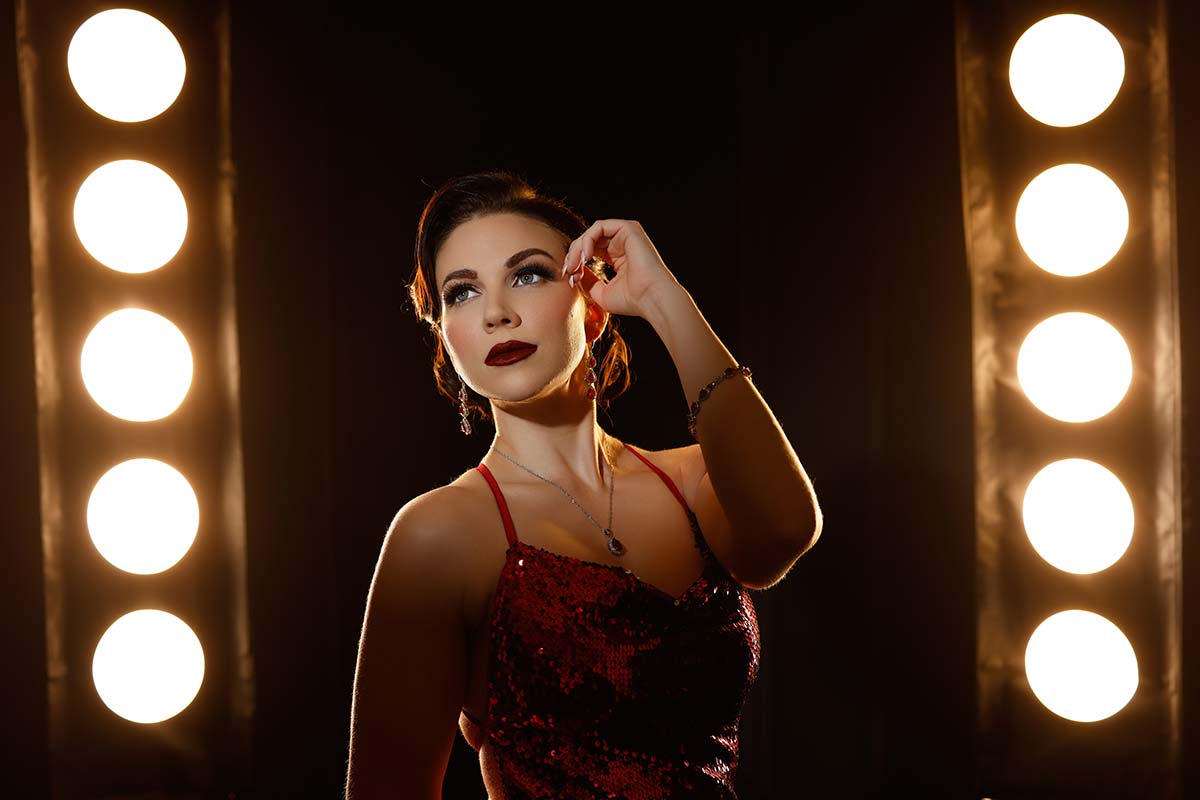
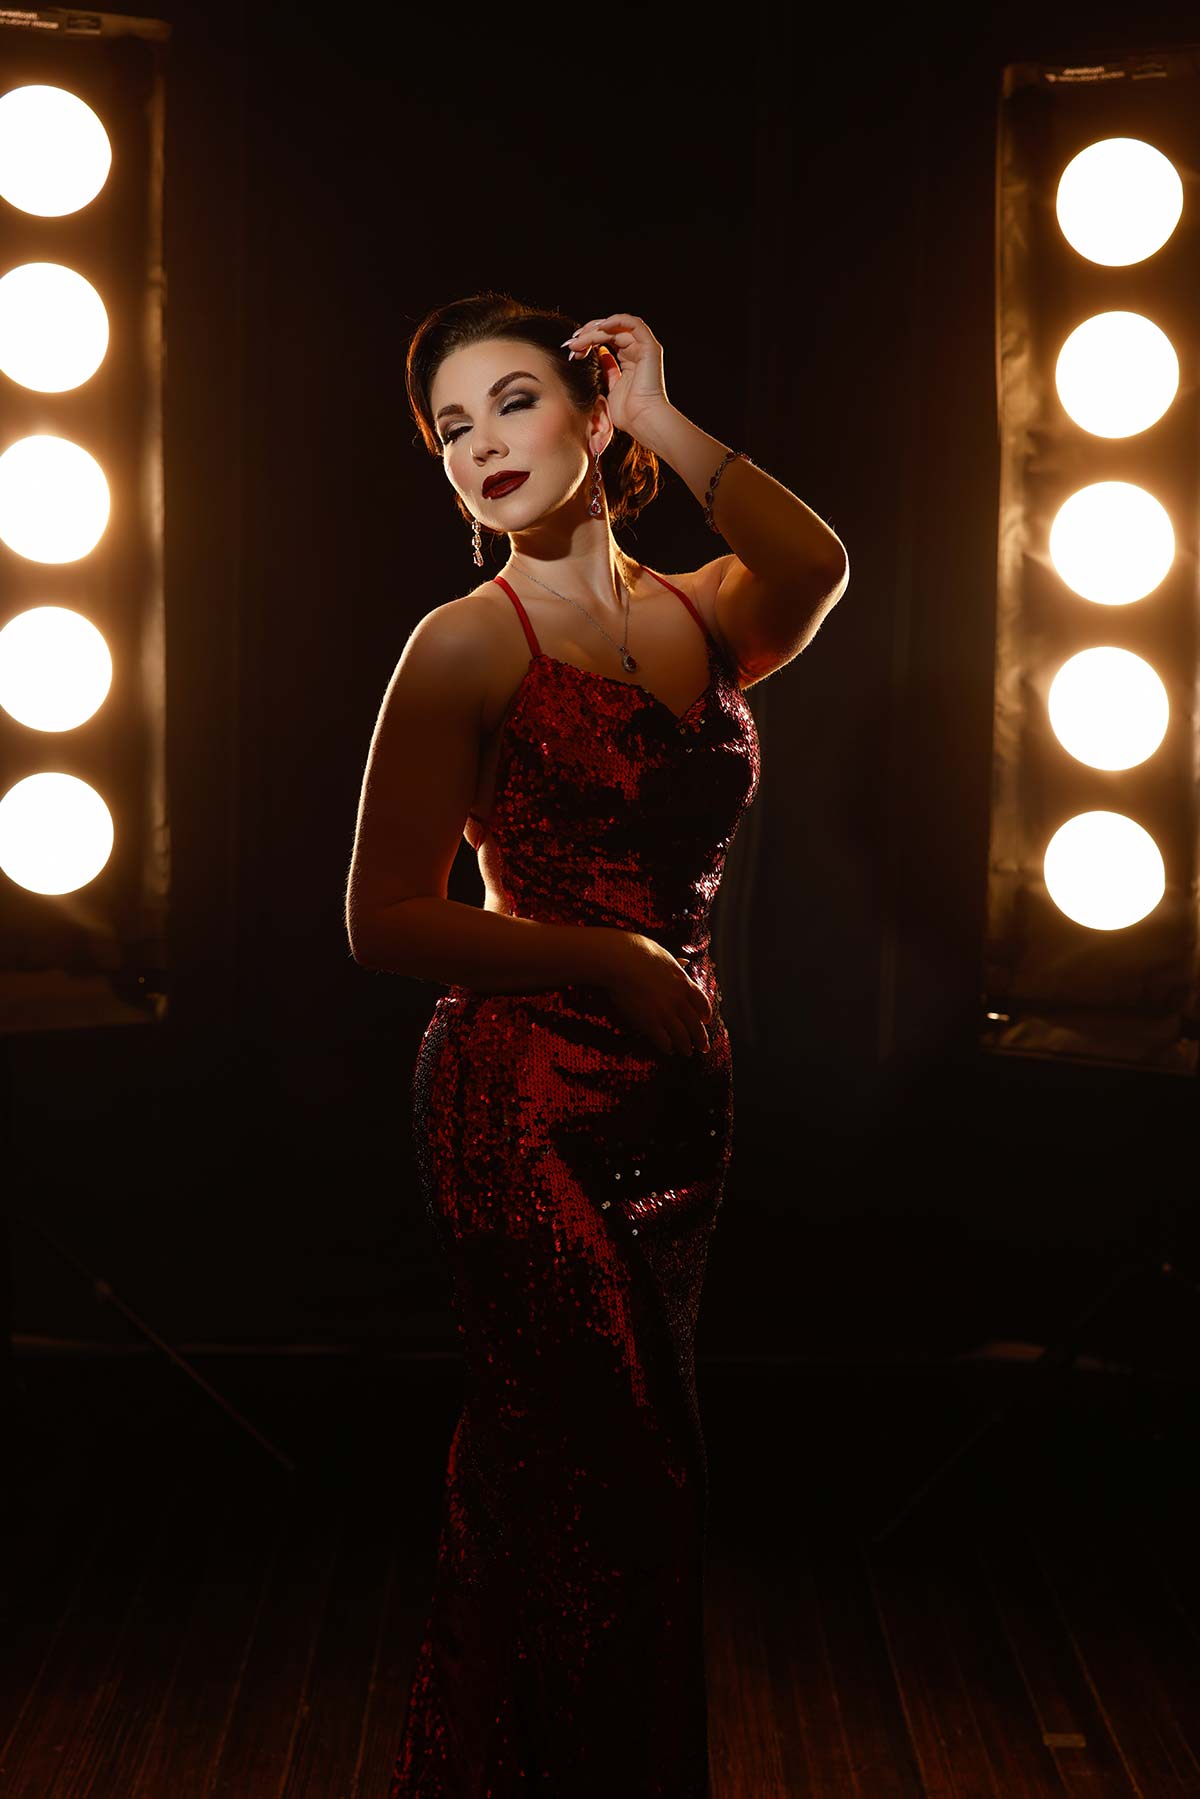
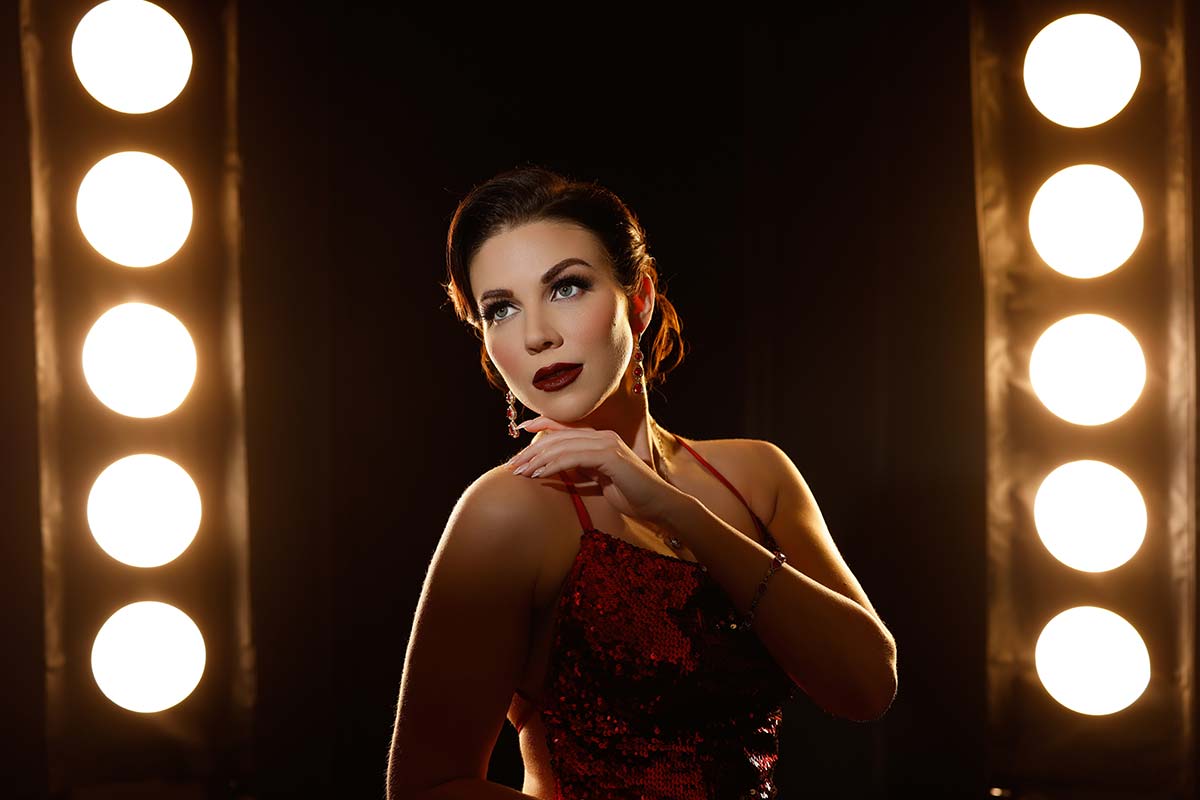
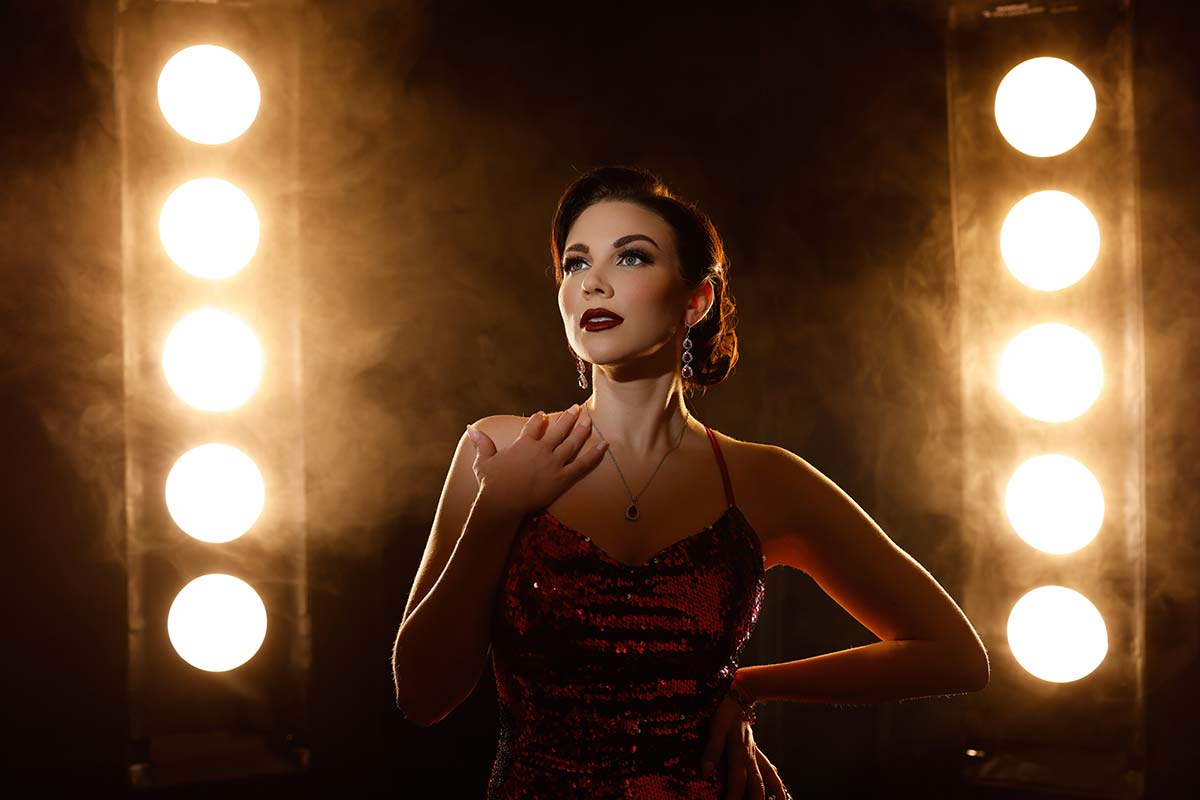
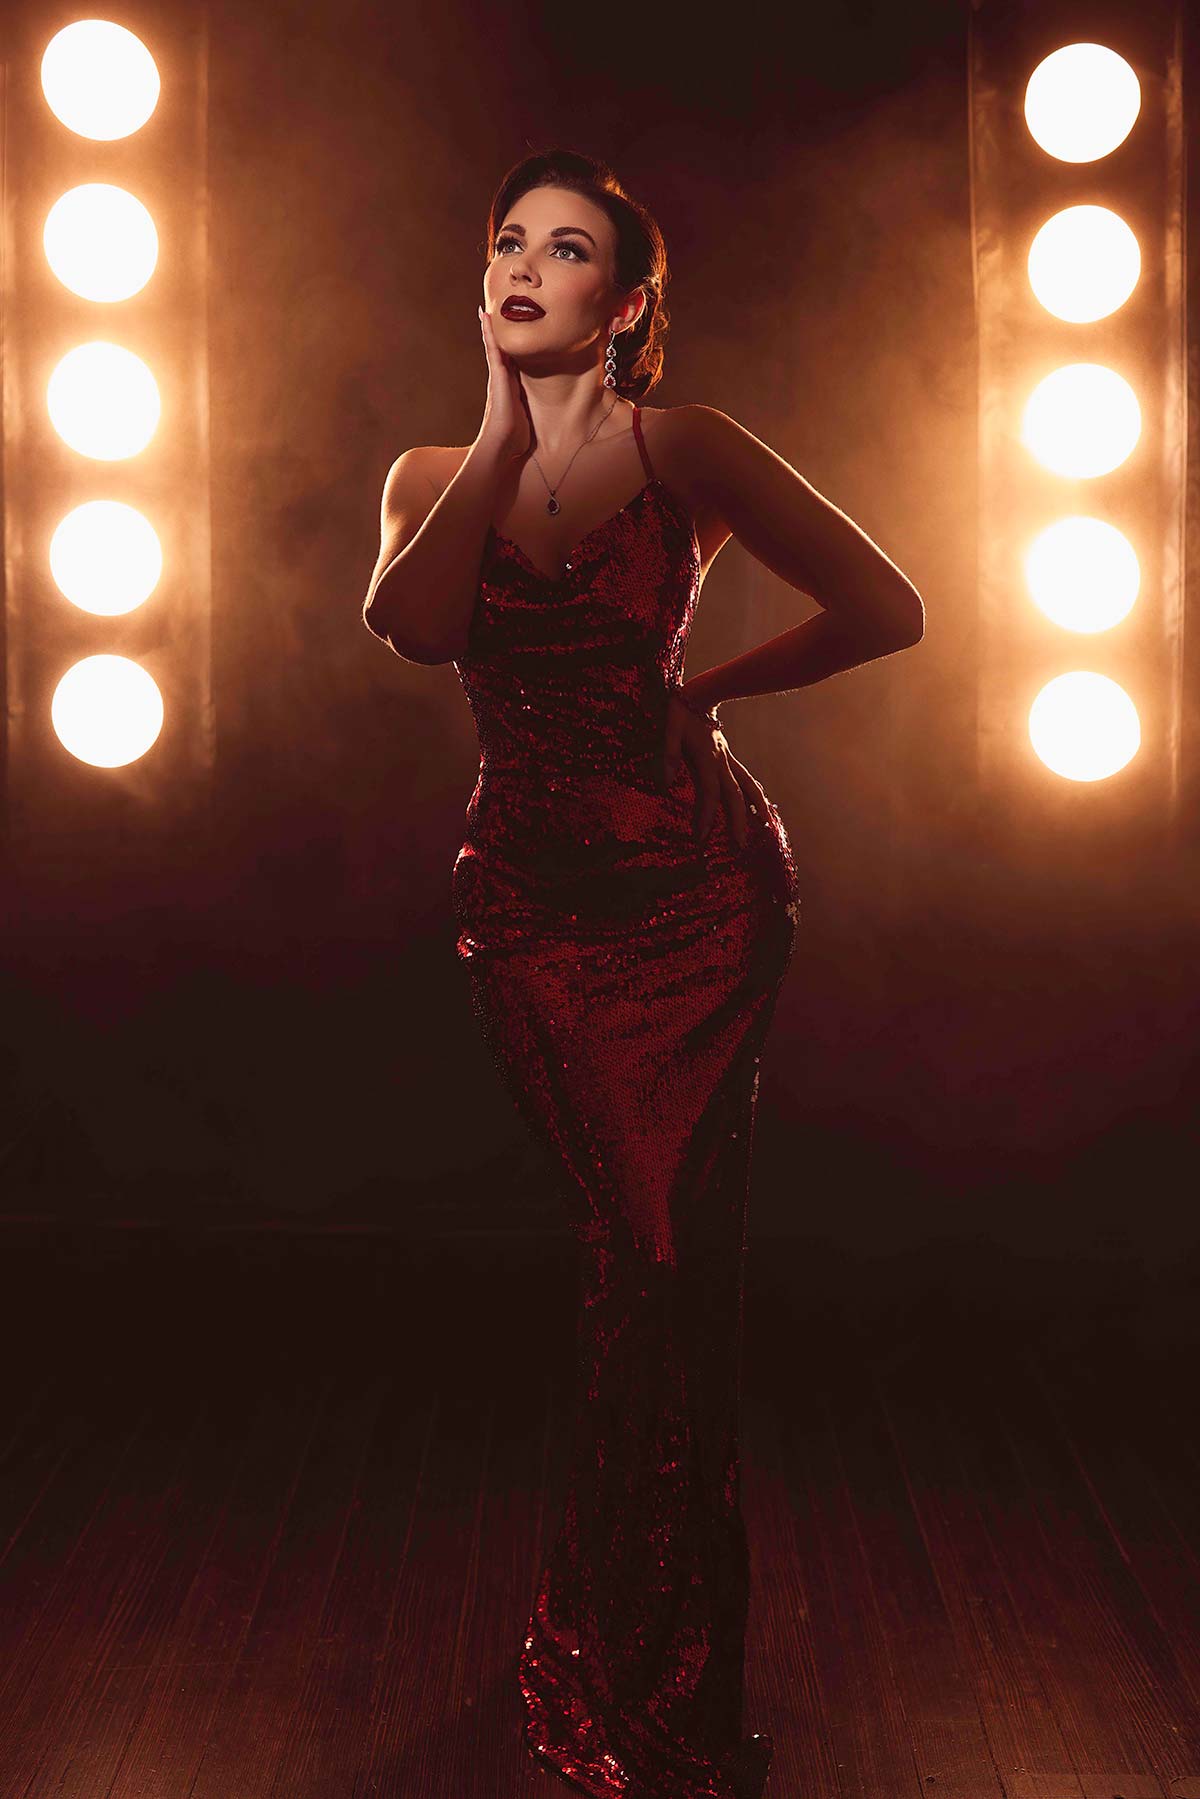
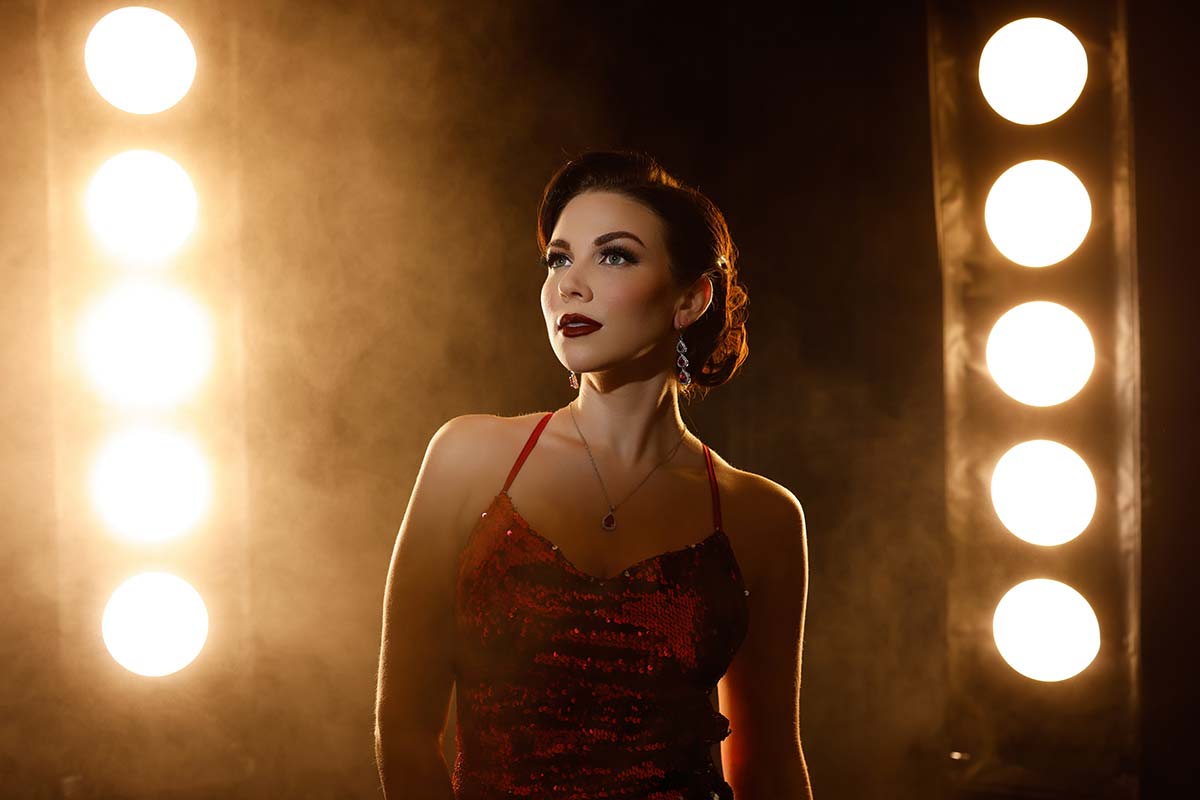
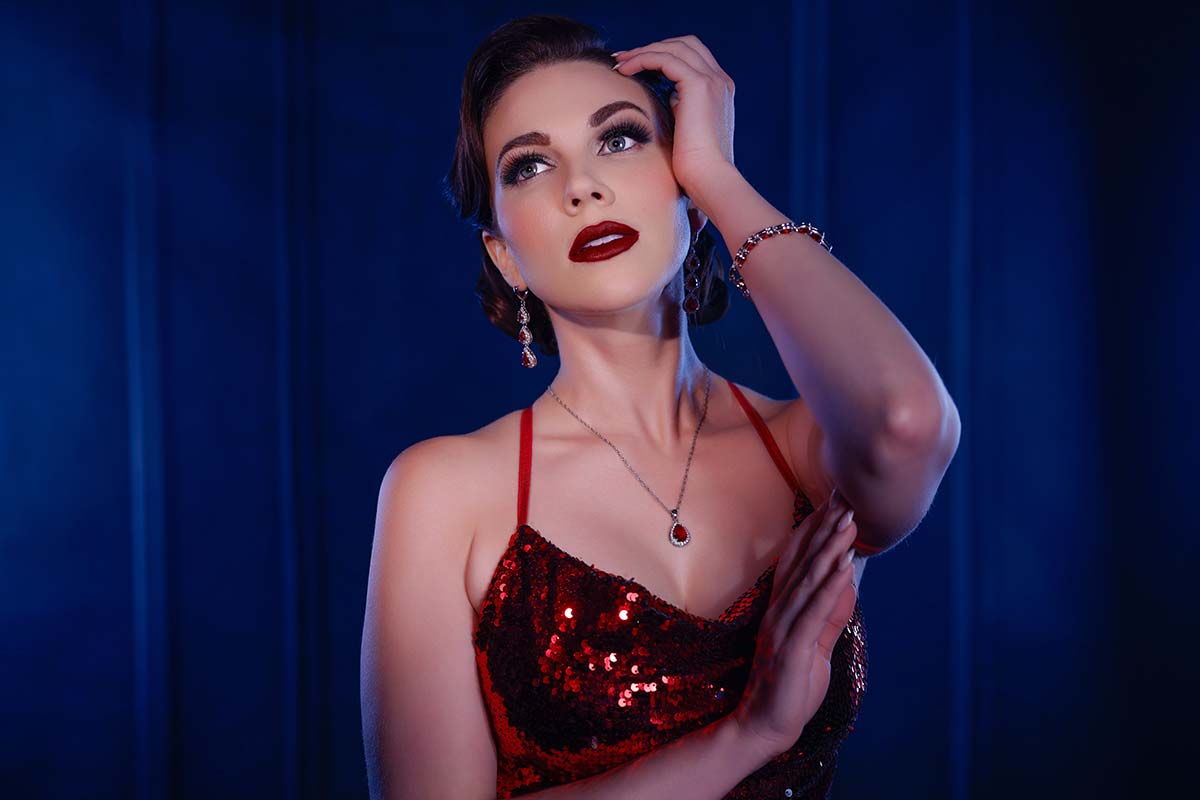
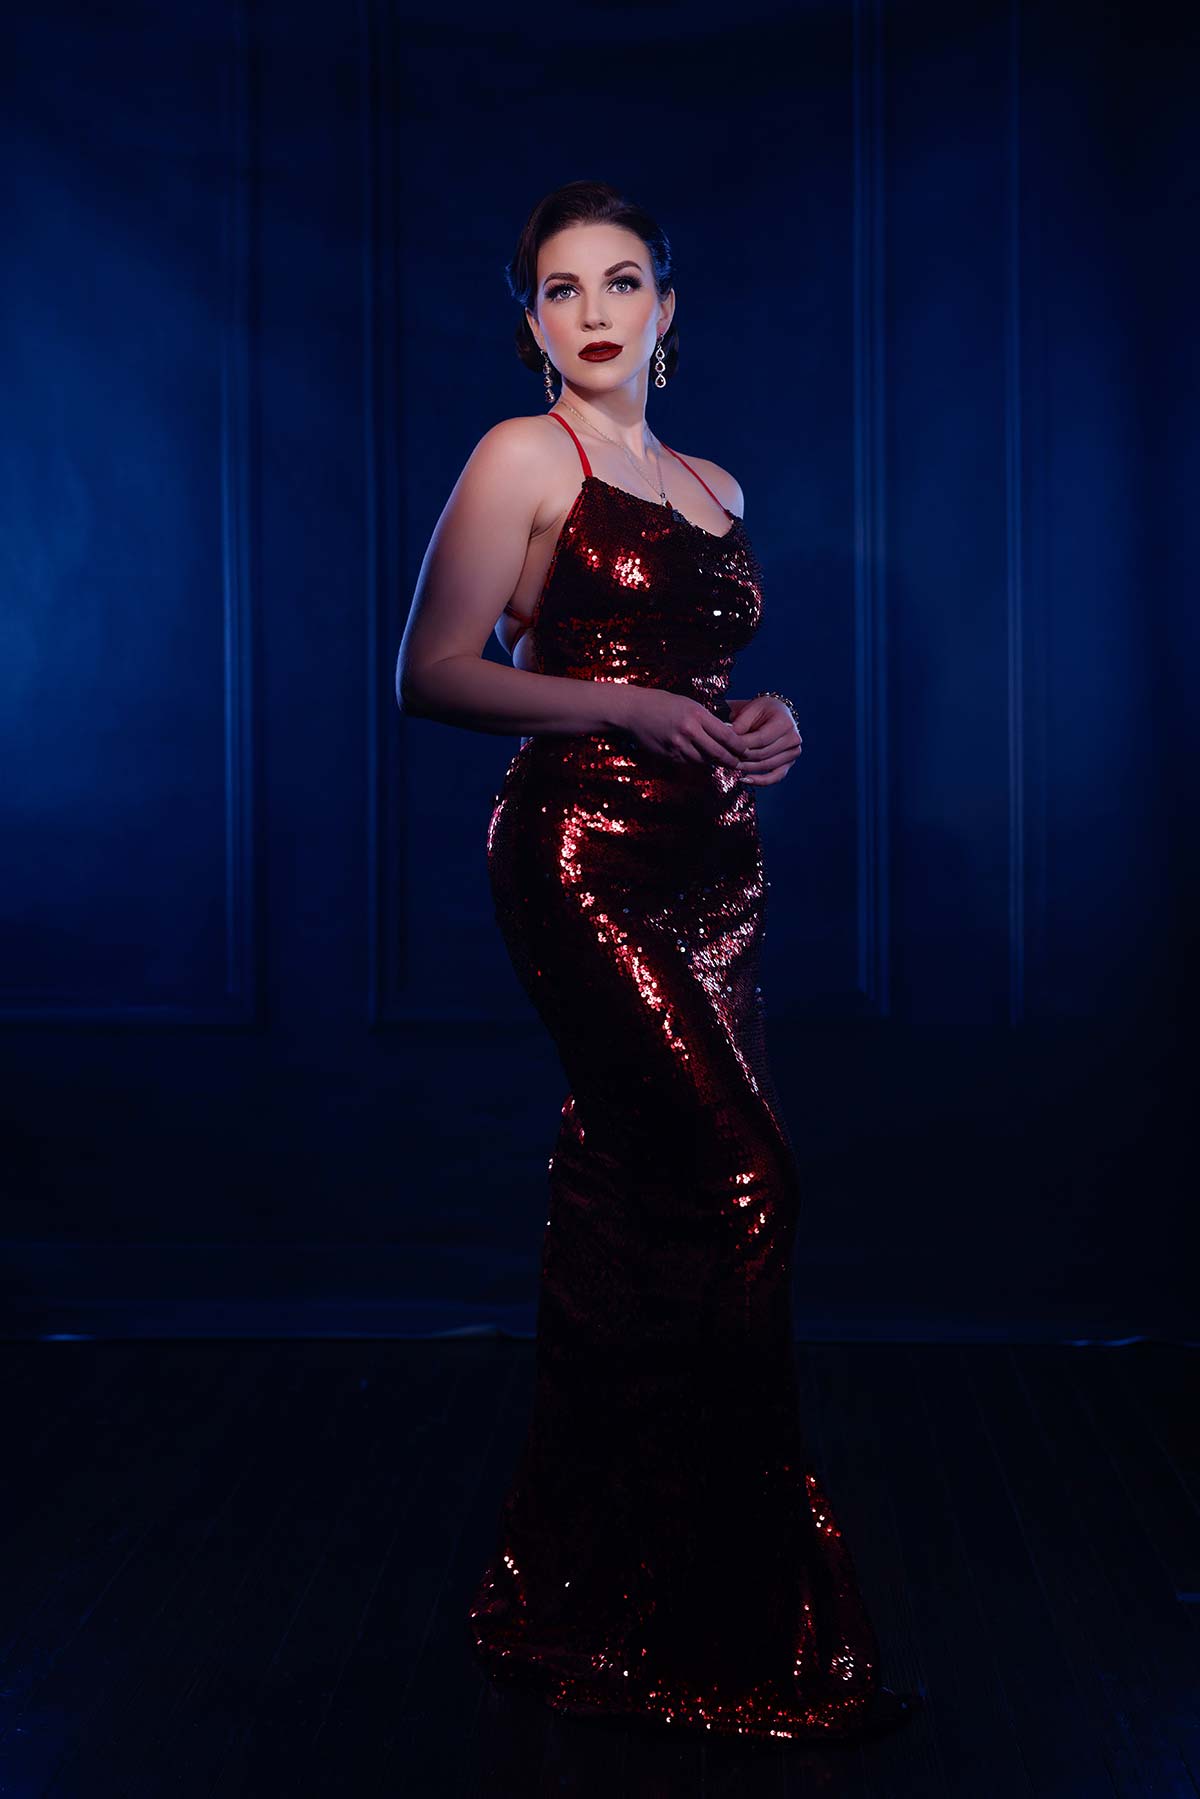
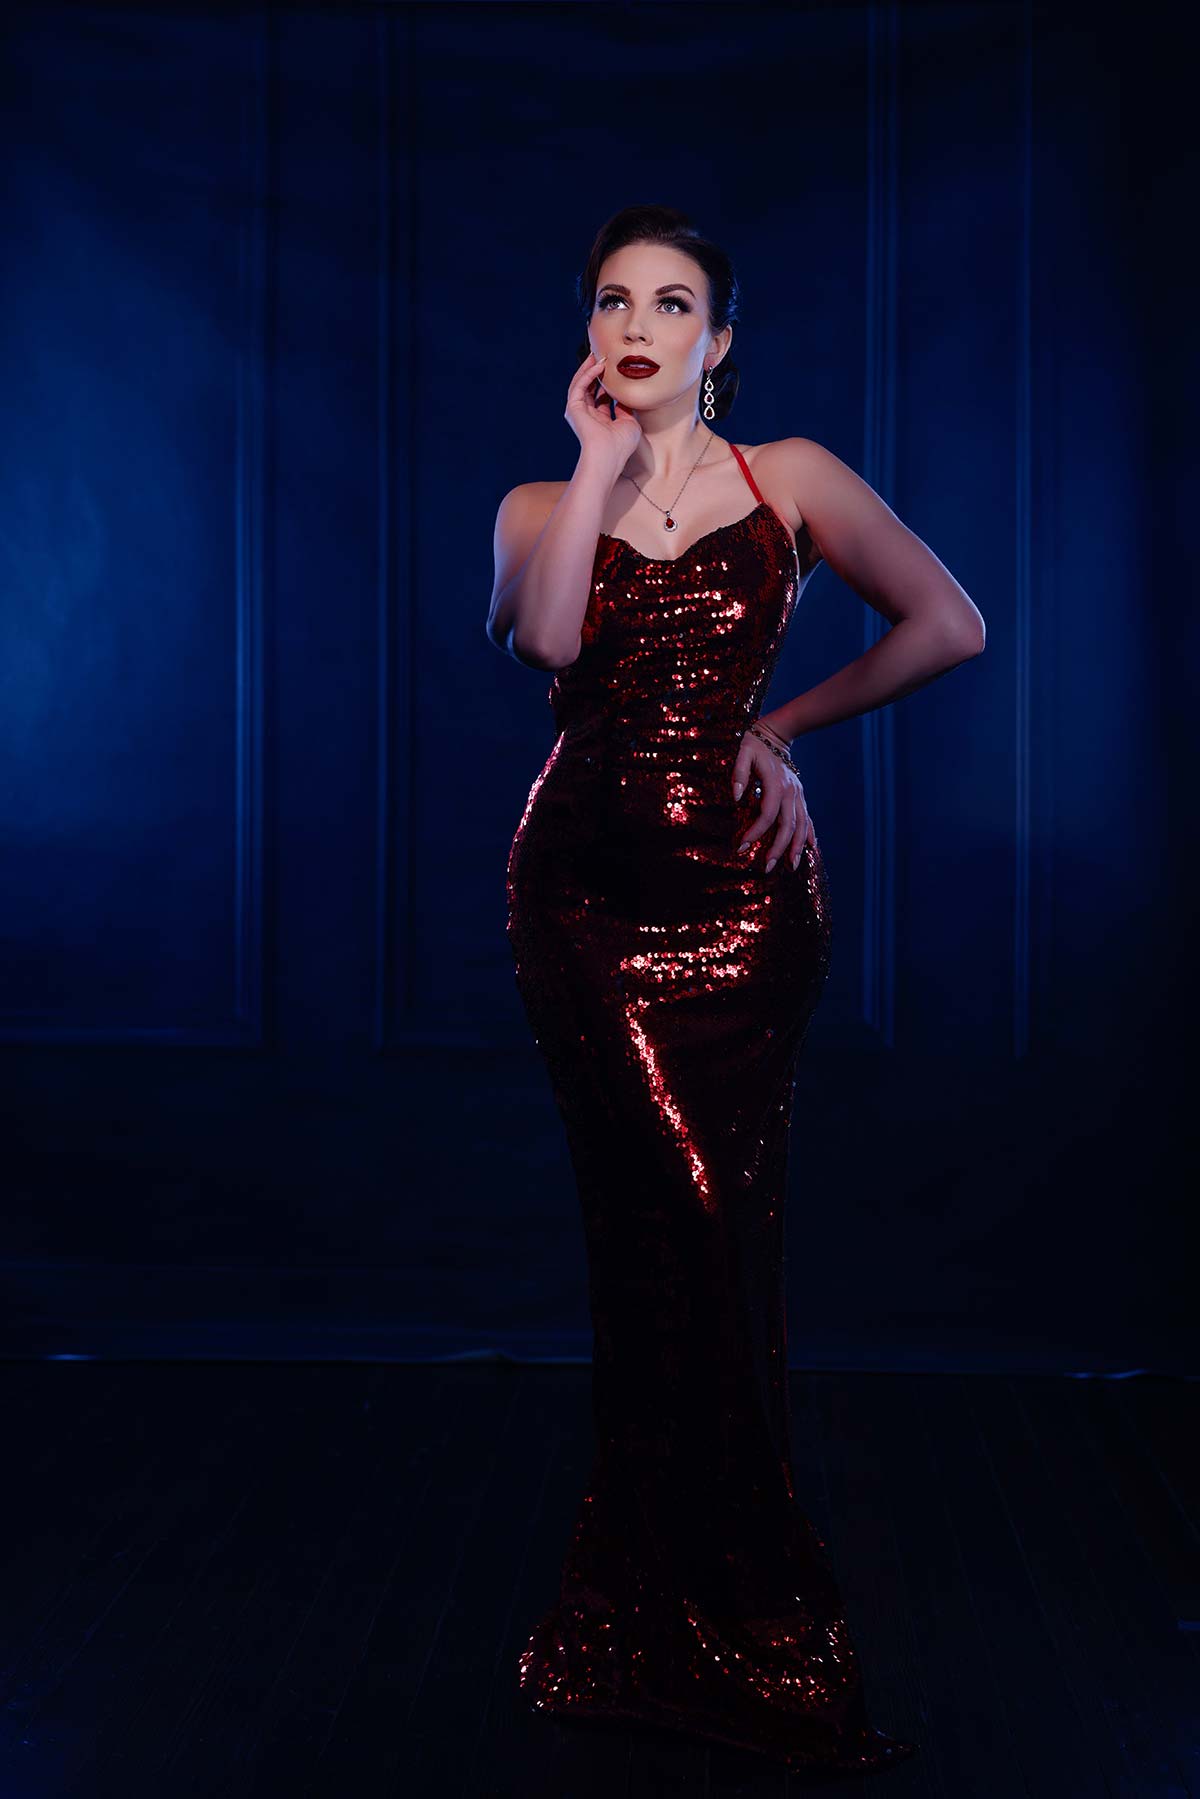
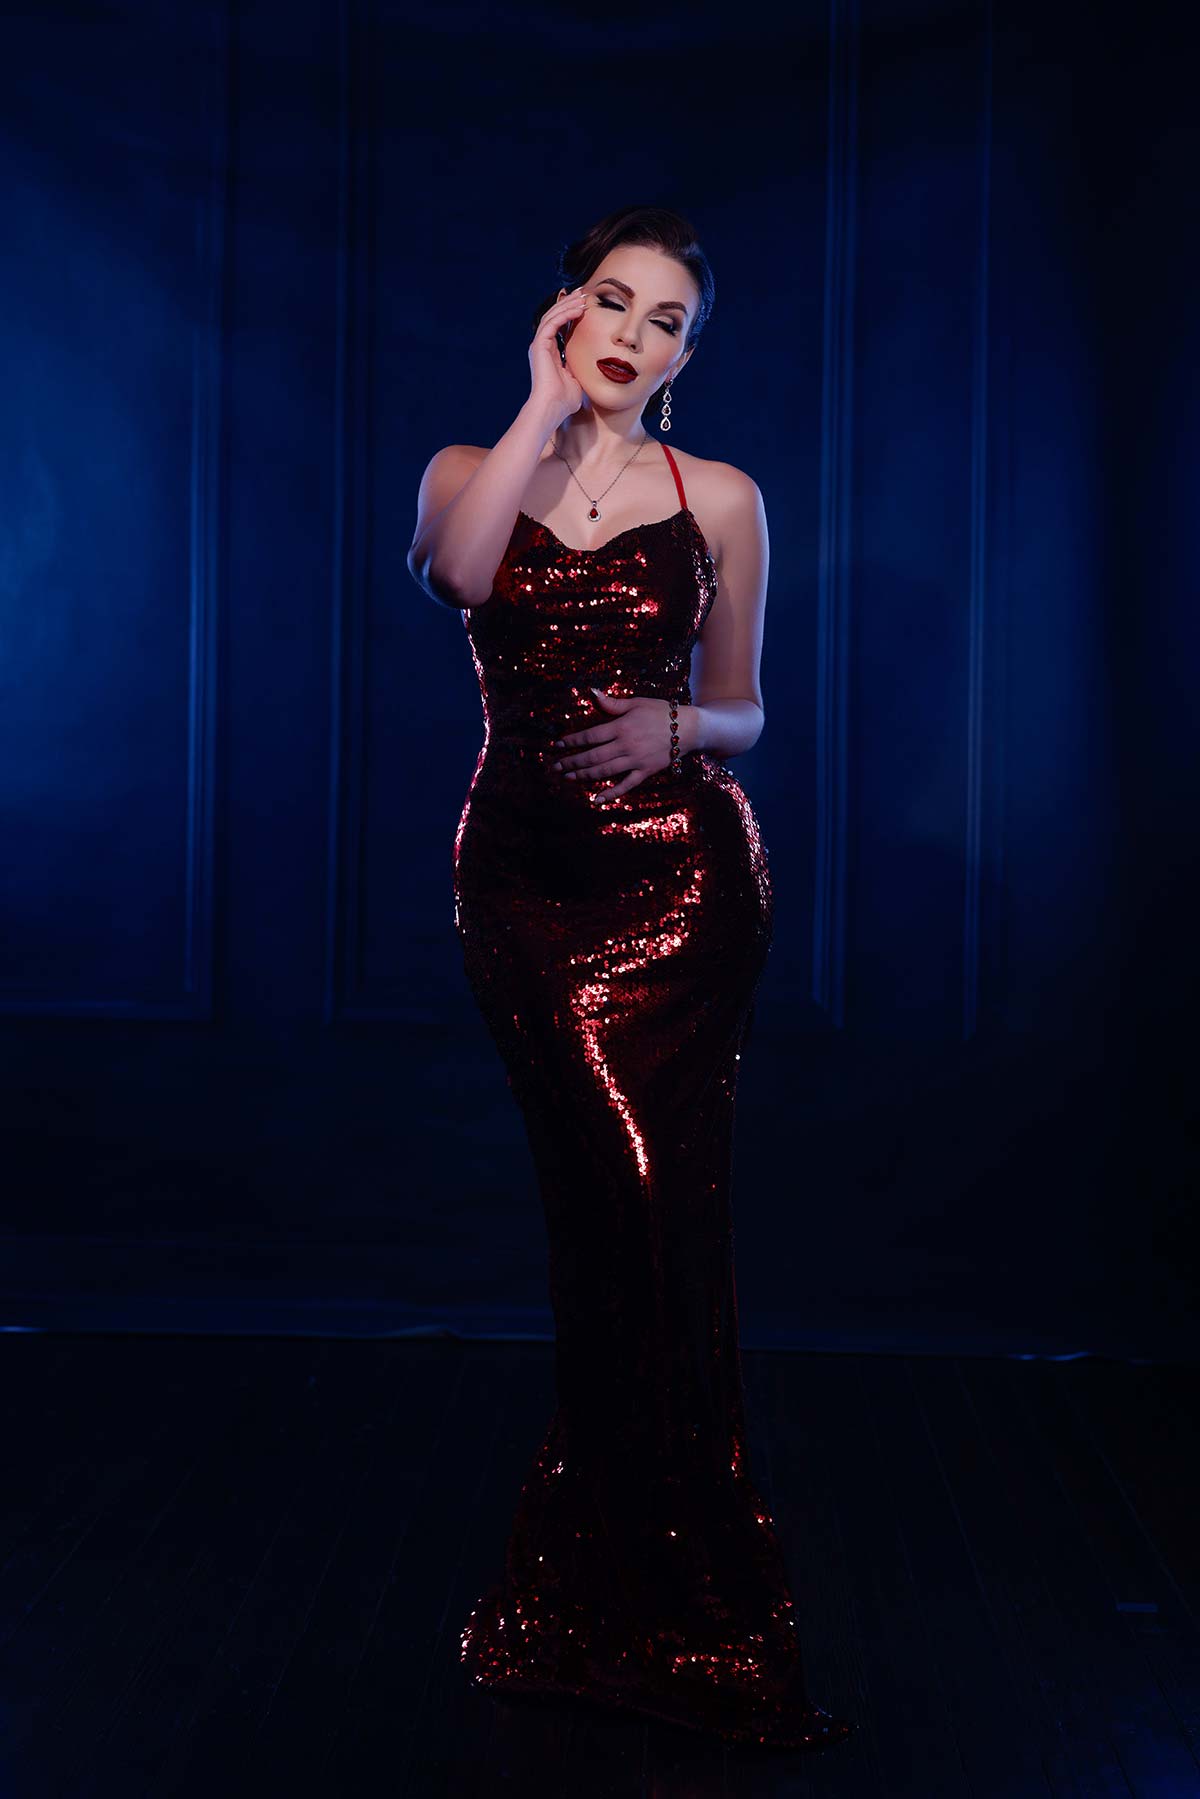
On this particular photoshoot, I used the perfect photography lighting kit to create a glam Hollywood style portrait. In addition, we added some canned aerosol to the shoot to create a little more texture in the background, and I used gelled photography and lighting to add to the mood of the shot.
Equipment Used:
Camera: Canon EOS R5
Lens: Canon RF50 f1.2
Light: Westcott FJ200, Westcott Optical Spot, Westcott Pro Light Mods
Team:
Photographer: Sal Cincotta
Model: Lauren Middleton
Hair & Makeup: Brandi Patton, ReFine Beauty
What’s up everyone? My name is Sal Cincotta. Today, we are going to jump right into creating two different looks. I don’t want to call it old Hollywood. We’re just going to call it Hollywood glam and we’re doing some really cool things here. So first of all, we’ve got Lauren here, model turned photographer, and she’s judging me today, so I’ve got to bring my game. But we’re going to do some really cool things.
Hollywood Glam: Look 1
From Westcott, we’ve got their brand new mod lighting kit. Did I say that right? Nope. Didn’t say it right. Westcott’s Pro Light Mods. I don’t know why anybody gives me a product to talk about because I have no idea. You know, you have a parent that just talks about things and they name everything the wrong thing? That’s me. That’s going to be me as I get older. Anyway, we’re using their Pro Light Mods on the background. And I did something here where we gelled it. I don’t want it to be the same color light, so we put some orange gel in there. It’s not necessarily CTO. It’s just orange gel that we gaff taped in there to just give a different color look. Then the main light is the Westcott Optic Spotlight that we’re using to create that kind of old Hollywood look and feel. That’s going to be, of course, daylight balance.
On camera, I’m using a Canon R5 and a 50 millimeter lens. Then what we’re going to do for a second look is we’re going to take away the mod lights from behind her and we’re just going to use the optical spot and sidelight to fill in the shadows there. But let’s stop talking about it, let’s get to it.
I got what I needed from an image perspective. So I really love the way everything’s looking. You’re seeing the images on your screen. Ooh, I know what I want to do. You know what we need to make it even more glam? We need canned atmosphere. This is atmosphere aerosol. Shake well. Now one thing I’m going to tell you from experience – do not do this when you have fire alarms because it will set them off. All right, so we’re going to spray this back here. Spray it up high, give it time to come down. Here we go. Looking back at that light. I think we need a little bit more, more canned aerosol is always better. Gorgeous. Lauren came to play Friday night. I don’t need anything else from this scene. These are absolutely killer.
Hollywood Glam: Look 2
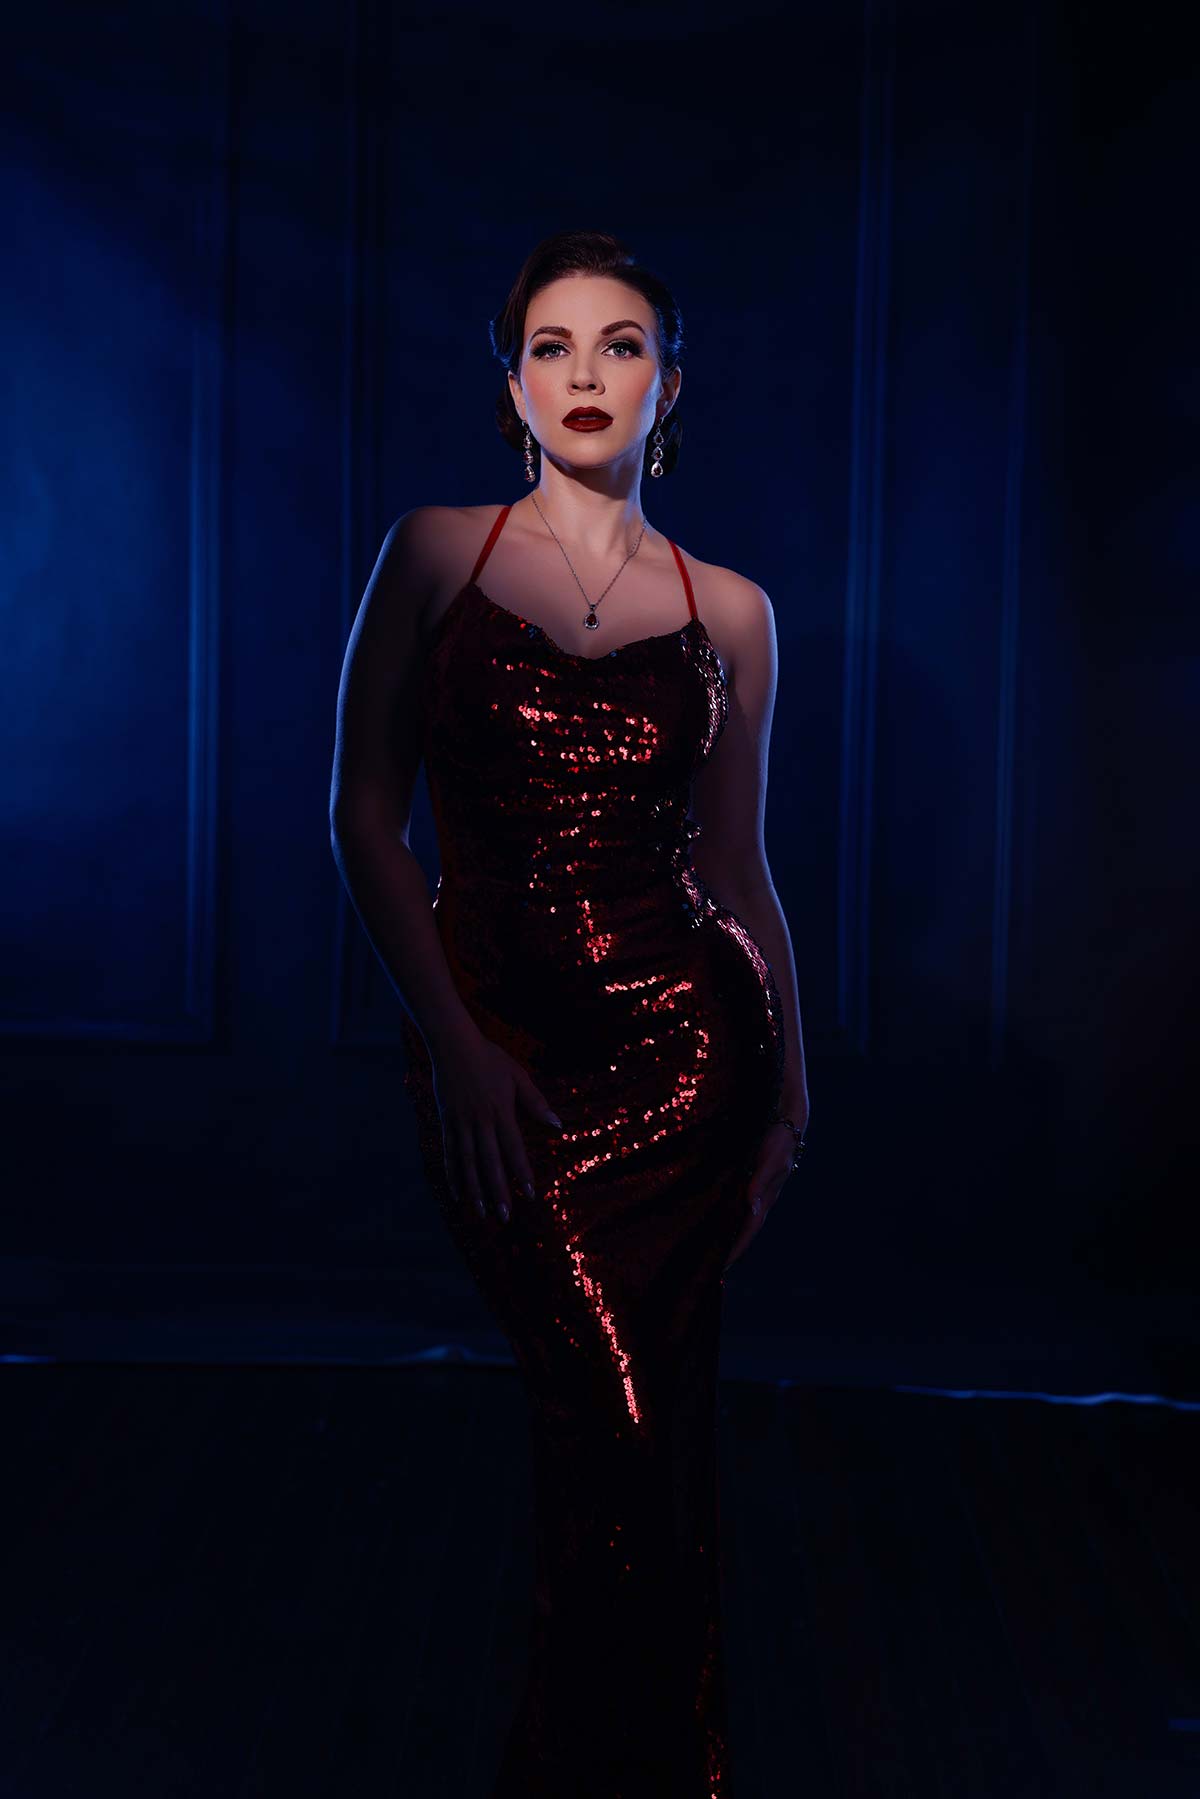
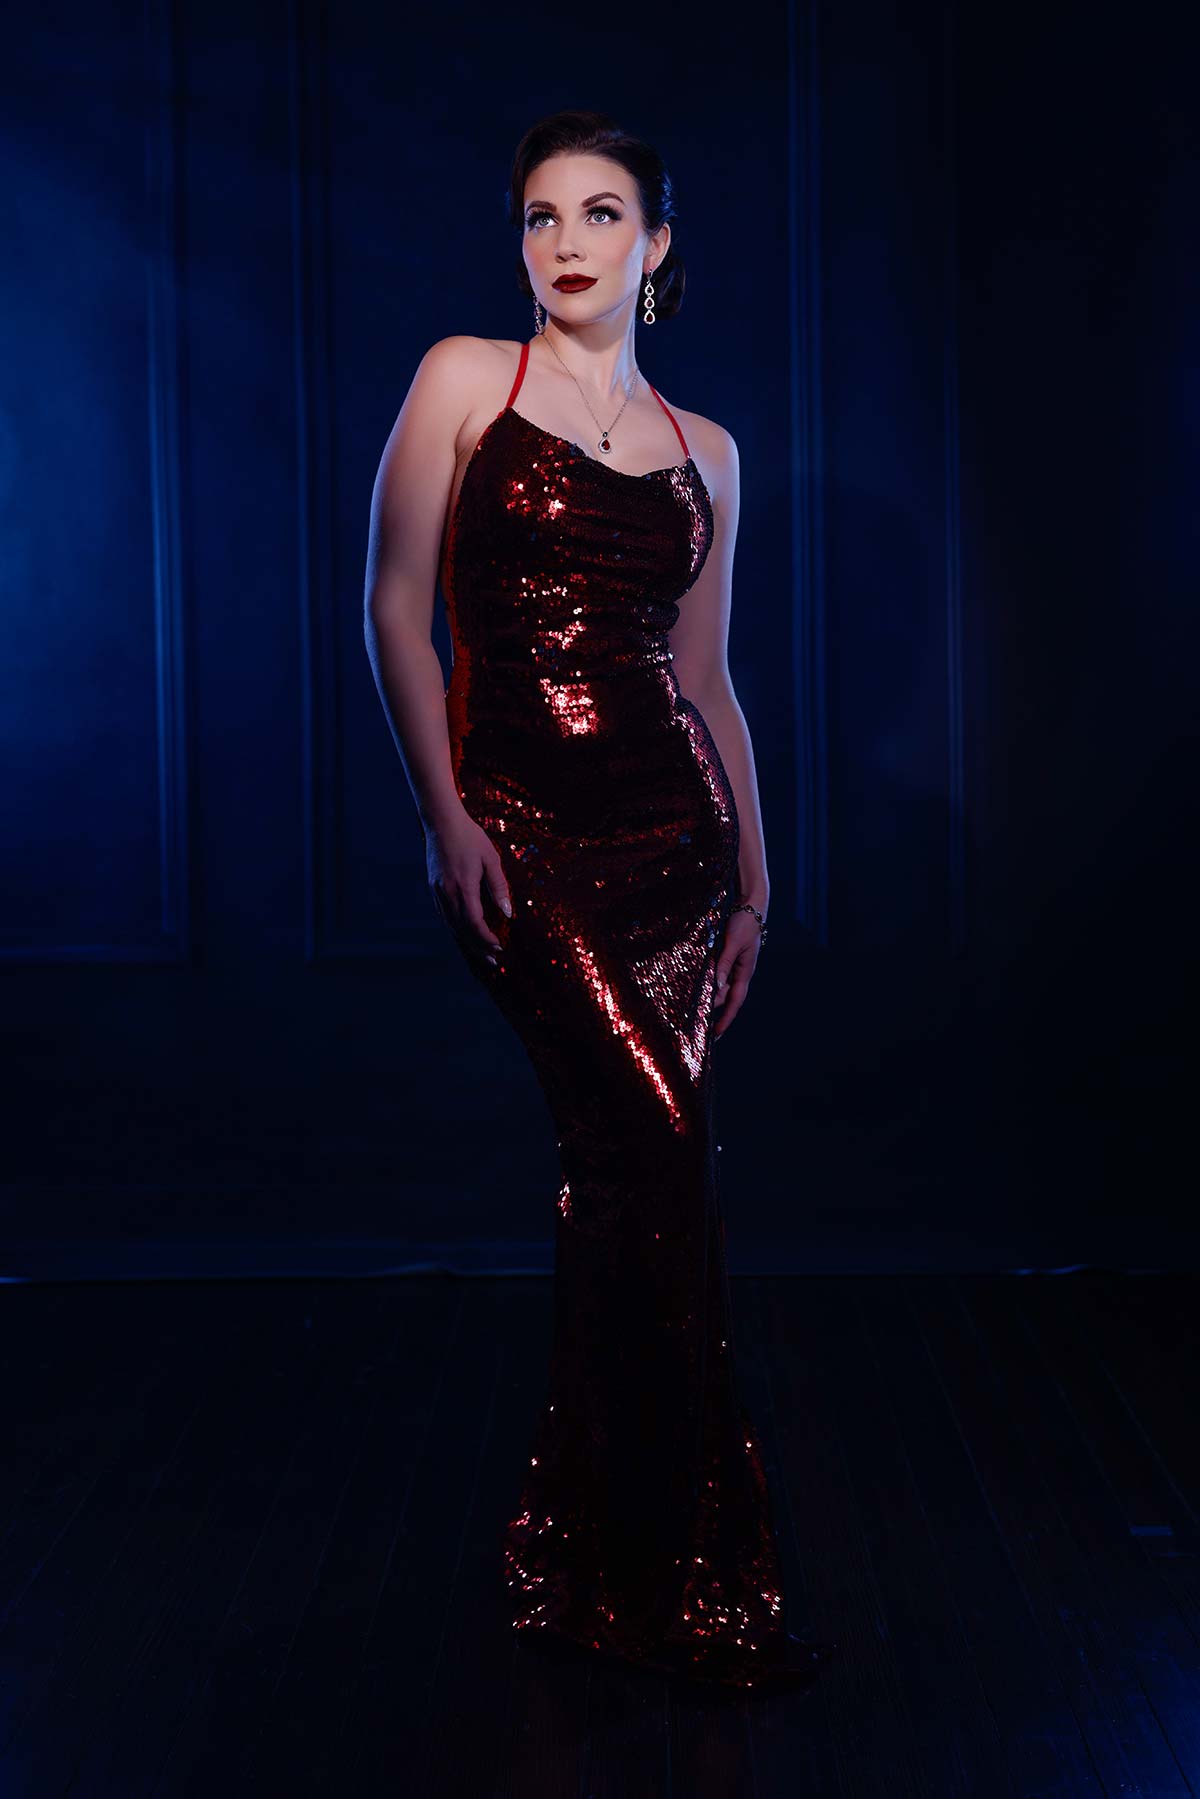
For the second look, I want to get rid of the Pro Light Mods in the background and I want to change color temperature. I have no idea how it’s going to look. Nobody in the studio right now has faith in me. My wife is not being a hype man. But Brandi, our hair and makeup team, she is hyping me up. All right, so what I’m thinking I’m going to do is put a CTO gel on the optical spot. We’re going to set the camera to 3200, and what that’s going to do with that light is it’s going to turn it just neutral. That’s going to neutralize. And then what I’m going to do is I’m going to remove the gelling from these lights behind her. I’m just thinking cool shadows. I am going to remove the gel here.
What I’m going to do is just fire this and wash it across the background, hoping that some of this actually leaks and hits her. I want a little bit of blue to go with this red. I don’t know if I need both of these. So for the time being, I’m going to turn this off. We’re just going to start there, right? So at this point, guys, it’s about experimenting a little bit. Now we didn’t talk about this, but settings on camera, I’m shooting at F3.2 1/200th of a second, ISO 200. We are just going to take a little test shot here. That really is what I’m looking for here. The light in the background is way too hot, but the color is what I’m looking for. Now, if I had to guess, I’m guessing that this gel I put on the optical is not a true CTO, and I’m going to turn down the power on that backlight significantly.
Now we’re cooking with grease. We’ll let Lauren do her thing. All right. I really like the blue tones. I’d like a little more. I feel like I’m not getting enough blue from this light on the right. There we go. Now she’s balanced with the blue. You’re seeing that. All right, but I got to stop because you know what would make this better? More atmosphere! Beautiful, Lauren. She’s crushing it.
All right everybody, that’s a wrap. Let me know in the comments which one is your favorite. We will see you in the next video.

