

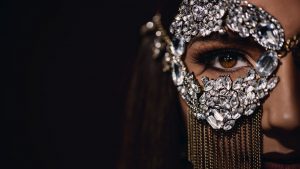
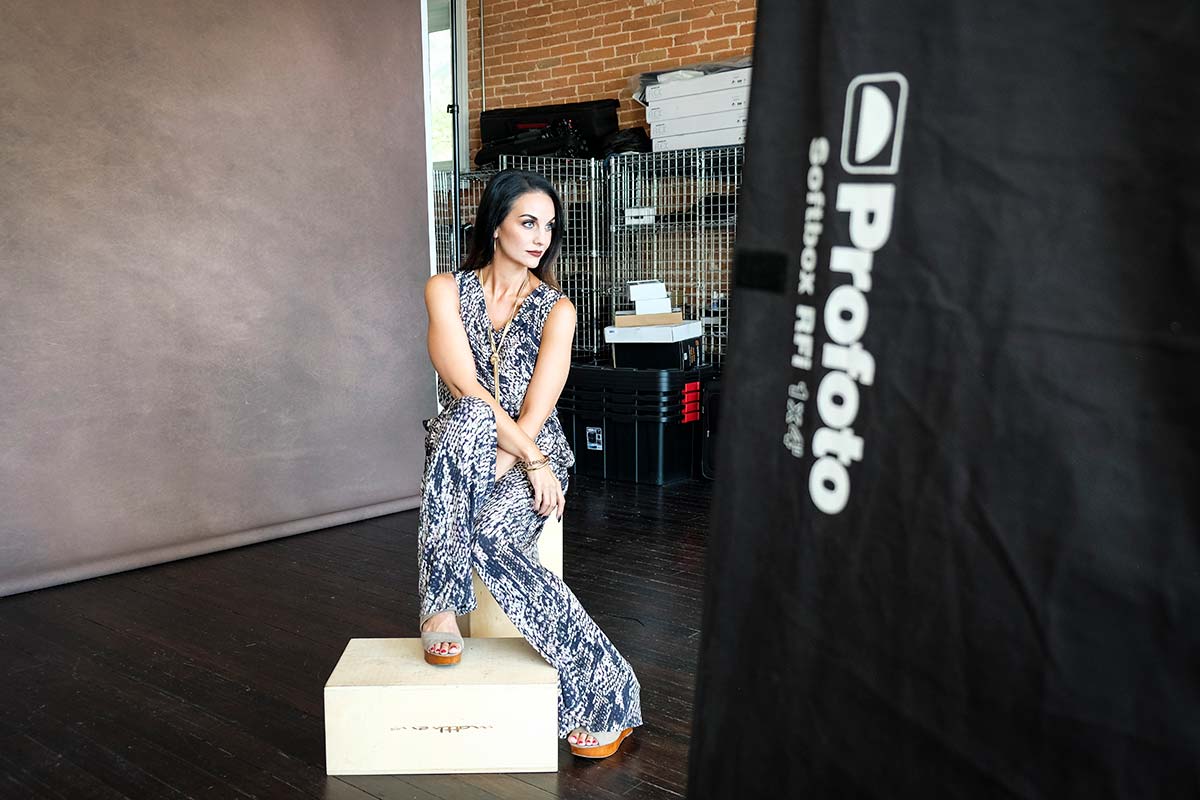
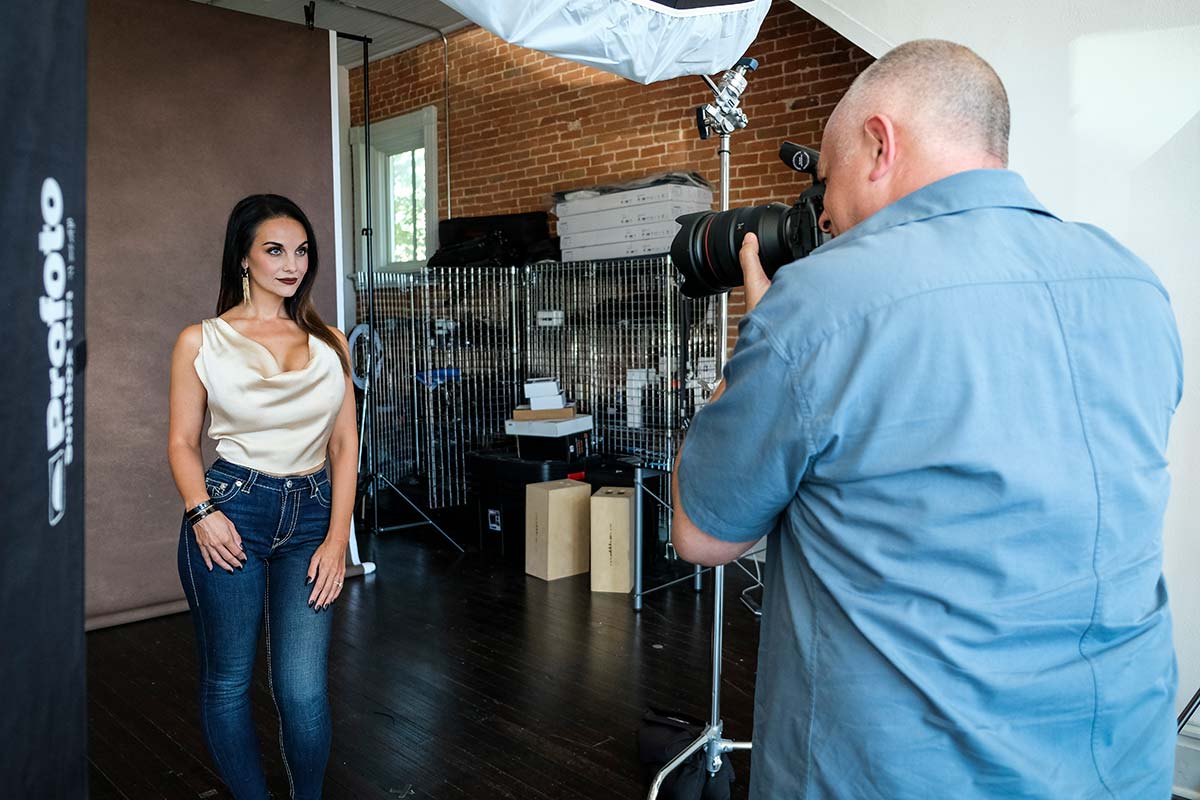
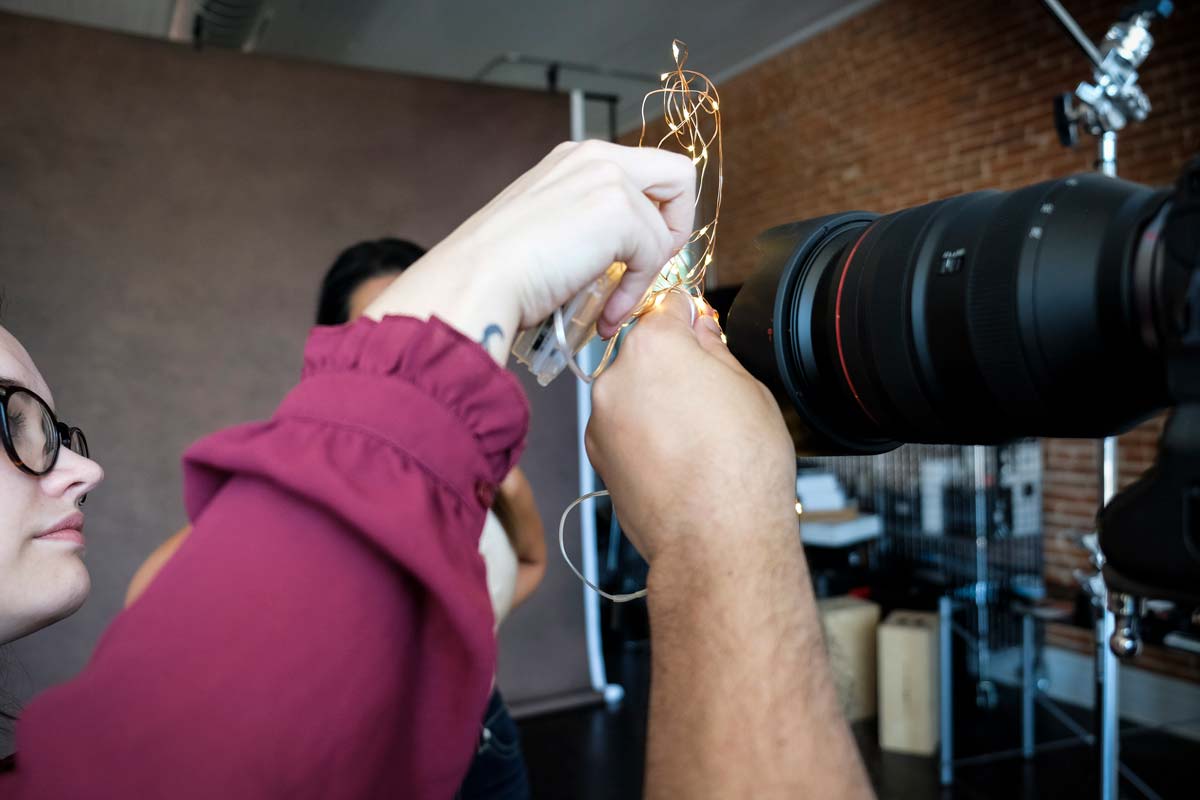
Level up your fashion photography with creative lighting techniques using portable tube lights. Learn how to shape light, control mood, and create bold, professional images in any space.

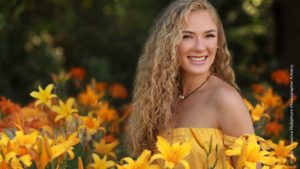
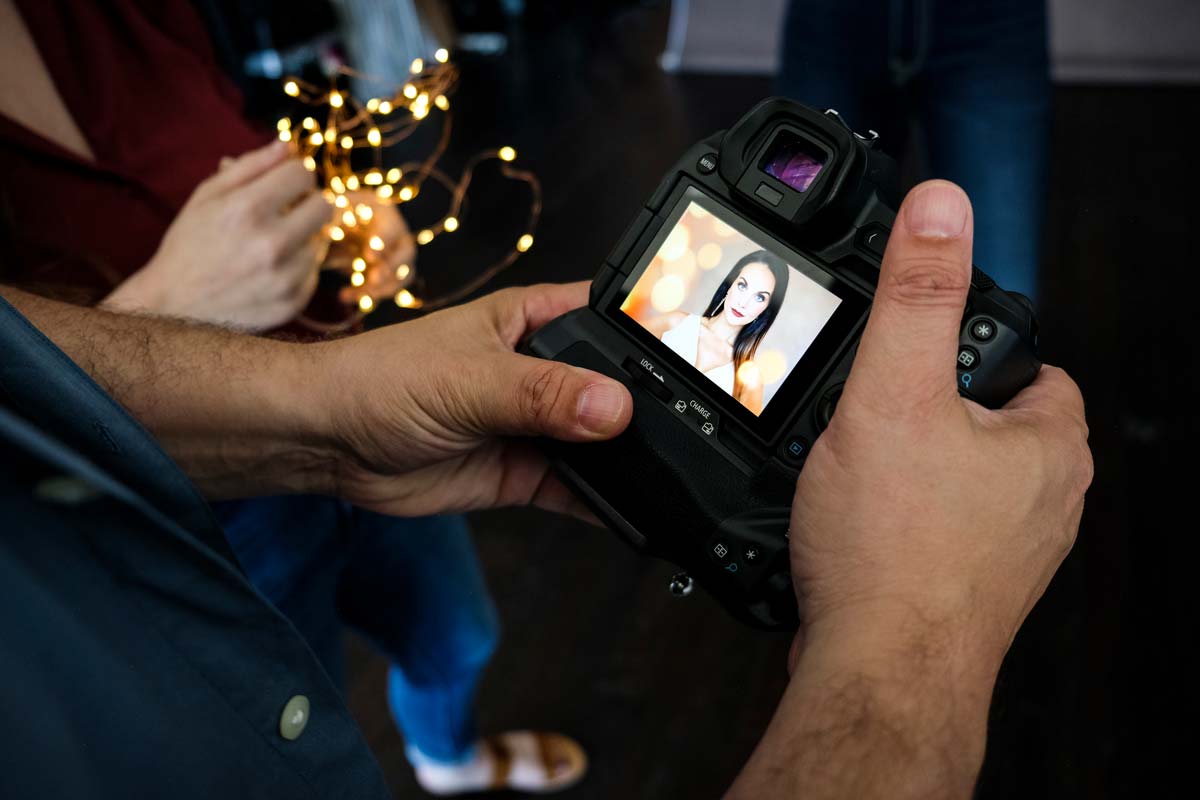
Create stunning golden hour portraits using continuous light. Discover simple techniques to achieve professional-looking results with ease.

This Post Has 2 Comments
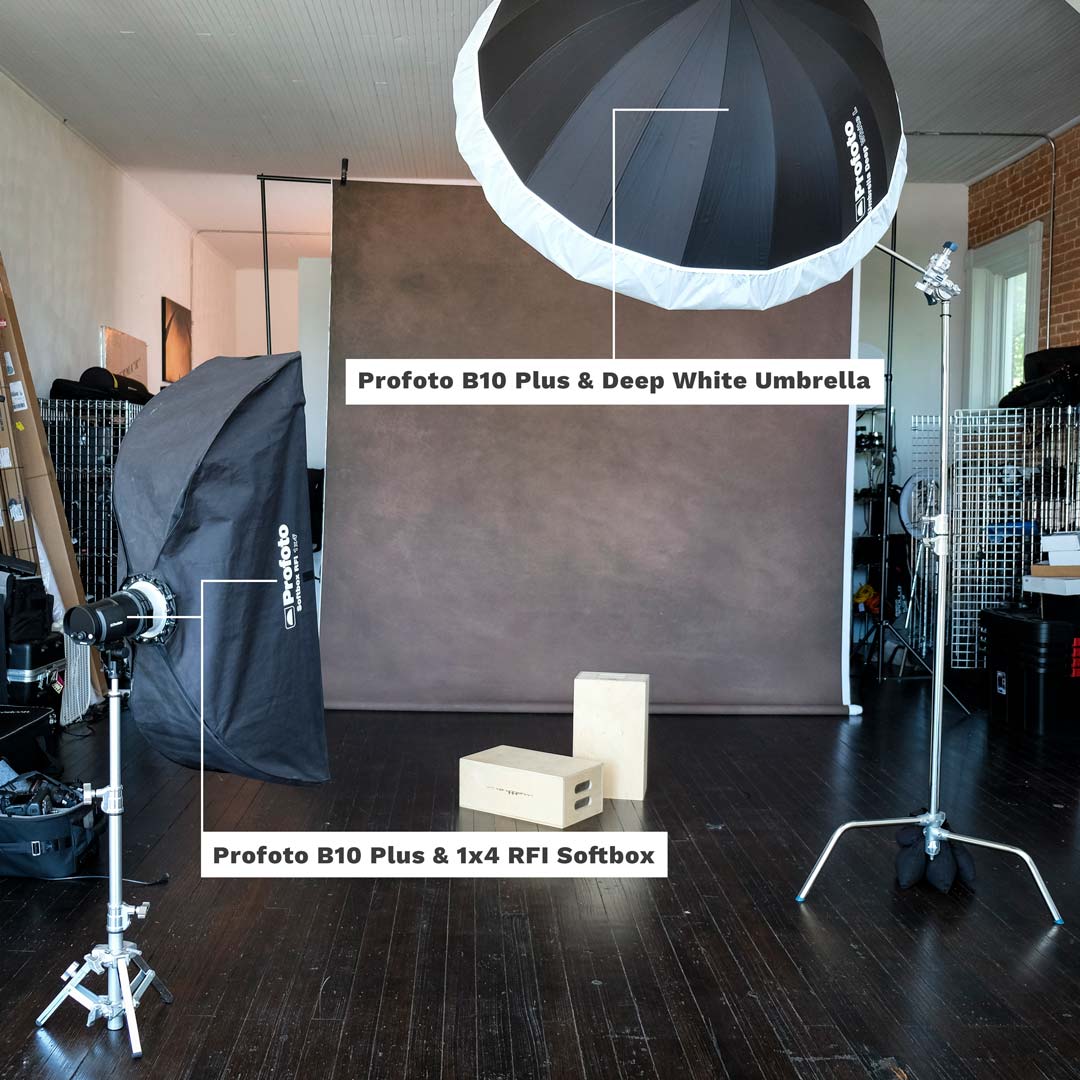
Appreciate the level of detail and logical flow. This was by far the most helpful intro to studio lighting and answered all of my beginner questions. Though now I have a new question: What brand of light-stand was used for the 1×4 softbox fill light?
Hi! Glad you enjoyed! That was the Avenger Baby Stand: https://www.amazon.com/Avenger-A0010-Photographic-Light-Silver/dp/B002B559RQ