3 Overlooked Posing Secrets with Vanessa Joy
Wedding photographers really do have an awesome job. We get to use our creativity, and at the same time create a lasting record of the bride and groom’s special day that they and their loved ones can enjoy for years to come.
Of course, there are challenges too. Over the years that I’ve spent in the wedding photography business, I’ve found that one of the biggest obstacles we photographers come up against is time—or rather, the lack of it. Sometimes it’s hard to get the bride, groom, and wedding party on the same page in the little amount of time we have for each specific stage of the shoot.
One thing really helps me to work around this issue: I make use of a workflow that allows me to quickly position the bride and groom in various poses and get the shots I need in just a few minutes. I can get a ton of great pictures, and at the same time catch up if I’m running behind for any reason, or if I just have a really tight time frame to work with.
In this article, I’m going to share with you three often-overlooked posing secrets that can really help you to save time during your shoot, and still give the bride and groom their money’s worth with memorable and elegant pictures.
1. Start With the Typical Pose
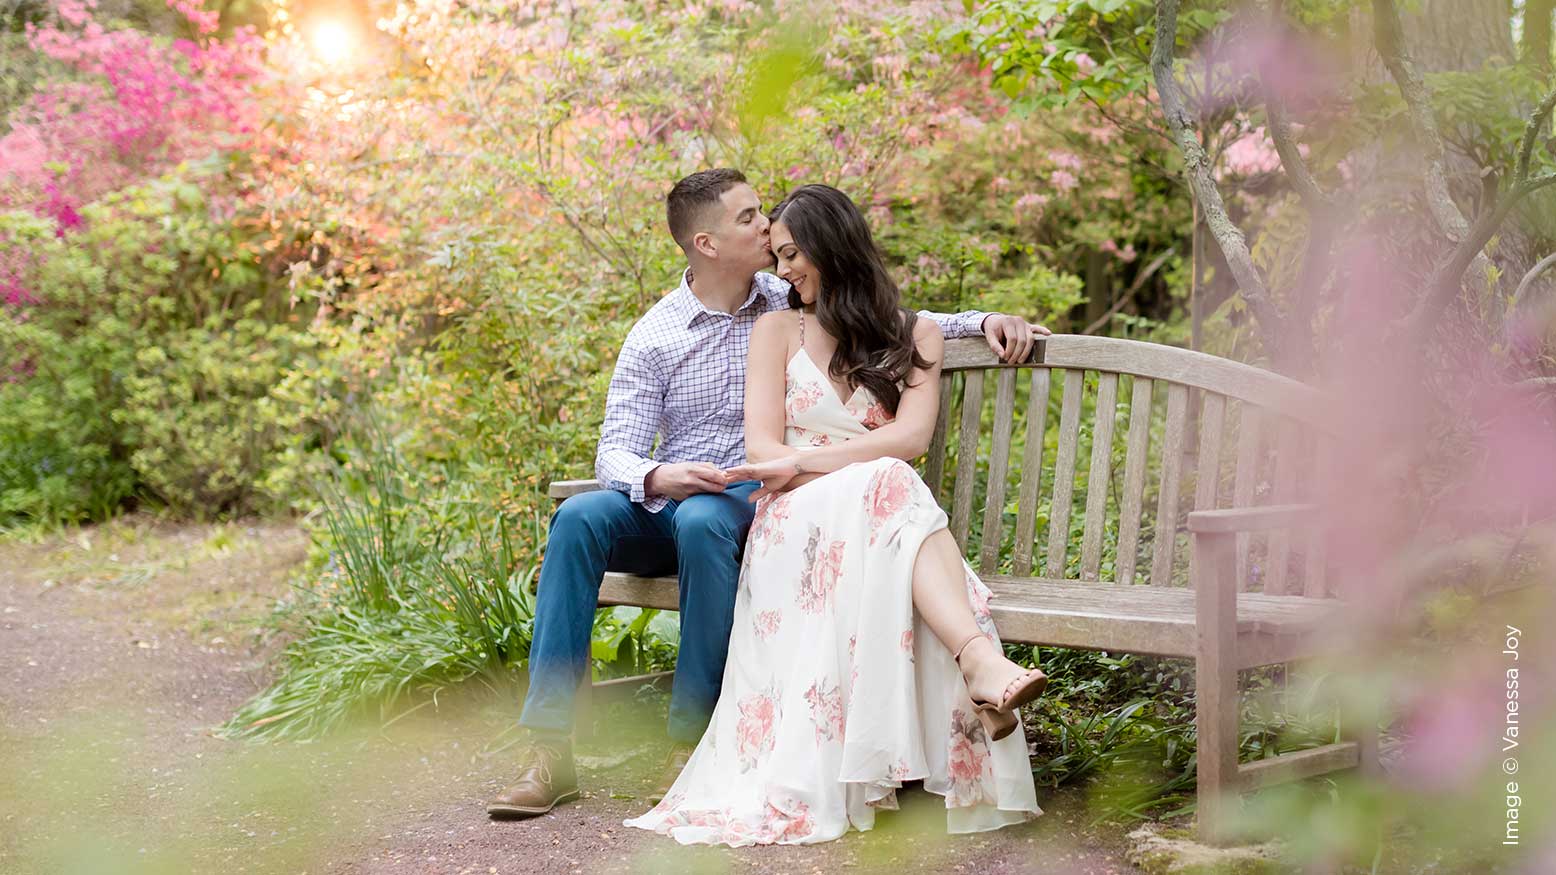
My first tip is to start with the traditional (some would say a little boring) couple pose as a base for the rest of your shots. You know which one I’m talking about: the bride and groom are facing the camera, she has her hand on his chest, he has one arm around her waist and one hand in his pocket. Even if you use a variation of this pose, the basic position and framing should remain about the same.
A lot of times, I’ll use my Canon 50mm 2.5 for this shot, with an ISO of 50 and a shutter speed of 1/200. Nothing too fancy. The great thing about starting with a traditional shot like this is that right off the bat, you’ll be bound to please the, well, traditionalists in the wedding party (whether they are the parents, other relatives, or anyone else). However, you’ll also be able to use this pose as a jumping-off point for more creative camera work. This leads to our second posing secret:
2. Once You’re Set Up, Keep Your Clients in Place
Instead of moving the bride and groom around, keep them in position, but start adding variations in pose and angle to your starting point. Here are a couple of pointers on how you can make this happen:
- Have them interact with each other. Make them comfortable! Joke around with them, and have them look at each other and converse in a relaxed way. As they’re doing so, take shots from different angles to capture the bride’s facial expressions as well as the groom’s. I like using a shutter speed of at least 1/250 for this part of the shoot, since they’ll be moving around a lot and you’ll need to freeze that action.
- Focus on details. As you continue to work your way around the couple and take those differently angled pictures, try to hone in on specific, photogenic details. For example, the bride’s dress may be a great focal point for one shot, the bride and/or groom’s ring could be another, and of course, facial expressions and reactions almost always make for great pictures.
Then, you can easily transition to individual shots of the bride and groom. For this part, I like to switch to a 135 lens with an ISO of 100 (if I can get that low) and a shutter speed of at least 1/400 when working with a long lens. I back up a little bit, and have the couple remain a few steps apart so that I can easily get solo shots of the bride and groom, and then shots with one in the foreground.
I like to have fun with this part. There are so many cute wrinkles that you can add to these shots (metaphorically, of course). For instance:
- Have the couple look at each other
- Have one of them come up behind the other and give them a big hug (maybe a love bite on the neck, too)
- Have the bride take hold of her dress at waist-height with both hands for a “feisty” pose
- Have the groom kiss the bride on the nose
Really, the possibilities are limitless. So to recap, within just a few minutes, you’ve been able to accomplish the following:
- Take a picture of the couple in a typical pose
- Capture an array of variations on that traditional pose
- Snap individual shots of the bride and groom, and several variations on those shots
That’s amazing for just a few minutes of work, right? It really all comes down to planning and execution, which is a great segue to our final posing secret:
3. Set Up Your Own Flow
Each photographer is different, and each has their own style and method to get the work done. You should not only find a way to capture as many important shots in a short time frame as possible, you should find a way that’s comfortable for you. After all, you’re the one who’s going to be working that process when you’re under the gun.
For example, maybe you’ll want to start with the individual shots first, and then transition to couple shots. There’s nothing wrong with that! The key is to find a method that allows you to quickly get the bride and groom on the same page, and then have your lenses lined up so that you can seamlessly switch back and forth between them. It’s also helpful to have a go-to set of poses or way of working that avoids drawing posing-blanks in front of your clients (a nightmare).
Creativity on demand can be super difficult, especially in a fast-paced, high-pressure scenario with a ridiculously long list of photos for the time given. Not to mention that somehow, everything always runs late, and it’s always the photography that has to make up for it. In my experience, a workflow similar to the one outlined above will save you a lot of time, and will make your job a lot less stressful. It will also help you to capture some amazing pictures that might have otherwise been missed because of a time crunch. If you’d like to explore some other awesome tips to make your photoshoot a smashing success, check out www.SpeedPosing.com.