5 Key Elements of Portrait Post-Production Workflow with Holly Lund
I’m often asked how I achieve my signature style of editing, but also how I achieve it consistently, especially since I edit every image by hand. The fundamental ingredient to my Portrait Post-Production is a consistent workflow.
Finding your rhythm as an editor is going to enable you to achieve a foundational style as well as decrease the amount of time you spend editing each image. You will find yourself taking less time to question what step to take next when you have a workflow in place that actually makes your work flow.
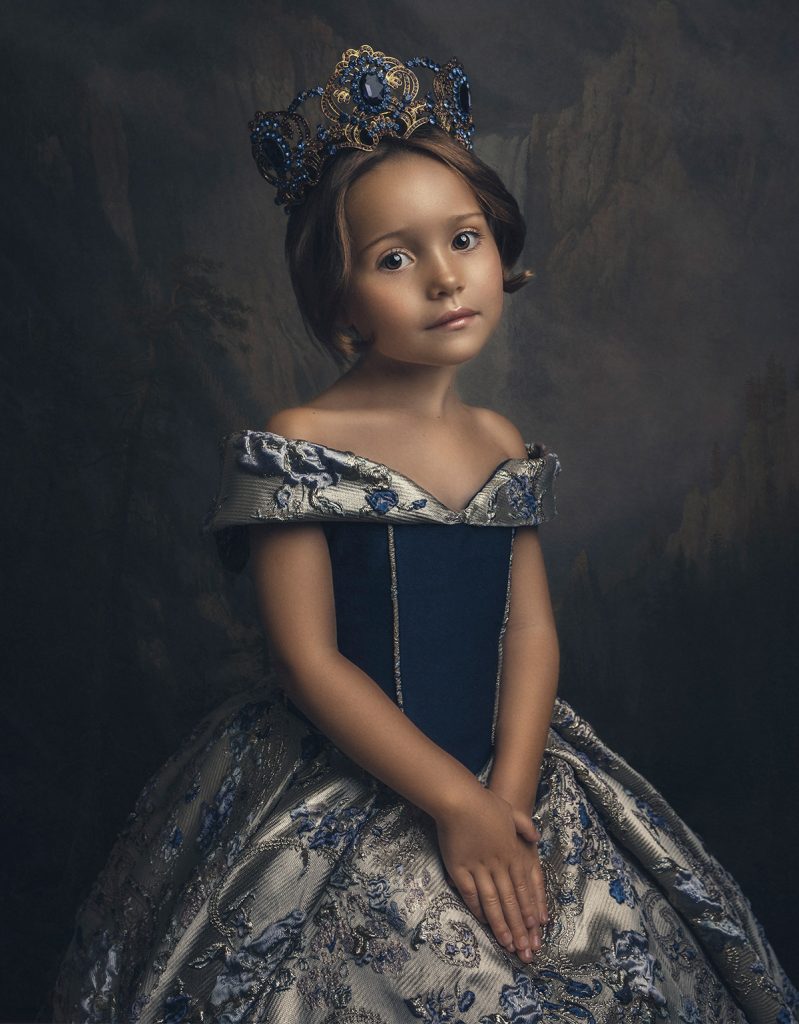
I started photographing children pretty regularly about three years ago and eventually evolved into an editing style I like to call vintage modern. Coupled with the same style of wardrobe and posing, I like to blend hints of classic portraiture with 21st-century feeling. I often draw inspiration from 18th- and 19th-century portraitists like Élisabeth Vigée Le Brun, Adélaïde Labille-Guiard, Thomas Gainsborough, Franz Xaver Winterhalter, and John Singer Sargent; source vintage clothing reminiscent of similar time periods; and then factor in the contemporary personalities of the children I’m capturing.
I’m careful to blend these elements together in an appropriate measure. Your editing choices should not only complement your subject, styling and posing, but it must also evoke the emotions that are present. You will find that I scale my saturation depending on how lively the child is. Similarly, I will make choices in the strength of my textures when an image has more of a painted quality to it. An image that is pure emotion is often black and white. I do not limit myself to categorizing my editing style in a box, like the popular light and airy or dark and moody trends. My workflow of how I manipulate my light and the manner in which I apply my color grading is what contributes to my consistency.
Each artist must find a workflow that suits them, so by no means is what I’m about to outline any sort of portrait editing scripture. This is what works for me!
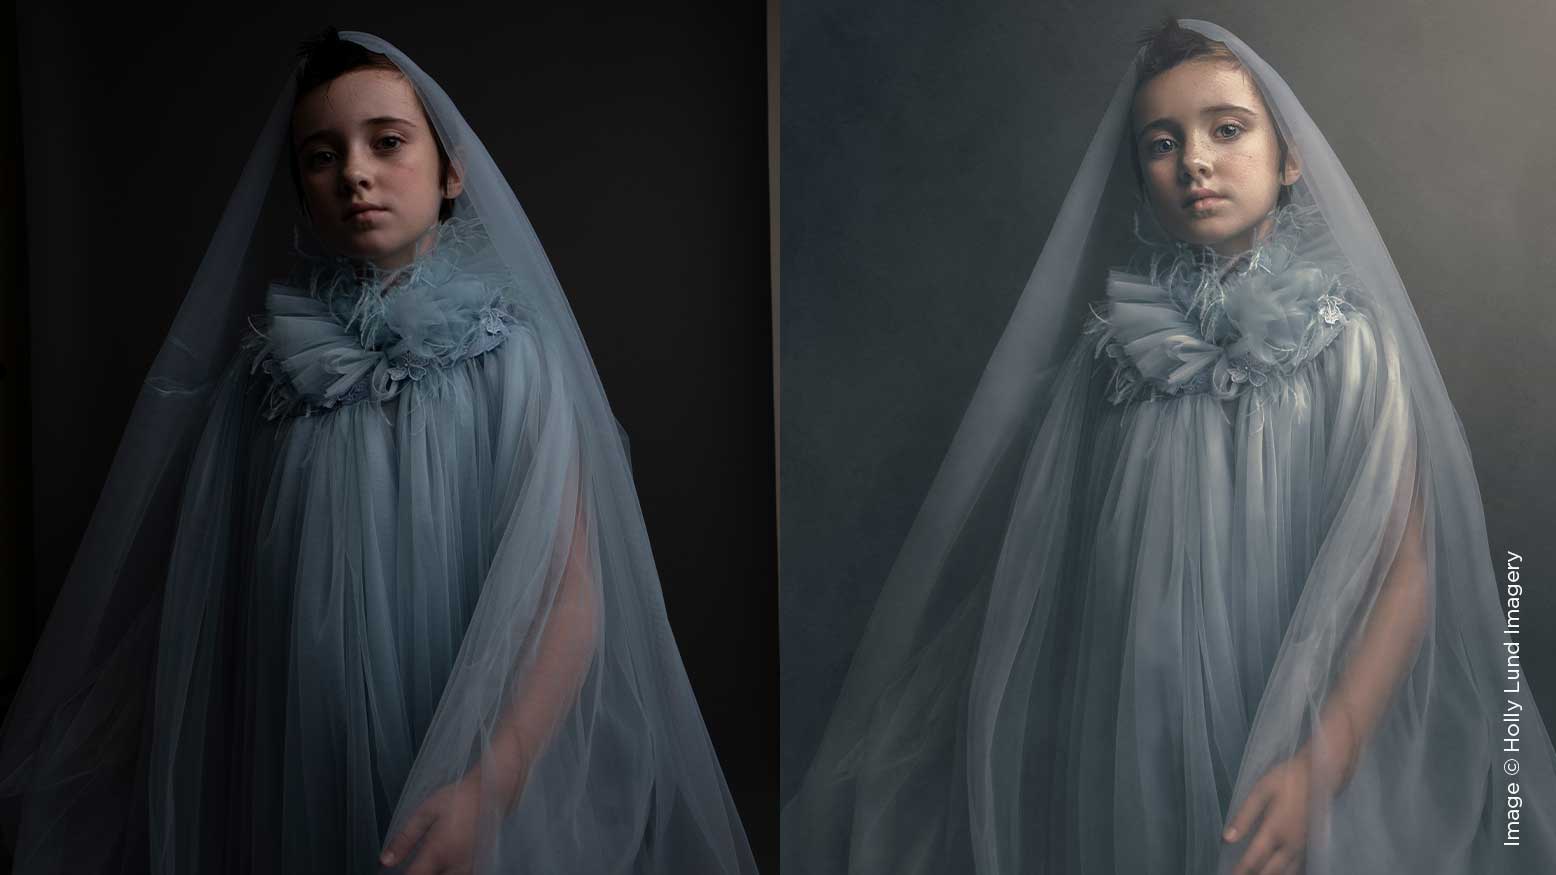
Let’s walk through my entire process with one image so you can see what I see.
Step 1. Lightroom
Ah yes, the ever-present Lightroom versus Adobe Camera Raw debate. Lightroom is where I got started prior to learning to edit in Photoshop. It was my comfort zone, it still works—no complaints!
Once I’ve selected my chosen image, I always enable profile corrections to remove any lens distortion and then crop to my desired ratio. For portrait orientation, my preferred crop is 4:5.