
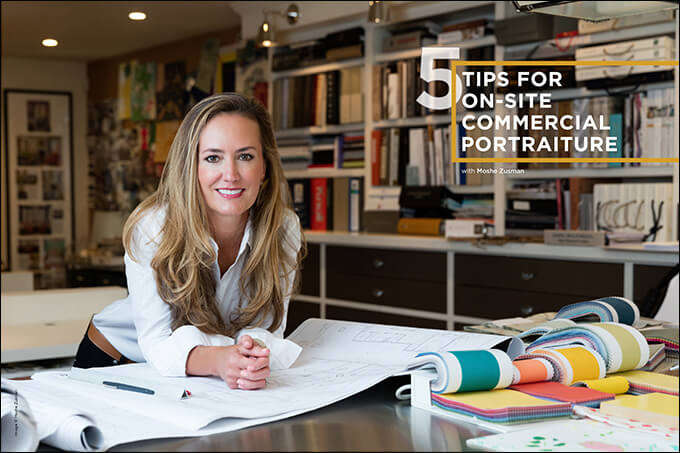
5 Tips for On-Site Commercial Portraiture with Moshe Zusman
Want more information on this article? Get access to video content and additional supporting images. Launch the March issue of the magazine by logging in or signing up for a free account by clicking here. Shutter Magazine is the industry’s leading professional photography magazine.
A big misconception about portrait and headshot photographers is that they’re always shooting in a studio. They actually shoot on location pretty frequently. Shooting on location is fun for me. It is a bit more challenging, but it gives me the chance to be more creative.
Since I’m not shooting on the typical white backdrop, there’s a lot more that I have to take into account when I’m preparing, including what gear to bring and where to set up. I didn’t always have a studio, so most of my early wedding shoots were outdoors or on location indoors. Shooting on location has become routine, and we look forward to taking a break from the studio. I get to spread my wings a little.
There are five things you want to think about with on-site business portraiture.
- What equipment should you bring?
Because schlepping gear all over the place can be a literal pain in the butt, minimize the gear you bring on commercial shoots, but don’t give up essential equipment. For example, if I need to bring a light shaper and have a choice between a softbox and an umbrella with a baffle, I will likely bring the umbrella with the baffle. The light coming out of both is similar, but the umbrella collapses faster and is much lighter and easier to carry.
When shooting on location for a client, it’s important to know what the final product is. This helps ensure you don’t take everything you own with you. Unlike with weddings and engagements, where you tend to bring all of the typical gear that you shoot with, on-site shoots are the opposite. Ideally, you have an idea of the final product, so you can bring appropriate gear.
If you’re shooting a group shot in a small space, you probably don’t need to bring your 70–200mm lens. A 24–70mm will do just fine. All of this will help determine what kind of lighting and equipment you’ll bring. Scout the location you’ll be shooting so you have a good idea of what gear needs to come with you. If you know you’ll be shooting outdoors or next to a window, the time of day of the shoot can greatly affect what gear you bring.
- Pick the right location.
When picking a location to shoot, your clients’ interests should prevail. Sometimes I arrive to a shoot and my client will want me to shoot in a specific room or have a certain building in the background. Another client will have an idea of what they want the final product to be like, but no specific location in mind. In this case, I have a lot more creative freedom and get to make decisions photographically that will benefit the final image.
If I have my way, there are three things I’m looking for in an off-site shoot: high ceilings, a larger room and enough ambient light so I’m not shooting in the dark. I prefer high ceilings so that I can place my lights wherever I would like. A larger room is nice so that I can optically separate the subjects from the background, rather than just using light to do so by creating more depth in the image. Finally, a place with a good amount of ambient light is preferred so I can create a nice balance between the ambient light and my Profoto D2’s.
- Learn to deal with small spaces.
When I don’t get my way, I have to improvise. One of the biggest hindrances to small spaces is how they affect the way I use lights and light shapers. One way I improvise is by replacing lights with reflectors. If I want to put up a second light but don’t have room for it, I use a reflector instead since it’s flat and I can direct light perfectly. If I don’t have space for a hair light, I place my subject next to a window and use the light coming through the window as a hair light. In a pinch, I use a set of Profoto modifiers that are flat and can fit into small spaces and still work beautifully.
- Make it look natural even with mixed lighting.
Dealing with mixed lighting is a common problem for any photographer, whether you are shooting weddings or on-location portraiture. One of the best ways that you can tackle this is by understanding how gels work on your strobes and flashes. Gels are used primarily in two different ways, either to color correct or to color enhance. When I’m shooting on-site portraiture, I want the ambient light to nearly match that of my strobes.
Last night I shot in a garage that had really horrible lighting. It had overhead lighting and nothing but fluorescent colored light spewing everywhere. My strobes are Profoto D2’s, so they are a daylight-balanced light. In order to match my light to the florescent lights, I put a green gel over mine. It helped balance the ambient fluorescent lighting to the lighting that I brought with me for a more natural look.
A more common example is one that wedding photographers are very familiar with when shooting in a reception room. A lot of indoor lighting is tungsten, which is orange-like compared to the daylight-balanced light on flashes and strobes. To combat this, I put a CTO (color temperature orange) gel over my strobes to match the warm, ambient light of the room.
- Put your clients’ needs over your own creative needs.
When we shoot, whether we’re hired or not, we tend to have a vision in our mind of how the photo should look. When you’re working with a client, it can be hard finding a middle ground between their needs and yours, especially if that middle ground compromises photography rules that you’d prefer not to break.
Clients have their own vision of what they want something to look like, but because they’re not photographers, they don’t understand how to make it come to life. I talk with my clients extensively about what they’re looking to do, and try to impart my photographic knowledge into the process as much as possible. Ultimately, I’m going to do what the client wants. If it’s something that’s super far away from what I would have done or it’s not coming out right, I suggest a different angle or method. I do this only after taking the shots they want. This shows the clients another option (the better option) without stepping on anyone’s toes or making it look like you’re not flexible.
As we all know, clients have visions made of rainbows and unicorns, and will find inspiration on Pinterest of a beautiful setting with natural light and West Coast sun. Then, you’ll find you have only a basement room to work in at midnight. Communicating with clients about what is possible is an art.
Shooting on location has its challenges and rewards. It adds diversity to your portfolio that can land you more jobs.
Check out this video, in which I walk you through the photos, lighting and steps I took to create a final image for a recent commercial client.
Want more information on this article? Get access to video content and additional supporting images. Launch the March issue of the magazine by logging in or signing up for a free account by clicking here. Shutter Magazine is the industry’s leading professional photography magazine.


This Post Has One Comment
Oops, good info but the link to the video is missing. By specializing in location shooting you also minimize the cancellations due to the unexpected situations that crop up in the client’s schedule. Also, you really can capture their talent in action if they have a skill like an artist or construction type business.