add textures to your images
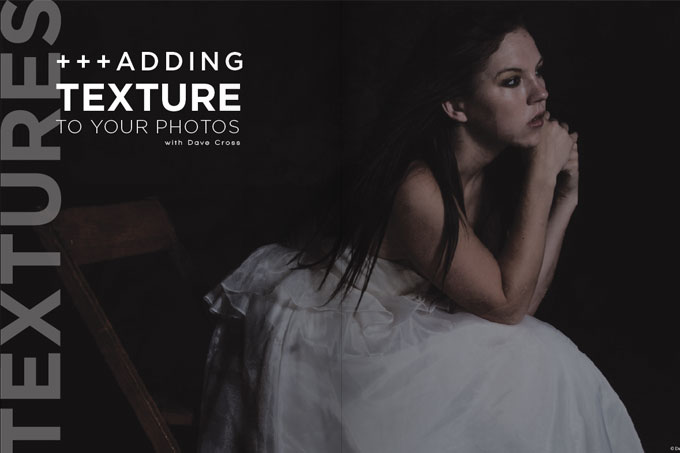
add textures to your images

DCross_BTS_TeaserBIG

As is usually the case in Photoshop, there are probably five different ways to quickly and easily add an effect to photos, but I want to show you a couple of my favorite methods. They’re my favorite methods because they meet my requirements of being flexible (easily editable) and reusable.

Smart Filters

The first method is great because it doesn’t require any external images–everything is built into Photoshop. In order to make this work, we need to convert our Background layer to a Smart Object. You can do this either by going to the Filter menu and choosing Convert for Smart Filters, or by right clicking beside the Background in the Layers panel and choosing Convert to Smart Object. Same end result, just two different ways to get there.

Now from the Filter menu we’ll add a texture. Again there are plenty of interesting choices here and I’m not going to go through them all, but instead show you the steps and you can experiment with different filters. In my example I’m going to use the Texturizer filter, which as of Photoshop CS6 is found in the Filter Gallery. One of the suggestions I have is to overdo the filter settings at first so you can easily see the results, remembering that you can always back off the settings (that’s the beauty of using Smart Filters).

Here I chose Canvas as my texture and put the relief setting quite high, which created an effect that was a little much. The Smart Filter shows up in the Layers panel, and that’s what will give us some options.

Get the full story

To read the full article, launch the digital version of the May 2013 magazine.

You might also like:

Leave a Reply

Want more content like this?

Check out our recent posts

yt thumbnail portrait lighting and understanding rembrandt lighting

Portrait Lighting and Understanding Rembrandt Lighting

Ever wondered how to nail that classic, beautiful lighting in portraits? Look no further! In this video, we’re diving deep into the wonderful world of Rembrandt lighting for your in studio portrait photography – it’s like painting with light!

Watch as we break down portrait lighting and understanding Rembrandt lighting in the simplest way possible. No fancy jargon here, just pure, easy-to-understand tips and tricks. We’ll show you how to create those gorgeous shadows and highlights that make your portraits pop!

Whether you’re a newbie or a seasoned pro, there’s something for everyone. We’ll walk you through the history, the basics, and even some cool practical demonstrations. Get ready to take your portrait game to the next level!

Read More »
new westcott fusion by salvatore cincotta thumbnail

New Westcott Fusion by Salvatore Cincotta

The new Westcott Fusion by Sal Cincotta is something I’ve been working on with Westcott for a couple of years now. It’s an incredible product that will give you more lighting possibilities than you could imagine.

Check out this on location shoot and how we use the product. More videos coming.

Read More »