
Creative Lightroom Presets
If you’ve read any of my previous articles, you know my underlying theme: Time is money. Anything you can do to speed up your workflow helps you make more money in the long run. Lightroom presets are a perfect way to add style and eye-catching effects to your baby photography in order to make them match your personal photography look, or give the parents a keepsake they will cherish forever.
Preset basics
First, let’s talk a little about presets. If you go into your kitchen and cook a meal from scratch, that’s the same as using all of the develop sliders to edit your image. Now, if you’re like me and can’t cook your way out of a paper bag, then you go into your kitchen and pull a microwave dinner out and pop it in the microwave. That’s the same as using a preset. It’s a ready-made group of effects or changes that you can easily apply to any image by clicking one button (just not the one that says Start on your microwave).
In Lightroom, your presets tab is located below the navigator box in the upper left corner of your develop module. Click on the disclosure arrow to the left of the word presets to expand that window. You’ll probably already see a few default folders in your presets section that are given to you by Adobe.
When you start out experimenting with presets, it’s good to apply an existing preset to your image, and then go over to your develop settings to deconstruct what exactly the preset did to your image. This will help you figure out what each section of your develop module does so that you can learn how to use it and what it’s capable of.
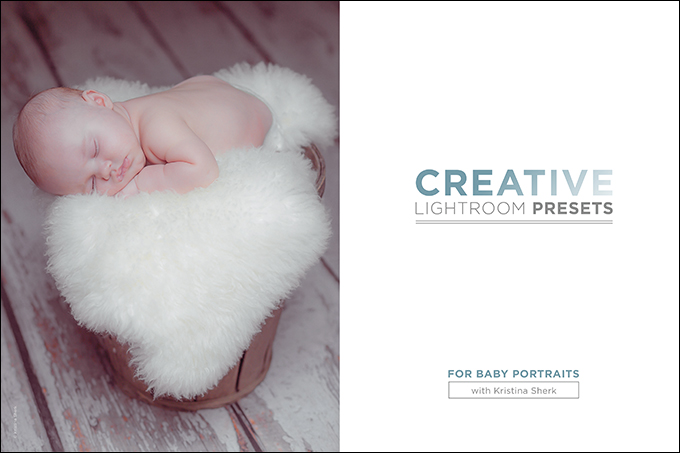
Let’s start by creating our own baby preset. I’ve got an image of a sleeping baby here, and I want to create a very general preset.
When thinking about creating presets, it’s always best to apply your tweaks as if they were being applied to multiple images. In other words, don’t make the image that you’re creating the preset on absolutely perfect, because chances are, the presets may work better (for your other images) the less extreme your changes are. A good rule of thumb is to apply about 70 percent of the change you’d like to make. This way, your preset is likely to look better on the other images you apply it to. Here are the settings I applied to my image, and the ones we will copy into our preset. (Don’t worry about changing the white balance, since it won’t be included in our preset creation.)
Now we’re ready to create our preset. Over at the top of your presets panel, you’ll see a plus sign. Click on it to save your preset. A window will appear that asks you to name your preset and which folder to put it in. Let’s call this preset Baby_01, and let’s put it in our User Presets folder. There should be check marks next to some of the items, but it’s important to only check the items that we changed in our preset creation.
First, go to the bottom of the New Develop Preset window and click the Check None button. This should delete check marks from all of your Setting boxes (except for the Process Version box). Now, since we only changed settings within our Basic section in our develop module, we can click once on the box to the left of the words Basic Tone, and all of the items within our Basic section in the develop module will be copied to our preset. Now click the Create button to save our preset.
Here’s what your box should look like, and which boxes should have check marks next to them.
Now, if we look in our User Presets folder, we will see our created preset.
Once you’ve created the preset, you can easily apply all of your basic tone settings to any image by just clicking this one preset.
If at any time you feel like the changes you made in this preset were too extreme, you can edit it. Click on the preset to apply it to your image, go back to the basic section of your develop settings and edit the sliders, and then you can update your preset to reflect these new tweaks. In order to do this, you simply right-click (control-click) the preset name over on the presets panel and choose Update With Current Settings.
One of my all-time favorite and most-used presets is one that comes by default with Lightroom. It’s in the Lightroom General Preset folder, and it’s called “Zeroed.”
To make the wide range of preset settings even more complicated, some of the settings applied in the first preset may not be deleted when you apply the second preset, thus creating a merge of the two presets (which usually ends up making your image look awful). The great thing about the Zeroed preset is that it’s kind of like a Reset All command in Lightroom. This preset places all settings back to zero so that you can easily start fresh when applying a new preset.
Although this stuff might seem complex, don’t fret. Presets offer a very creative way to enhance your images. One of the ways I make my presets a bit more intense is by applying split toning. In this preset, I added a pink tone to the shadow values of the image. Here’s what my image looks like now.
And here’s what my split toning values were. (The split toning window is located below the HSL/Color/B&W box and above the Detail box in the right side of the Develop module.)
I’ve also put together two baby-themed presets for you to download free. Here’s the original and here’s what the two presets look like. Just visit SharkPixel.com/store to download the Shutter Babies presets. Feel free to deconstruct them and make them your own.
There’s some serious power in Lightroom, and presets are just one of the many ways you can increase your productivity and effectiveness. Once you start playing around with presets, you’ll realize the possibilities are endless.


