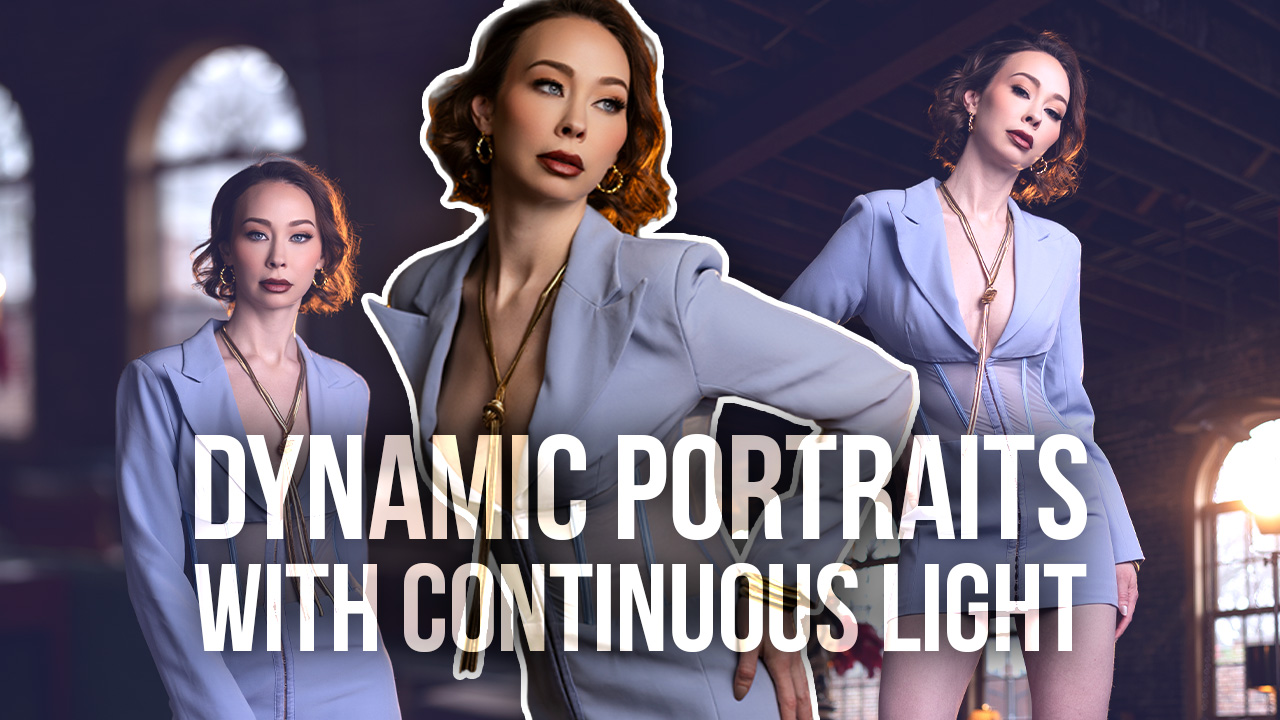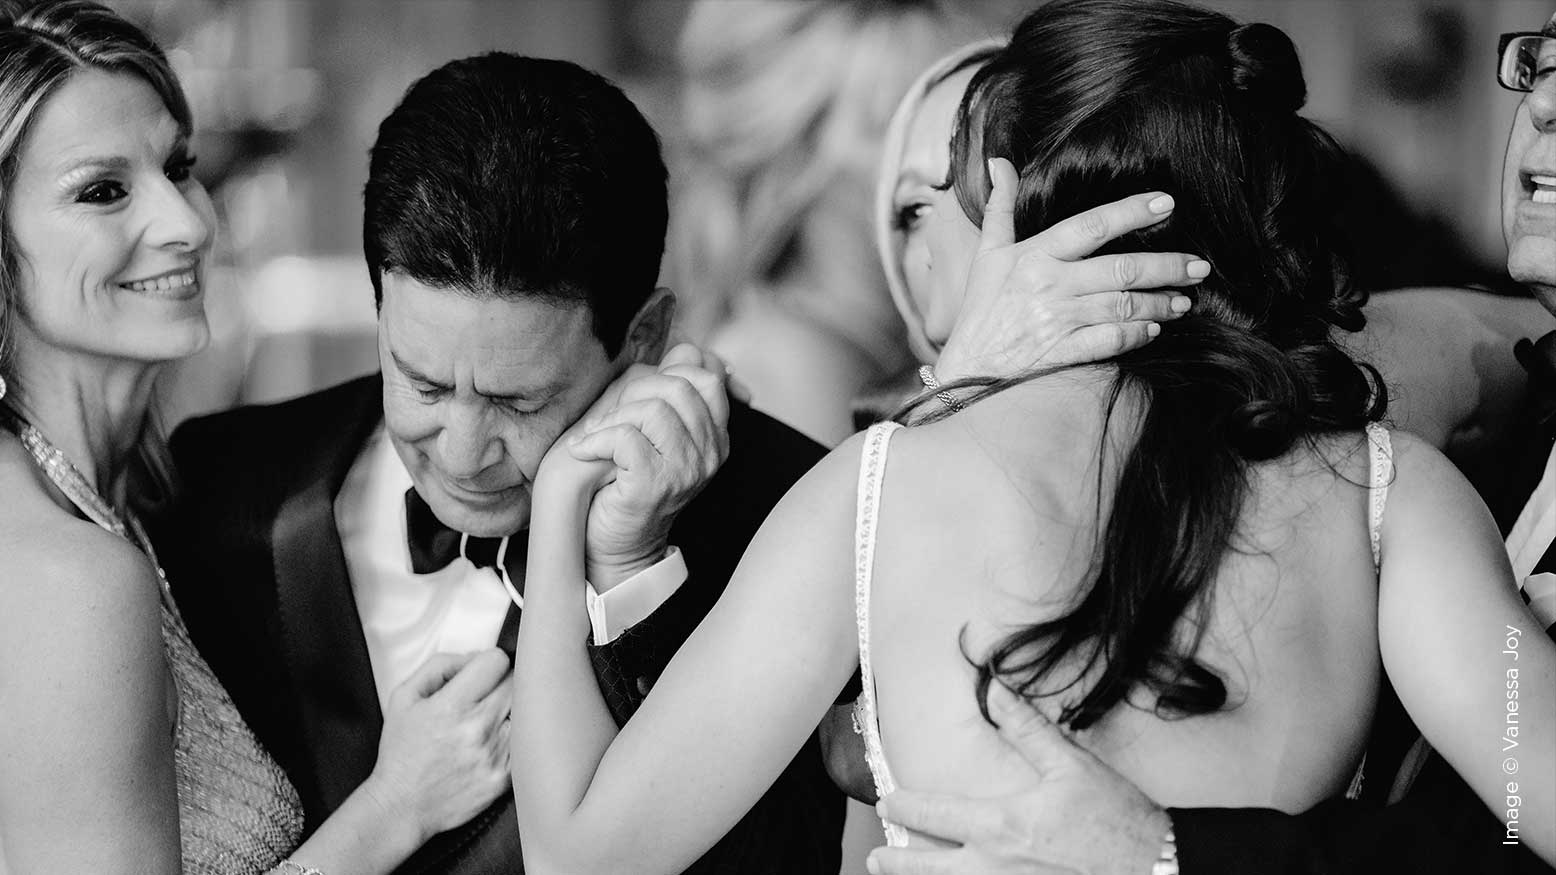
How to Effectively Bounce Flash at an Event with Vanessa Joy
When I first started out in wedding photography, I was not very keen on using off-camera flash during a reception. In fact, I was crazy against it. I hated the way it looked and didn’t like how it weighed me down gear-wise. Even with experience under my belt, I still prefer not to use it. The reason is simple: as a wedding photographer, you need to be mobile. A client may call me into different rooms or they may ask me to shoot something outside. Moving to these new locations means moving my light with me or grabbing a different flash to use on-camera. Although it may seem like a small thing, this can greatly limit your mobility and freedom as a photographer to quickly go where the shots are.
Because of this, I began bouncing my flash when shooting receptions and have found that the technique works brilliantly if you know how to do it correctly. Today, I am going to share with you some of my tips, so that you too can begin to use bounced flash as your lighting solution.
Use light-colored walls
Dark colors absorb light. When your goal is to bounce the light, absorption is the last thing that you want to happen. For this technique to work, you’ll need light-colored walls in order to allow the light to effectively bounce onto your subject. Unfortunately, that means that some venues will simply not be suitable for using a bounced-flash technique. All those beautiful barn weddings are definitely a big stop sign for bounce flash. For those types of events, say hello to off-camera flash. However, if you have light walls, even if there’s just one, you’re in bounce-flash heaven.
One other problem to be aware of is that the light from the flash can take on the color of a wall that it is bounced against. The darker the wall, the more likely this is to happen. This means that your photograph will have undesirable coloration. This can happen even if it’s a light-colored wall. If that wall is light yellow, your images will be more yellow. Adjust your white balance to compensate if you can.
It’s a good idea to get a good feel for the venue that you will be photographing in. You don’t want to get called to a room to take a photograph and realize at the last moment that the room has dark-colored walls—or worse, find out after you’ve taken the pictures that the walls tinted the light. As a last resort, you could use a bounce card or even a piece of white paper. I’m not a huge fan of the way that looks, as it’s not quite as professional, but it’s definitely better than direct flash.
Aim the light properly
In a studio environment, it’s pretty obvious that you want your primary lighting to be pointed in the general direction of the faces of the people that you are photographing. In the studio, however, things are much more simple, or at least typically more controllable. You are pointing your lights at a nicely aimed bounce surface. You have the option to finetune the placement of every piece of the picture.
You cannot simply move a wall into position in order to take a photograph. Because you can’t move the wall, you have to work with what you have. As long as you remember that your flash should be pointed at the wall that most directly angles toward the faces of your subjects, you’ll be in good shape.
This sounds very easy, but if you’re photographing moving subjects, such as a couple dancing, it can be a lot more tricky. With practice, you’ll be able to develop a sense of where the walls are and learn how to time your shots and aim your flash to get the best lighting situations for your clients. You’ll become quite quick at moving your flash head around!
Compensate if using TTL
TTL is a fantastic innovation for photographers. It allows us to take a picture and know that the camera will pick the right value for the flash so we do not need to constantly make adjustments. As you move throughout a venue with varying lighting conditions and atmospheres, this can be a very freeing feature to have.
You may, however, have realized a problem with using TTL combined with a bounced-flash technique. The camera and flash are going to work together to determine the correct output of light for the flash. The best way to ensure that the camera is determining the correct power level is to set your metering mode to spot metering and use single-point focus. This ensures that it is reading the exposure of the part of the photograph that you want evenly exposed. Even still, you may need to make some adjustments.
In order to effectively bounce the flash while also taking advantage of TTL, you may need to adjust the exposure on the camera. A good starting point is to bump the power up by about one stop (+1), although you’ll need to experiment with that value a little bit. Remember, the farther away you are from the bounce surface, the less powerful the light coming back to hit your subject will be. Keep that variable in mind as you are experimenting and learning the proper settings for a given condition.
Adjust your ISO
I talked in the last section about how bouncing the flash sometimes results in less light than the TTL calculations are expecting. This could mean that your flash is pumping out an awful lot of light and thus using up a lot of battery. Another part of the exposure equation is the ISO setting for your shot. Because the light is not directly pointing at your target, you are going to want to increase the value here a little bit as well to help your flash use less power.
You do not want to get carried away. If you turn up the ISO too much, then your picture will come out with unwanted grain. The key here is to boost the value just enough that your camera has sufficient sensitivity for the reduced power of the flash to still do its job and for you to not be running through batteries like crazy all night long. Find a good balance between an ISO that still produces a clear image, and not blasting your flash on full power for every shot.
Practice makes perfect
I’ve already told you about a number of issues that can cause problems or require changes to your usual setup. Eventually, you will develop the instincts to know which walls are going to give you problems and which camera settings are required for a given set of conditions. Like everything else photography-related, practice will give you the experience you need to get great shots the first time.
In the beginning, though, you will still be figuring things out. If you are unsure of the effect that any of the conditions in a new venue will have on your shots, be sure to take some test shots. A little bit of trial-and-error before you develop the instincts to work more off-the-cuff will not only speed up the learning process, but will also ensure that even while you are learning, your output is up to your usual high standards.
I really believe that learning to properly use a bounced flash will give you a much greater degree of freedom when you are on a shoot. In venues that allow for it, you will be instantly prepared for any lighting condition and will no longer be shackled to the off-camera flash or sent scrambling for one to mount to the camera