How to Get Super Resolution with Raw Images in Photoshop v22.3 with Dustin Lucas
As a photographer, clients request to print large-scale and fellow photographers constantly ask if they can print large-scale with a 24-megapixel camera. The answer is, it depends. Most labs upscale for you and have advanced software to do it, so whether you have 12 or 36 megapixels, you should be fine for most applications. When it comes to camera manufacturers pushing more megapixels, this is always the debate of whether I’m getting better quality pixels, higher ISO, focus, dynamic range, etc. Don’t get stuck in the mud trying to enlarge images. There is a better solution.
Adobe has announced Super Resolution, a feature within Camera Raw 13.2 in the Enhanced tool. This doubles the pixel dimensions of your raw file and outputs into an Adobe Digital Negative file, or DNG. It seems like Adobe is jumping on the Ai train and offering a non-destructive raw output option. This is a game-changer for Adobe users! Let’s dive in and check out the results.
Adobe Camera Raw 13.2
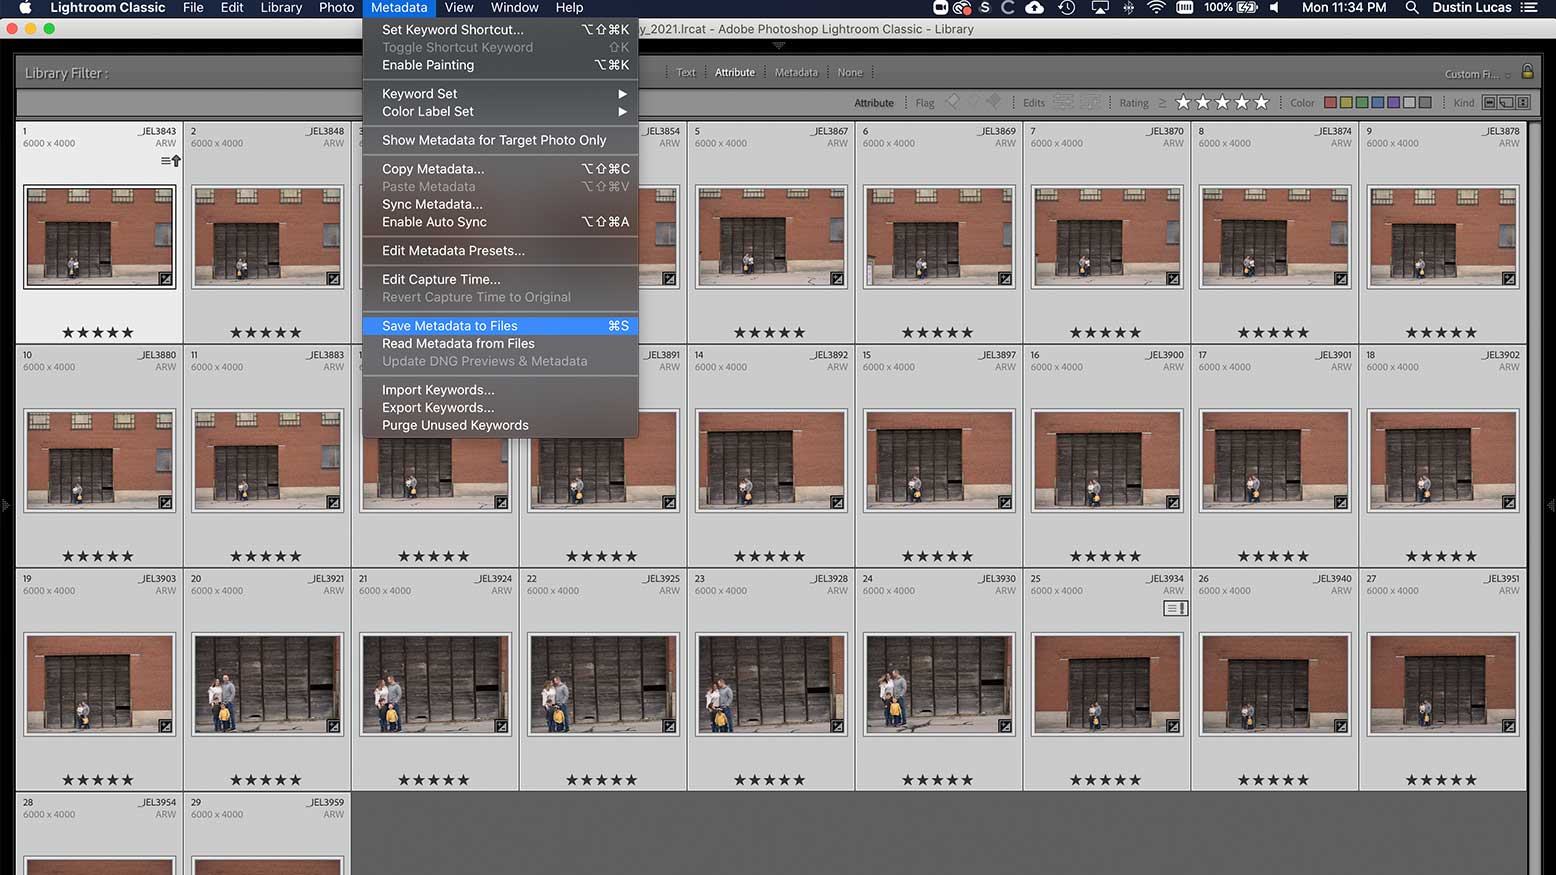
As a Lightroom user, I rarely go into Adobe Camera Raw (ACR) v13.2 unless I am making a custom profile or need to double my raw file resolution. In ACR v13.2 you also have new features including Super Resolution as well as some other workflow enhancements. What’s nice about ACR is it reads the editing metadata from Lightroom as long as I Save Metadata to Files or create .xmp files first. Unfortunately, the Edit in feature in Lightroom makes a copy so you have to save out an .xmp sidecar file before opening your raw directly into Photoshop v22.3.
Enhance: Super Resolution
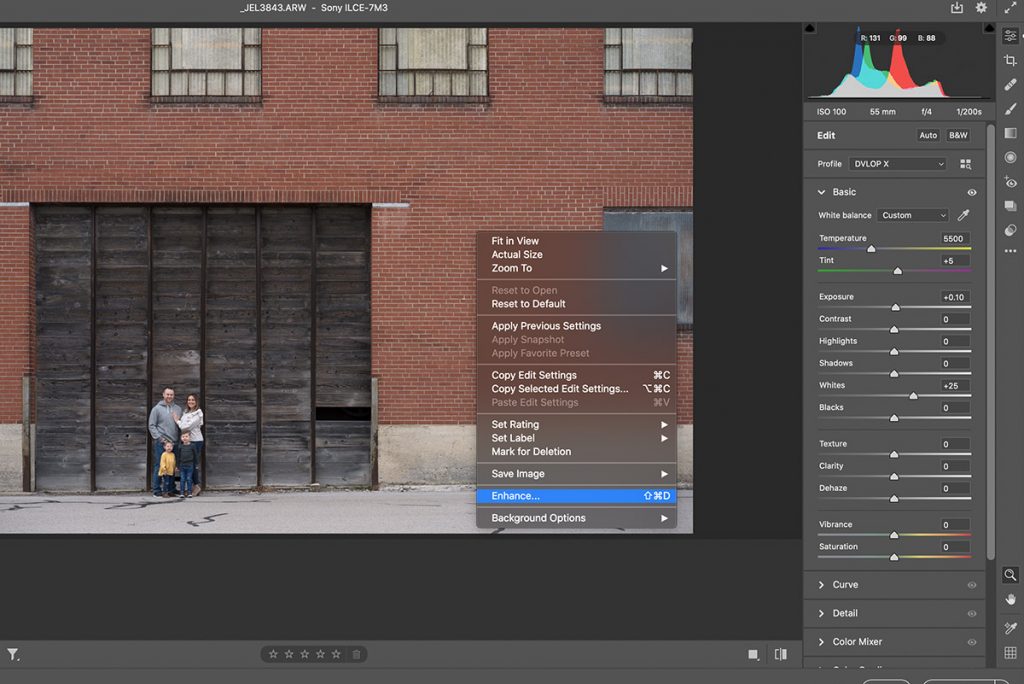
Once your image is open in ACR v13.2 you need to right-click to choose Enhance or hold Shift and Command while striking the D key. You’ll notice in Enhance Preview that only Raw Details is selected. Once you select the Super Resolution option, your image immediately begins rendering a preview. You can select in your image where you want to preview the enhanced version. In my opinion, this gives a poor preview of what the results actually look like. You’ll also notice an estimated time is given. In my case, it’s 5 minutes due to my 2016 MacBook Pro’s graphics processor, or GPU. This will vary for most users depending on your GPU.