
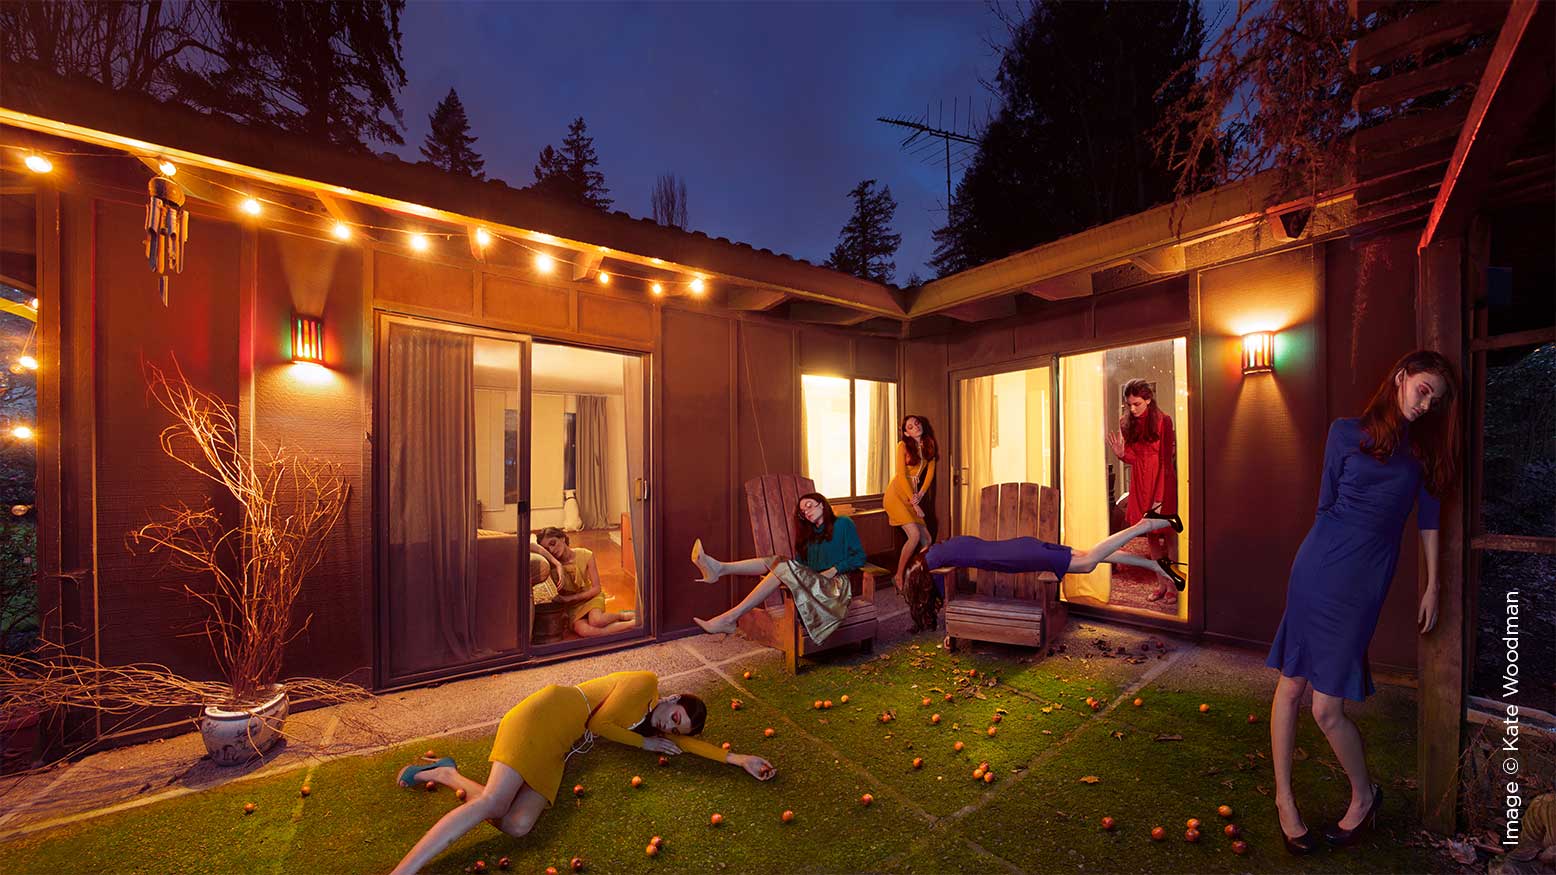
How to Make Any Space Photo-Worthy – The Cinematic Garage with Kate Woodman
There is a misconception in the photography community that great cinematic images require large budgets, big crews and epic locations. When I show people my work, there is always the inevitable comment “if I had an unlimited budget, I could do that too!” The fact is, the vast majority of my photography was created on a bare-bones budget and with a tiny crew—and a large amount of it was actually created in my own home.
Shooting in your own house might seem restrictive to you—and certainly there are drawbacks to not having an epic castle or stylish penthouse apartment to stage your images—but I’ve found that it actually offers a lot of advantages and cinematic opportunities that you wouldn’t otherwise have. Let’s take a look at some of the perks of using your own space for a photo shoot.
Budget
Shooting at home is free—renting a space is not. Even cheaper location rentals through something like Airbnb or VRBO will likely end up costing you at minimum a one night’s stay, and often there will be an additional cost for photo shoot usage. When working on personal projects with tight budgets, sometimes you have to make some hard decisions about where to allocate those costs—and I’d rather spend my money on other things like talent, wardrobe and props.
Flexibility
Have you ever been on location for a shoot and been told you’re not allowed to move anything or bring any lighting in case of damages? Or told you have limited time in the space, or can’t disturb other people in the adjacent rooms? Wouldn’t it be nice to not have to worry about any of that? Shooting at home usually gives you a lot more flexibility in terms of time and moving things around—and I’ve even been known to paint my walls for a cinematic shoot!
Familiarity
When you have limited time at a location that isn’t familiar, you have to be quick on your feet and willing to make sacrifices as far as lighting or composition goes. At home, I can spend as much time as I need in a space to see how the light changes throughout the day, or spend a day pre-lighting to get the right effect—something I can’t always do on location.
Despite having all of these advantages, many people don’t feel particularly inspired to shoot at home—and for good reason. Homes are designed (and lit) for functionality and it sometimes requires a little outside of the box thinking to get around that. But with a little creativity and manipulation, you can transform most spaces into something aesthetically interesting and cinematic.
ASSESSING THE SPACE
Let’s take my own garage as an example.
Here we have your typical garage—built solely for function with low ceilings, dirty white walls and detritus strewn about with no sense for aesthetic or visual appeal. The lighting—bare-bulb overhead lights—is harsh and warm, creating a yellow tone in the space and creating unflattering shadows. There are no windows in the space for any natural light, but there are two doors leading into the house and the workshop, and the garage door can be opened to allow for some ambient light.
One of the first things I like to do when looking for a space to shoot in is to identify where my light would or could realistically come from. In cinematography, light is typically what we call “motivated.” In other words, even if we are creating our own light with strobes, we still want to make it feel like the light is coming from a believable light source. I will often place lights outside of doors or windows to light a space, as that is where we would expect to see a light source.
The next thing I like to identify in my space is what existing assets I have to work with. This garage is divided into a few separate areas—my photography gear wall, the lawn and gardening wall, the workshop, and the “rec” wall that consists of all of the “toys” including dirt bikes, bicycles, ski and hiking gear. For me, the area that sparks the most visual and narrative interest is the rec wall, as all of the toys speak to the types of activities you would use them for.
CREATING THE CONCEPT
Once I’ve gotten the lay of the land in my space, the next thing to do is to create the concept. To me, the narrative is the most crucial part of an image because it is what gives everything in the scene a purpose. With all of the outdoor activity props in this set, I began to think about the types of environments I would use them in—winding roads, rolling hills, mountain vistas—and my mind immediately went to this idea of juxtaposing the indoors vs. the outdoors. Using the garage door as a natural framing element, I decided I could use the opening as almost a window to the outside, and work some Photoshop magic to incorporate some of that landscape scenery.
This concept was an interesting one to me because emotionally it could go a few different ways. Initially I thought about this contrast between indoor and the outdoors as dissenting, where the inside of the garage was almost a prison—confining these props to the inside and restricting their use. Alternatively, the tone of the image could also be aspirational, as if the options for adventure were right in front of you and all you had to do was open the door and hit the open road.
In the end I opted for the more aspirational storyline. It’s important to note that having a general idea for your narrative before you start shooting is really critical in helping you set the tone and establish your lighting and color scheme. For these two options, I would have approached both of those things very differently.
FRAMING AND STAGING
Once I’ve established my narrative, the next thing to do is to determine my composition. The two critical elements in this scene are the wall of recreational equipment and the open garage door. In order to get both of those elements in the frame, I needed to get as far back into the corner as I could, and used a wide angle lens to get as much of the scene as possible. In this case, the wide angle was still not sufficient to get everything I needed in frame. So, using a shot centered on the motorcycles as my center point, I ended up taking a series of frames around the periphery and stitched them together in Photoshop to create a panorama of the scene. This ensured I could include all the relevant props in the scene to tell my story.
One of the interesting things about shooting wide in interior spaces is that it tends to create interesting cinematic effect in camera that we don’t necessarily notice with the naked eye. For example, in this image, the ceiling and floor felt too expansive, the motorcycles felt too small, and it lacked dimension as everything was pushed up against a wall. To address this, I ended up moving one of the bicycles to the right of the camera to add an interesting foreground element that felt like it was taking up more space. To balance that, I brought in a kayak on the left side of the frame. Not only does it take up some of that expansive floor space, but it also adds a bit of color to the scene. It’s definitely helpful to be able to move around or add props to a scene—but it’s important to note that if included, that prop should serve a purpose and facilitate the narrative.
LIGHTING
Here’s where the magic starts to happen! Once the space was staged the way I wanted it, it was time to light the scene. Keeping in mind that aspirational tone and story, it was important that the lighting reflect that. It’s also important that our lighting works to draw our attention to the areas or props that are critical to the narrative—in this case, all of the gear, including the bike on the far back wall and the kayak on the left side of the frame.
While I think we could achieve “aspirational” with soft bright light, that style felt more commercial, and I wanted to really push the cinematic effect. In the end, the lighting that I felt blended cinematic and aspirational was a warm direct sunset light. This was easily created with a single strobe and standard kit reflector, placed at 7 feet outside of the garage door, just above garage height and pointed slightly down. The beauty of this light is twofold: not only is it very simple to do with minimal equipment, but it’s also able to highlight all the things that need highlighting, including the gear along the side wall and the far wall.
Sunrise tends to result in very warm tones, which I wanted to introduce to the image. This color could be achieved a number of ways; the first would be to just change my white balance in camera to an overcast or shade setting, or I could use gels. Gels are something I rely on fairly heavily in my work and I knew that I could get a realistic result in this case, so I taped a full CTO gel to my strobe. Instantly it created a significant difference in the whole feel of the image, rendering it not only warmer but also creating an almost monochromatic wash of color. This is really helpful in a scene full of a lot of visual clutter (e.g., a garage) as it eliminates the distraction of color contrast and focuses our eye just on the light.


