
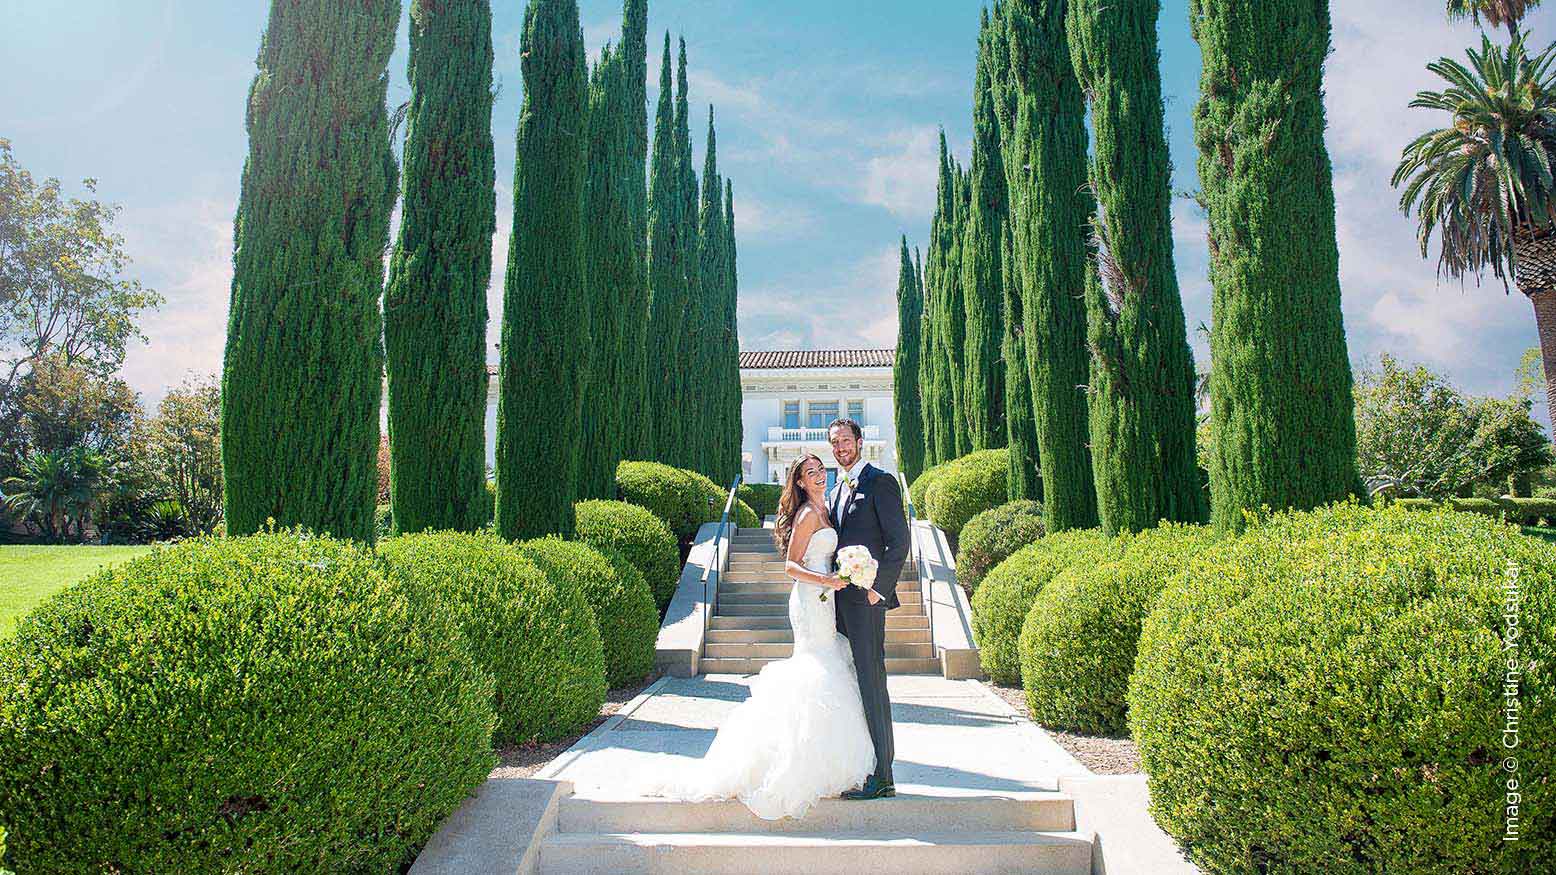
Light Through a Wedding Day with Christine Yodsukar
Want more information on this article? Get access to video content and additional supporting images. Launch the August 2017 issue of the magazine by logging in or signing up for a free account. Shutter Magazine is the industry’s leading professional photography magazine.
You may be me five years ago. I loved photography, but I wasn’t as quick to understand technical jargon like my colleagues. I felt my palms sweat every time someone asked me a question about my equipment. Most of the time, I couldn’t answer them. Going to school for my BFA in acting taught me that if I wanted something to become a part of me, I had to do it over and over again until it was no longer just an idea I had in my head.
Understanding lighting was overwhelming for me, but just like with acting, if I did it over and over again, it would no longer be technical jargon that I couldn’t grasp. It became second nature. In other words, forget what I don’t know and just do it over and over until I do know it. So if you’re overwhelmed by the technical side of lighting, don’t fear. You can try these simple approaches to wedding day lighting. Just make sure you don’t give up on the first or second try, because the 10th is when it will become second nature.
As with every part of the wedding day, I apply in-studio lighting techniques to my photographs using my keylight (the main light), hair light (light that separates the subject from the background) and fill light (fills in the shadows). The mood I want to create changes throughout the day as the story I am telling changes, so my light sources vary from natural to artificial.
Lighting Bridal Portraits
At the beginning of the day, I focus on the bride getting ready and capturing stunning portraits of her that her grandchildren will fawn over someday as they pour through her wedding album. The mood I am looking to create here is one of optimism and love. I want to give her grandchildren the warm fuzzies.
To achieve this look, I create a photo that is bright and soft by using available window light and positioning my bride either next to or in front of the window. The window light is my keylight, and the closer she is to the window, the harder the light and shadows will be.
Studio Hotel
To create a studio right in the bride’s hotel room, I ask a bridesmaid to hold the window curtain out behind the bride, which serves as a clean and simple backdrop for my portrait. The inside of hotel curtains are usually white to keep out light and heat, but for me it acts as a giant bounce pouring light onto the back of her head. This is my hair light.
Because I like to work on a wedding day with as little gear as possible, I use a clean white bath towel as my fill light. I use this trick at almost every wedding. I call it my Studio Hotel. No matter where I am, I can create consistent and beautiful photographs for my clients. Who thought a curtain could be so versatile?
Lighting Group Portraits
For group photos in the hotel room, I use the same exact light as the bridal portrait. I simply drop the curtain and use the room as my background. This is great for the bridesmaids helping the bride into her gown.
Backlighting offers a simple way to fill your photograph with light. To do this, I place my bride with her back to the window. I can then bring light back onto her face with a white bounce or by utilizing white walls and doors behind me.
Lighting Bridal Details
To photograph details like the bride’s shoes, I find something small that I can use in place of the curtain as my “studio backdrop,” usually either the bride’s dress or veil, or a bridesmaid’s dress. The window is next to the shoes, acting as my key, and the pillow propped up next to the shoes opposite the window is my fill light.
Lighting Couple Portraits
Taking portraits of the couple is always my favorite part of the day. If there is only one photo that will be passed down through the generations, it will be one of these. I keep my basics the same with my keylight, hair light and fill light. I go for more of a commercial look that is bold and crisp. Unlike my wide-open aperture during bridal portraits in the hotel room, I stop down my aperture. This allows me to capture more in focus with details in the sky and highlights.
When outside, I position the couple with the sun acting as my hair light. I use a studio strobe as my keylight and place it at a 45-degree angle in front of the couple, creating dimension on their face and body. To travel light outdoors, I use only a reflector on my strobe and feather the light across their bodies and away from the couple to create the softness that I am missing without a softbox. I then make the power of my strobe match the power of the sun. This technique works even if the sun is at the dreaded High Noon horror, and alleviates any raccoon eyes that may be trying to make an appearance.
Lighting Reception Details
Unlike the bright shoe photos, I want the details inside my ballroom receptions to feel magnificent and sexy. You can’t possibly capture this depth of color and shadow with ambient light and a high ISO.
First, manually find your proper settings to capture the ambient light. I start by setting my aperture between f2.8 and f4, then base my shutter speed and ISO off of that. Place one light either in front of (keylight) or behind (hair light) the subject at a 45-degree angle from above. This angle once again creates depth in the light and shadows. I place my light behind the detail I am photographing, which mimics that evening glow receptions often provide.
Lighting the First Dance and Toasts
Something you may not know about me is that I work almost every single wedding with a cinematographer who hates when his reception footage is littered with a flashing strobe. He asked if I would try using hot lights instead. Lucky for him, he is my husband, and I obliged. This request transformed the way I directed my reception lighting. Not only do the hot lights make my amazing cinematographer husband happy, but they helped me create the exact mood I wanted for my reception photos: warm, romantic and cinematic.
Don’t be afraid of hot lights. They are actually much easier to work with than strobes because you can see how and where your light is falling and the strength of it. I also love the warmth of my hot lights. The tungsten white balance “fits in,” or seems more believable to the eye in the setting of a reception, where chandeliers, uplights and house lights are often tungsten as well.
To set up my lights, I am again utilizing my keylight and hair light setup. I place my lights opposite one another in the ballroom facing the center of the dance floor. I then have a speed light on camera with a CTO gel as my fill light. The gel warms up my flash to match my hot lights. This setup allows me to move around the dance floor as my two lights morph between keylight and hair light, depending on where I am standing. It works for the first dance, parent dances and toasts.
Lighting the Party and Dancing
There is nothing like getting deep into the dance floor and capturing the fun. But I despise flat on-camera flash. My secret weapon? I take my speedlight in hand, connect it to my camera with a cord and place a flash disc (which acts as a portable softbox) on it. I hold the light 45 degrees and slightly above my subjects. This mimics the setup I use during couples portraits. Instead of using the sun as my hair light, the room is filled with subtle ambient light from chandeliers, candles and uplights.
The results are gorgeously lit photos that actually look like you’re in a dimly lit wedding reception. People go crazy over them. Do I look ridiculous taking these photos? Definitely. Are the photos outstanding? Every time. Do they end up as upgrade spreads in the wedding album? Yes, they do. Make that money.
By slowly adding these lighting setups into your wedding day routine, what was once daunting will now be simple. Don’t worry about what you don’t know. Instead, just do it over and over again. Soon, it will become second nature. Trust me. Not too long ago I was exactly where you are.


This Post Has One Comment
Christine, could you describe what you call a “flash disc” in the Lighting the Party and Dancing section? Thanks! Great ideas throughout.