
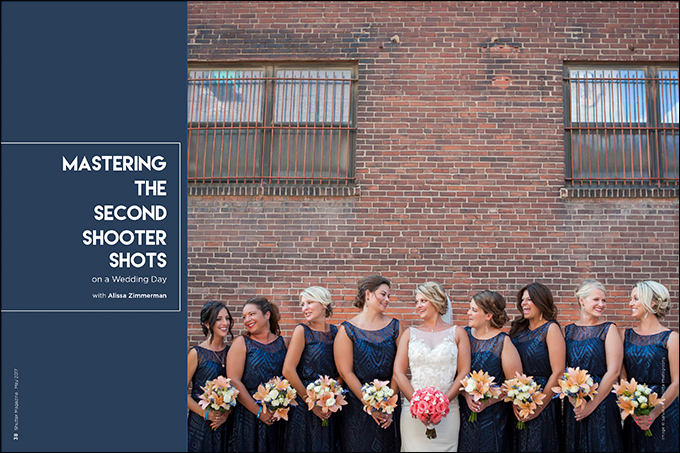
Mastering the Second-Shooter Shots On a Wedding Day with Alissa Zimmerman
Want more information on this article? Get access to video content and additional supporting images. Launch the May issue of the magazine by logging in or signing up for a free account by clicking here. Shutter Magazine is the industry’s leading professional photography magazine.
The second shooter plays a crucial role on the wedding day. The most important shots below apply to anyone in the wedding photography business, whether you’re a secondary shooter, a primary photographer who hires a second shooter on a wedding-by-wedding basis or a studio with a full-time second shooter on staff.
Use these four key shots as your foundation on a wedding day. Train your second shooter to understand their role and what is expected.
#1: Candid shots
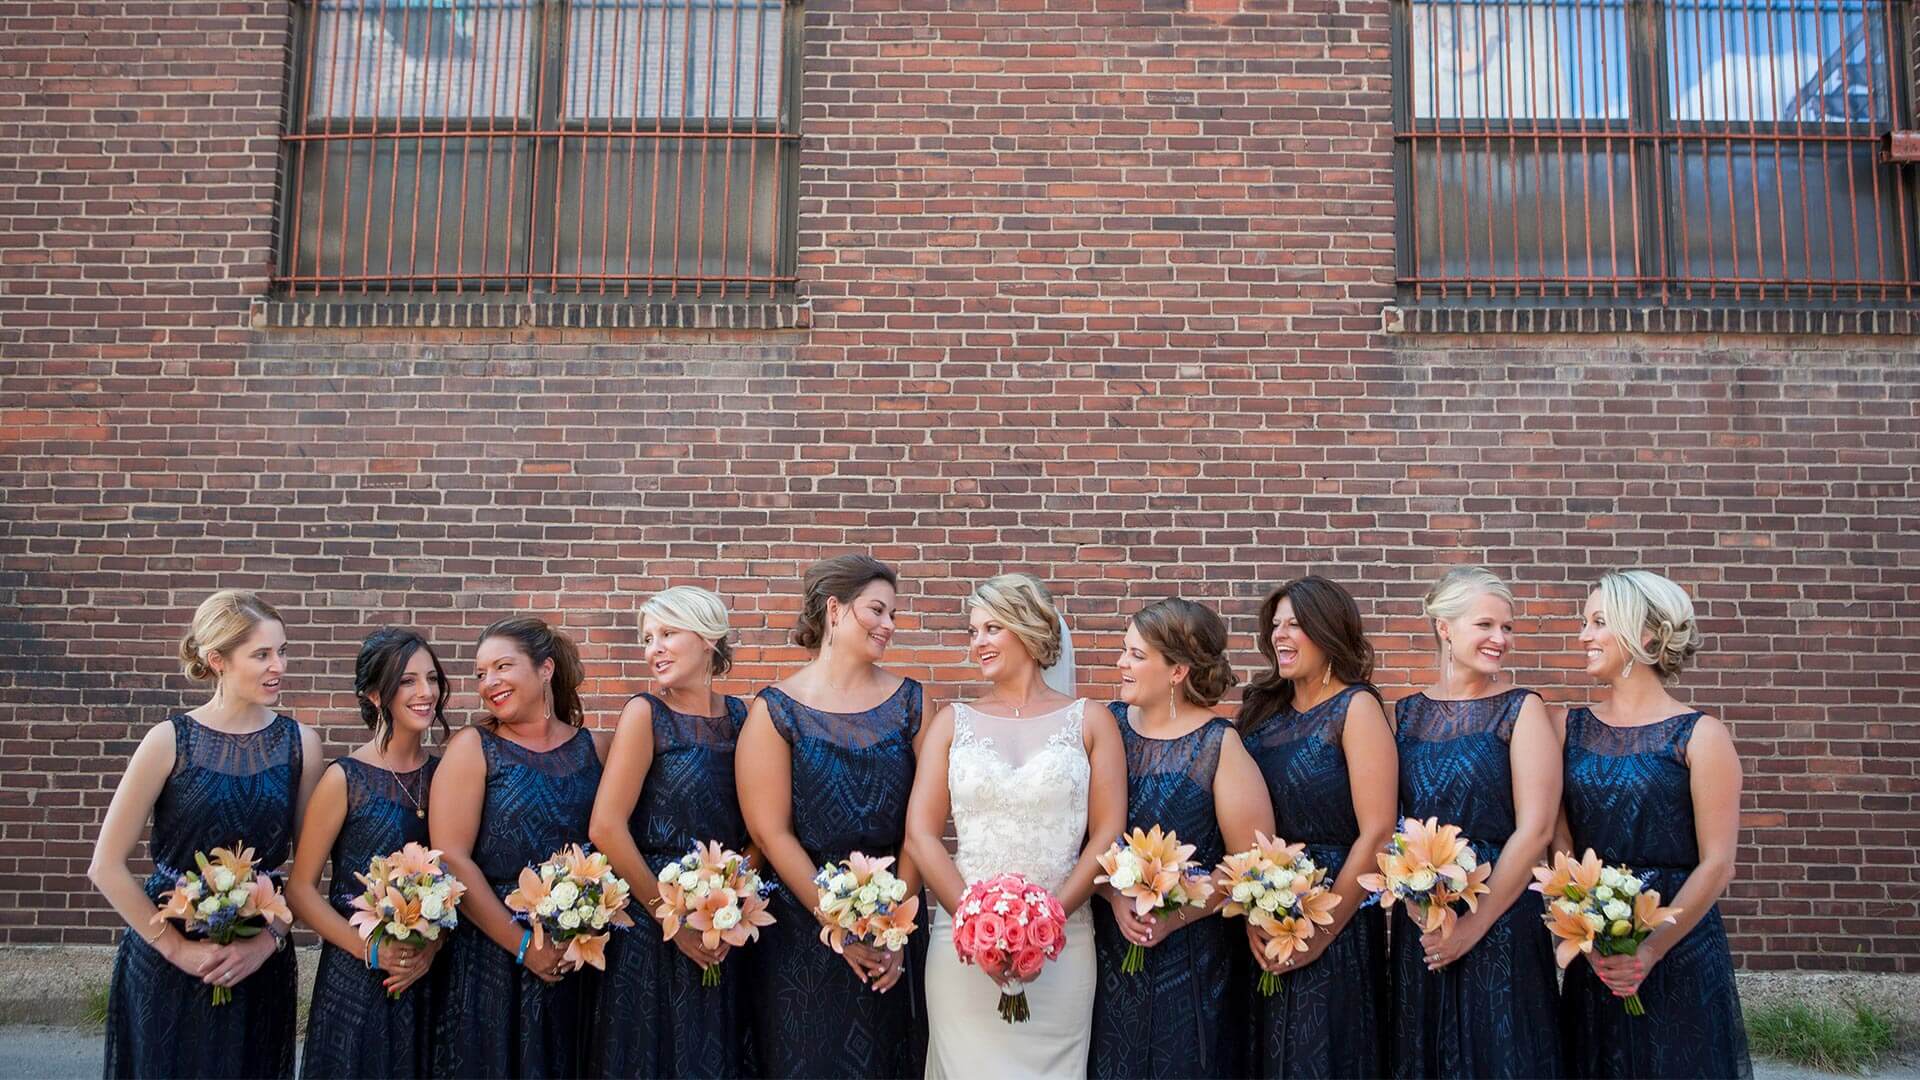
The most important skill of a second shooter is the ability to capture candid shots in a unique and artistic way. Anyone can grab a camera and take a few snapshots of the bridal party, family or guests interacting. It takes true talent to master timing, composition and an understanding of the “who’s who” on a wedding day, to turn an ordinary snapshot into an impactful candid image that your client will cherish forever.
It’s always nice to be on a team with a primary photographer who knows when to make a group of people laugh to set up the perfect shot for their second shooter.
Candid images can get stale or boring. Layer your subjects and shoot wide open to make an image more interesting. Use eye candy (objects in the foreground of an image) to add a little extra something to your candids.
#2: Details, details, details
There are specific detail shots the primary photographer is in charge of at every wedding: Isolating the bride and groom’s details in the morning while they are getting ready, the program and any extra decoration done for the ceremony and reception, and, of course, the impact ring shot.
There also are plenty of times throughout the day when the primary photographer needs to focus on getting through the timeline as efficiently as possible, and so may not have the time to shoot other details, such as the groom and groomsmen’s boutonnieres, the bride and bridesmaids’ bouquets, and any other special piece of your client’s wedding day. The second shooter needs to capture any detail the primary shooter does not.
“Details” doesn’t always mean the second shooter needs to be photographing details. This also pertains to those moments when the primary photographer is setting up a big, dramatic shot. It’s the second shooter’s responsibility to make sure every little detail of that scene is flawless: The bride’s hair should be perfect, her dress should be lying right, the groom’s suit should be adjusted correctly and so on. Paying attention to details like this for a big shot you intend to sell as a large piece for their home can make or break the sale.
#3: Complementary images
I cannot stress enough the importance of building a wedding-day formula between the primary photographer and the second shooter. During any part of a wedding, no two photographers should be using the same focal length. Nor should those two photographers be standing in or around the same area to capture the same subject.
Understanding the art of working side by side with another photographer and getting to know their habits and workflow is crucial to the success of a second shooter. I know what lens Sal will be using and where he will be standing to get the shot during every part of a wedding. I know what lens I need and where I need to be standing to get the complementary shots that will give our clients images that capture every part of their big day.
Follow this rule: If the primary photographer is using a wide lens, the second shooter should be using a mid-to-tight range lens, and vise versa. Understand that not every scene lends itself to a wide/tight formula, so learn your gear so you know what to use during each part of a wedding day.
#4: Capturing emotion
This is my favorite part of being a second shooter, and the number-one reason I love photography. The ability to capture emotion and freeze that moment in time for your clients is priceless.
No bride on the planet wants to see images of herself crying, regardless of how emotional the scene may be. No bride on the planet wants to see an image of herself sharing an emotional moment with someone if it was shot at an unflattering angle.
These moments happen in the blink of an eye, and you won’t always be able to capture them perfectly. Take the time to learn the basics of a wedding day, and you’ll be able to anticipate these moments and be more prepared for that one great capture. You’ll always want to capture the father/daughter first look, for example; this is guaranteed to be an emotional moment. Control the situation ahead of time so they are perfectly staged and you are in the right spot with the right light, using the right gear.
Control your destiny when you can, and allow the rest of the emotional photojournalistic shots unfold naturally throughout the day.
Want more information on this article? Get access to video content and additional supporting images. Launch the May issue of the magazine by logging in or signing up for a free account by clicking here. Shutter Magazine is the industry’s leading professional photography magazine.


This Post Has One Comment
Very helpful tips for second shooters. I love second shooting. You get to capture the fun, unposed events of the day!! Thank you for great read!