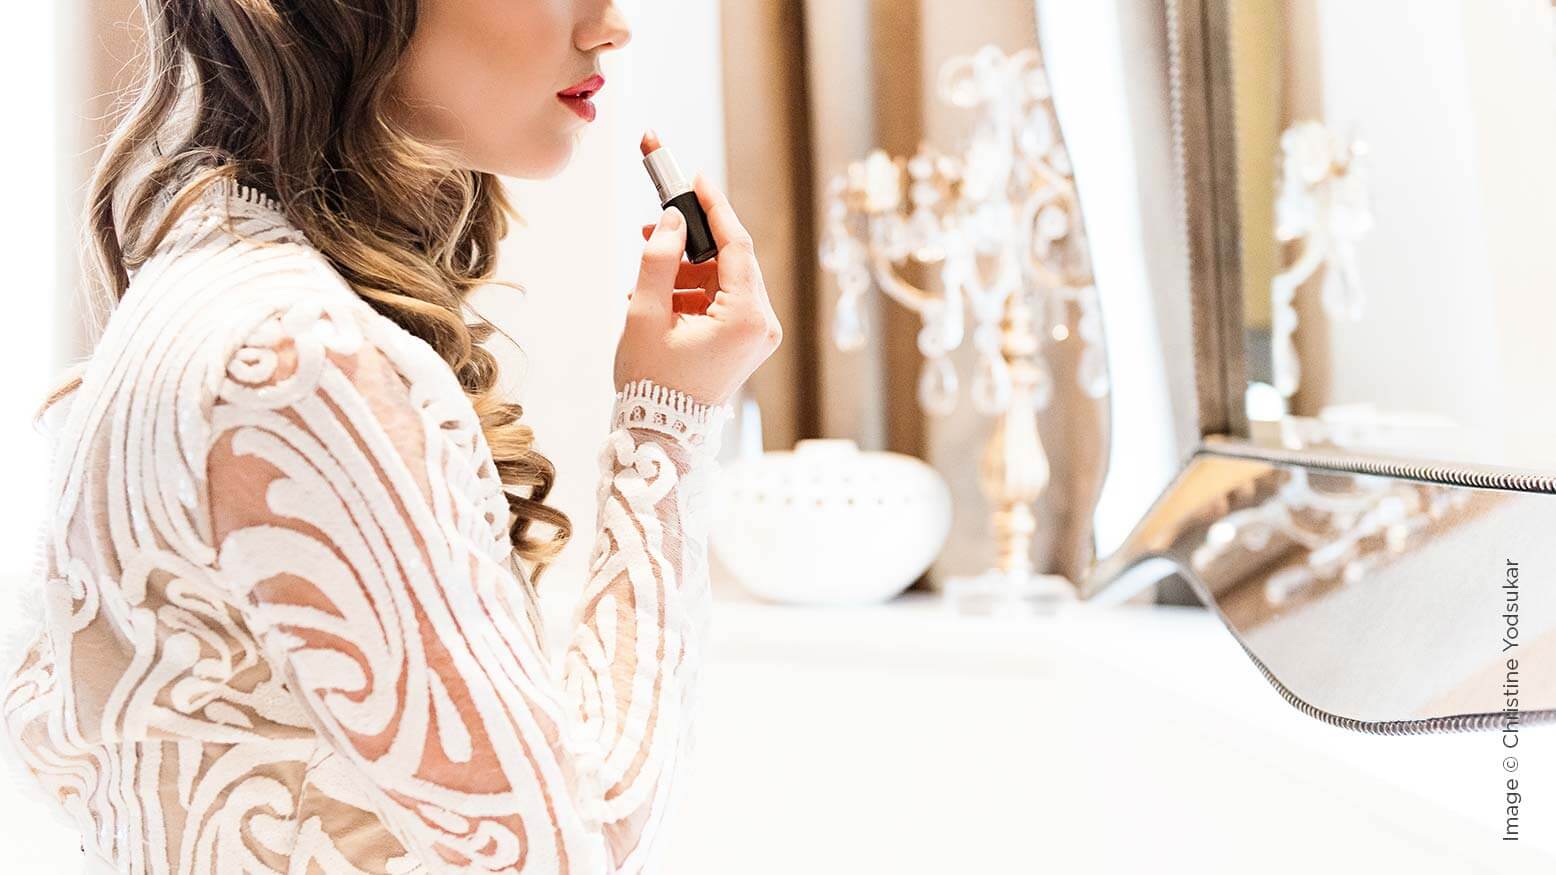
OCF for the Natural Light Photographer with Christine Yodsukar
There are some insanely stunning portfolios by self-proclaimed “natural-light wedding photographers,” but what happens when the reception rolls around and the only light available is from the tungsten uplights lining the ballroom walls? And what happens when the sun goes down and your couple’s portraits are scheduled for after dark?
Not only is off-camera flash an invaluable tool for any wedding photographer, but done right, no one will notice you used artificial light. Your photos can still be bright and beautiful. Here’s how we use this amazing tool in our own luxury wedding photography business, which has taken us all around the states photographing some of the most stunning weddings.
What Is Natural Light?
First things first, what does being a natural-light wedding photographer actually mean? This is someone who uses only available light, like the sun, to photograph couples. Popular natural-light education tells us to put the sun behind our subject and expose for the face. This can lead to a style of photography referred to as “bright and airy.”
It is beautiful. It can, however, limit the photographer, and when we have clients paying us to deliver on the most special day of their lives, we can’t knock it out of the park only until the sun goes down. We must master all kinds of lighting in any scenario and be able to deliver anytime, anywhere.
Off-Camera Flash Basics
If you’ve seen or read any of my content on lighting, you know I like to keep things simple. It starts with an understanding of the basics of off-camera flash.
At its most basic, there are two types of portrait lighting: the keylight and hair light. Your keylight lights your subject’s face or the part of your subject you want the viewer’s eye to go to. When a natural-light photographer puts the sun behind the subject’s head and exposes for the face, this is not keylight. With OCF, you place a light on a stand somewhere in front of your subject.
Your hair light separates your subject from the background. This is what natural-light photographers create when they put the sun behind their subject. Though it’s not always necessary, the hair light can add so much depth to your photograph, and you can create it relatively easily.
My Gear
Now that you understand the basics of portrait lighting, you need to know what gear to add to your bag. You will need either a speedlight or a studio strobe, a trigger to send the light’s signal to your camera and a receiver.
A speedlight is a compact flash that fits into the hotshoe on top of your camera. It can also be placed on a light stand off camera. Be careful when choosing your speedlight, because some are not powerful enough to overpower the sun, which is very important. Studio strobes are more powerful lights that are bigger and require a battery pack or can be plugged in. Some strobes have the battery pack built in, while others have it as a seperate piece. If you are just getting started, use a speedlight whenever you can, because it is generally smaller and easier to use, especially if you are working alone.
Making OCF Look Natural
I love creating photographs that look like I used only natural light, when in fact I used off-camera flash. The first step is choosing the location. For an outdoor photograph, I look at the scenery around me and pick a spot that looks like a nice frame around my couple or that is just jaw-dropping. For indoor photographs, I look for ambient light that I can use to frame my couple, like lamps and sconces, or beautiful stained-glass windows.
Get Your Exposure
Next up, I find my correct exposure. Unlike the way a natural-light photographer exposes for the face, I expose my outdoor photos for the sky. Point your camera into the sky and get the correct exposure by adjusting your ISO and F-stop. Because you are using artificial light, your shutter speed can only go to a finite setting determined by your specific camera, generally in the 1/200 to 1/250 range. For indoor portraits, I expose for the ambient light.
Start With the Hair Light
Normally, the hair light is not the first light to be added to a photograph. But when you are using the sun as your hair light, you want to find the perfect spot to achieve that halo-like glowing hair. After I find my location and get my exposure, I place my clients with their back to the sun, making sure the sun is falling on their head and back. This separates them from the background for that natural-light look.
Add Your Keylight
My keylight is the first light I add to my portrait. I position it 45 degrees in front of my couple. This shapes the body in a beautiful and flattering way, and gives me definition. If you want a more dramatic look, drop your ISO and bring your light farther to the side of your subject to darken your background more. This creates more of a contrast between the ambient light and the OCF, and the dramatic angle of the lighting gives a whole new feeling to your images.
Make the Sun
If you are in a situation where you are technically in daylight but you have no sun to use as a hair light, you can create your own beautiful sunlight with OCF. Place a second light behind your couple and out of your frame. For a midday look, place your light as high as possible pointing down. For a sunset look, place the light on a level closer to the subject’s height so the light comes at them from the same angle a sunset would. When recreating the sun, place an orange CTO gel on your light to give it that warm, sunny hue.
Indoor and Nighttime Hair Light
Using a hair light indoors can be a stunning way to seperate your couple from the background and to also add depth to your portrait. You can use the same technique as the sun you created by placing the light out of frame, but you can also place the light directly behind your subject. This illuminates their whole bodies, creating a magical portrait.
Receptions
Last but not least, use OCF to your advantage during receptions. Even though our “stage” is much larger than it is when we shoot portraits, we still use the exact same lighting techniques. The only difference is that we place our lighting strategically in the ballroom so we can use it to capture the special dances, toasts and cake cutting with no need to adjust. Place two lights at opposite corners of the dancefloor or ballroom, facing one another and crossing over the center of the dancefloor. With this placement, each light will act as either a keylight or a hair light, depending on your positioning.
Reception Details
Once you have photographing people down, you will be a rock star when it comes time to shoot the reception details. You can use one light, your keylight, the same way you did to photograph portraits. Place the light at 45 degrees in front of the detail for every single piece. If you want to create softer light, move your light source closer to the detail, and if you want harsher light, move the light source farther away.
Off-camera flash can be a daunting tool to use, but with a little practice, you can achieve any look you desire, even that of natural light.