Year-round get 15% off any software with code CINCOTTA and from Nov 18 – Dec 2 get 5% on top of DxO Black Friday Deals.
CLICK HERE TO LEARN MORE
Edit Smarter, Not Harder
If you’ve ever wondered why your photos feel “almost there” but not quite finished, you’re not alone. Great photography doesn’t end when you click the shutter—your real magic happens in the edit. And whether you shoot weddings, portraits, seniors, lifestyle, or anything in between, your clients want the best version of themselves reflected in the final images.
Let’s walk through some practical, repeatable photo editing hacks you can start using today to give your photos that polished, scroll-stopping finish.
Start With Solid Color Correction
Before diving into creative edits, get your foundation right. Color correction is the easiest and most important first step—adjust your white balance, tonal range, and overall exposure so the image feels true-to-life and evenly balanced.
Tools like Lightroom, DxO PhotoLab, and PureRAW make it easy to dial in clean, consistent color. Think of this as prepping your canvas—it sets the tone for everything you’ll do next.
Use Beauty Retouching—Tastefully
The goal isn’t to turn people into porcelain dolls. It’s to present your client as the best version of themselves. High-resolution cameras are brutally honest—every blemish, under-eye shadow, or uneven blend in the makeup will show.
A little retouching goes a long way:
Reduce temporary blemishes
Even out skin
Clean up stray hairs
Brighten under-eyes
How far you go is completely up to your style (and your client’s preferences). But this small step immediately elevates your work and gives your images a refined, professional feel.
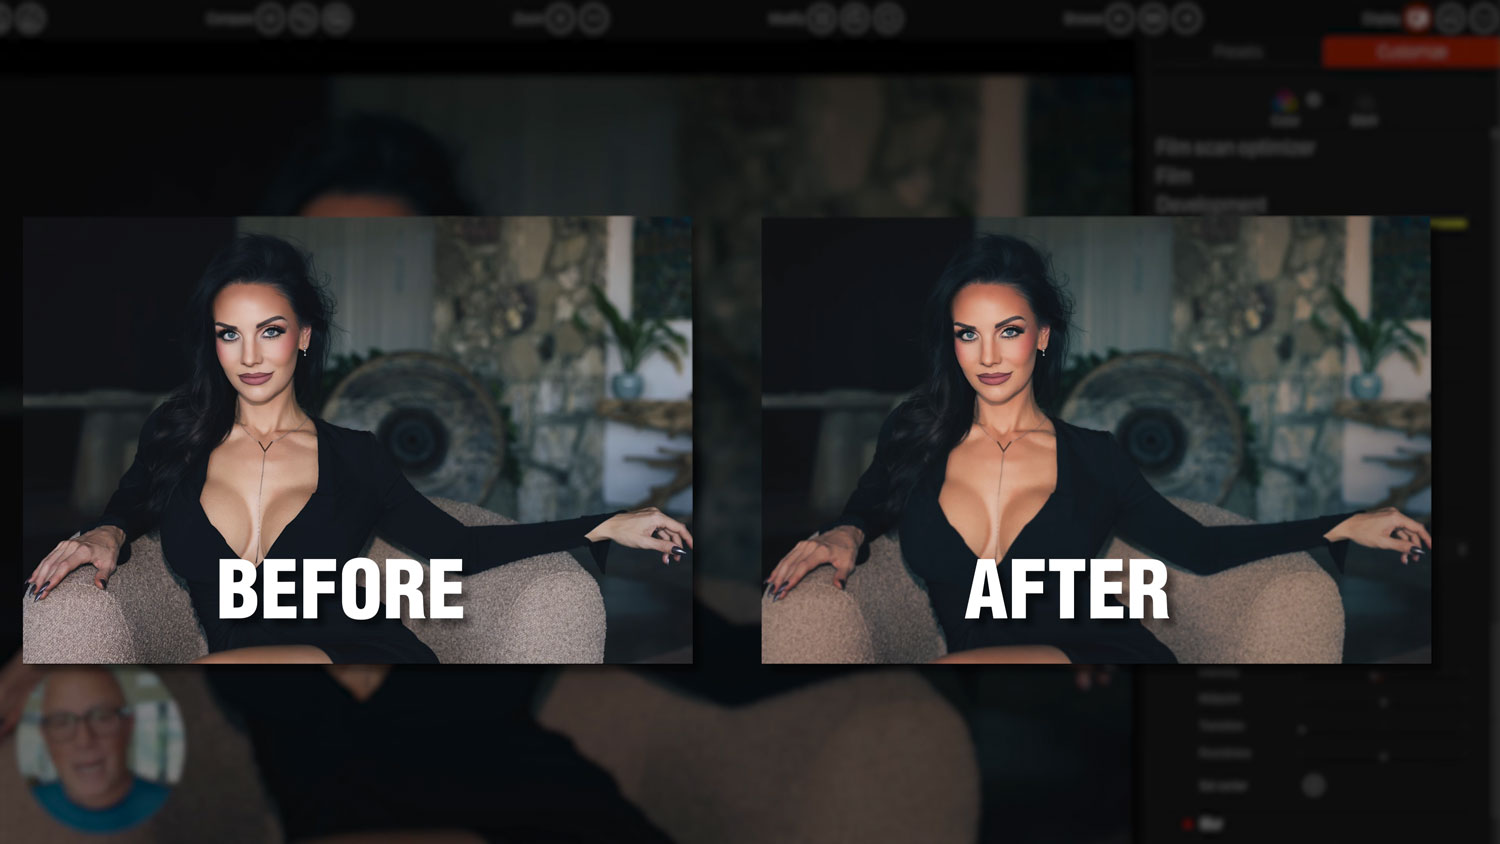
Add a Signature Style With Creative Color Grading
Color grading is where your personality as an artist really shows. It’s more than a preset—it’s a mood. A tone. A style that helps your images stand out from the hundreds of photos your clients scroll past every day.
Think about Hollywood films: almost every movie you’ve ever watched has a cinematic color grade. That look pulls you into the emotion of the scene. The same applies to photography.
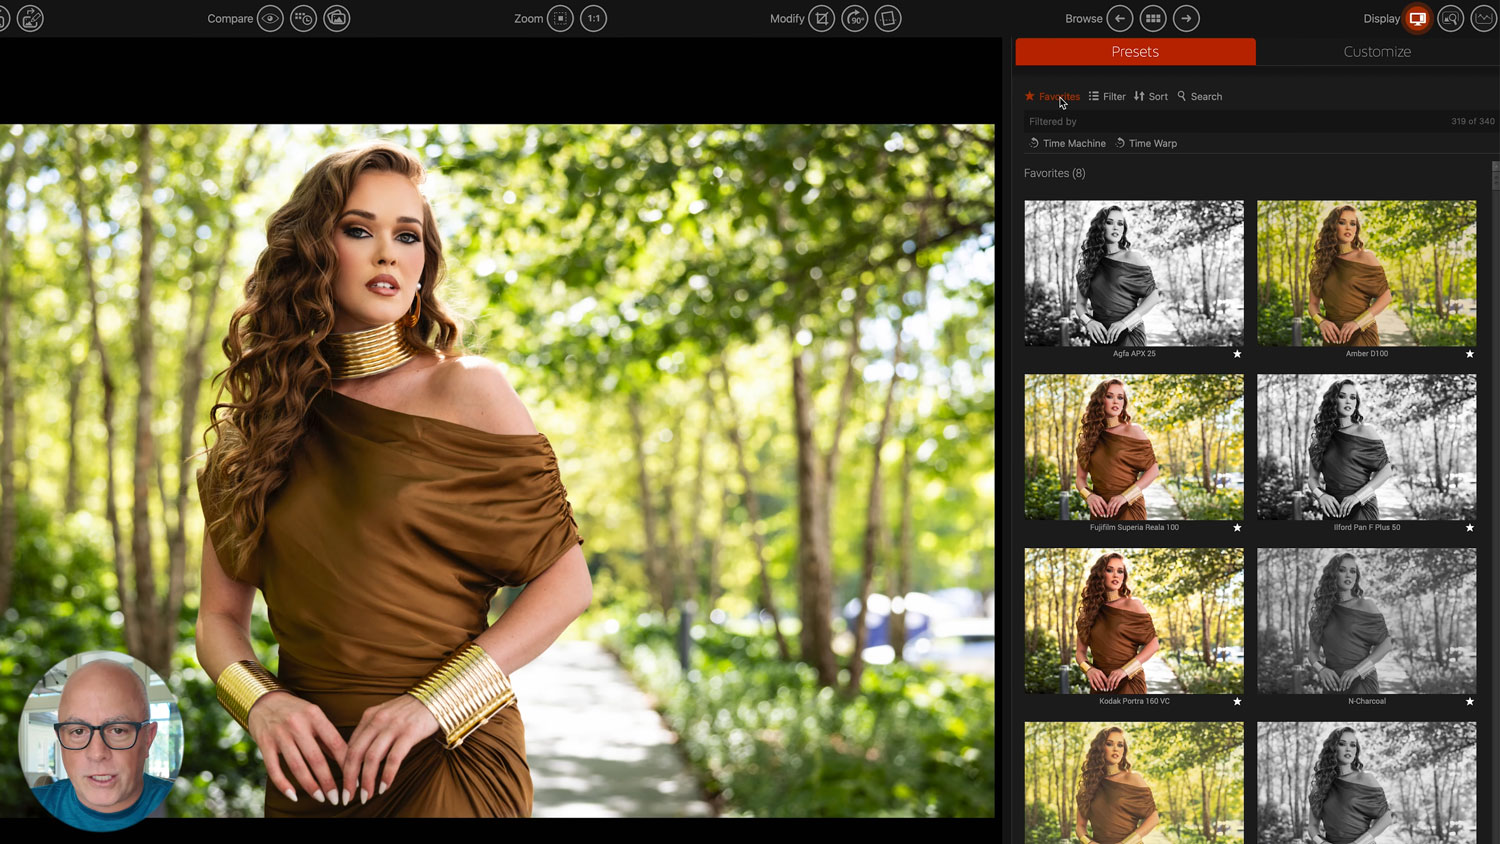
Software like DxO FilmPack makes this part both fun and insanely powerful. Instead of basic one-click presets, you get hundreds of film-inspired looks that you can tweak endlessly. Warm, cool, contrasty, matte, nostalgic—there’s a look for every vibe.
The key hack here? Never treat presets as “one-click.”
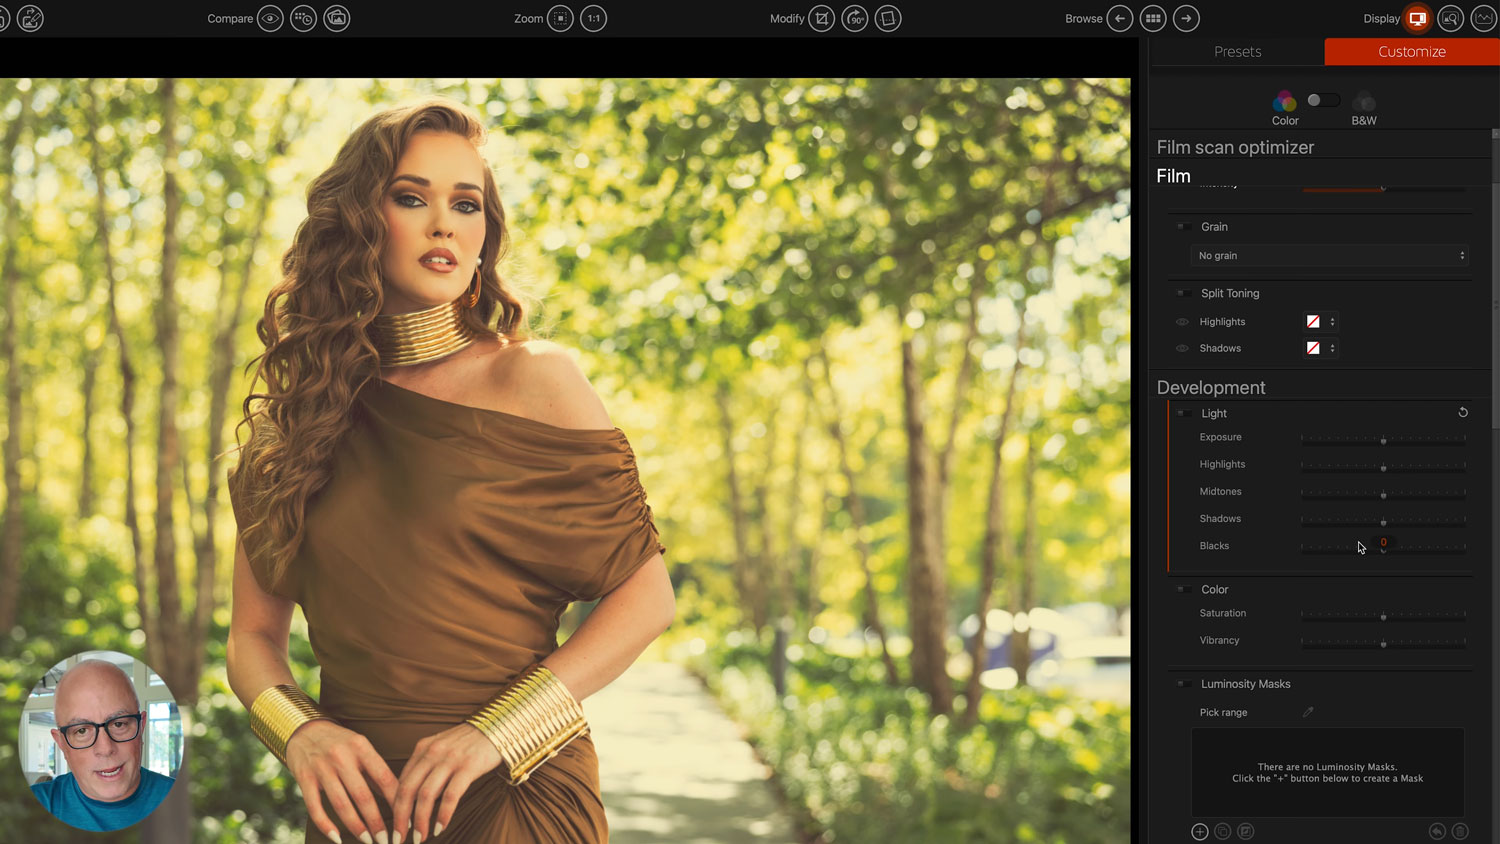
Use them as a starting point, then customize:
Adjust intensity
Tune contrast
Add or remove grain
Experiment with split toning
Refine the shadows and highlights
This is how you turn a “preset” into your signature look.
Use Subtle Vignettes & Blur to Control Focus
Here’s a trick that Hollywood cinematographers use constantly: blur and darken the edges of the frame to pull the viewer’s eye to the subject.
Why it works:
Modern cameras capture everything tack-sharp
Your viewer’s eye gets lost when everything is in focus
Soft edges guide attention exactly where you want it
A light vignette paired with a gentle, controlled blur gives your images depth and a professional, cinematic finish. Use just enough to guide the eye—never enough to distract.
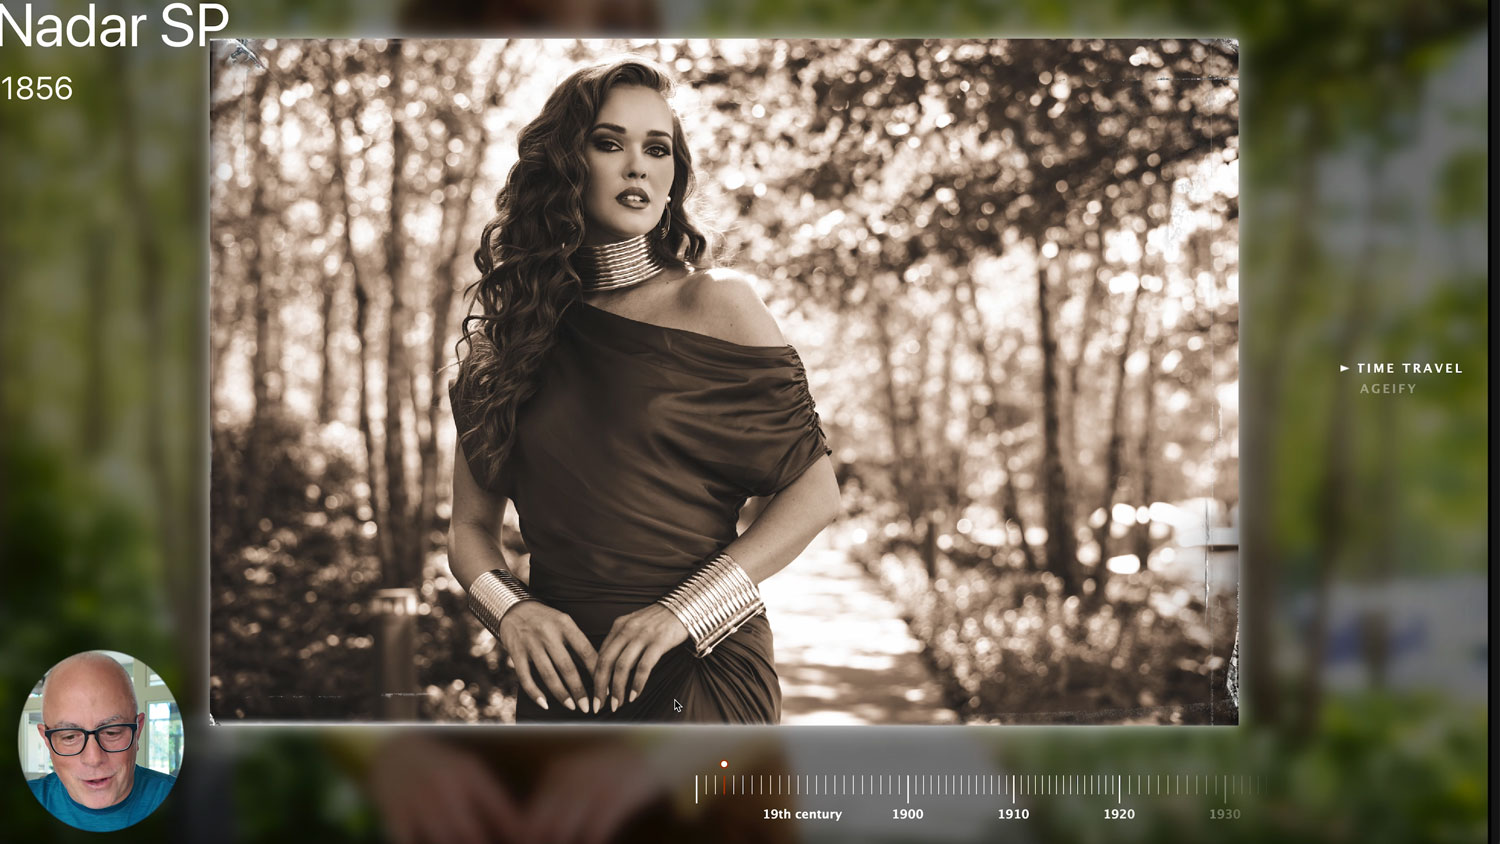
Experiment With Film Looks & Grain
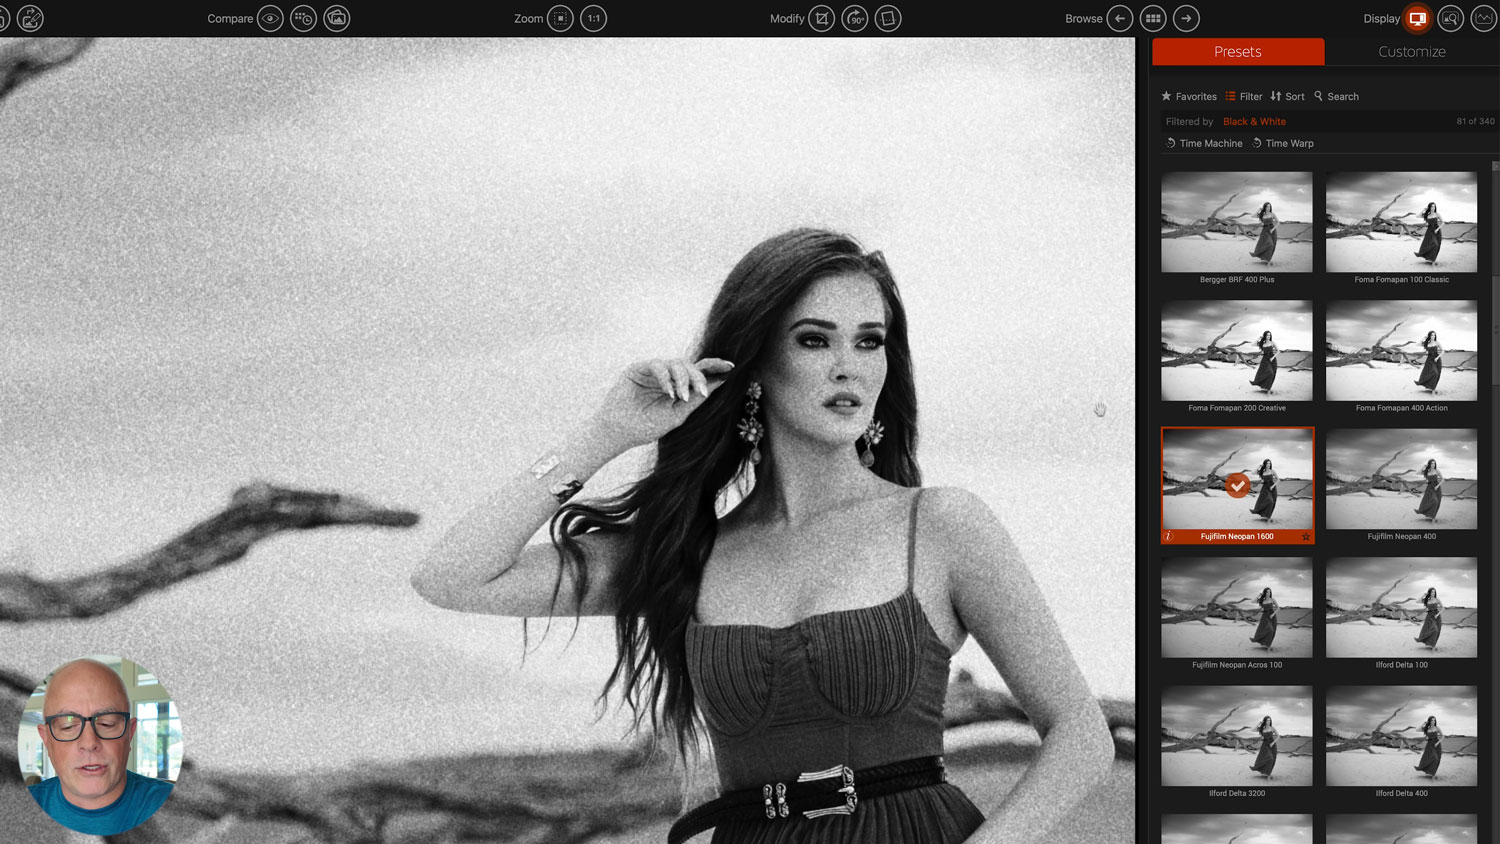
Film-inspired edits are having a huge moment, and for good reason. Grain, contrast variations, and subtle imperfections add character and nostalgia.
FilmPack’s options make it easy to try:
Clean, smooth black-and-white (Agfa 25)
High-contrast, gritty looks (1600-speed films)
Soft matte finishes
Moody tonal curves
And the bonus? You can always customize the amount of grain so your look feels intentional, not overwhelming.
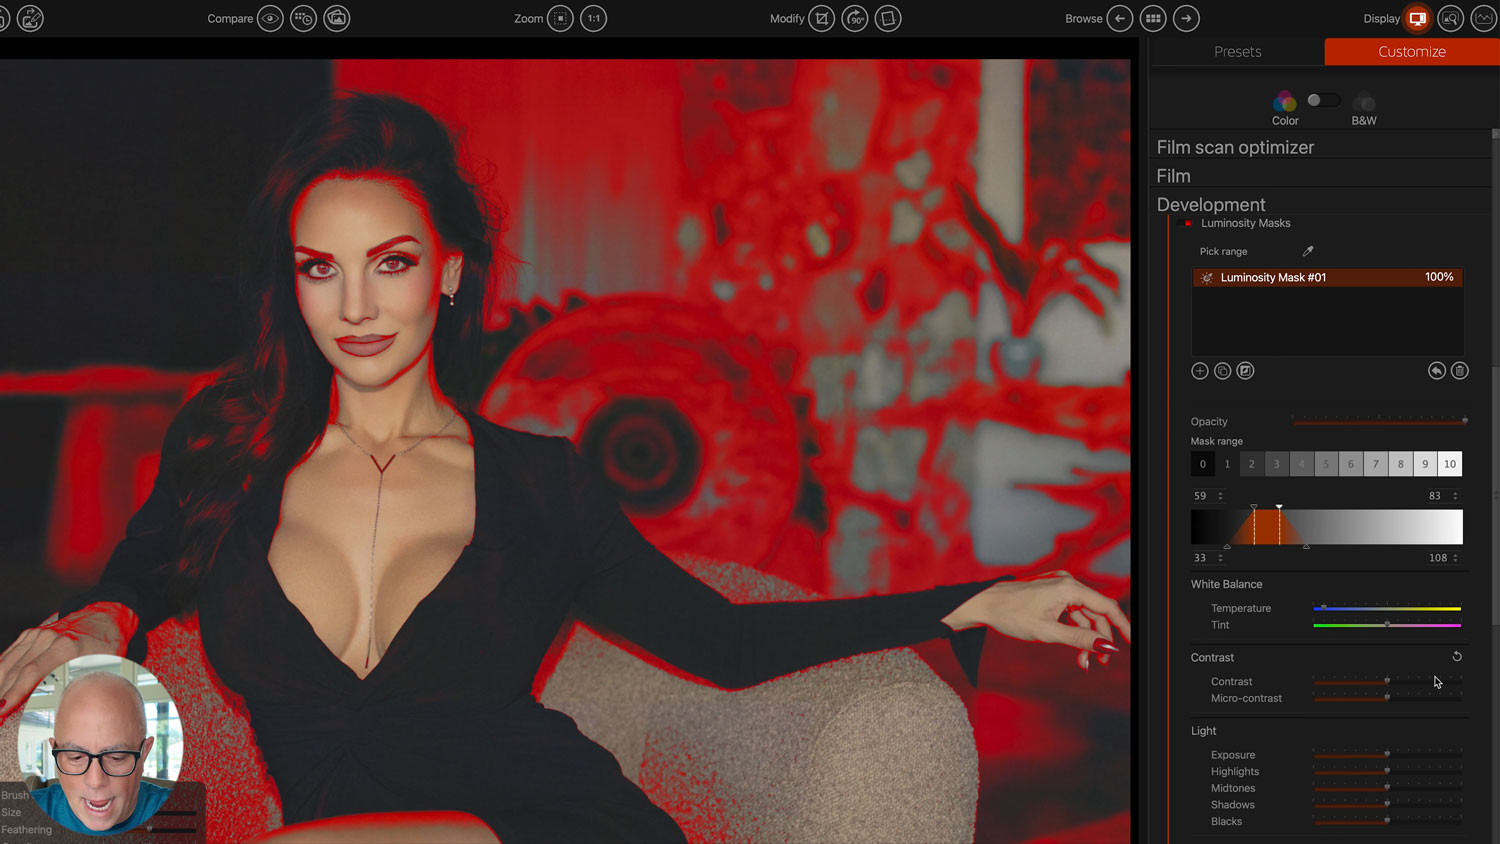
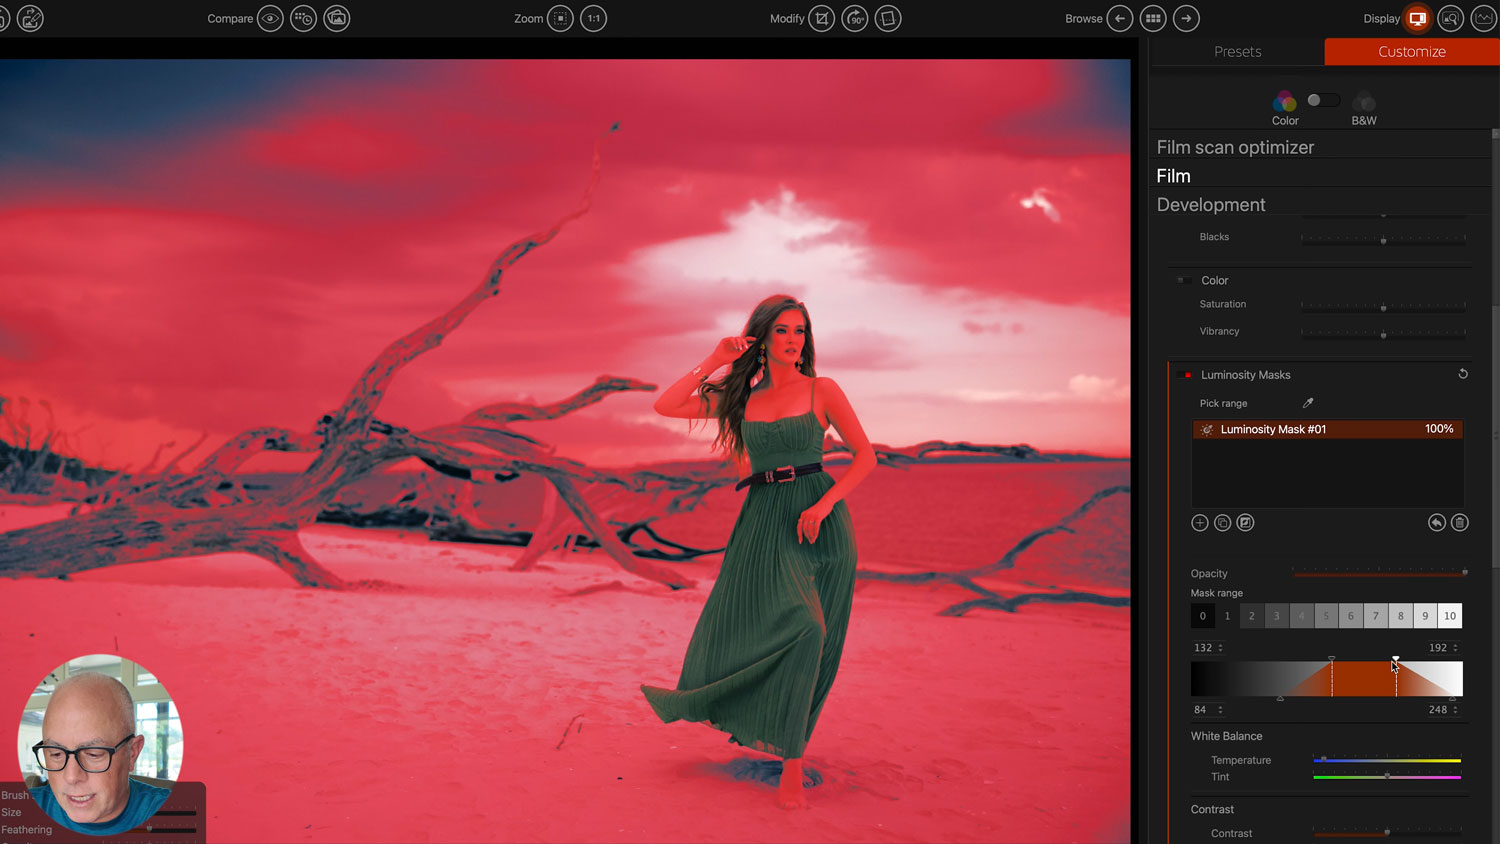
Use Luminosity Masks for Precision
If you want to take your edits from “good” to “pro-level polished,” luminosity masks are a game changer. They allow you to edit specific tonal ranges without manual masking—think of it as letting the software understand the highlights, midtones, and shadows for you.
You can:
Cool or warm select tonal areas
Add contrast only to shadows
Brighten highlights without blowing them out
Change background tones while keeping skin natural
It gives you total control with minimal effort.
Final Thoughts: Elevate Your Work With Intentional Editing
Great editing isn’t about over-processing—it’s about balance, style, and intention. These photo editing hacks are quick wins that dramatically improve your final images and help your work stand out in a crowded digital world.
Whether you’re polishing a portrait, creating cinematic depth, applying a film look, or tightening up the little details, each step adds polish your clients will notice.
If you haven’t explored creative color grading tools or film-inspired effects before, now is the perfect time. A few smart edits can transform a good image into a jaw-dropping final.

