
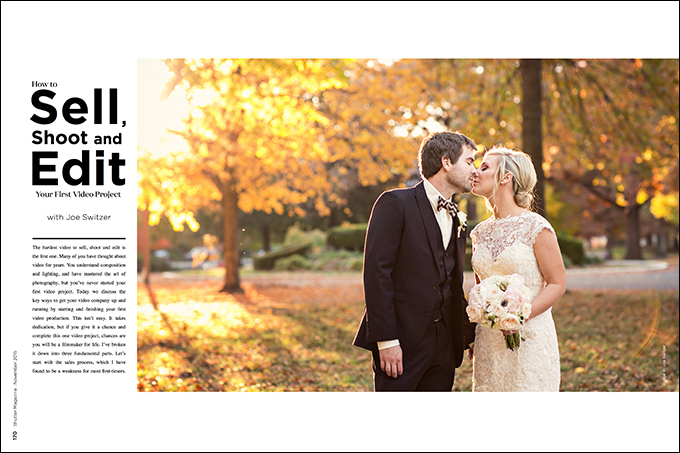
How to Sell, Shoot and Edit Your First Video Project with Joe Switzer
The hardest video to sell, shoot and edit is the first one. Many of you have thought about video for years. You understand composition and lighting, and have mastered the art of photography, but you’ve never started your first video project. Today we discuss the key ways to get your video company up and running by starting and finishing your first video production. This isn’t easy. It takes dedication, but if you give it a chance and complete this one video project, chances are you will be a filmmaker for life. I’ve broken it down into three fundamental parts. Let’s start with the sales process, which I have found to be a weakness for most first-timers.
Selling
It’s hard to sell your first project when you have no previous work to show. But it’s no different from your first photo session. You probably did your first session for a small fee or even free. So my advice is simple: Just give it away. No matter how qualified you are behind the camera, if you can’t sell yourself or have nothing to show potential clients, then you won’t be a success.
Find something or someone you adore, and put all of you passion and energy into doing the first project for free. Maybe it’s a charity, friends who are getting married or a small company you’re obsessed with. Your first sale will be memorable and influence future clients. Keep an open mind, and don’t be so picky if it’s not exactly a dream project.
The first sale that started Switzerfilm was for $150. It was a wedding highlight put to VHS. The sale came from a wedding photographer who recommended us and told their client that we were just getting into the business.
Weddings are a fabulous way to get started with video. The quickest solution might be to start working with a photographer in your area. Or, if you’re already a photographer, this is a simple add-on you can offer to all your current clients. Once you have this first video to show as a sample, you will start booking future film projects.
Shooting
What do you need for this first video project? A misconception is that you need three professional 4K cameras, monopods, tripods, sliders/tracks, a handheld stabilizer, drone, audio tools, lighting and a bag of a dozen lenses. Eventually you might have all of that equipment, but you can start with something as simple as a monopod and an iPhone in a worst-case situation.
Most of you at least have a camera, a few lenses, and a monopod or tripod. That is all you need to get started and capture amazing shots. To get off to a great start, use a camera, monopod and track. The Sirui P-324S Carbon Fiber Photo/Video Monopod is a great choice. You can find a decent slider on eBay for less than $100. If you have a larger budget and want the best, get the Rhino 24″ carbon slider for $500.
To make your filming experience easier, it’s best to have the same fluid video head on both your track and monopod. This allows you to take your camera off quickly and connect to your slider and monopod in just a few seconds. Reread and highlight those last two sentences. This can break you and ruin your filming workflow. We use the Manfrotto MVH500 AH video heads.
First, you must realize that time is against you with video. Take extra time. You’ll also be exerting more physical energy to get your shots. Many of you who are shooting photography take for granted how easy it is because you’re using the handheld technique, grabbing all sorts of different angles with your AF mode on. Handheld and autofocus do you no good if you want a professional video look. This is a big obstacle to overcome for photographers, but with a little practice, it will become second nature. You’ll be able to use your video tools quickly, and rarely miss a moment with manual focus.
You don’t just want to show up and start filming at the ceremony. If you are one of those photographers who works by the hour, you will need to reconsider your hours for video production. You’re going to need all the time in the world. Even though we’re not capturing more than a few hours of video footage all day long to make a two- to three-minute video, we spend most of our time positioning ourselves for the candid, in-between moments, and of course getting all those angles and establishing shots: wide, close-ups and time-lapses. You don’t know what shots will make the final video, so it’s essential to keep moving and positioning yourself for success.
Doing this all day long is exhausting because you’re starting in the morning before the bride or groom gets ready, and you don’t stop until about halfway through the reception. When you get to your edit, you’ll be thankful for all the variety and extra footage to work with.
Editing
After you sell and film your first video production, the final step is the edit. Before you learn anything about editing, I want you to think about this analogy. Remember your last lavish family dinner? A dinner where you plan, prepare and enjoy each other and all the home-cooked food? You end up having a pile of dishes that need to be washed. You could wash them right away or you could let them soak. If you let them sit and soak, you might forget about them until the next day. You might be running late, so you might not get to them until the following evening. Maybe you’re too tired, you had a long day at work, so you put it off again. Get the point?
It’s best to start your edit right after the shoot, while it’s still fresh in your mind. You’ll finish it much more quickly because you just experienced the production behind the lens, so you can easily visualize the amazing moments of the day. Don’t let those dishes soak!
What software should you use to edit? Another misconception is that you’re going to need to spend thousands of dollars to buy a Mac and Final Cut Pro. If you’re on a Mac, iMovie is a great way to get started. If you’re on a PC, use anything free; Windows Movie Maker, Sony Vegas and Adobe all do a great job. Most of you are on the Adobe cloud program, so it might be easiest to use Adobe Premiere Pro. You just want to do basic editing, so you won’t need anything fancy for your first productions. If you have a budget and want to purchase something for the long term, we use an Apple MacBook Pro running Final Cut Pro.
What should the edit look like? The overwhelming majority of creatives who want to get into the video industry make this so complicated on themselves. For some reason, they think they need to make a 20-minute video, tell a story, use audio, insert fancy transitions, text and graphics, and use color filters.
For your first edit (for all edits, actually), think simple. Switzerfilm wedding videos are two- to three-minute films put to music. That’s it. Roll the credits. We make music videos that don’t have text, graphics, transitions or audio.
We use SongFreedom to license all our music for all of our wedding and corporate productions. For our most recent edit, we used the American Authors tune “Best Day of My Life.” Look for music that is mainstream or indie, and nothing longer than four minutes. If you fall in love with a song that is over four minutes, shorten it. For your first edit, you probably won’t have enough amazing footage for a one-minute video, so keep your song choice short. Your goal is to make something that people can engage with and share. Nobody is going to share a 10- or 20-minute video, so don’t waste your time making it.
After you get your song, it’s time to place it in your editing software. Now how do you decide what video clips to put where? I usually like to use the approach of a good speaker. Orators tell you what they’re going to tell you, tell you, and then tell you what they told you. You can apply this same template to your first wedding edit. You want your video to start out with excitement and wonder by giving the audience a glimpse into what the video is all about. Maybe the wedding edit could start with a few shots of the reception, wedding and creative post-ceremony shots. If you have a three-minute song, the first 10 to 15 seconds is your chance to bring your audience in and let them know they don’t want to stop watching.
The rest of the video could be in order of the events, like wedding prep, ceremony, post-wedding shots and then reception. The ending needs to be that “wow” moment and recap of how amazing the day was. A common mistake of first-time editors is they use all the footage and have nothing good left for the memorable ending that inspires viewers to share and watch again. The actual video clips need to be short and unpredictable. Use a few one-second, three-second and half-second shots. Then, for the epic motion shots, you can get away with holding those for up to five seconds.
You want to keep viewers on their toes so they can’t predict the flow of the edit. For most of our edits, the bulk of video clips are around one to three seconds. Keep the shots as short as possible in all your editing.
You know enough people to find something exciting to film, so just do it. You can more than double you business with this new revenue stream, but the biggest reward is seeing the reaction of your clients watching their video for the first time. It gets a different reaction than a photo. The music and video is a combination that causes tears and thunderous applause like you’ve never seen or heard before.
Giving video a try might just change your business and your life.


