ShootProof + Lightroom = Better Together
Why do I love ShootProof so much? Well, one reason, it just makes my workflow faster and easier. Below is a quick example of how I use ShootProof in my studio post-production workflow.
Workflows are a dime a dozen, in the end it’s about what works for you. Here is what works for us. It’s fast, easy, and practical.
The steps below assume you have already installed the ShootProof Lightroom Plug-In which is available on their website.
Step 1: You are going to shoot like normal. Do your editing according to your normal workflow. For us we work in Adobe Lightroom.
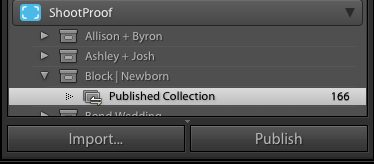
Step 2: Once your editing is complete, from within Lightroom scroll down to the ShootProof Publish Service and control-click to select “Create Published Collection Set”
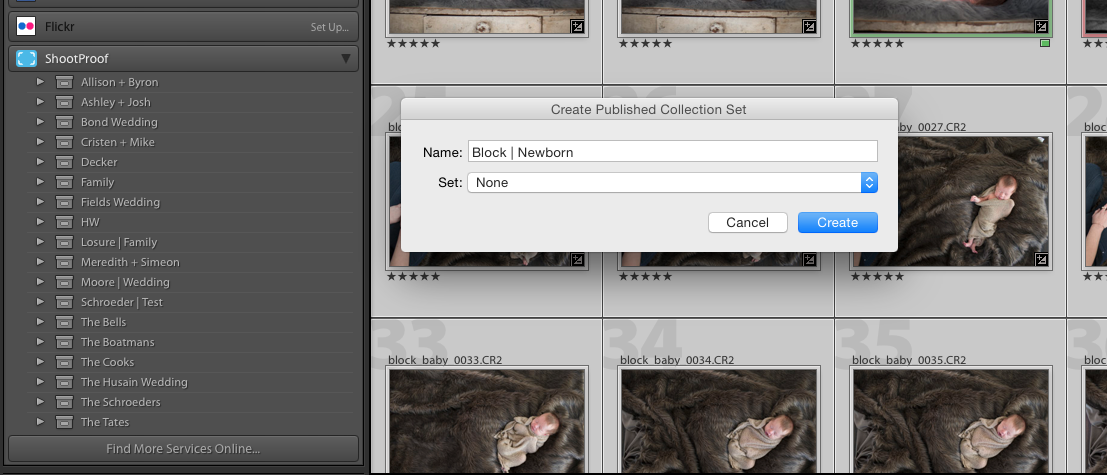
Step 3: Name the selection by your client naming convention – this is what the client will see in their gallery on ShootProof
Step 4: At this point, your gallery doesn’t have any images assigned to it. Next, select all the images in Lightroom that you would like to see see published to the gallery.
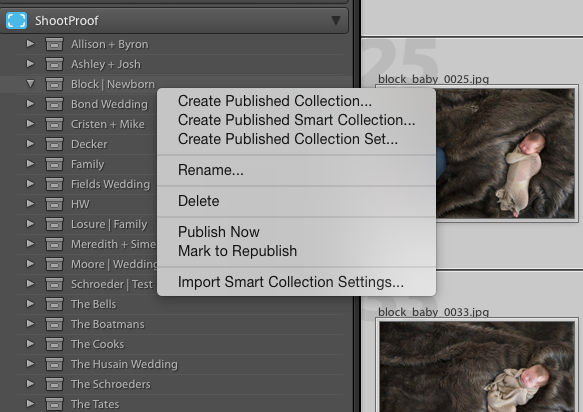
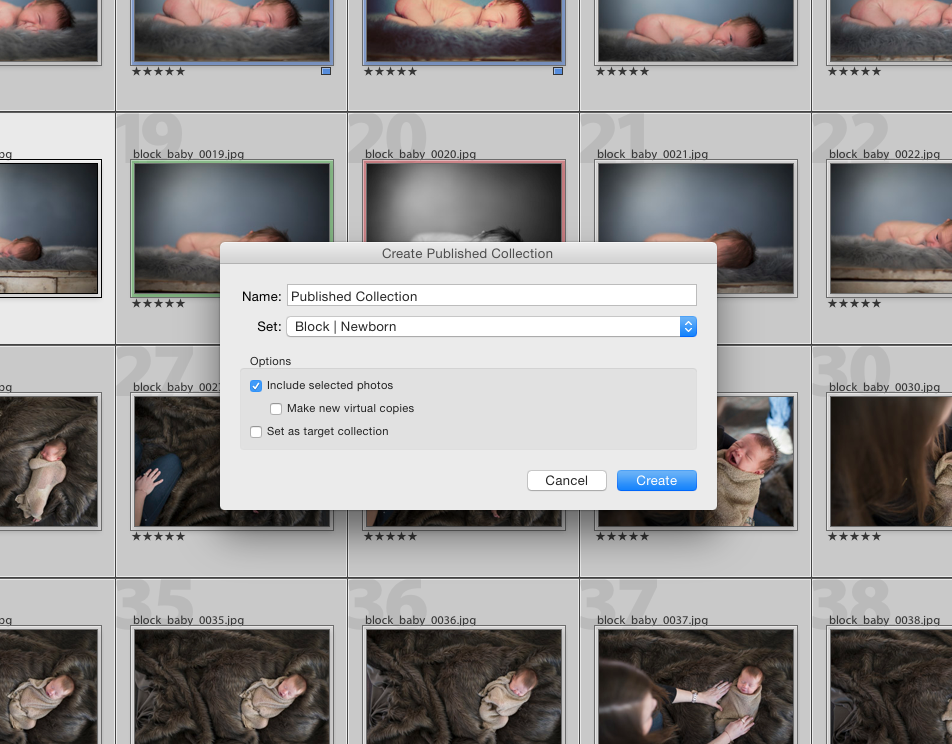
Step 5: Scroll back down to the ShootProof service and control-click on the collection set you created in step 2. You will now see a menu again – this time, with all your images selected, select “Create Published Collection” from the menu. Make sure “Include Selected Photos” is checked. You will not see all your selected images show up under published collection.
Step 6: Hit “Publish”
Your gallery is now live on ShootProof. It’s truly that easy. The workflow saves me time and dovetails right into my existing workflow. As an active shooter, any time savings is worth it’s weight in gold.
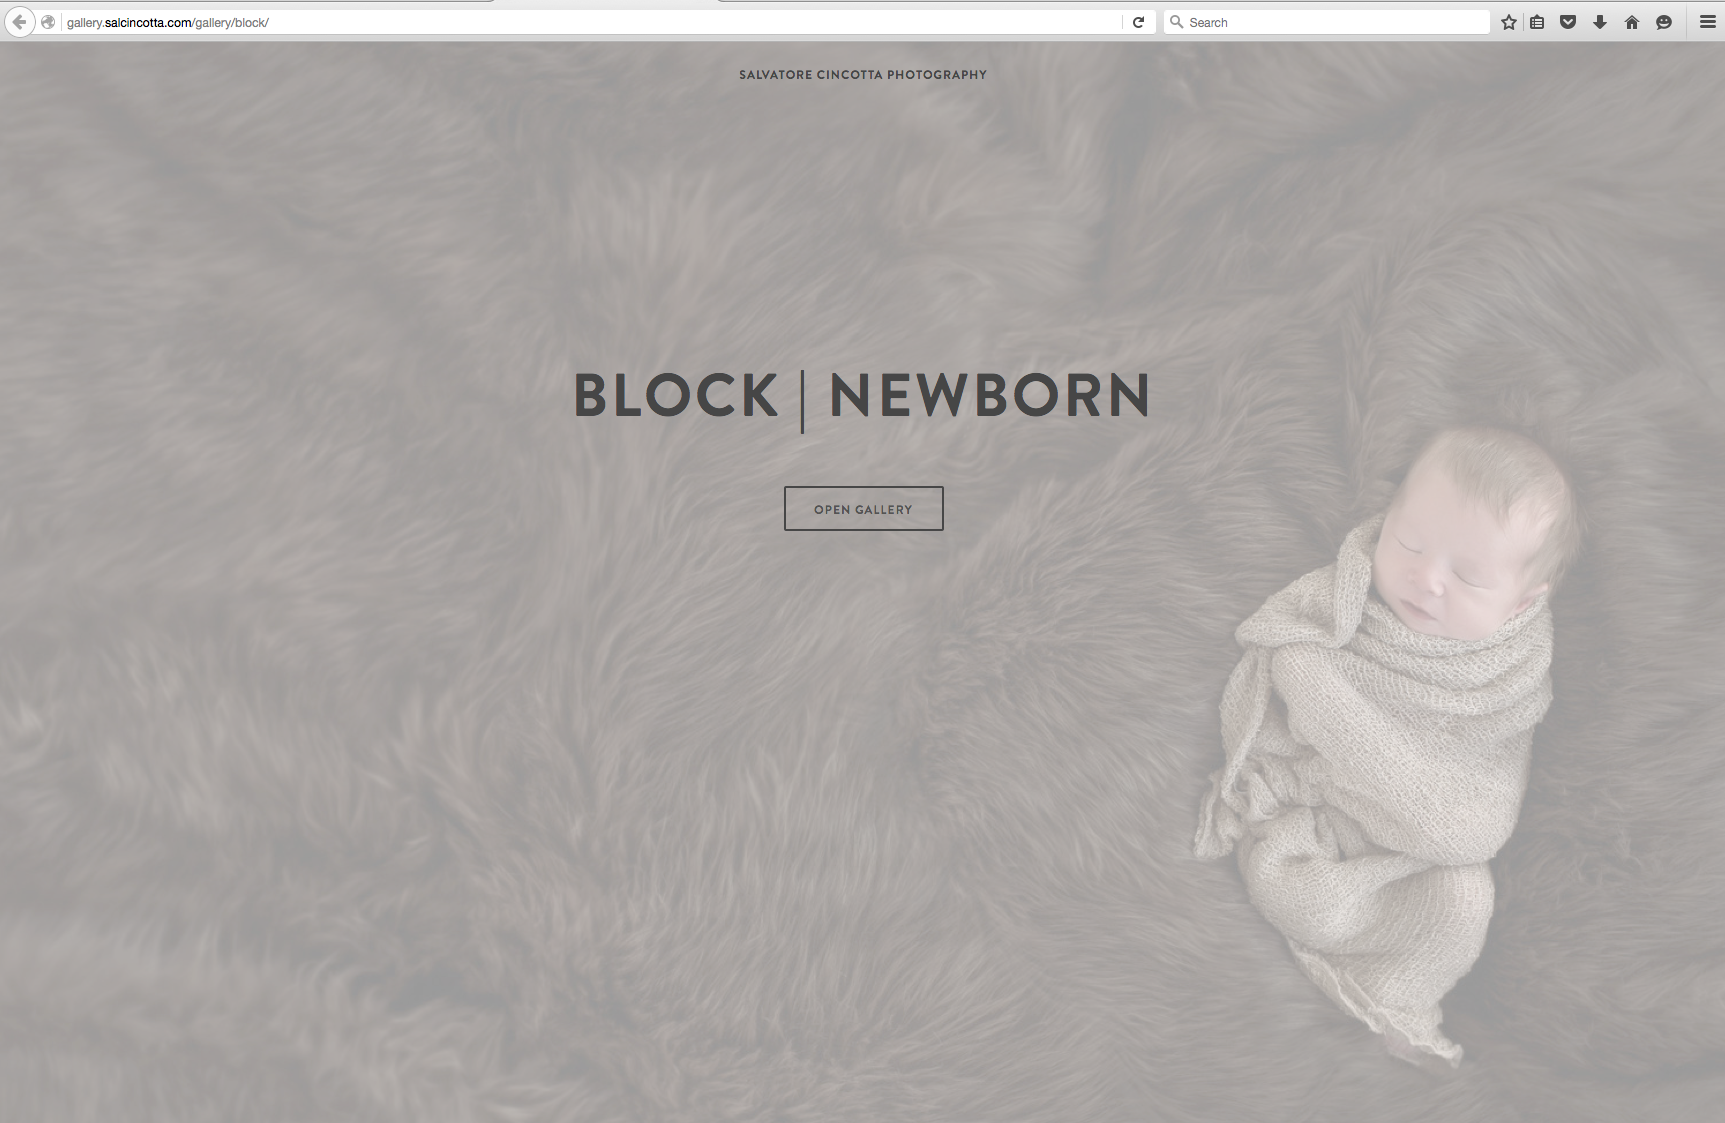
Your next step will be to log into your ShootProof account and tweak your gallery settings – this includes your password, main gallery image, etc.
When your client logs in, this is what they will see.
(Click to view larger)
To learn more visit ShootProof.com