
The Do’s and Don’ts of Off-Camera Flash with Susan Stripling
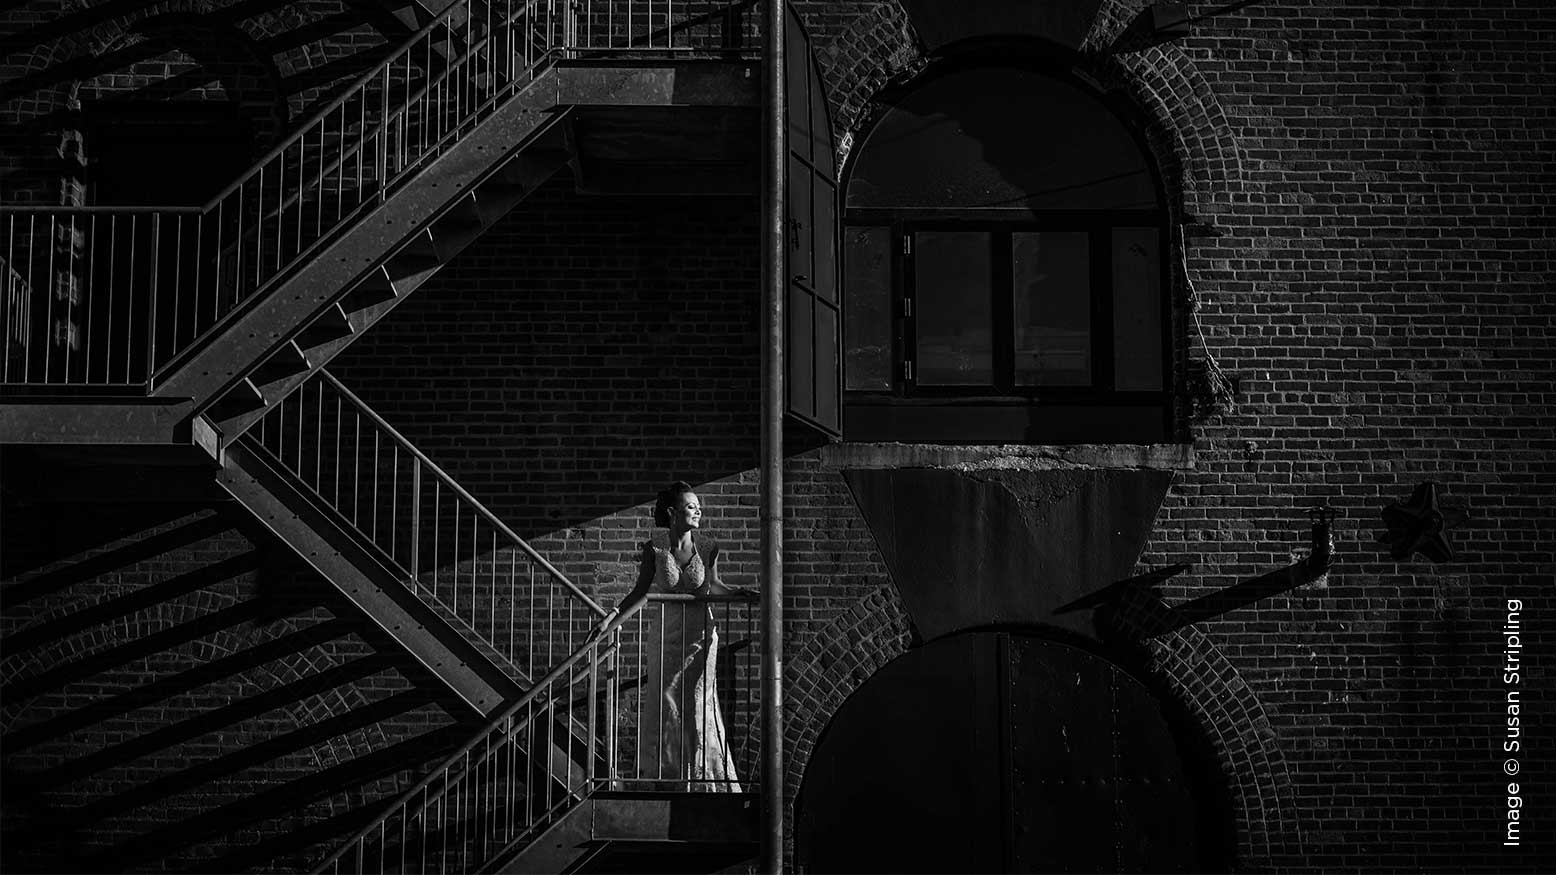
Off-camera flash is crucial to my success as a wedding photographer. It has helped shape the “signature” look of my images, allowing me to create a portfolio that is solid in all kinds of lighting scenarios. Whether it’s overpowering bad light on a dance floor or creating a sunset where there was none, mastering the techniques of flash allows me to make beautiful images for my clients in all types of situations.
That said, off-camera flash can be an intimidating thing to try to master. Where do you put the flash? What power should it be on? When do you need more than a simple Speedlite? What about modifiers? Where do you even start? Here are five tips to help you out!
1. Know when the natural light is enough—and how to use it!
Don’t always go reaching for the flash. I’m seeing this more and more in photography groups online—photographers grab that Speedlite and seven modifiers and go crazy when there is gorgeous natural light to work with. Take a look around first and make sure that you aren’t missing beautiful natural light that will do the job for you!
On top of that, master natural light before putting a single flash on (or off) of your camera. It’s crucial that you start understanding how you like your light to look so that you can create it artificially later. Do you like a strong backlight? Do you like soft, gentle light coming from in front of your subjects? Do you like the look of golden hour?
Start noticing where the light source is when you create those images that you like. Is the sun high in the sky or low to the horizon? That will be important to remember later. Do you like the look of one light from a window, with the rest of the lights in a room turned off? Remember that. You’ll be re-creating those situations with a flash later, so you want to know WHERE your main light source is coming from, as well as what the rest of the scenario looks like.
2. Understand how flash and ambient light work together to create the look you want.
Before I was able to master off-camera flash (or even ON-camera flash!) I had to understand how all of the technical elements come together to create an image when artificial light is involved.
So start practicing and experimenting. Go into a dark space with a willing subject—a child, a friend, your favorite teddy bear, a mannequin, whatever works for you! (Note : don’t do this at a wedding. Practicing and experimenting should never be on a client’s dime.)
Vary your ISO, shutter speeds, and f-stops. See what happens to the ambient light when using a flash. As your shutter speed lowers, look at how much ambient light is let into the image. As your shutter speed rises, look at how much ambient light is cut out of the image. Start varying your ISO and see what that does to the results. Same with your f-stop: what do you like best? So much about photography and image creation is marrying what you like best with the technical stuff that makes that vision become a reality.
Practice, and practice some more. Add moving subjects to the mix and vary your shutter speeds again. See when you get “ghosting” and when you’re able to freeze your subject. Become super familiar with understanding how low your shutter speed can go in any given ambient light situation before you get that blurry/ghosty effect.
This practice-makes-perfect approach helped me understand what I liked in an image. I knew that outside, I liked dramatic rim light coming from behind my subjects, but to create that inside I’d need a faster shutter speed to cut out more ambient light. I knew that to create a portrait like that in darker conditions, I’d need to keep my ISO higher and my shutter speed faster. This took a long time to decide upon, so don’t be afraid if your creative journey takes time. Mine has taken me 18 years so far, and I’m nowhere near done!
Take all of this technical knowledge and pack it away in your brain for future use—you’re going to need it!
3. Take your flash off your camera and put it where you’d want your light source coming from.
If I like the look of sunset, but don’t have golden hour on a wedding day, I can make it. But first, I need to position my light where the sun would be if it existed. If the sun is out and I love when it’s low to the horizon, my light will need to be in that exact same place.
If I love the look of window light for a getting-ready session, but it’s dark when the bride is putting on her dress, then I want the light to come from outside the window if possible—so I’ll send my assistant outside into a flower bed!
If you’re creating a portrait indoors and thinking, “Gosh, I sure wish there was a huge window just to the left of the groom here”…well, make one! Put your light to the left of the groom, coming from the direction where you’d love that window light to be.
4. Dial in those settings.
This is where I see most photographers stall. They know where they want the light to be, but they struggle with where to start settings-wise.
Try this, if you’re outside: 1/160 sec, ISO 400, f/4.0, with your flash on full power. If you’re inside? 1/160 sec, ISO 800, f/4.0, flash on 1/4 power.
Will these settings work all the time? Of course not. But they’re a good place to start, and then you can make changes.
Is the light overpowering your subject? Lower the flash power, back your assistant/light stand up and away from your subject, lower your ISO. Is there not enough light on your subjects? Raise your flash power, move your assistant closer to your subjects, raise your ISO. Is your ambient light gone? Lower your shutter speed. Is there too much ambient light? Raise your shutter speed.
Remember everything we talked about in tip two? Put that into practice here. And if you don’t know where to start, just start. Start with the settings above and fumble and make mistakes; try and try again until you can walk into a situation and sum up your settings without even thinking. I know it sounds daunting, but with experience, it will become second nature.
5. Experiment with modifiers for your light.
It’s no secret that my favorite modifiers are made by MagMod. They’re easy to use, easy to switch out on the fly, and easy to combine together. Need a sphere and a grid? Just layer them. A sphere, a grid, a gel? Layer, layer!
Once you get a bit more comfortable working with flash, start playing with different ways to modify the light. If I want a wash of soft, directional light, I’ll reach for my MagSphere. Need to focus that light? Try a grid. Need more focus? Try two grids or a snoot. Want to use two lights at once to overpower the sun? Try the MagBox.
There are so many lighting modifiers out there that finding your favorites will take time. Then you have to find what situations you like using those favorites in. Once you’ve done the work and identified the best modifiers for you, it will take your already-excellent off camera flash work up to a new level.
And just one more… Don’t forget that this is fun.
As wedding photographers, we get to create. And we get paid for it. It’s a ridiculous joy, and an honor that I don’t take lightly every time I make an image for a client—flash or no flash. Don’t forget that you got into this because you LOVE the art of creation.
Don’t be daunted or stressed by the technical side of off-camera flash. It’s a joy to create with and experiment with, and once you find your precise style, it will elevate your portfolio by leaps and bounds.


