
Tips for Tethering: 5 Things You Should Know with Vanessa Joy
Want more information on this article? Get access to video content and additional supporting images. Launch the December issue of the magazine by logging in or signing up for a free account by clicking here. Shutter Magazine is the industry’s leading professional photography magazine.
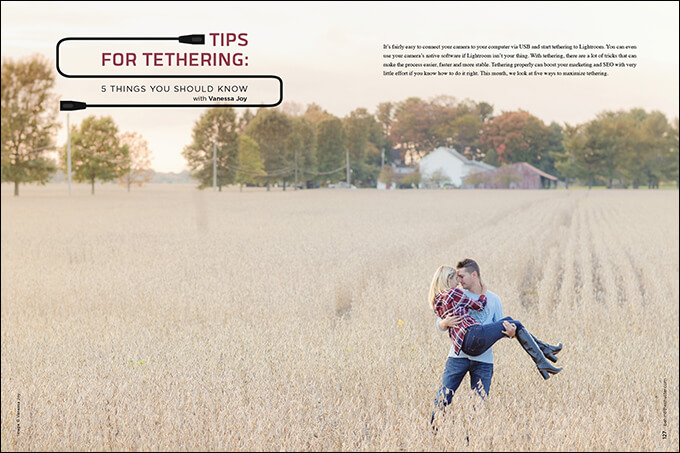
It’s fairly easy to connect your camera to your computer via USB and start tethering to Lightroom. You can even use your camera’s native software if Lightroom isn’t your thing. With tethering, there are a lot of tricks that can make the process easier, faster and more stable. Tethering properly can boost your marketing and SEO with very little effort if you know how to do it right. This month, we look at five ways to maximize tethering.
Tip 1: Use keywords via metadata during import.
The first thing you’ll want to do is set up a metadata preset in Lightroom based on the type of work you’re photographing. For example, if I’m importing pictures that are for my wedding photography business into Lightroom, I’ll have a wedding photography metadata preset that includes keywords like “New Jersey wedding photographer,” “luxury weddings” and “best NJ photographer.” If you’re a headshot photographer, include keywords like “corporate business photos,” “LinkedIn pictures” and “headshots.” After you set the metadata presets, those keywords will be embedded in all the images you are importing and exporting through Lightroom.
When you have keywords like these attached to your photos and you upload them online, Google sees them and recognizes your imagery as search results for those keywords, helping boost your SEO and marketing. In the same settings, you can also apply a copyright so all your photos have your copyright information listed in the metadata.
After you’ve set up the metadata present, you need to tell Lightroom to apply the metadata automatically to all the images that are coming in. To do this, go to your import settings and select that metadata preset to be part of the import process. It will automatically apply your metadata preset to the images. You can change this depending on what kind of shoot you are doing. I recommend having a few different presets based on the pictures you typically shoot so that the appropriate keywords are assigned to them.
Tip 2: Apply lens profile corrections.
Lenses have different profiles based on their make, model and focal length. When you apply lens correction settings, you are allowing Lightroom to automatically correct for distortion, vignetting, perspective and the like. The develop module is where you’ll create a preset that applies the lens corrections, which will automatically recognize the lens that you are using and apply the right profile based on the manufacturer’s corrective settings.
To do this, select any photo in the development module and apply the lens corrections, which are toward the bottom of the settings and to the right. Save those settings as a preset in the presets tab on the left by clicking the “+” sign. Go into your import settings and apply the presets to the auto import just as you did the metadata.
Tip 3: Make sure all your connections are secure.
This is a threefold tip. Having a handle on your cords and gear helps minimize liability and allows you to shoot without a mess of cables everywhere. Additionally, you want to prevent any of your equipment from being accidentally damaged, and you need to make sure you have a secure connection from your camera to your computer. Seems like a no-brainer, but without that kind of stability and ease-of-use surrounding your gear, the connection for tethering can end up causing a whole bunch of problems and interruptions during your session.
I like using jerk stoppers and other fine products from Tether Tools. To see what gear I use, go to the Gear We Love section of www.headshot-bootcamp.com. (Note the cup holder attachment for the Tether Table, a favorite of mine.)
Tip 4: Use your camera’s software.
Most people know that you can tether your camera using Lightroom. What is less known is being able to incorporate your camera’s software as well, like Canon EOS Utility. This gives you more control over your camera from the computer, including adjusting focus, exposure settings and white balance. Another perk is being able to tether while using live view, which is great if your camera is in a position where you can’t see through the viewfinder. You can run Canon EOS Utility and Lightroom simultaneously while tethering, giving you a ton of control while Lightroom ingests the photos.
Tip 5: Memory cards matter.
Finally, you want to make sure you are shooting on the fastest possible memory card. At a minimum, I use a SanDisk 160mb/s compact flash card. Shoot on a single memory card if your camera has dual slots. If you don’t have a fast memory card, you’re going to bog down the speed at which your images tether through Lightroom. The camera first likes to write the image to the card and then import it into Lightroom (though you can change that to not write to the card at all), so having a slow card lags the entire process.
If you have two cards in your camera, it slows it down even more because then it has to write to two cards before tethering, which can cause everything to freeze up. That’s not the kind of thing you want to happen on a shoot in front of clients.
Want more information on this article? Get access to video content and additional supporting images. Launch the December issue of the magazine by logging in or signing up for a free account by clicking here. Shutter Magazine is the industry’s leading professional photography magazine.


