
Travel Tips for Photographing Destination Weddings with Raph Nogal
Destination weddings can be downright amazing—new places, new sights and sounds. They can also be stressful. With the right preparation, you can make it an unforgettable experience. From my travels to Mexico, Honduras, the Dominican Republic, Thailand and other countries, I have gathered these five tips I wish I’d known before I shot my first destination wedding.
1. Leave the family at home.
I know that sounds harsh, but I’ve tried it both ways. While it may be tempting to bring the family and extend your stay, I have found it to be a big distraction. When I brought my wife and son to a destination wedding, the client had flown me in for the week, so we thought it would be great to make it a family thing too since I would have some extra time here and there. It wasn’t all that great. My son was nine months old and needed a lot of care and attention from both of us. It was extremely hot, so we couldn’t be outdoors with him for too long and had to take turns going to the pool with him. I should have taken the family on a separate vacation.
When I traveled to Thailand, I went solo. It allowed me to concentrate on what I needed to do. I highly recommend doing a destination wedding without the family so you can focus strictly on your task. You are there to work, not play.
2. Bring only the essentials and pack with purpose.
I’m terrible at packing and tend to overpack. When you pack for a destination wedding, you need to think and rethink everything. Clothes all go into one checked bag. I have nice wedding clothes and everyday clothes. If that checked bag is lost, I can always buy clothes when I arrive. All the equipment goes in the carry-on with me. I travel light with just a Lowepro backpack and a personal-item messenger bag where I split up some of the gear. For the Thailand trip, I packed the following gear:
- Nikon D750 X2
- Battery grip + batteries x2
- 105mm f2.8 macro
- 85mm f1.4
- 50mm f1.4
- 35mm 1.4
- 20mm f1.4
- Profoto B2 + extra battery
- Profoto AirTTL remote
- Generic speedlight + transceiver x2
- Profoto medium reflector
- Batteries & chargers
- MacBook Pro
It looks like a lot, but it all fit in my backpack and messenger bag. I also used every single piece of equipment I brought. If my 85mm lens craps out, I still have a 105mm for the long end. If my 35 craps out, I can go 20mm or 50mm—not the same but I can still make it work. It’s essential to bring two camera bodies and plenty of batteries. Pack with purpose and put the clothes in the checked bags.
3. Back up everything to multiple places.
When things are good, there are no issues, but when something goes wrong, you could be in a whole lot of trouble. With digital files, it’s easy to make multiple copies, so just do it. Here’s my backup plan for travel and destination weddings:
- Shoot to dual cards, making an automatic copy in-camera (copy 1)
- Transfer one card to laptop (copy 2)
- Copy files to an external drive (copy 3)
- Back up to the cloud (copy 4)
So now, I have one original and four copies. Is it excessive? Maybe, but I’m not taking any chances. Let’s look more closely at the steps above.
When storing to dual cards, I like to set both to Raw so I have a true backup of my negatives. You could do RAW + JPEG, but only if it’s part of your workflow and you see some kind of benefit (which I don’t). A key component of shooting to two cards and having exact copies is that you keep one set of cards (the originals) and store them somewhere other than with your camera gear or laptop, and you can always give the second set of cards to the couple’s parents, maid of honor or anybody who is part of the wedding that you trust.
As for your original cards, put them in your dirty clothes pile if you have to. Think of the worst-case scenario: Your room is robbed and they get your laptop and camera gear, but they didn’t touch your dirty clothes pile. Your (insured) equipment is gone, but your files are still here and you can deliver what you promised to your clients.
I transfer the original files on the card directly to the laptop. That way I have fast access to the files so I can do a teaser or anything else I need. I can also start culling the photos. If you have a few days left before you fly out, there are worse ways to spend your time than culling wedding images poolside with a margarita.
As additional backup (copy 3), I always make a copy of the Raw files to a small SSD drive. I use the Sandisk Extreme Portable SSD. After I copy the Raw files to it, I secure it separately from my laptop and gear—sometimes in the hotel safe with my passport.
Using cloud storage is also an option if you have a good Wi-Fi connection. If you have a few days before you fly out, you can do a few overnight transfers to the cloud to further ensure the files are safe and sound.
4. Add a second day of shooting with your clients.
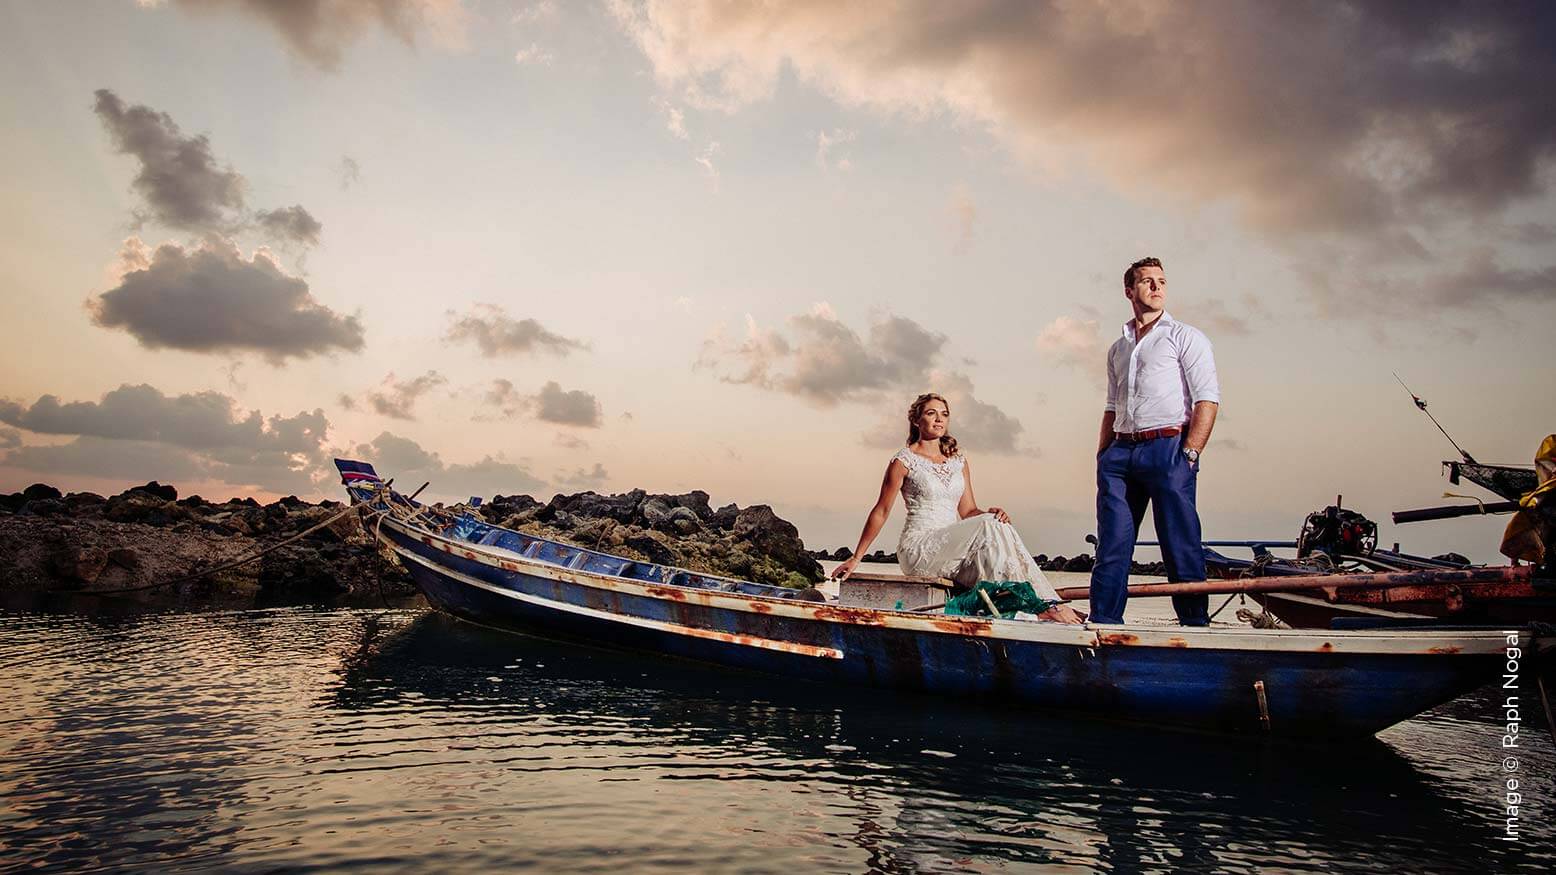
Destination weddings offer a great way to explore a new location. In addition to the wedding-day coverage, get your clients to do a location session. Suggest places that get your creative juices flowing. Have fun with it and always make it fun for the couple. This is another opportunity to create something awesome for you and your clients, with no pressure, unlike the wedding day.
In Thailand, I took my couple all over Koh Samui, an island we spent half a day exploring. We rented a van that took us around to several shooting spots.
5. Shoot for yourself.
It is very likely that you will have some time to yourself. My destination weddings last 5 to 7 days. The wedding is just one day, which leaves me time to explore on my own. On this trip, I wanted to take in some culture. I’d never been to that part of the world and also hadn’t done much street photography, and Thailand presented a perfect opportunity.
I took a small camera with me and shot everything in black and white in camera. I wanted to capture a “street” feel and thought black and white was the way to go. I photographed at the airport in Hong Kong (my stopover), outside my hotel in Koh Samui, on the beach and on the streets of the Fisherman’s Village. The experience was exhilarating. I highly recommend shooting in unfamiliar places.
I hope these tips were helpful and that you’re super excited to photograph a wedding in a new place. It’s a lot of fun, but don’t forget: You’re there on business, so don’t let those margaritas tempt you until after the wedding.


