
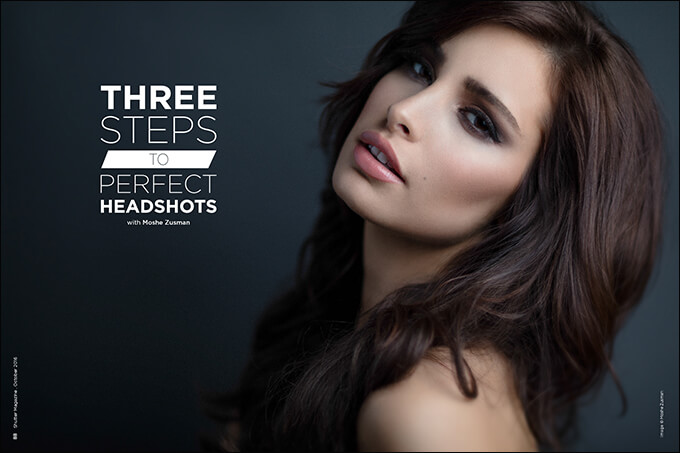
3 Steps to Perfect Headshots with Moshe Zusman
Lighting, Posing and Reading Faces
When I moved from photographing mostly weddings to doing what I do now—mainly headshots, portraits and fashion—I hit a learning curve. Trying to figure out on my own how to control light in a studio was very different from shooting on location. I learned from as many people as I could, gathering inspiration from photographers like Peter Hurley. I looked to fashion magazines, and experimented on my own.
Headshots are basically about lighting and posing, but we’re photographing people, not things, and what works with one person may not work for another. That’s where reading faces comes into play.
My average client is not a model. In my workshops, including Headshot Bootcamp (www.headshot-bootcamp.com), I train photographers to shoot the everyday people who will ultimately be their clients. I want them to be more ready than I was to do a great job for any face that walks through their door.
Reading Faces
When a new client comes into my studio, I welcome her in, offer a drink and start small talk to loosen her up. At the same time, I’m reading her face. I’m looking at her eyes, nose and mouth to find her better side and the one that I’ll likely photograph.
I have the client look at me, and then look to the left and to the right. I’m looking mainly at her eyes and nose to see how they line up over each other, which tells me which side of their face is more open. Whichever side is more open or shows less of an imperfection, like a crooked nose or blemishes, is the side I photograph.
The rest of reading faces comes a bit more easily, and comes into play when we start talking about lighting and posing. I make a mental note about whether the client has wrinkles or a double chin that will either be accentuated or minimized by the lighting and posing I choose.
One-Light Setup (With Secondary Light)
After having experimented with multiple lighting techniques, from one to four lights, I’ve arrived at a one-light setup with a backup light source. This setup includes a Profoto D1 Air 500 and a 3×4 softbox. I use a D1 Air 250 with a zoom reflector to brighten the background if needed. My fill light source is a Profoto D1 500 with a 2×3 softbox attached, not turned on, with the main light reflecting off the baffle (the white front of the 2×3 softbox). I could easily use a reflector, but if I want a little fill, I can just turn on the light since it’s already in place.
True One-Light Setup
My one-light setup is similar to what you’ll see in Vanessa Joy’s article this month, on the 1,774 headshots she photographed recently. I use one Profoto D1 with an umbrella (with or without a baffle), and use it for the main light and to light the background. You have to play with the distance between your light to the subject, and then to the background, keeping the light falloff in mind and rationing your light where you want it. This is a great setup for on-location shoots when you’re looking to bring minimal equipment.
Broad and Short Light
I light my subject exactly how I want the photo to look. There are pros and cons to broad- and short-lighting a client, so I take that into consideration. If I short-light them (photograph the shadow side), it’s slimming, but it accentuates wrinkles. If I broad-light them (photograph them on the light side), it smooths the wrinkles but isn’t as slimming. Photography is about choices and making them with your client’s best interests in mind.
Occasionally, the client likes something different than I do, and I don’t have a problem catering to their desires over my own. After all, they’re paying me to work for them, so I’m happy to go with what they want.
Posing
You have to gain your client’s trust to get good poses. Everything I tell clients to do feels awkward and unattractive to them, so trust is key.
The first thing I do is literally put myself in their position. I stand where they’re going to stand, and show them how I’m going to ask them to pose. Once they’re in place, I mirror them behind the camera and instruct them how to pose.
In a nutshell, I tell them this:
“Stand in a skateboard position, with your feet pointed 20 to 30 degrees away from the camera. Feel comfortable in your pose. If your feet feel awkwardly placed, chances are you’ll look awkward.”
“Hold your shoulders back, head and chin pushed out toward the camera. The idea is to extend the distance from the chin to the chest, elongating your neck but not posing it too far up or down.”
Once my clients start doing what I ask, they all say the same thing: “It feels awkward!” I actually like this because it gives me the chance to show them why it’s better. I have them take one picture standing normally, and then another listening to what I tell them to do. Then I have them come over to my tethering station, where I show them the before and after images. Once they see the difference, they’re all mine and trust me 100 percent.
From there, I tell them to look at me like I am at 12 o’clock. Then I have them turn their shoulders to 1:30 and their head to 1 o’clock. As I start shooting, I have them turn their head in small increments, left and right, to get a variety of angles and find their perfect pose.
Lighting, posing and reading faces all work together much like the exposure triangle. What you do with one affects the other, and they can’t really be altered independently from one another.
Being a photographer is about making choices and decisions to achieve the outcome that both you and your client are looking for. Check out the video to see these three easy steps come to life.


This Post Has One Comment
Moshe you have gotten better and better over the years. It is a pleasure to marvel at your advancement.