3 Steps to Sharpen Images from Lightroom to Photoshop with Dustin Lucas
When it comes to focusing on the eyes in a portrait, we all have shots that need a bit more love in post-production before it’s deliverable. Whether you have slightly back or front focus or camera shake—we’ve all been there. Some images can be salvaged while others you have to let go. Even when you nailed the shot, you still needoptimal sharpness and editing has to kick in. In this article, I am going to walk you through a Lightroom to Photoshop workflow to keep things organized while applying the best tools for the job.
Step 1 is applying pre or input sharpening in Lightroom in the Details panel. This tool is purely slider driven to keep things simple. Step 2 is masking out the background and any unwanted areas for sharpening. Paying attention to the details is so important and it’s why I love Lightroom. Step 3 is using the Edit In feature to jump into Photoshop, apply an action for output sharpening, mask out the background and dial in our sharpness. This is how I work and keep all my images cleanly organized in Lightroom. Let’s jump into Lightroom and salvage a slightly soft image.
Step 1. Pre-Sharpen in Lightroom
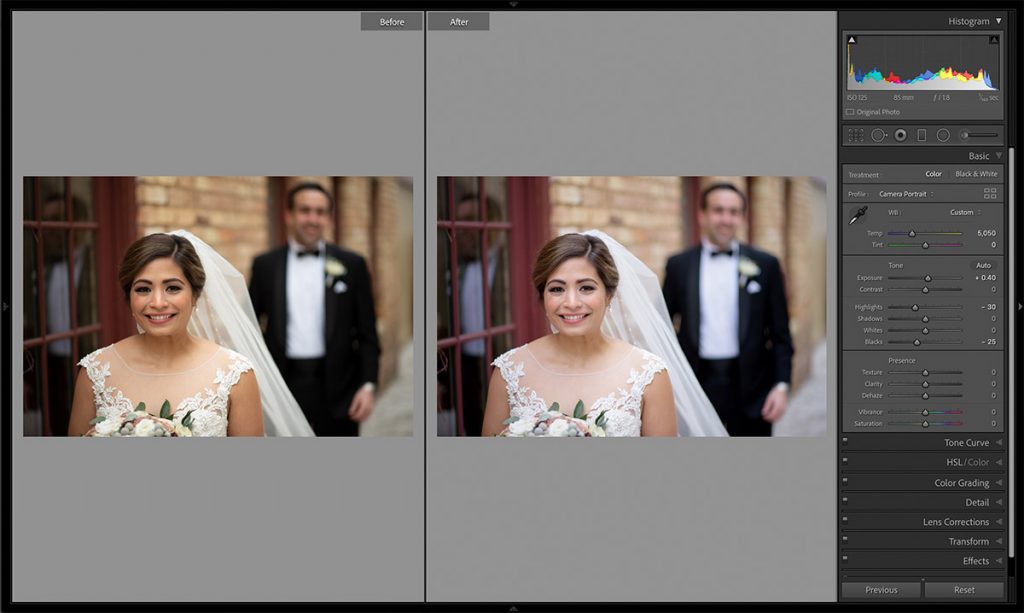
It is important to remember that sharpening in Lightroom Classic is our last step in the editing process. With this image, I have applied my color corrections as well as dodge and burn. Zooming in at 100%, I am just not happy with the slightly soft focus at f1.8. Many of you may be using the presence tools like texture or clarity with your editing and that’s fine, but understand these are not sharpening alternatives. They alter the tones of the image as well. As a rule, I tend to leave them at default to keep the skin looking softer. Instead, I use the Details panel and focus on the tools to dial in sharpness.