Posing for boudoir photography is always a challenge. In this video, I will show you some easy tips to posing your clients. Not every client is a model – so we need to find an easy set of poses to get them started. Once they get comfortable in front of the camera, you can then work on more advanced poses and lighting techniques to build on for the images you create.
Equipment Used:
Camera: Canon EOS R5
Lens: Canon RF 28-70mm F2 L USM
Light: Natural Light
Team:
Photographer: Sal Cincotta
Model: Lauren Middleton
Hair & Makeup: Brandi Patton, ReFine Beauty
What’s up, everyone? My name is Sal Cincotta, and today we’re going to talk about boudoir photography using natural light.
All right, everybody. I’m here with Lauren today, she’s going to be our model. All right. Boudoir photography, where do you guys all struggle? Posing. Now, most of your clients are not going to be models. They’re not going to feel comfortable in their body or feel comfortable, especially if you’re a male photographer. These five poses, they’re not the do all, end all so I don’t want to hear any of your nonsense in the comments. This is just a way to get started. Break the ice both with you as the photographer, get comfortable and your client, get them comfortable on camera. That is ultimately what it’s all about because if they’re comfortable, the images will reflect that and if they’re uncomfortable, they will also reflect that as well. Let’s get started.
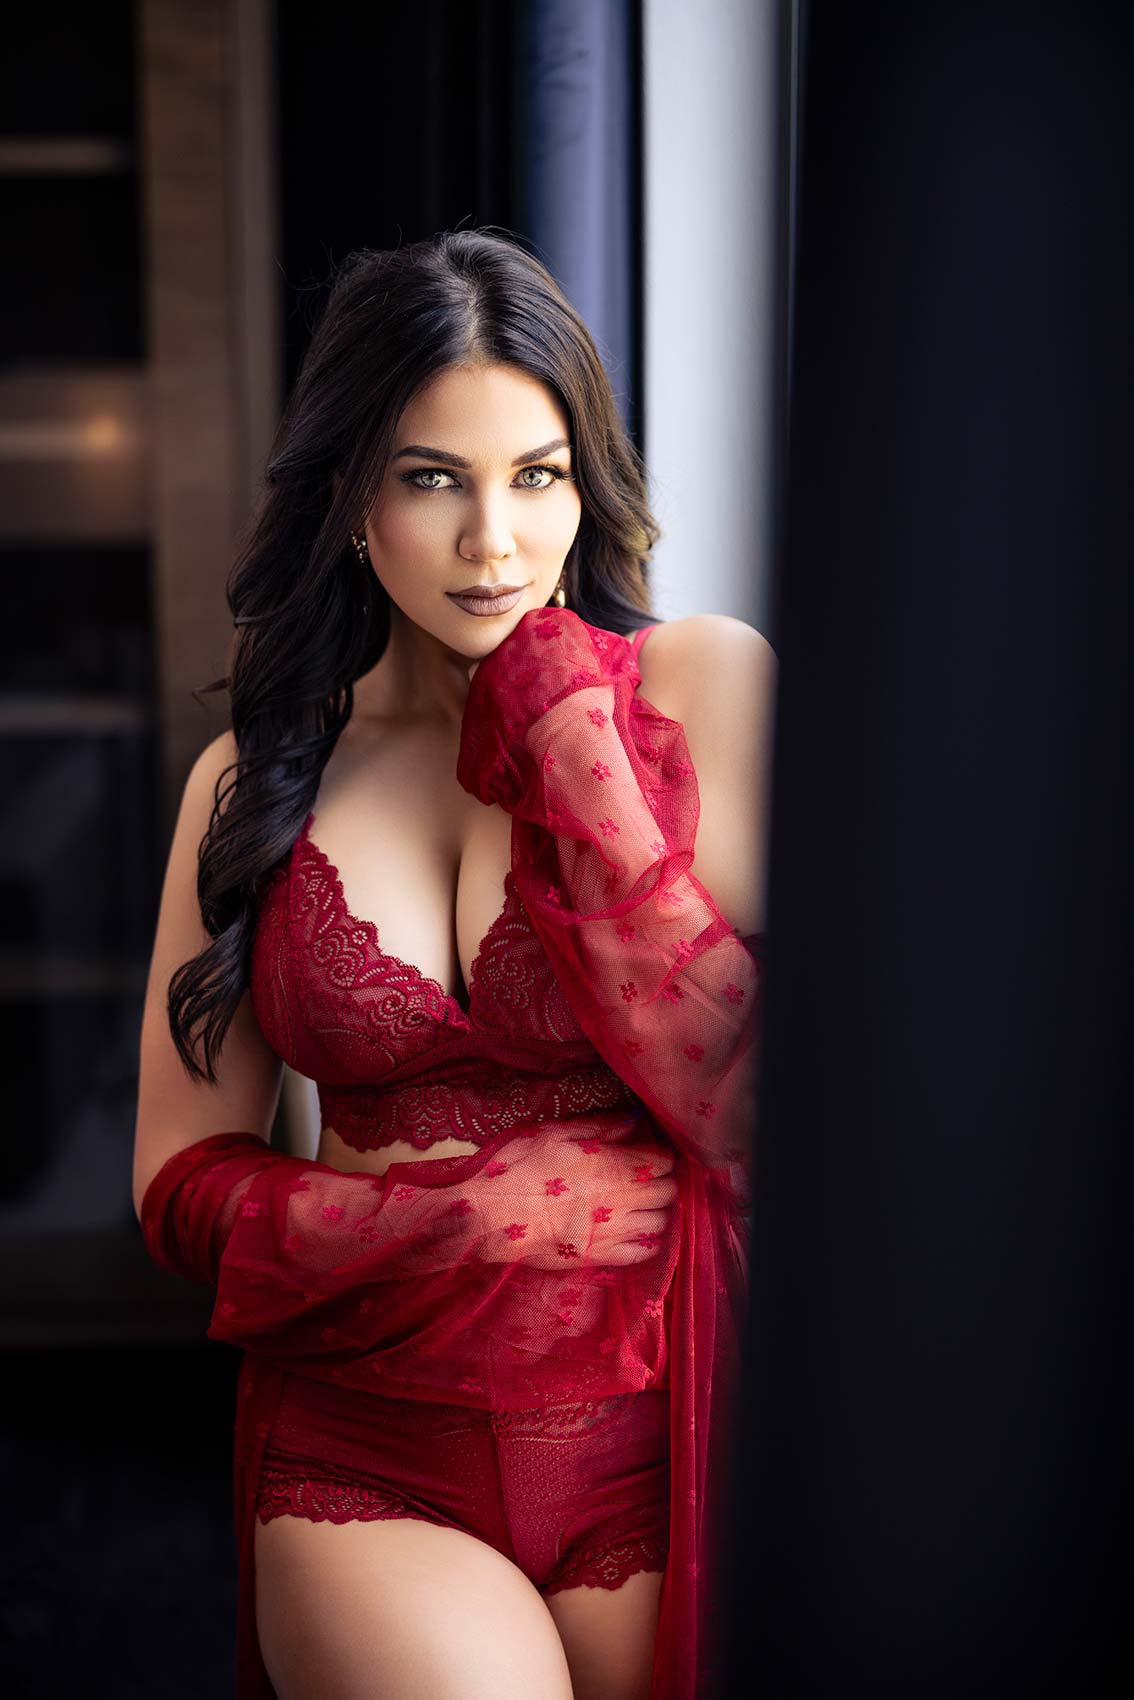
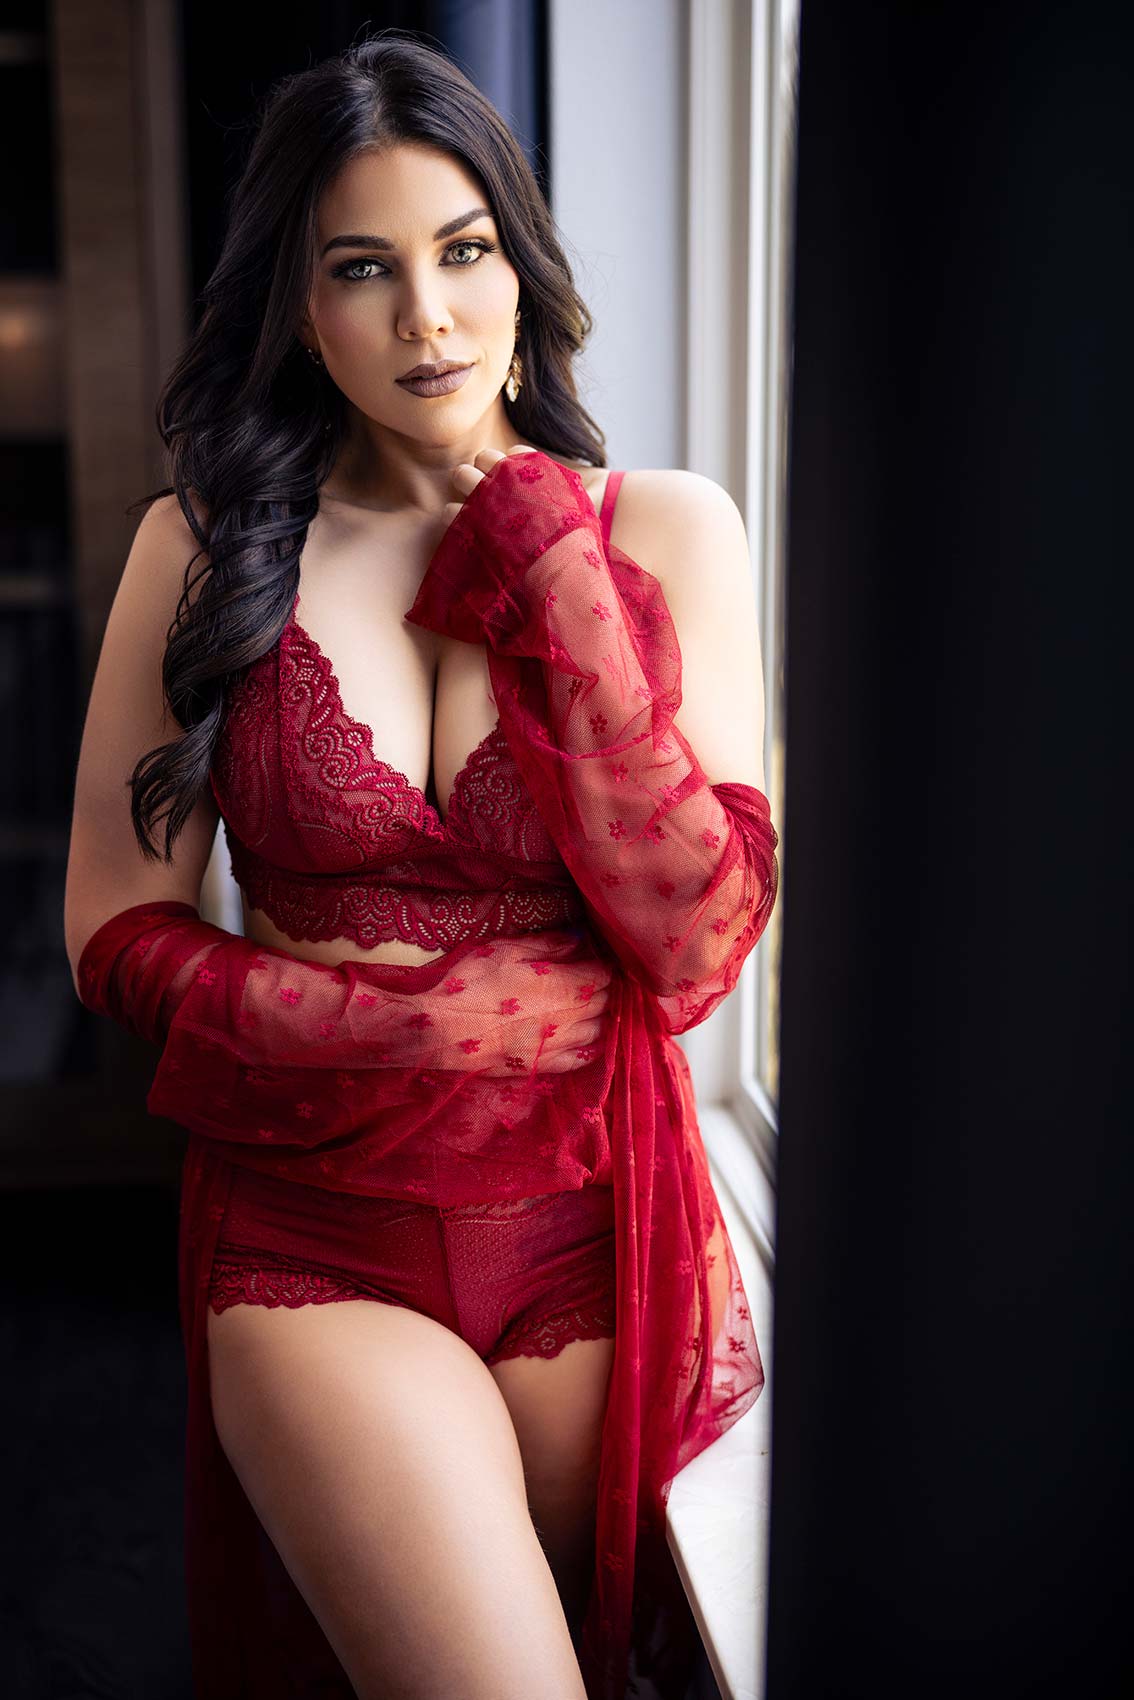
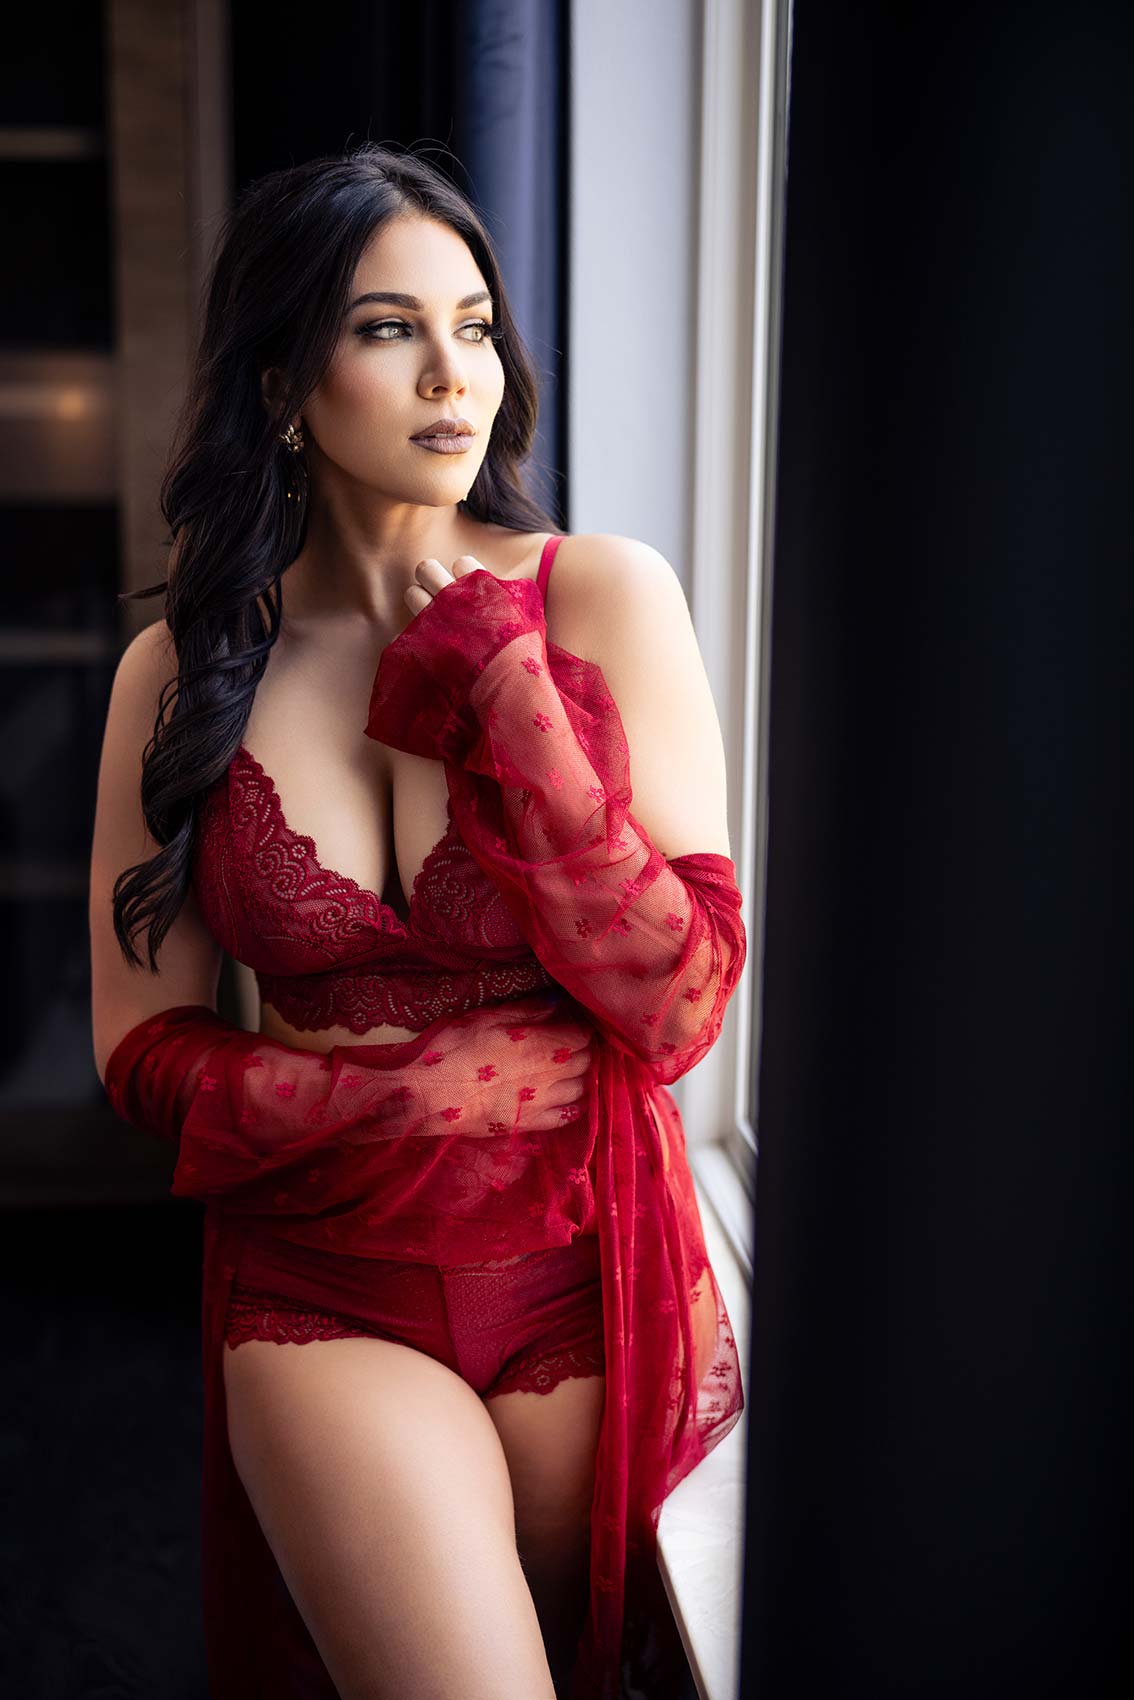
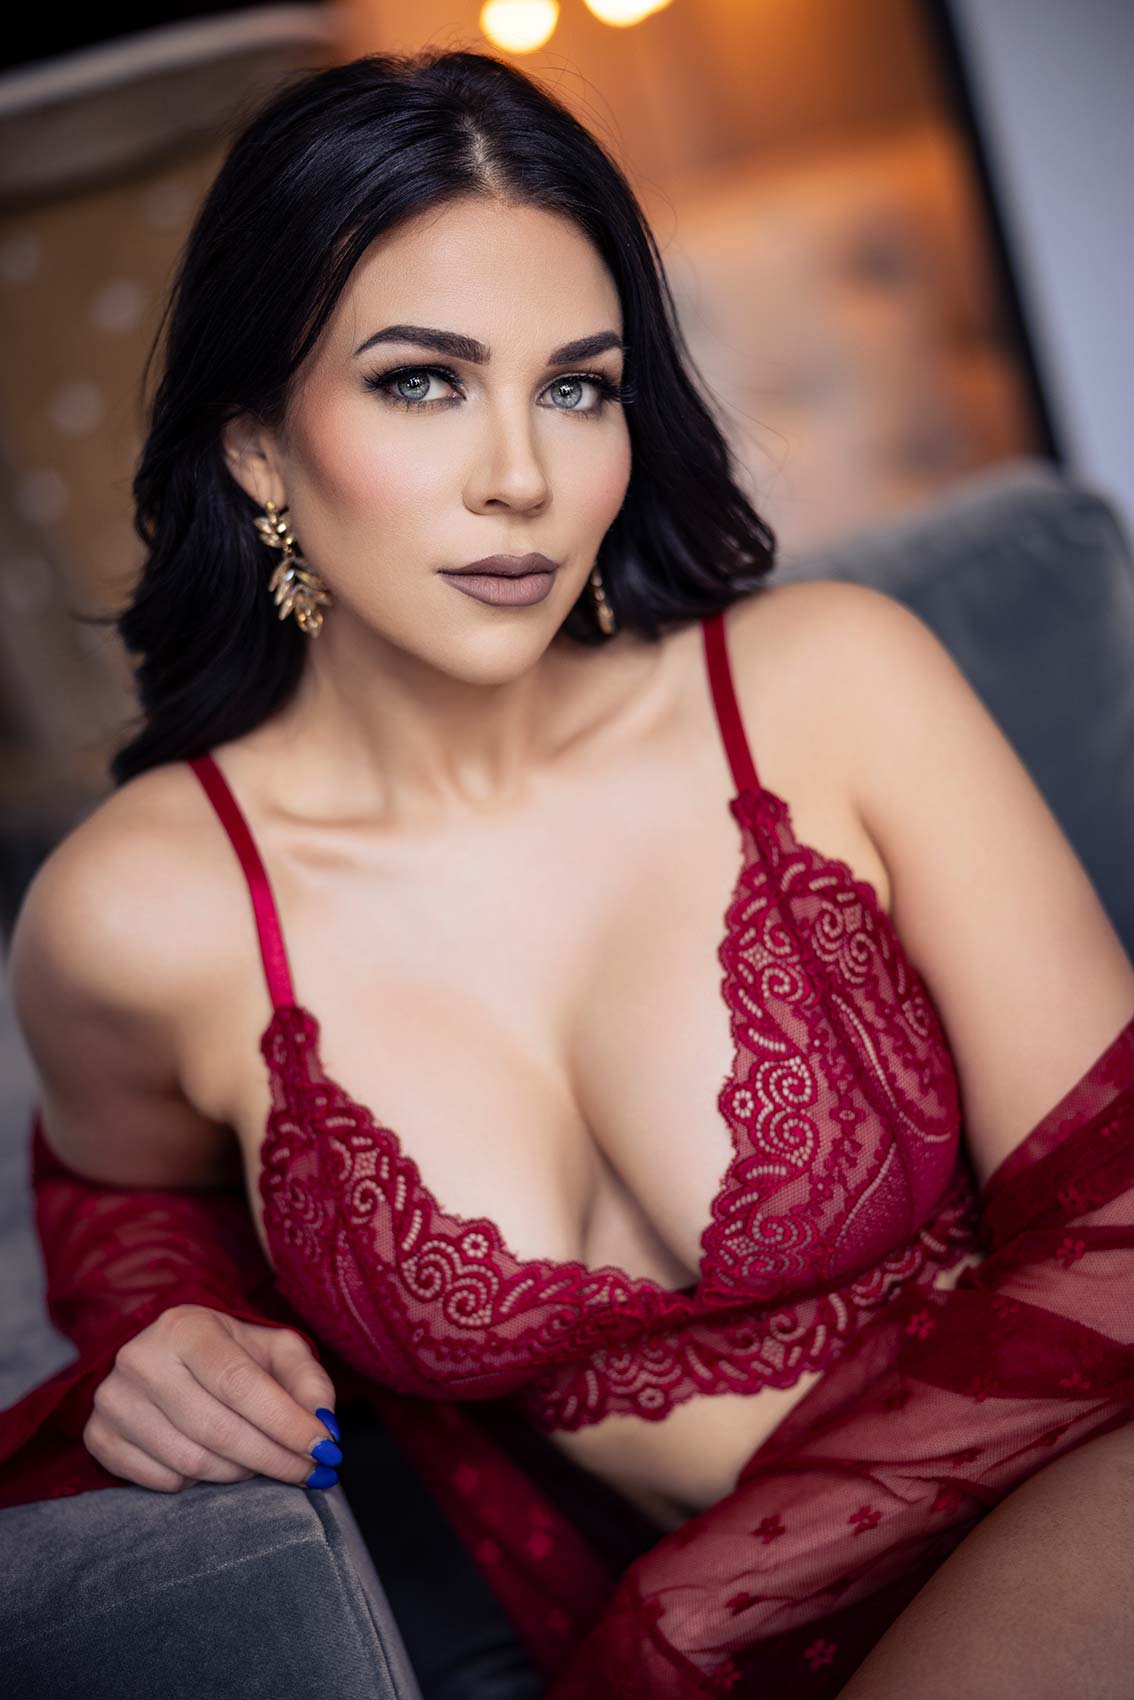
All right, the first pose, standing. Super easy, allows you to work with whatever light source you have. I like this to be waist up, so we’re still going to make it sexy, having them look at camera, looking away. Crop her using really good light and I’m using the curtains to block her or block parts I don’t want to show. This is a really nice looking shot here.
Settings: f/2 @ 1/400, ISO 20
This could be a hotel room or something like that. You don’t want to shoot too much into that light because then we’re going to blow out the highlights.
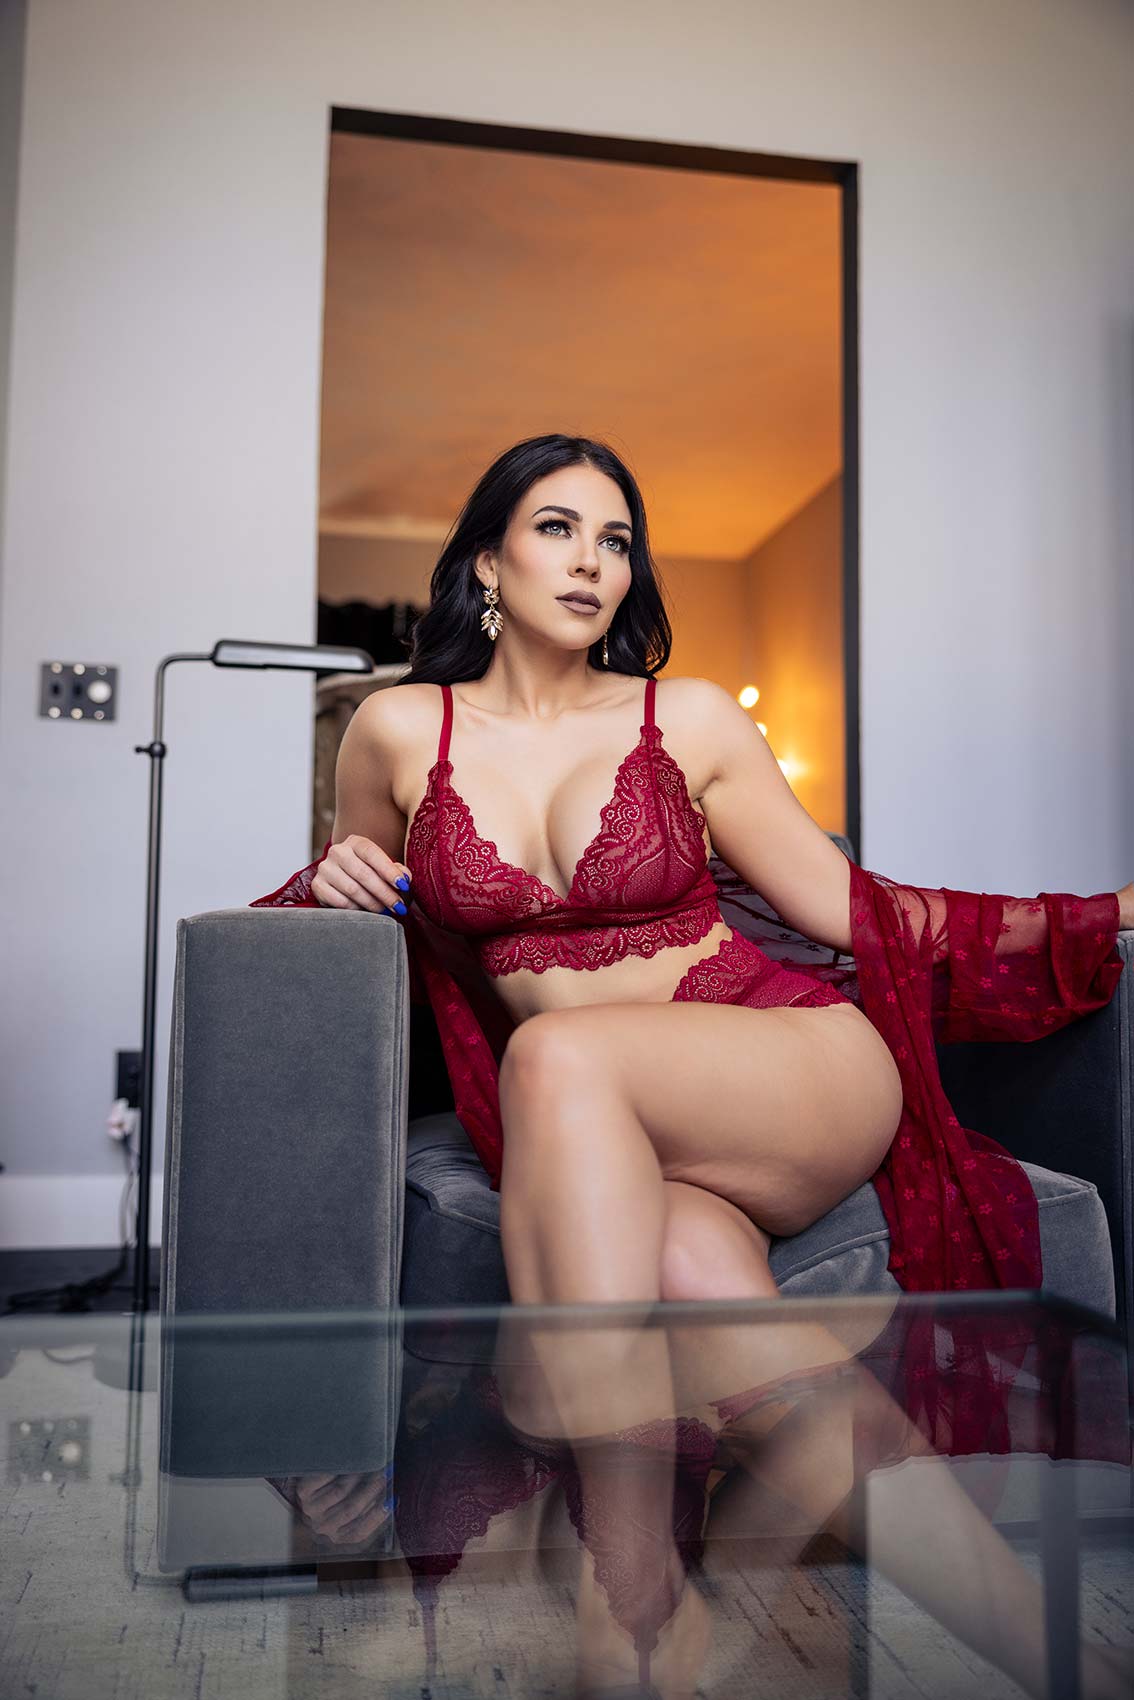
All right, pose number two is sitting in a chair and I have to be careful with this. No one, and I repeat, no one looks good sitting in a big soft chair just look like this. It’s not very sexy. Do I look sexy? I don’t think so. What if this was my Tinder profile? Would you have dated me? I’m not on Tinder, but what if I were? No one’s going to look good there.
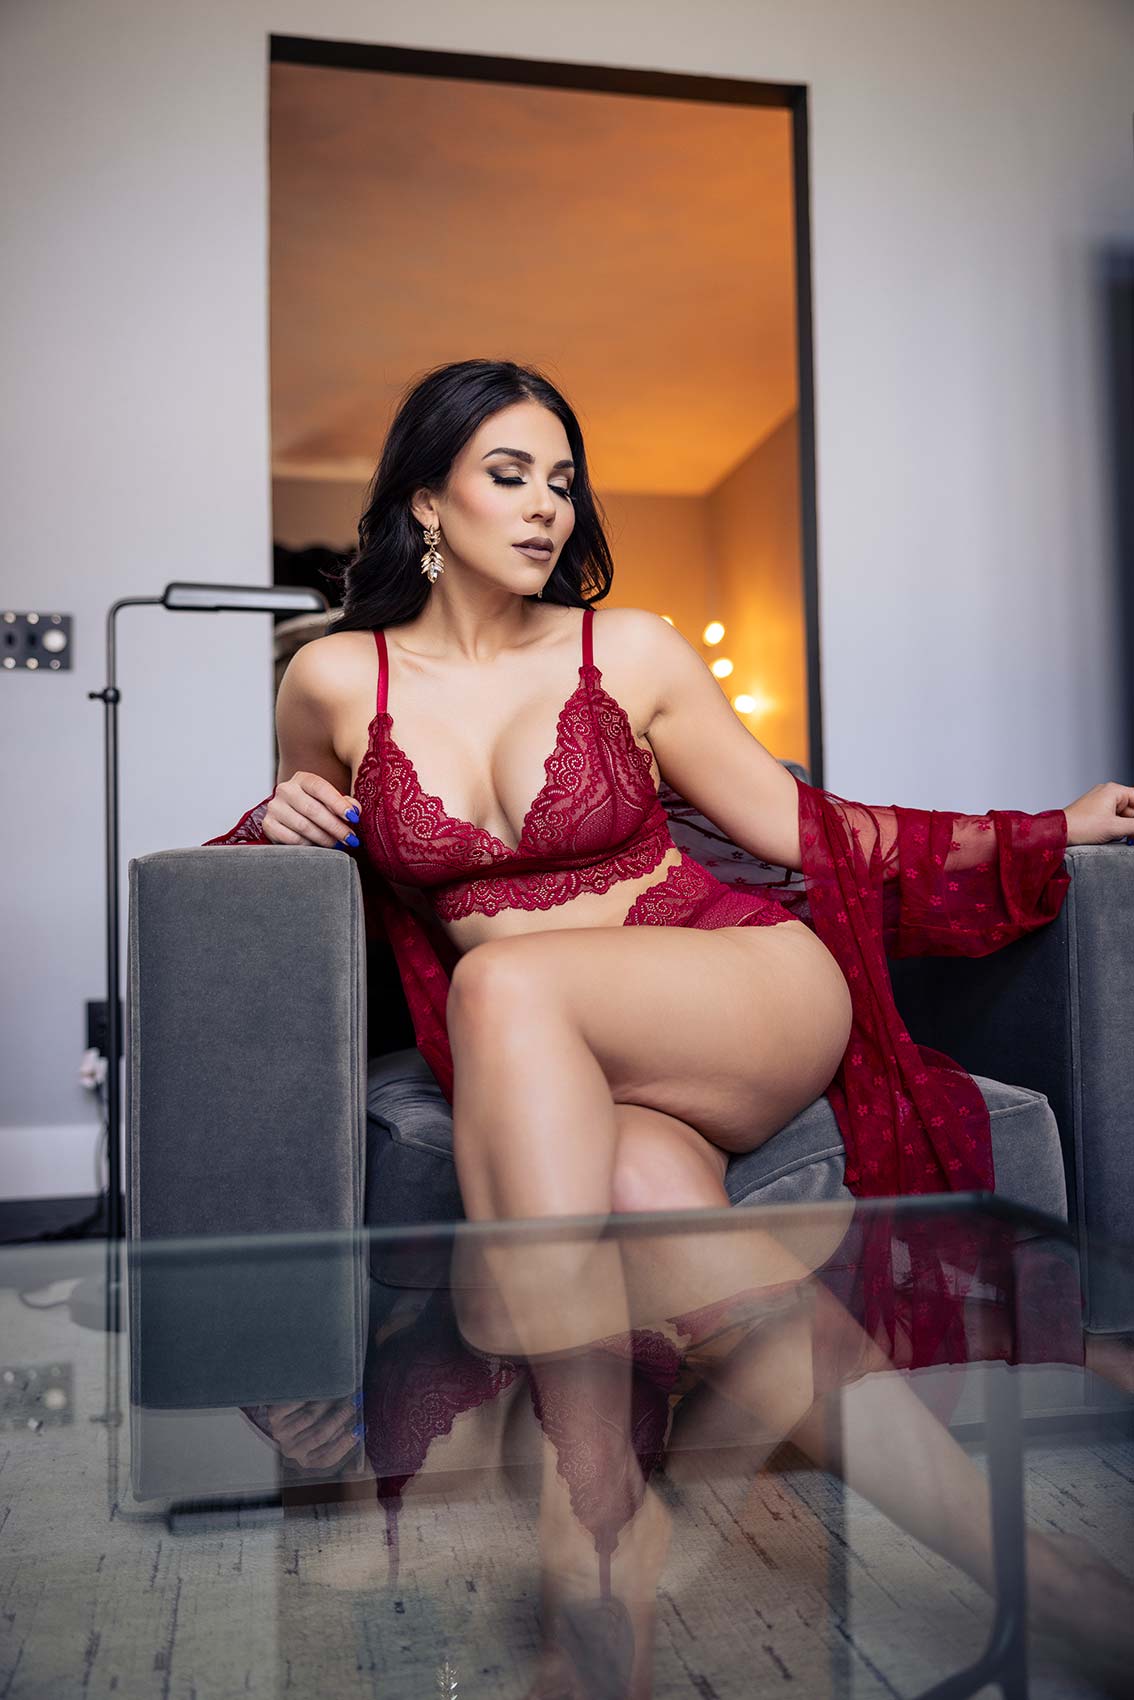
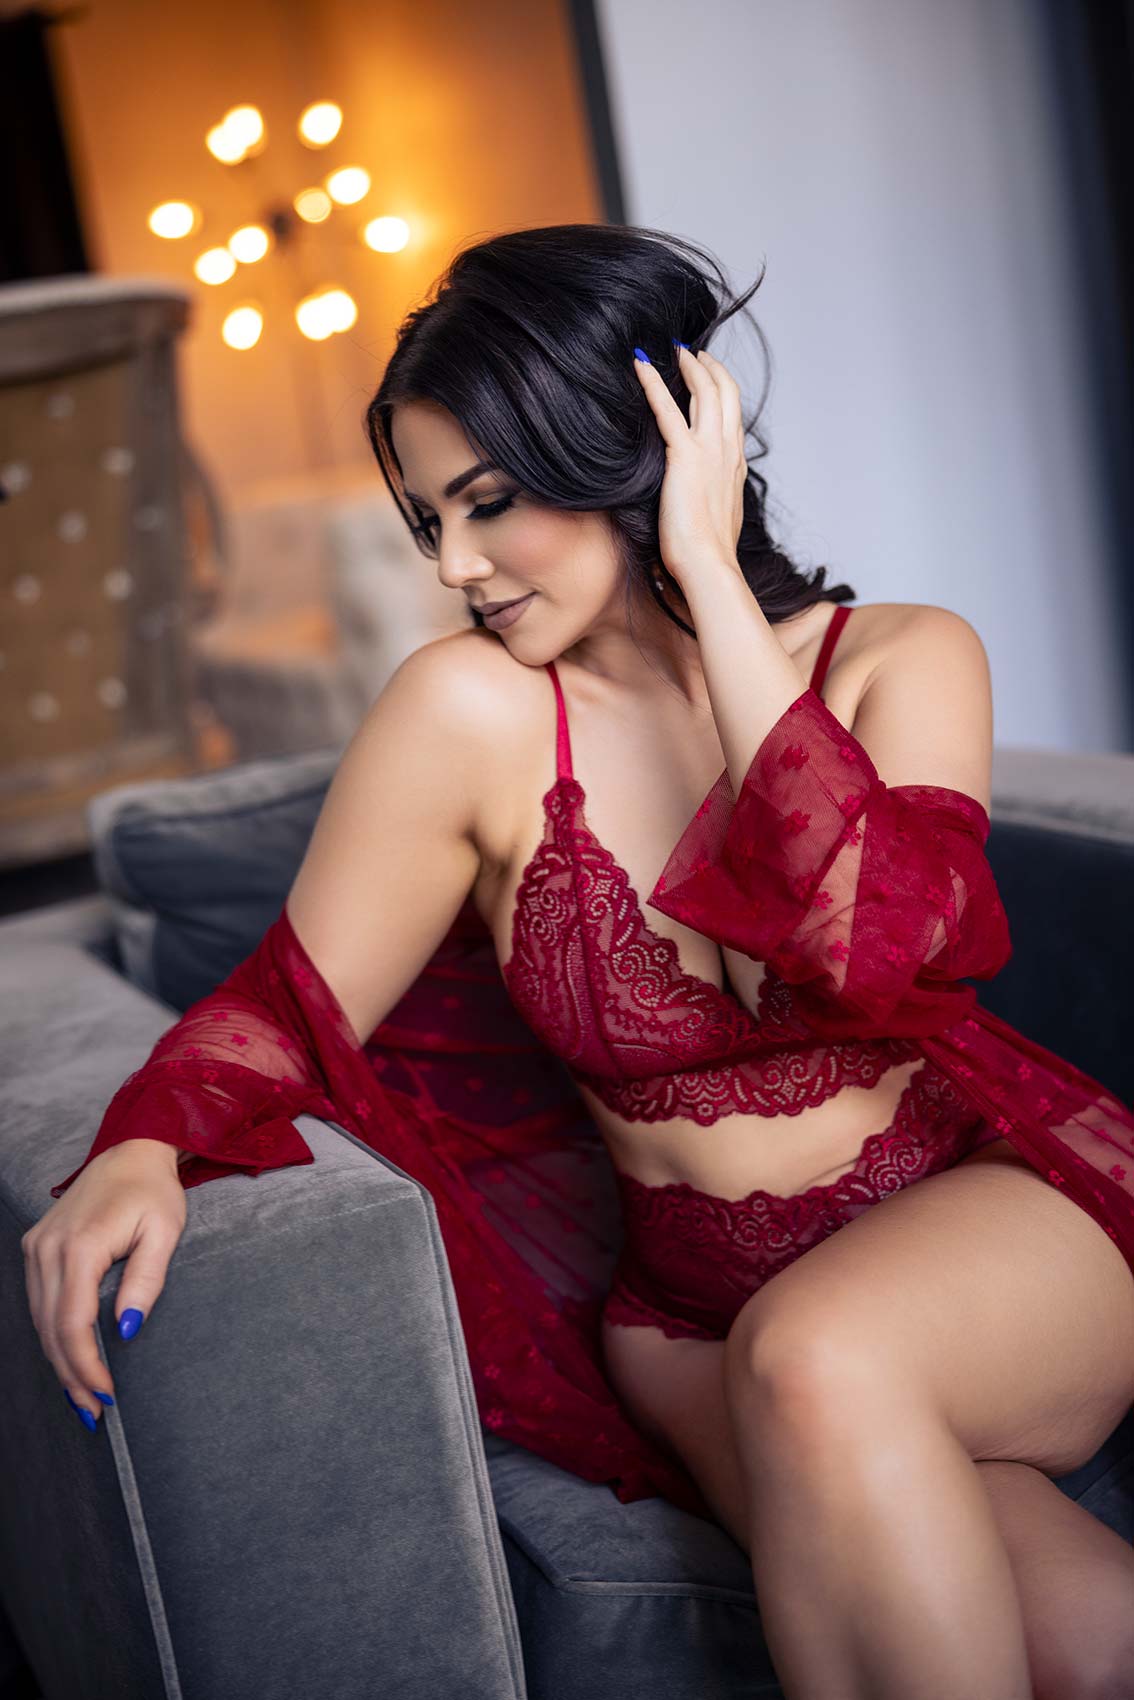
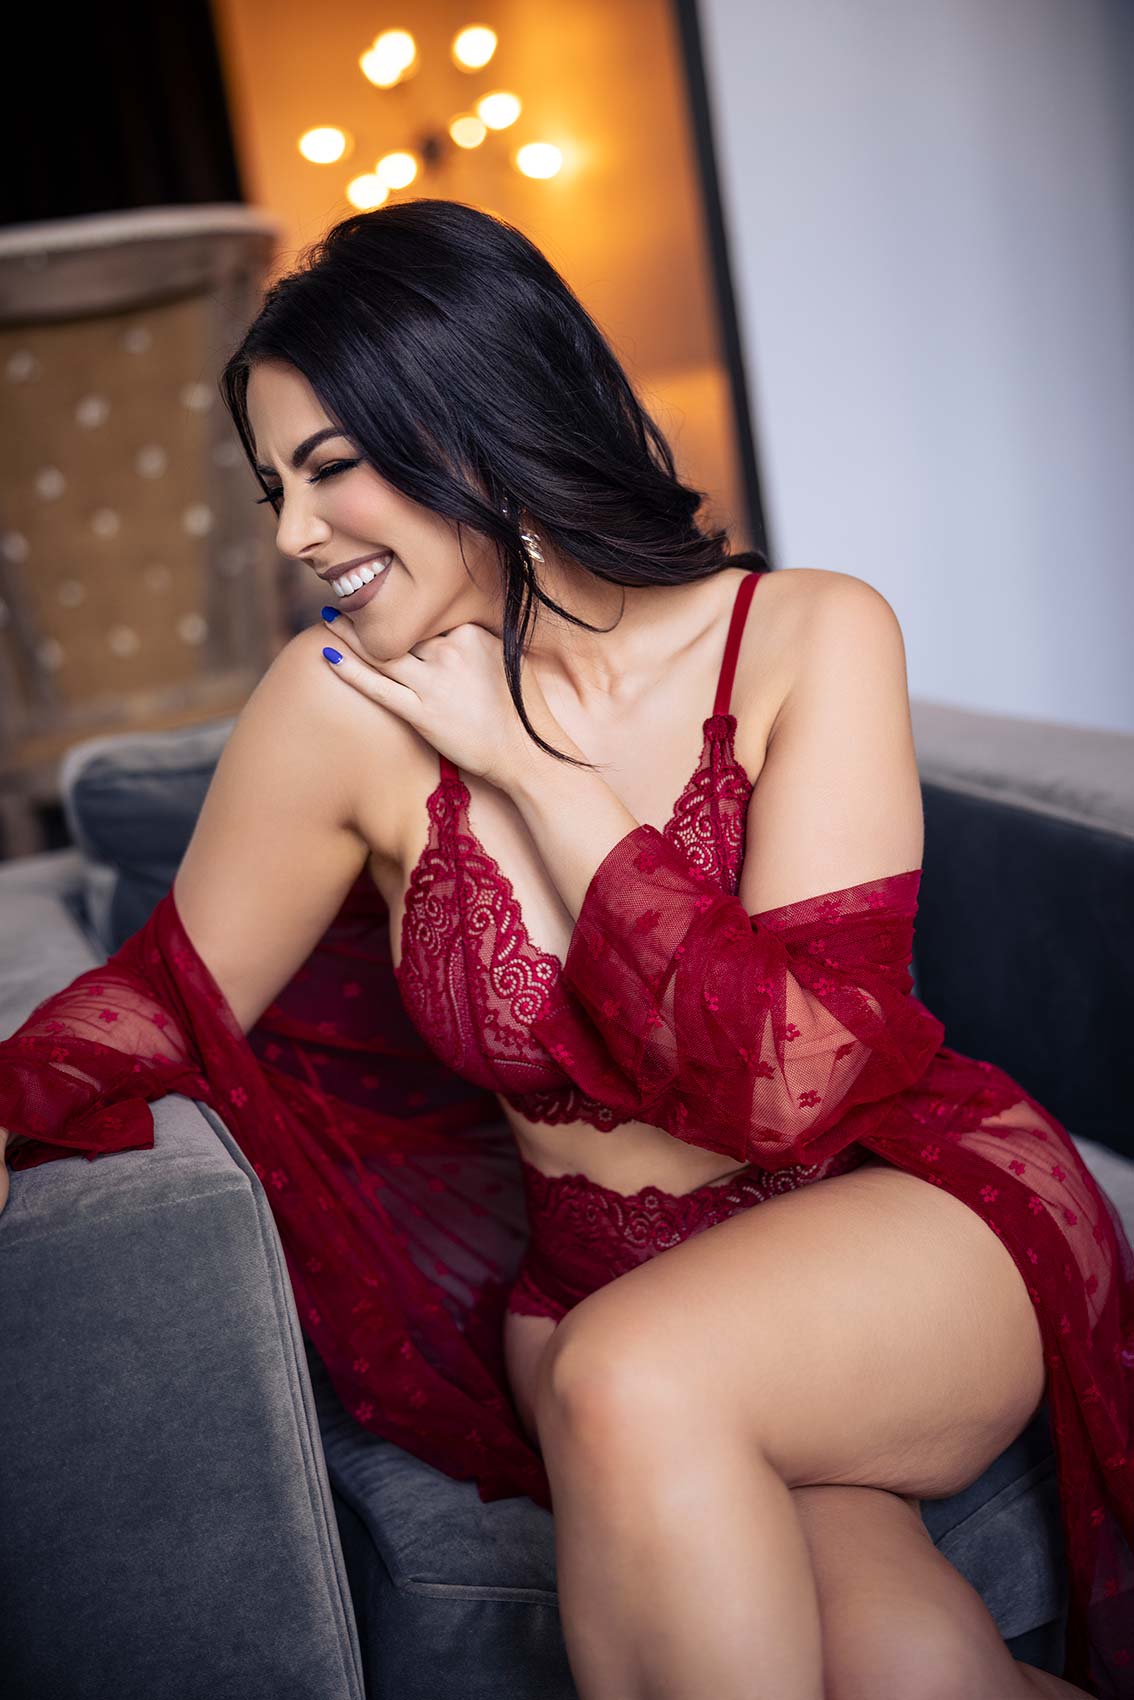
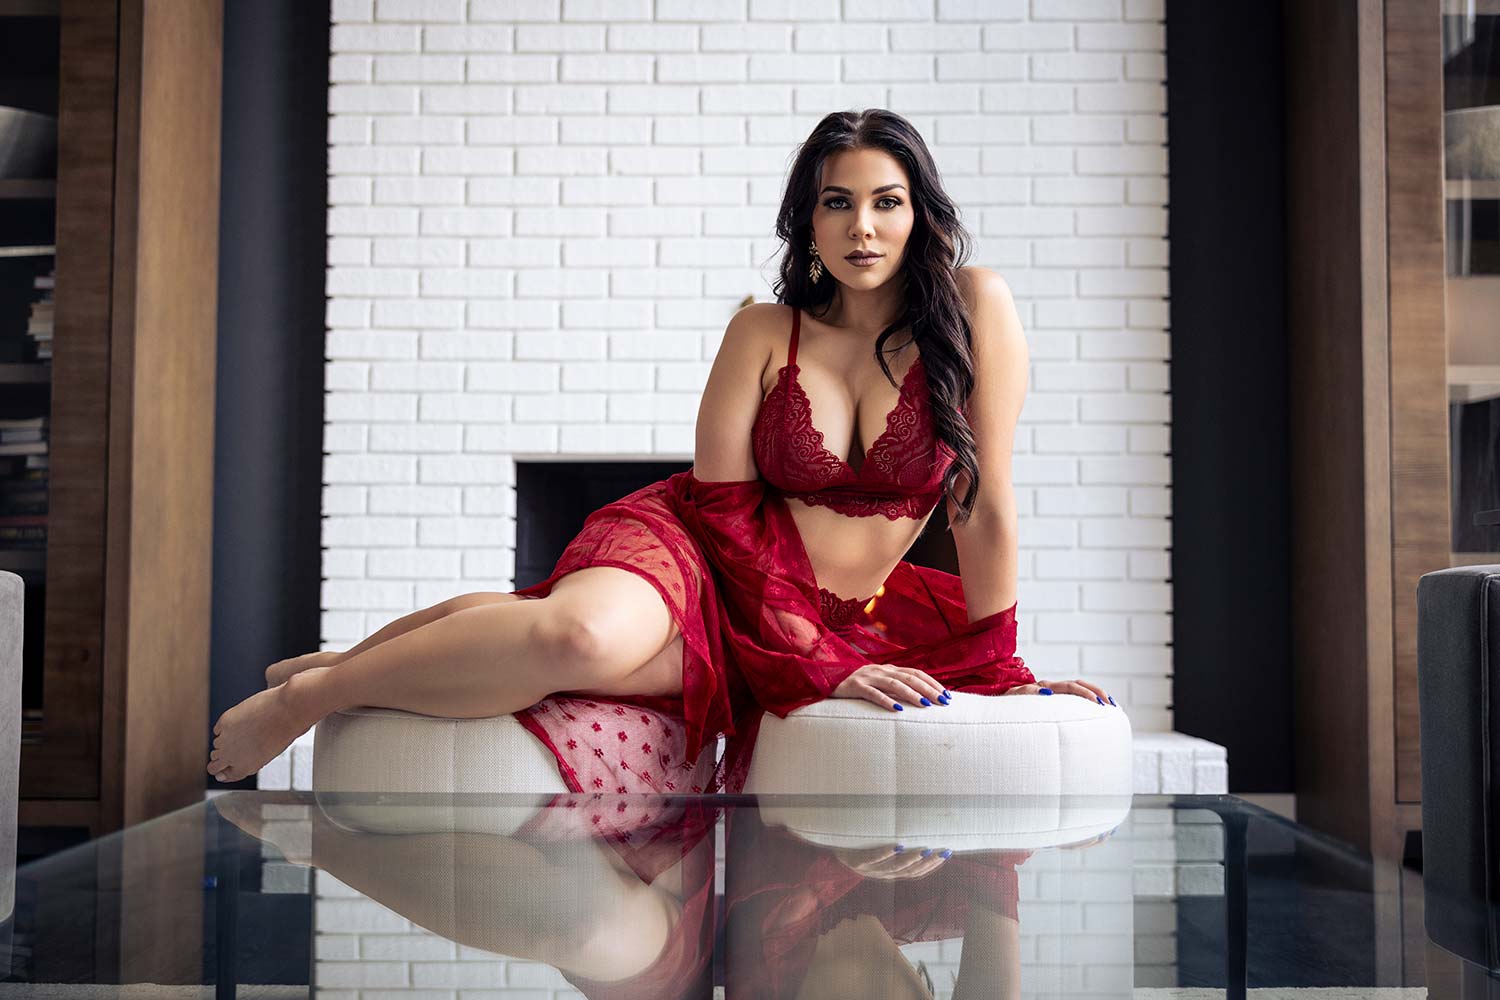
First trick is to bring your subject all the way to the edge of the chair and not have them sit flat-footed. Let’s go with one leg over the other right there. This can feel a little gymnastic-y for some people, but just have them move their legs as much as they can and now it’s all about giving her body an S-curve.
We’ve got her right hip, now we’ve got her upper body coming the opposite way. A little tip I like to give people, we don’t want flat hand, so flatten that right hand for me, Lauren. A lot of people come in and do this and I always try and tell them try to feel like you have a hard-boiled egg under that hand and that’ll soften it up for them. It’s a good way to get them to soften up first, just saying soften your hands. The average person doesn’t know what that means.
Something else is if you’re working on set, even for your clients, we have hair and makeup always with them during the shoot. As a male photographer, if there’s a hair, like a bang in her eyelash or something like that, I’ll reach in and move that but you don’t want your hands in on this. Now I’ve this shot with her sitting. Love the angle she’s got. I’m going to try and use the reflection in the table.
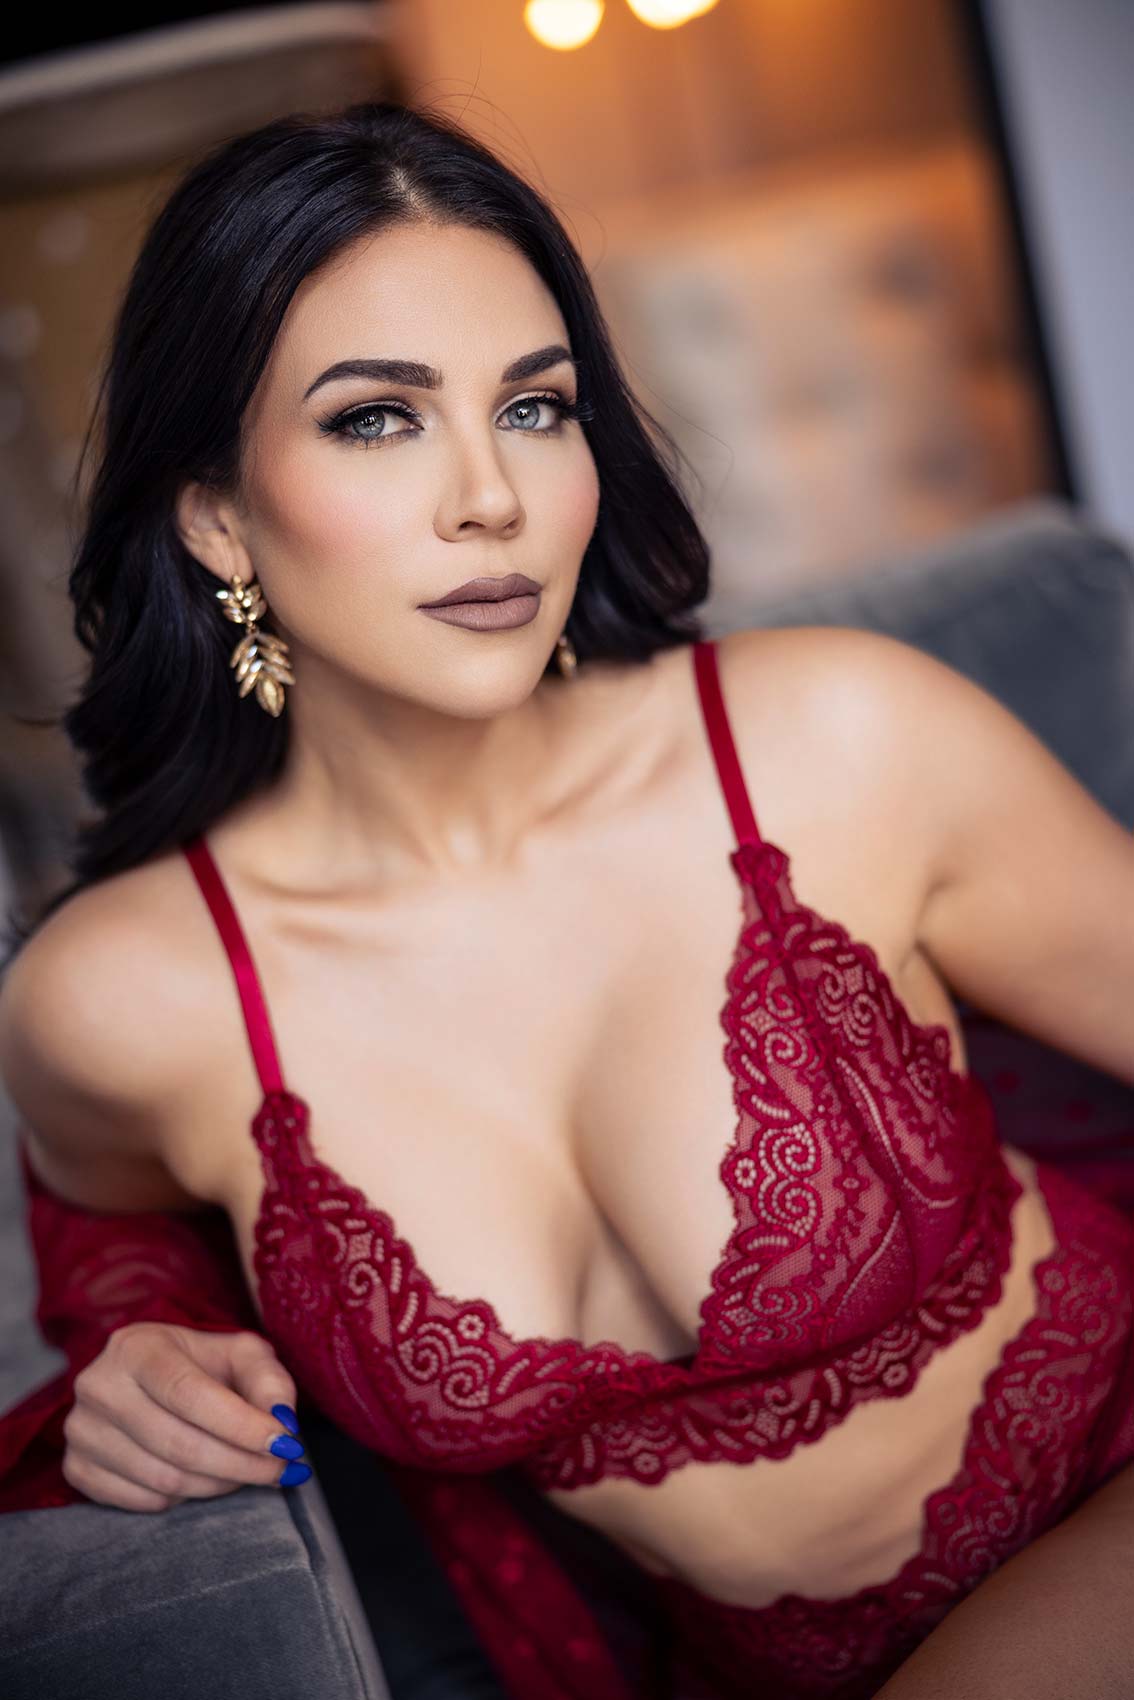
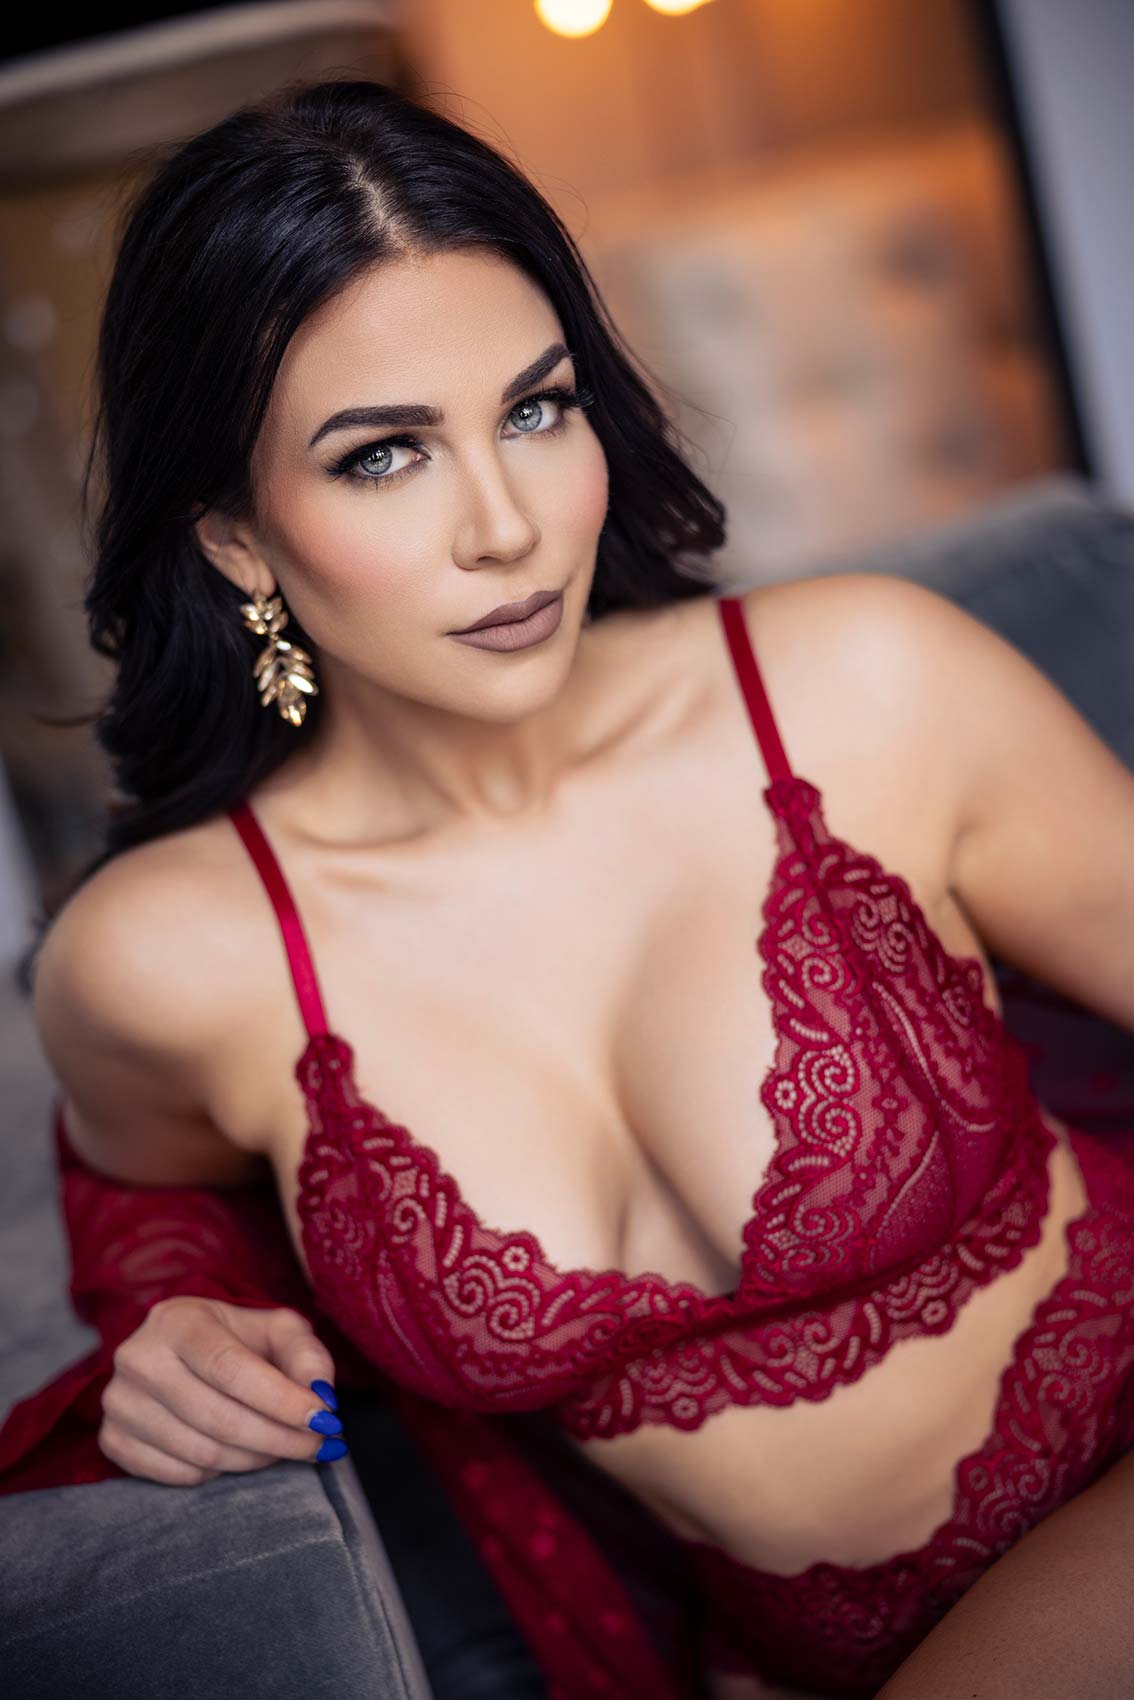
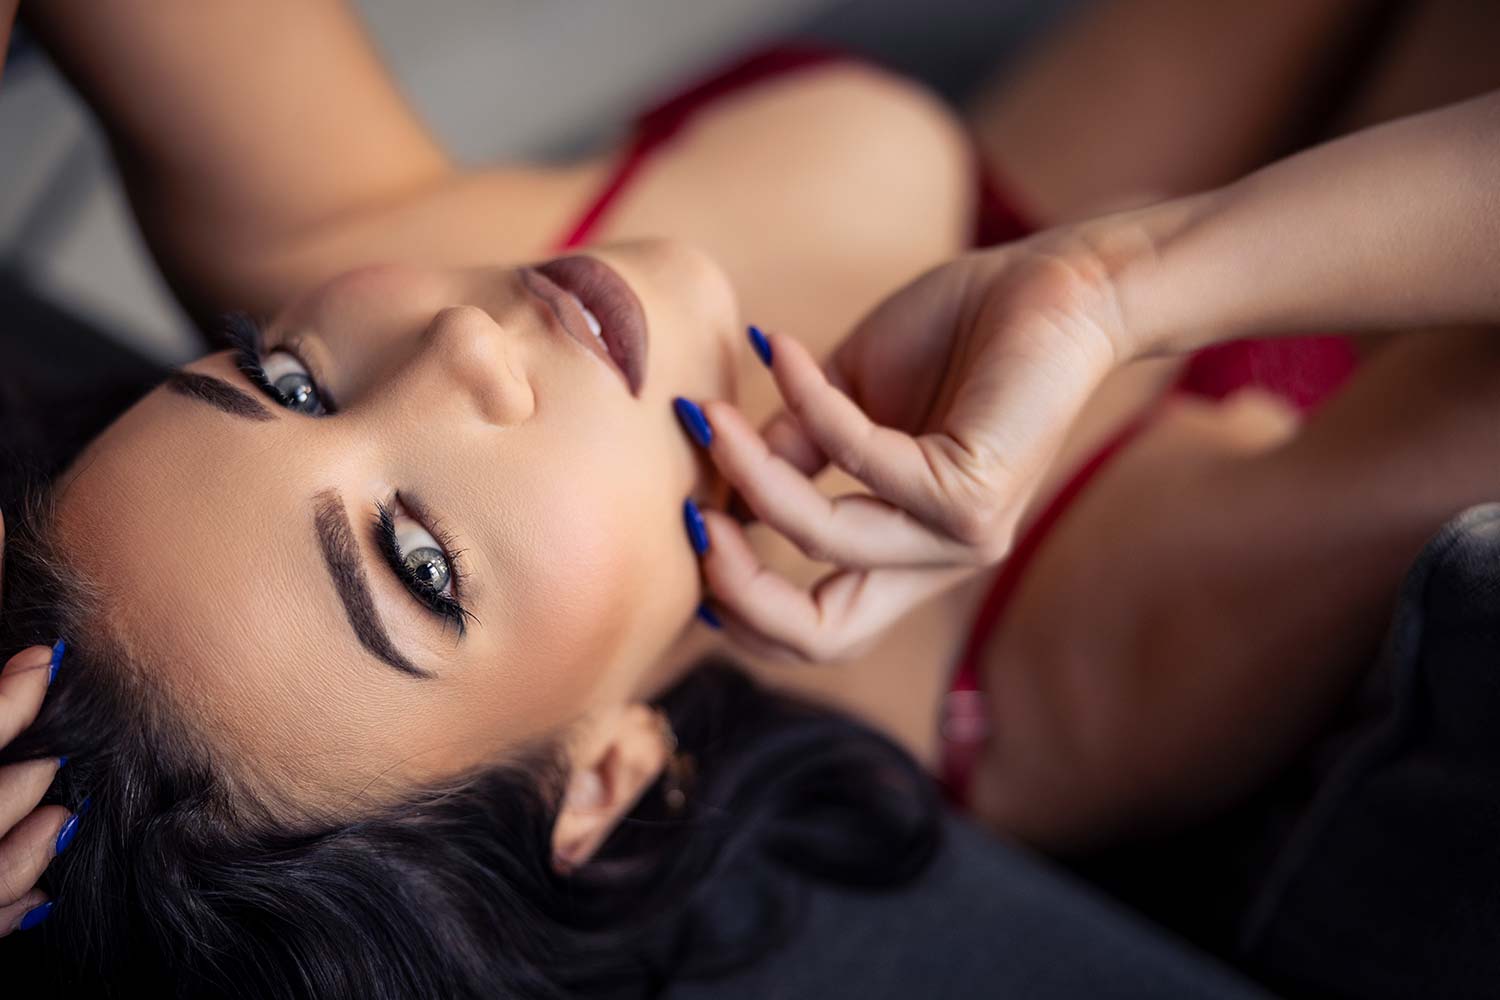
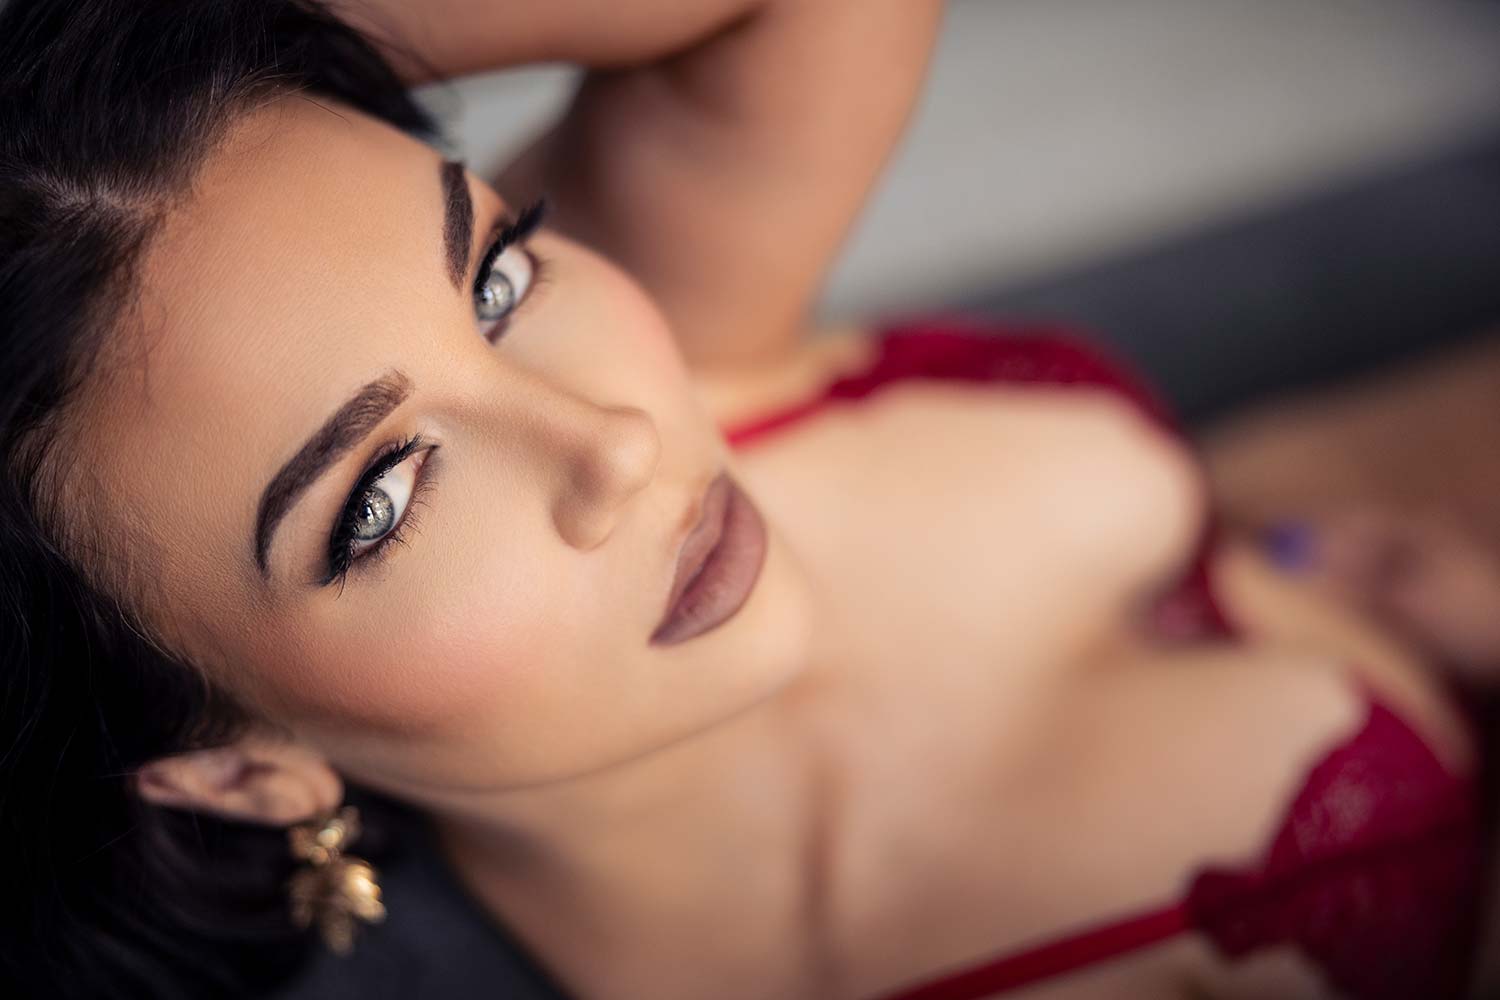
Now I want to get in, even with her sitting, I want to pick an angle where I’m above her a little bit and shooting down. That’s going to minimize features and it’s going to bring her eyes and her face into more of the frame.
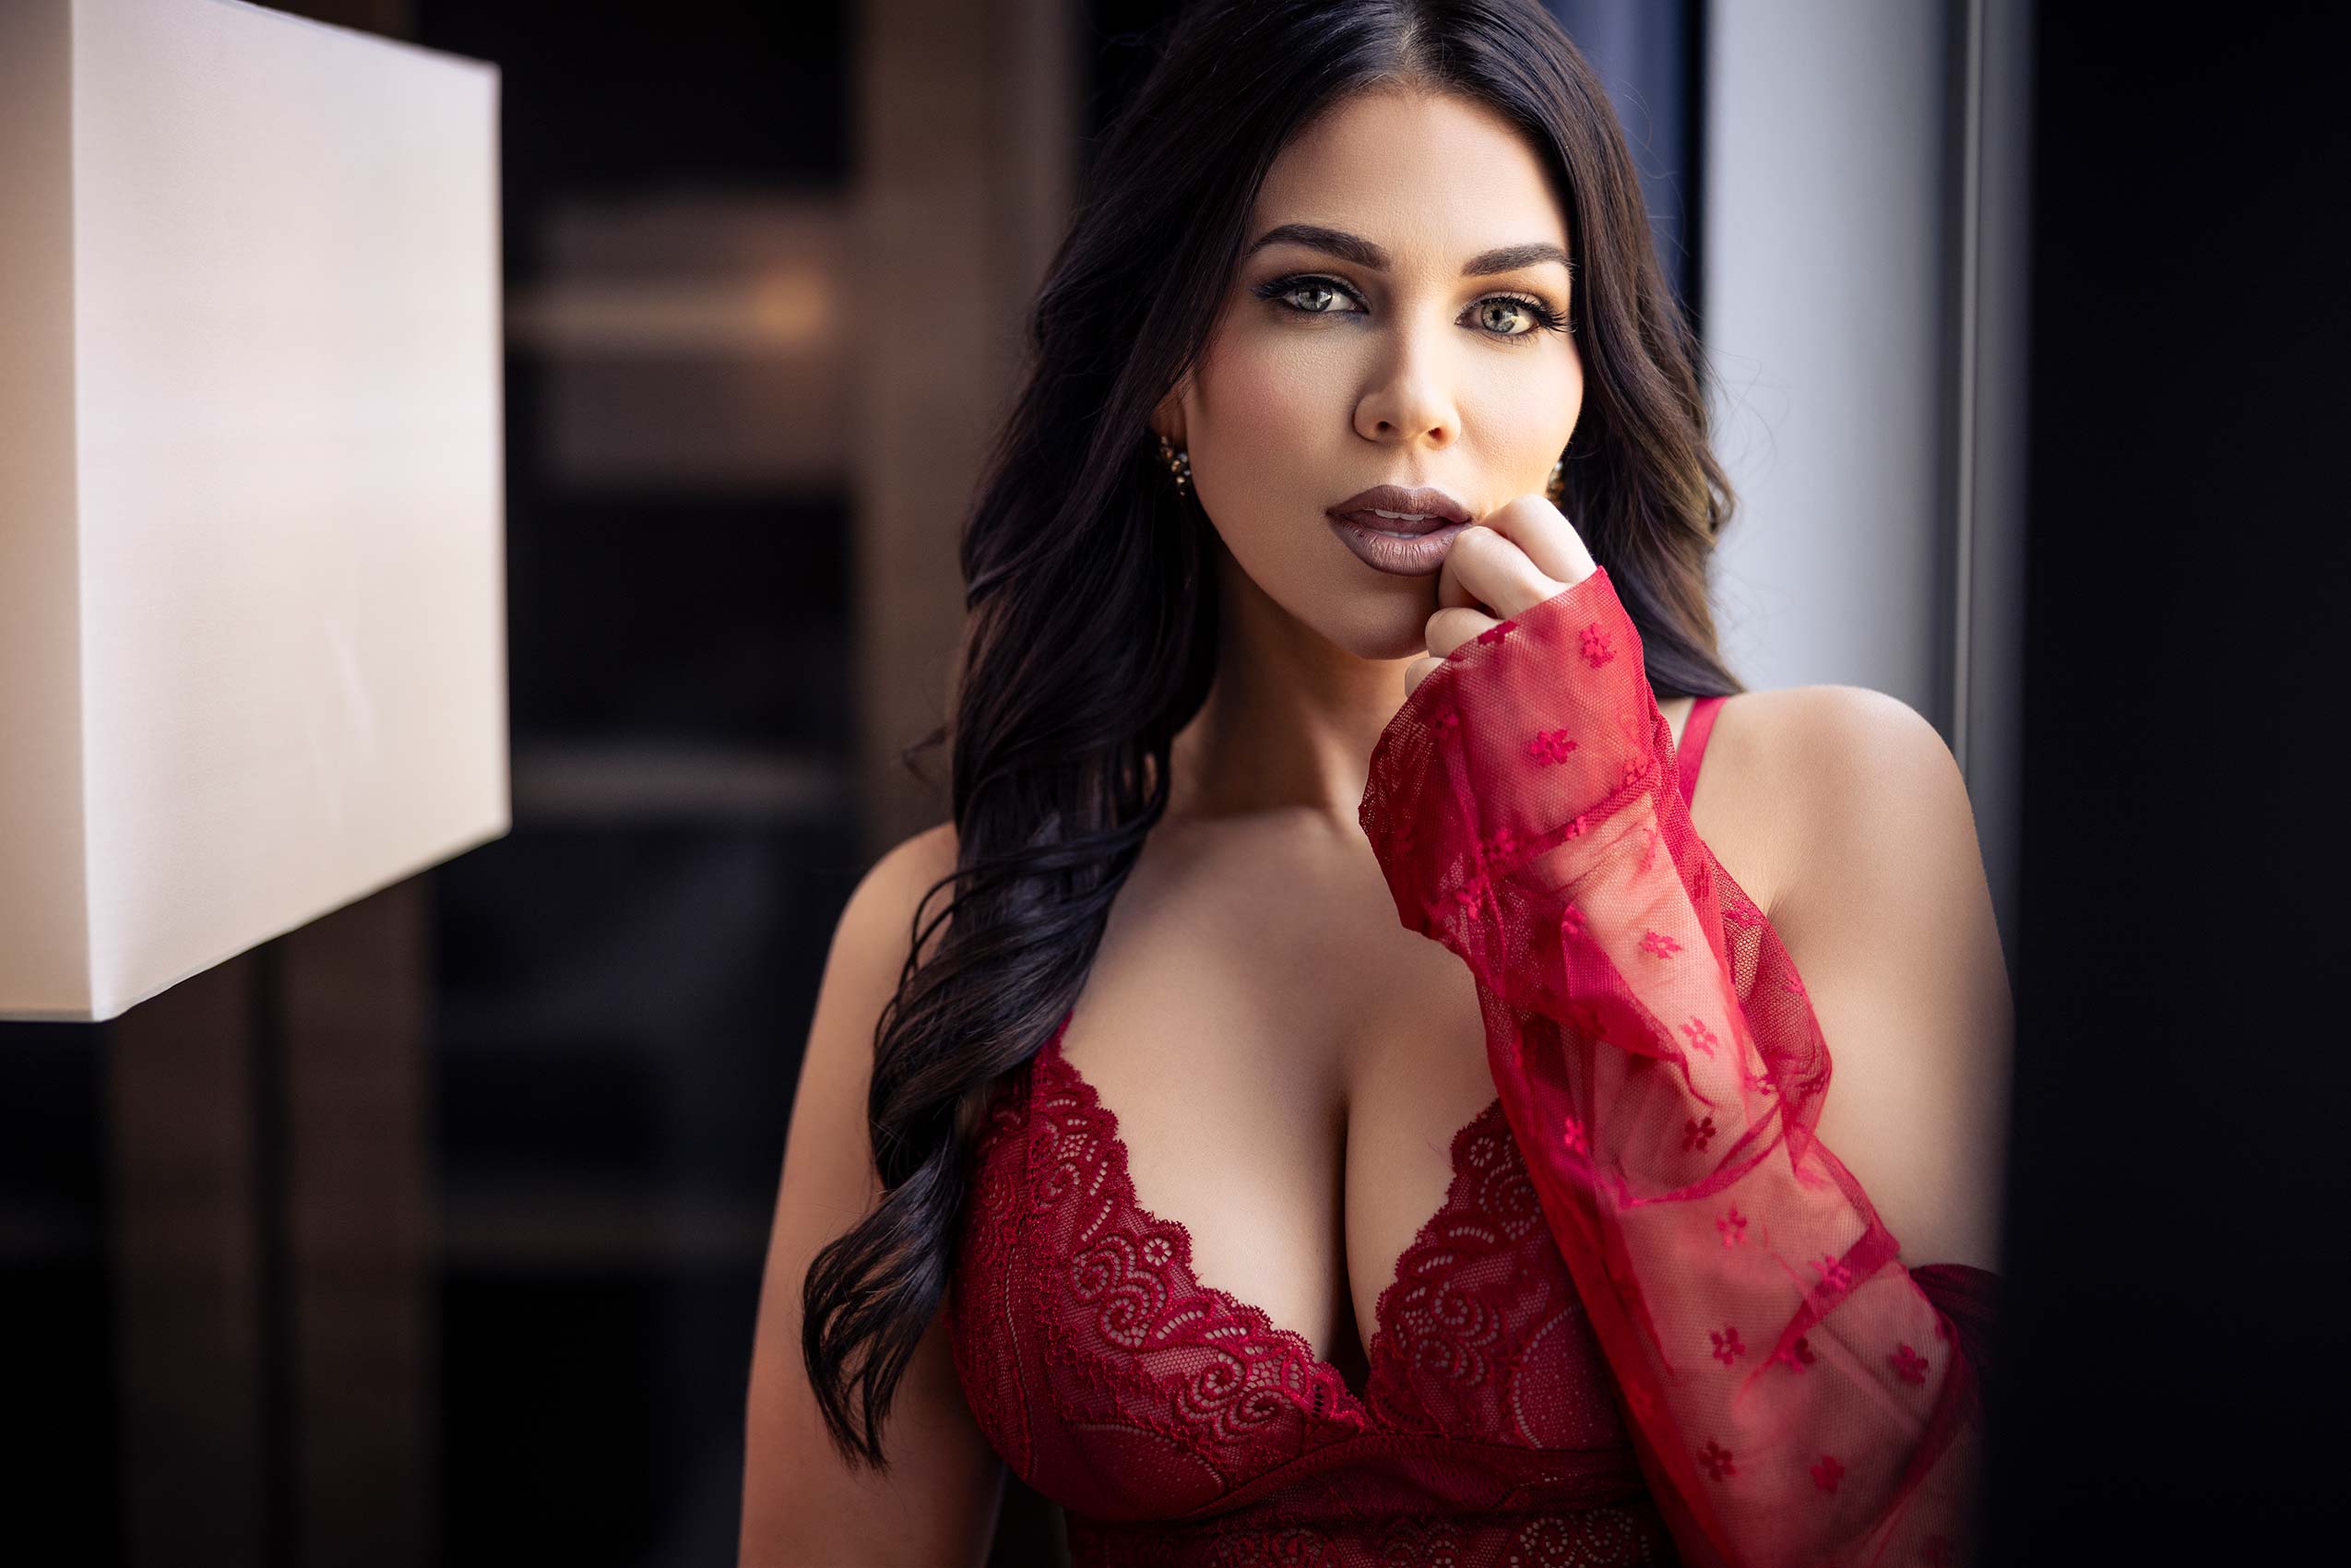
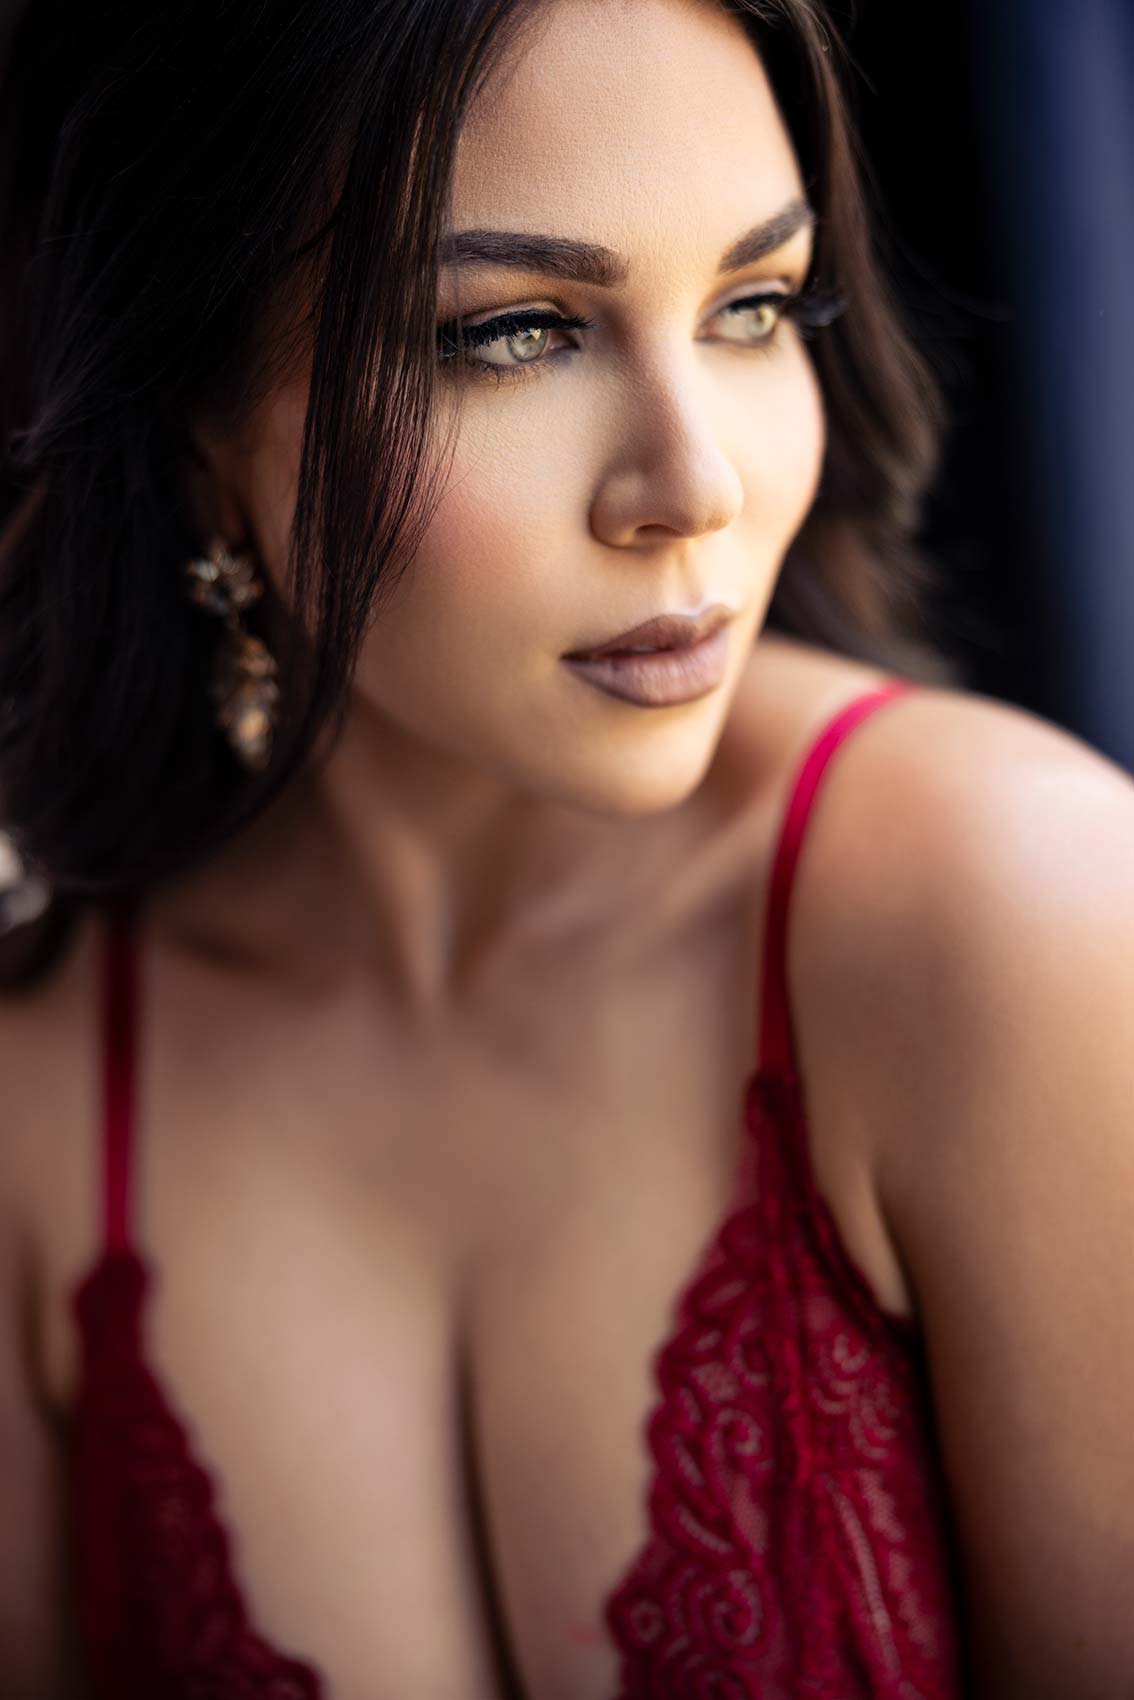
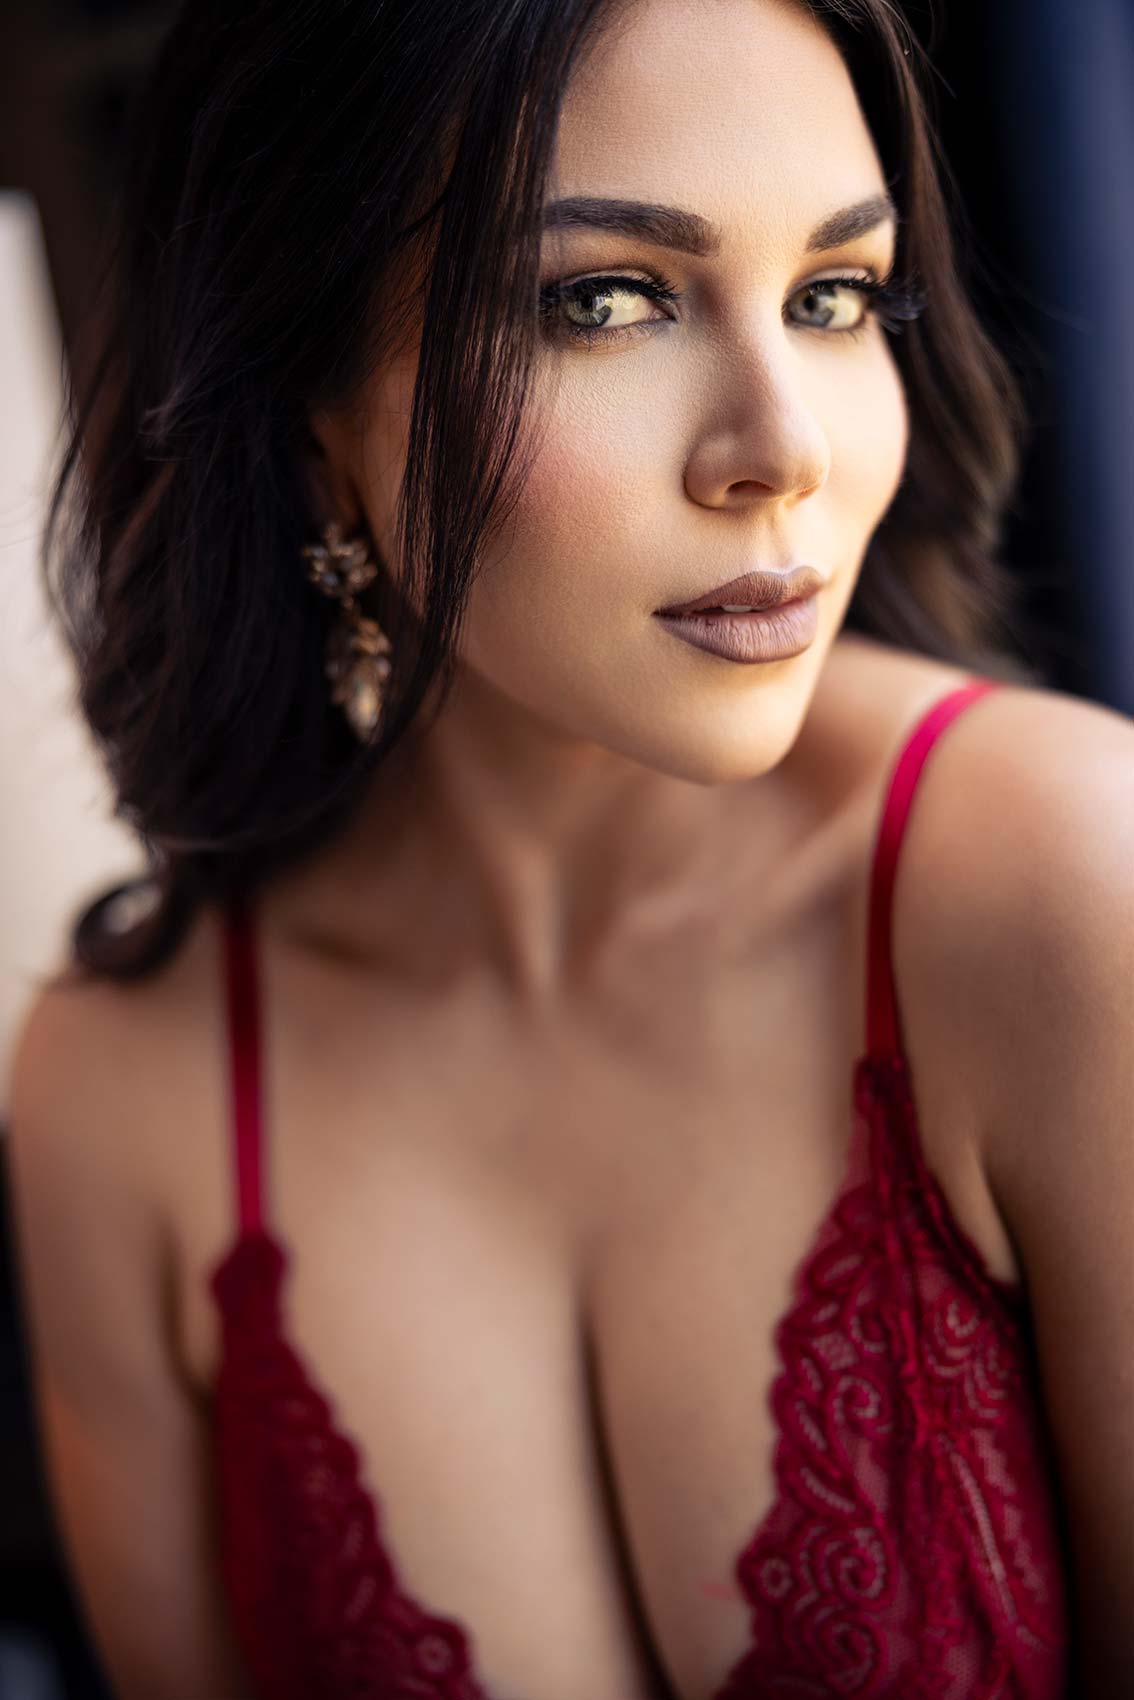
Okay, what you’re seeing here is without even moving her, and I’m moving. I’ve got a wide-angle lens for the wide shot and then I’m zooming in, so I’m using a 28-70 from Canon, shooting everything wide open, f2, and I’m shooting, I’m getting that wide shot environmental, so we’re showing a little bit of the room. It could be a hotel room, your studio, and then I’m getting in tighter on her at about 70 millimeters and creating more of a beauty portrait. It’s her eyes and her face popping and her chest popping. That’s the stuff we want here.
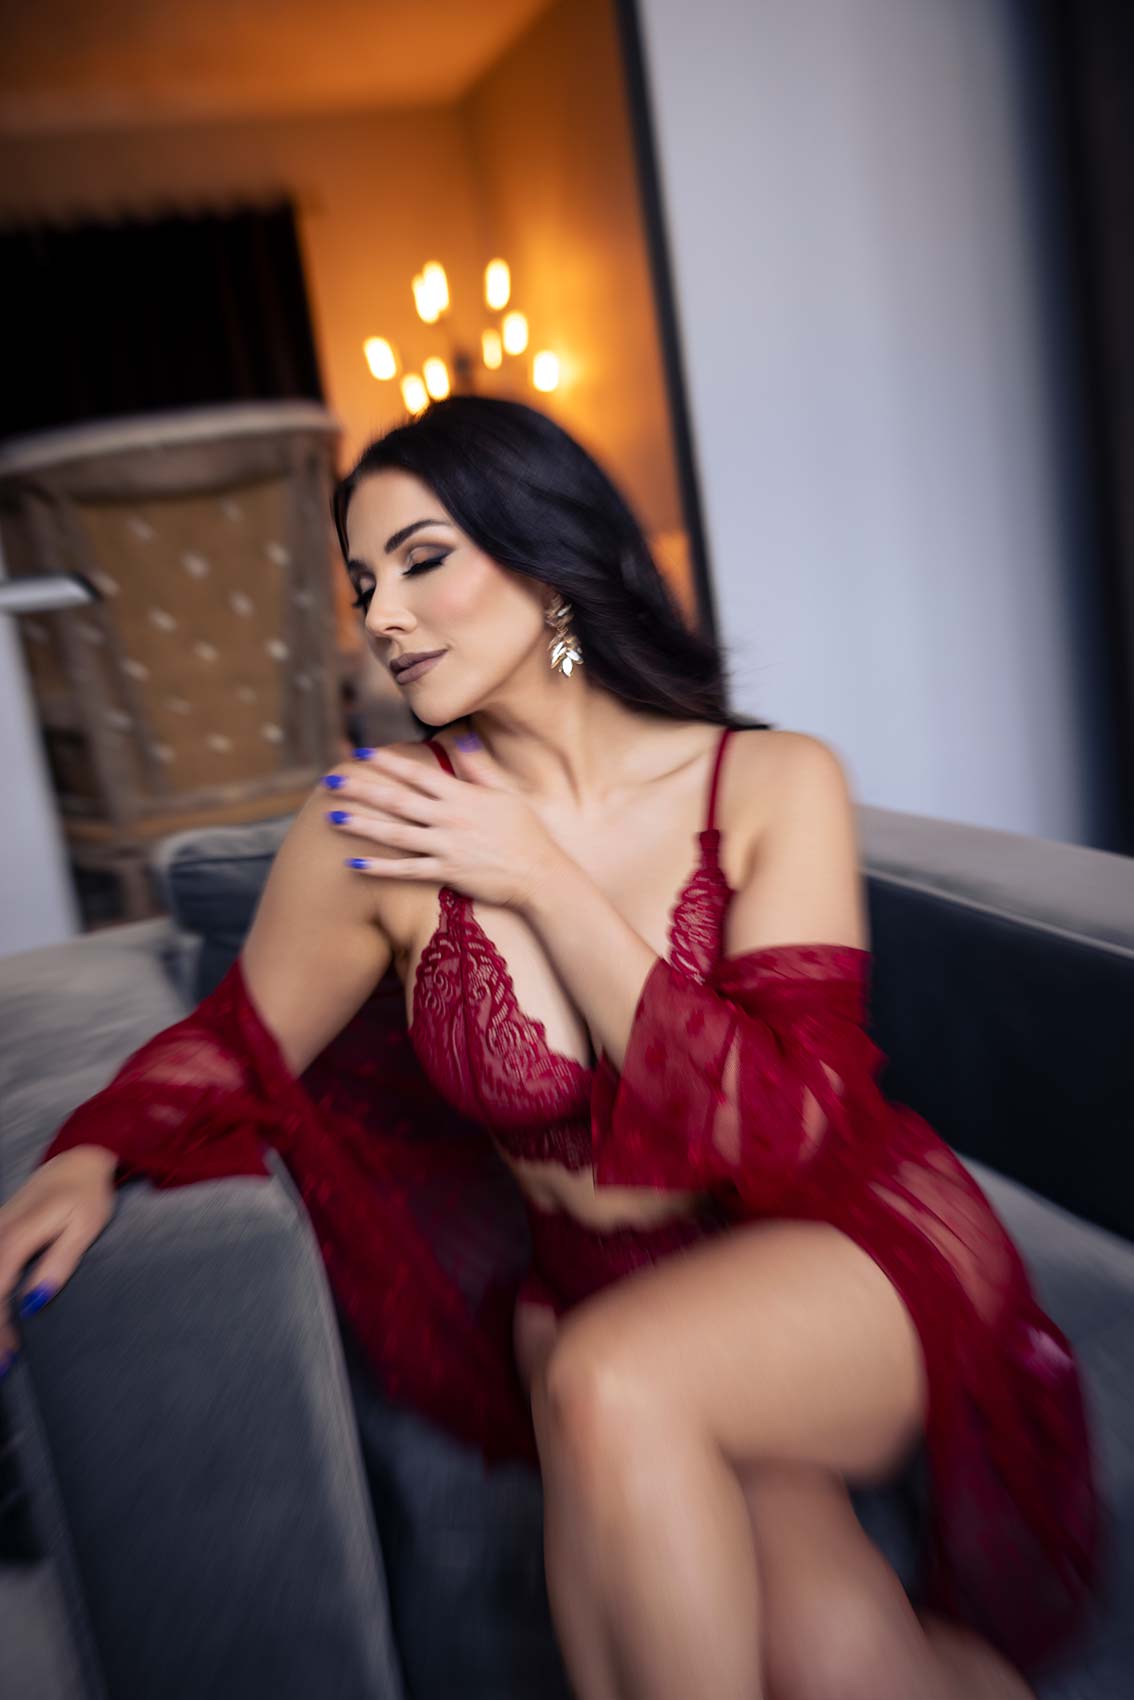
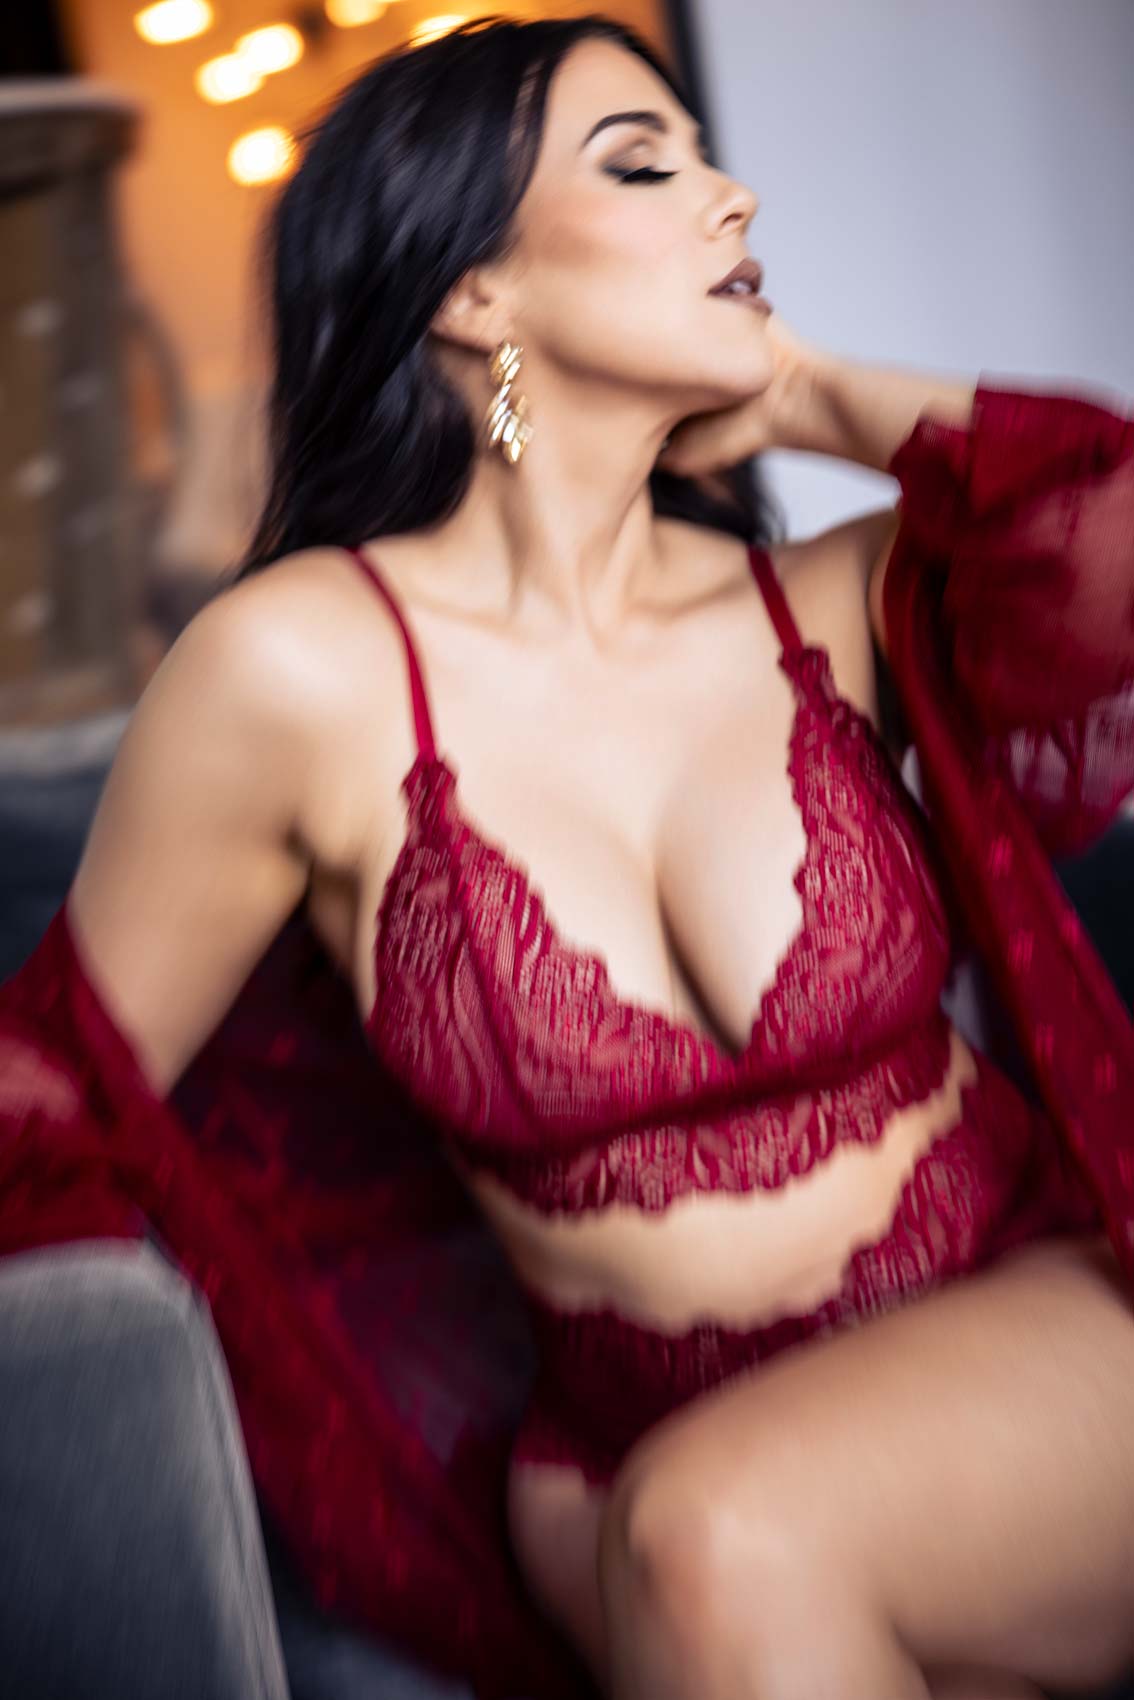
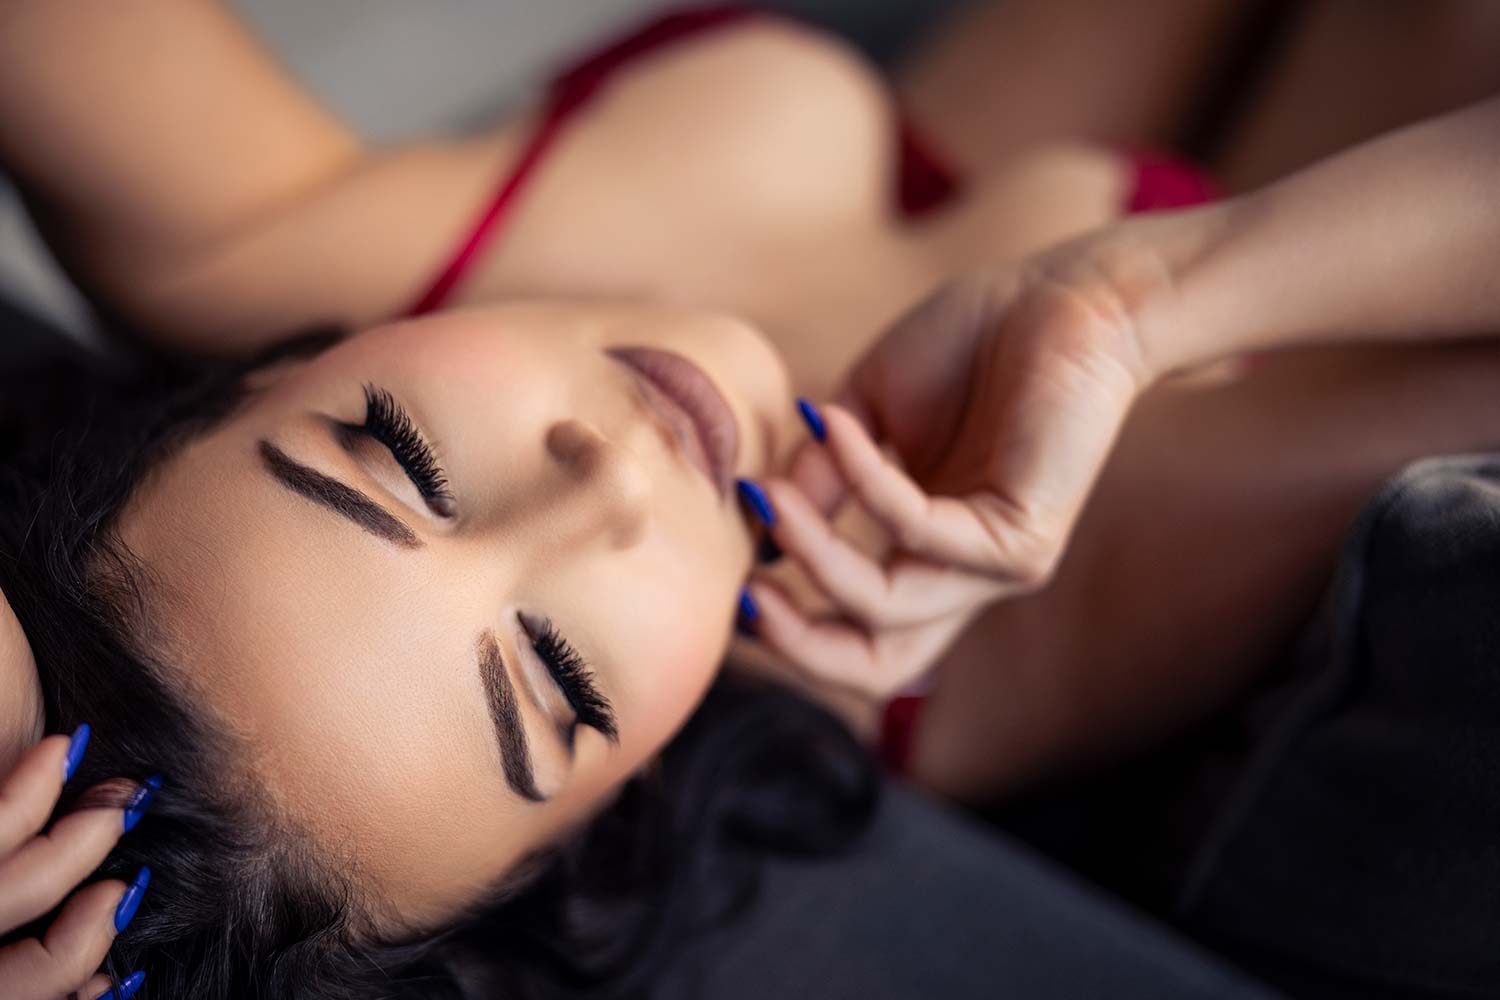
Something I’m doing, I’m just experimenting with it. After all isn’t that what photography is, being a creative is? It’s experimenting. I’m moving around with her and I noticed my shutter speed got a little low, 10th of a second, 15th of a second, and I felt like that in combination with zooming on the lens while she’s moving, could give us some really artistic shots or they could completely suck. Let’s go with, they’re going to be artistic.
All right, let’s see if anything look good. These shots, you’re going to see them on your screen, they have a little bit of motion blur to them, and I just think they look absolutely stunning.
This is what it’s all about is creating a little bit of that art, getting the shots you must have for your client and just have fun. Do something that doesn’t make sense or doesn’t look good, convert it to black and white, make it a high contrast shot. But that’s interesting, we’ll see how it edits. Now back at camera.
All right, let’s go to pose number three.
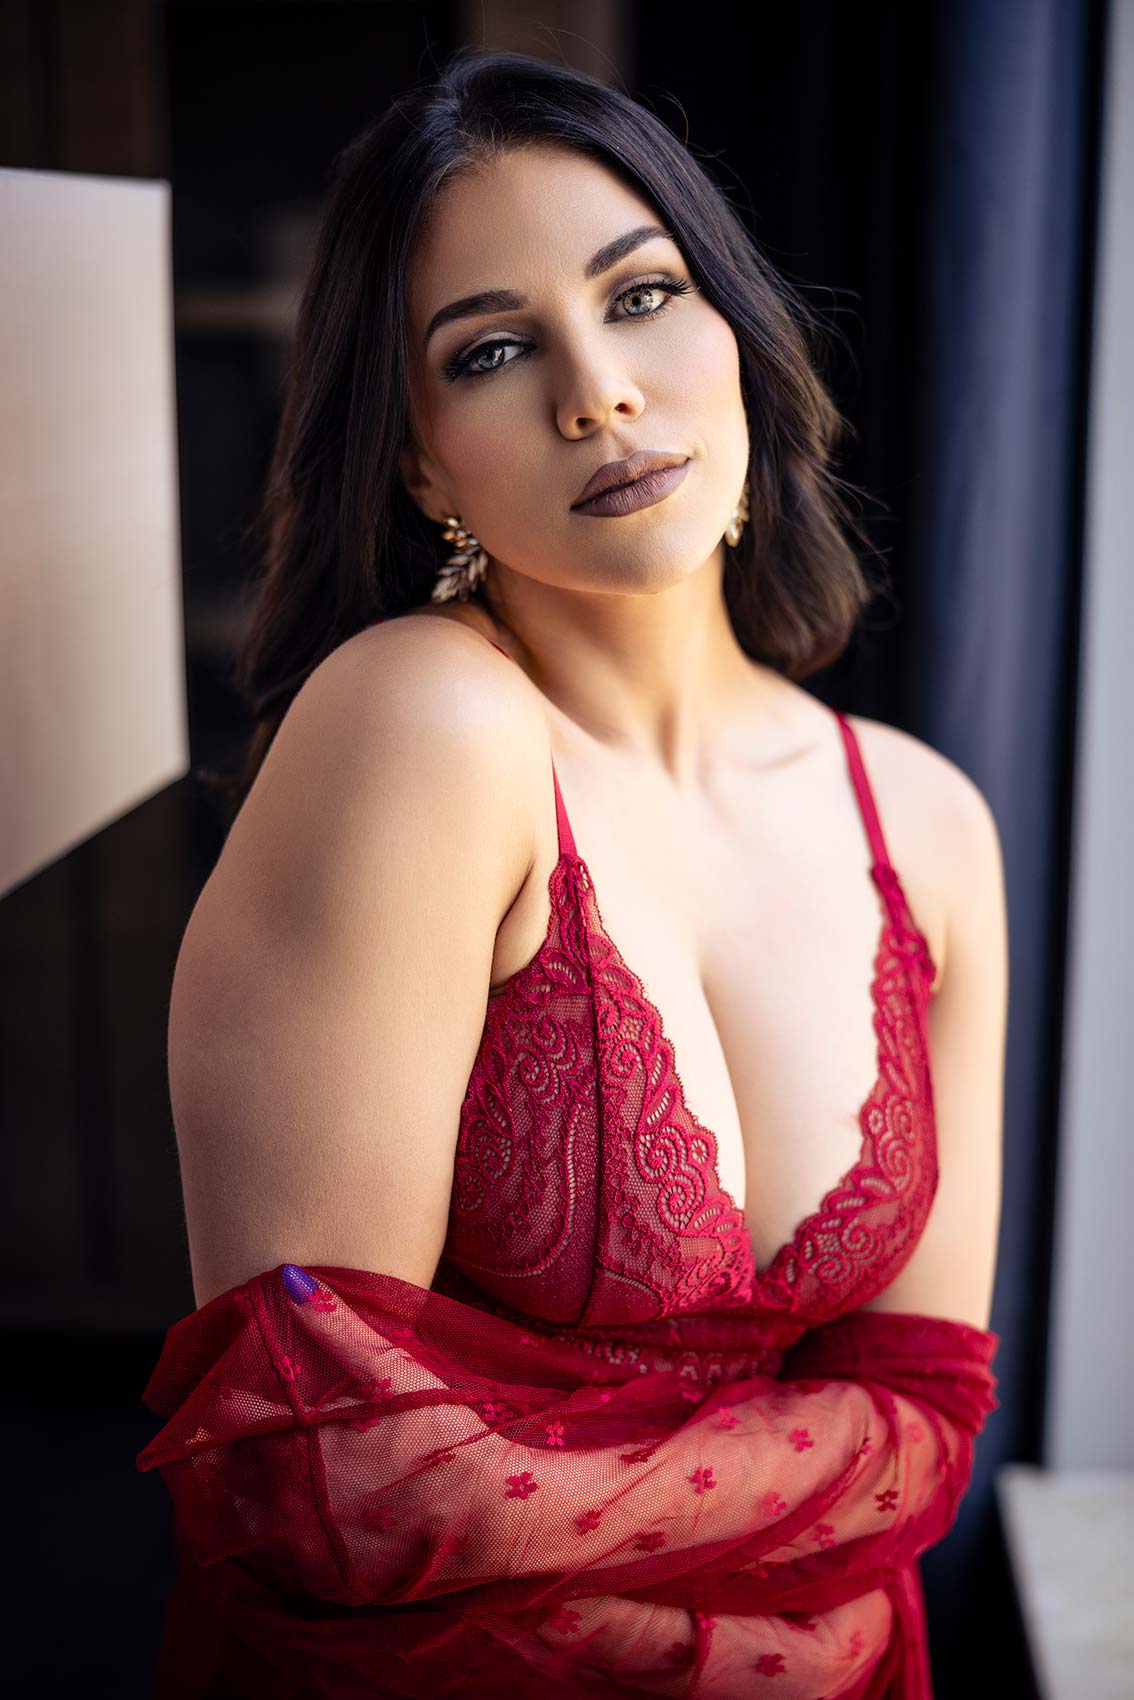
Pose number four is over the shoulder. What this ends up doing is showcasing their chest, their lingerie, their hair, makeup, and you’re just taking it from a completely different perspective. I love shooting this at a shallow depth of field, like an f2 or 1.2, because there’s so much fall off on the shot. Let’s work through this.
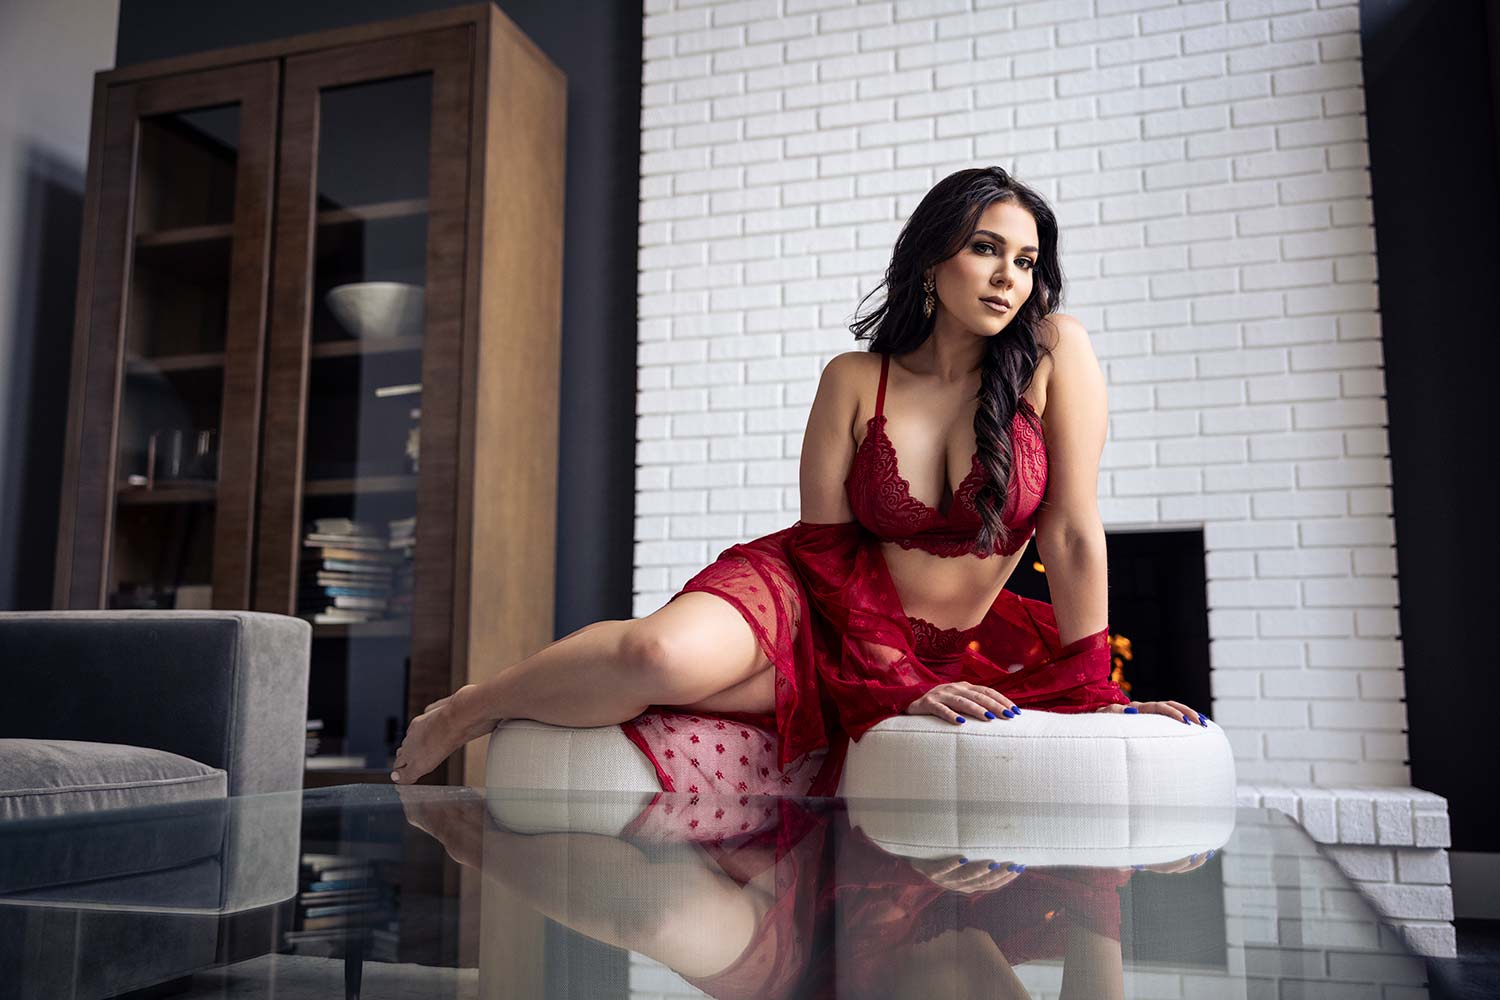
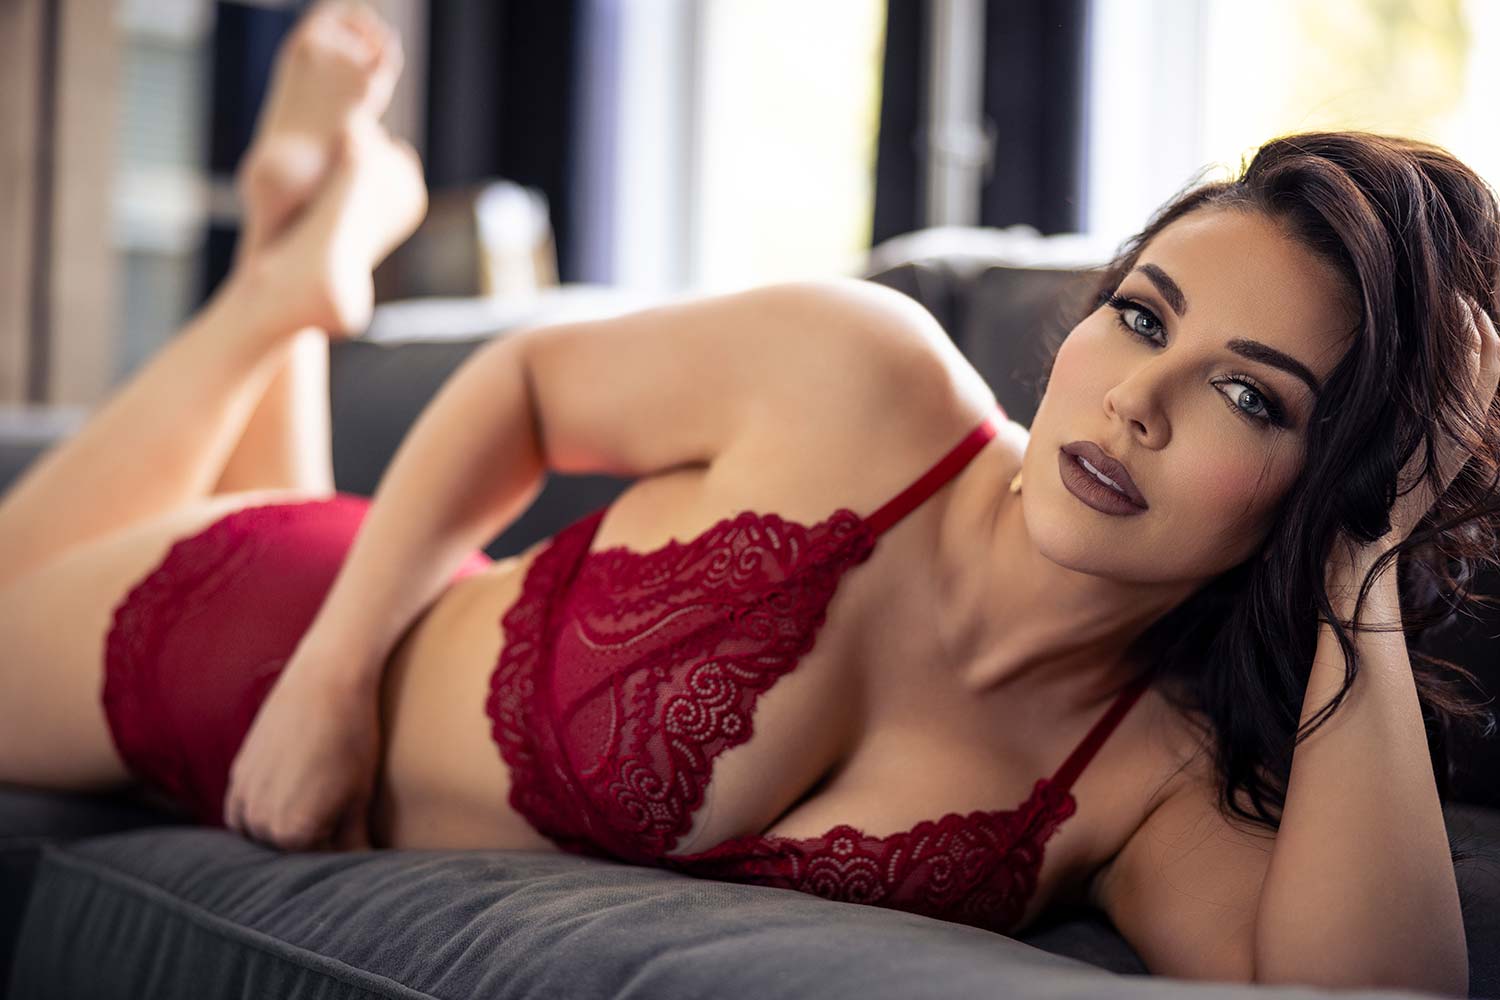
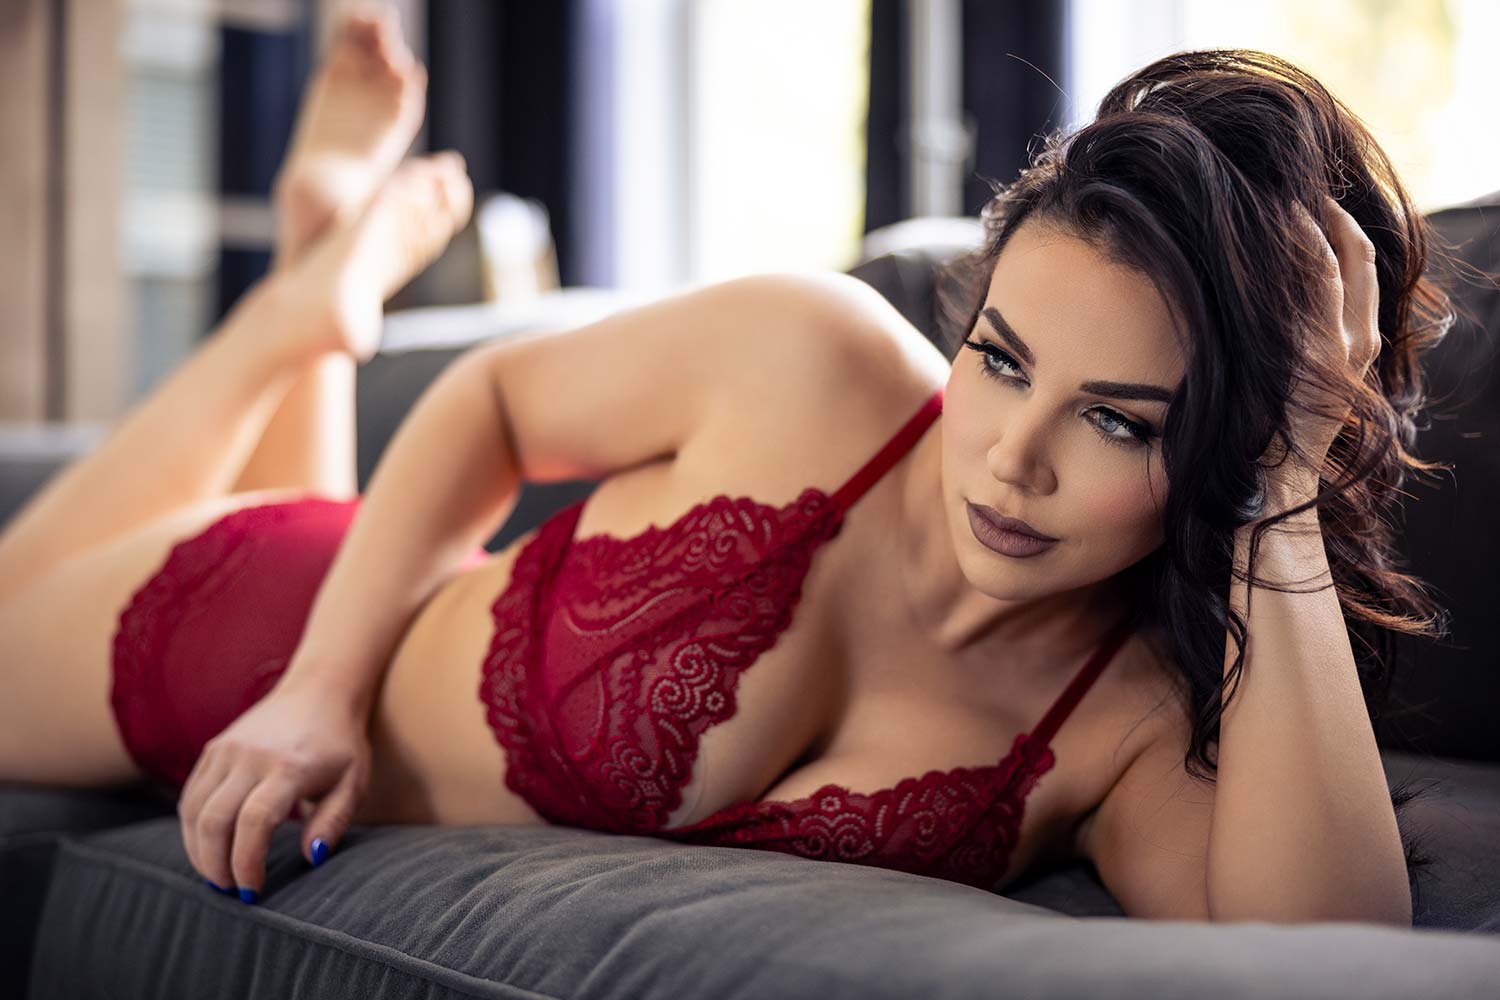
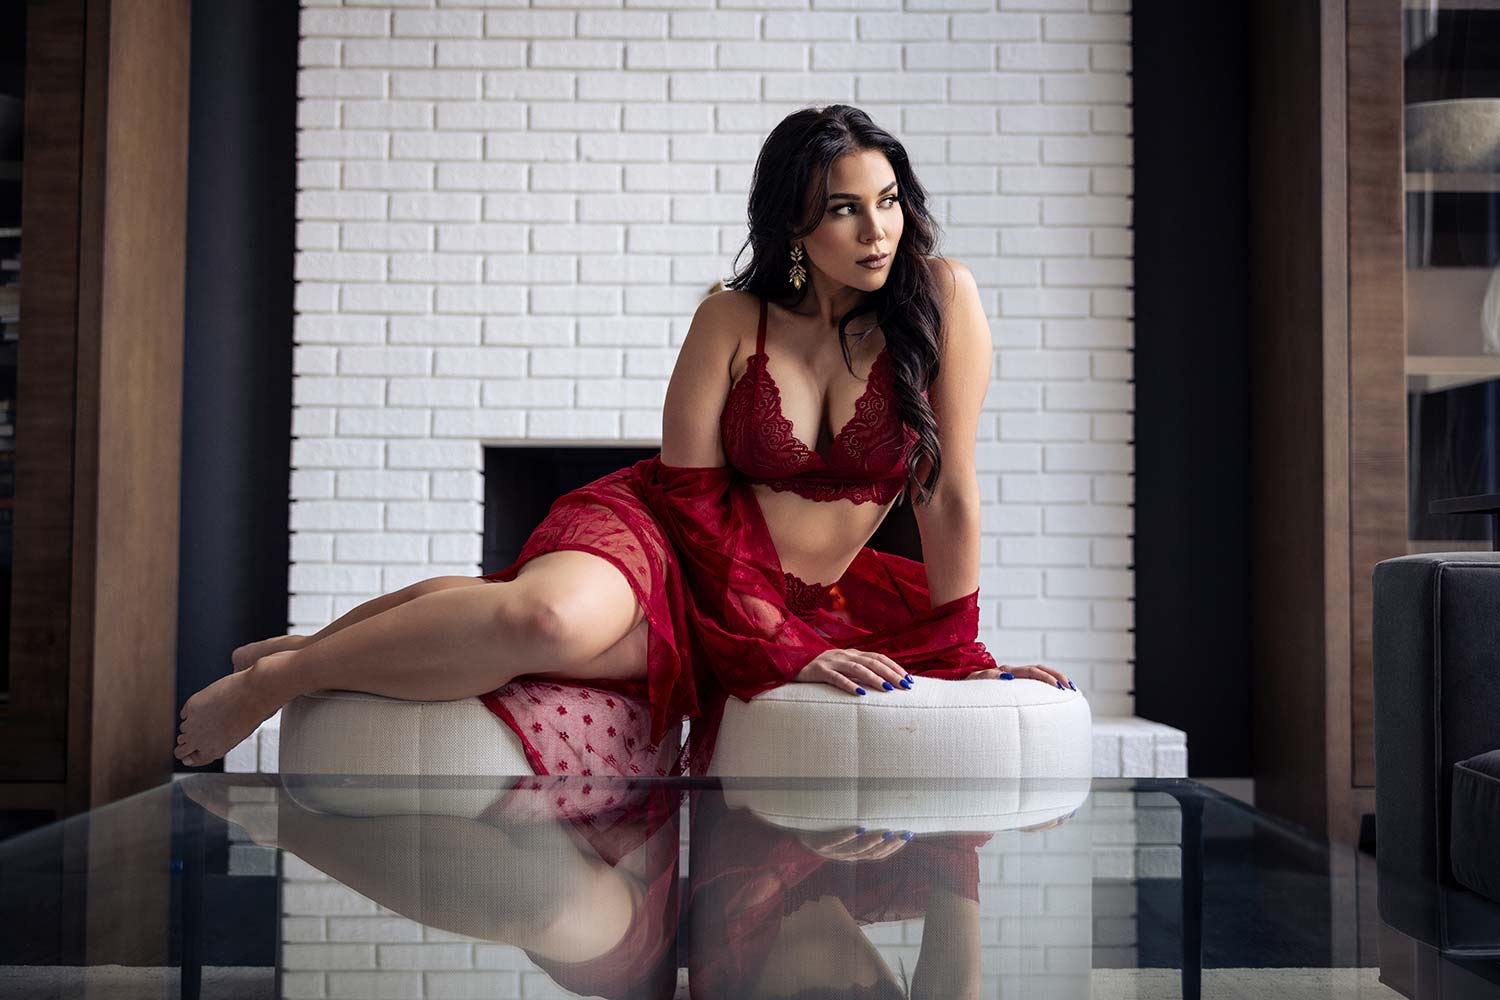
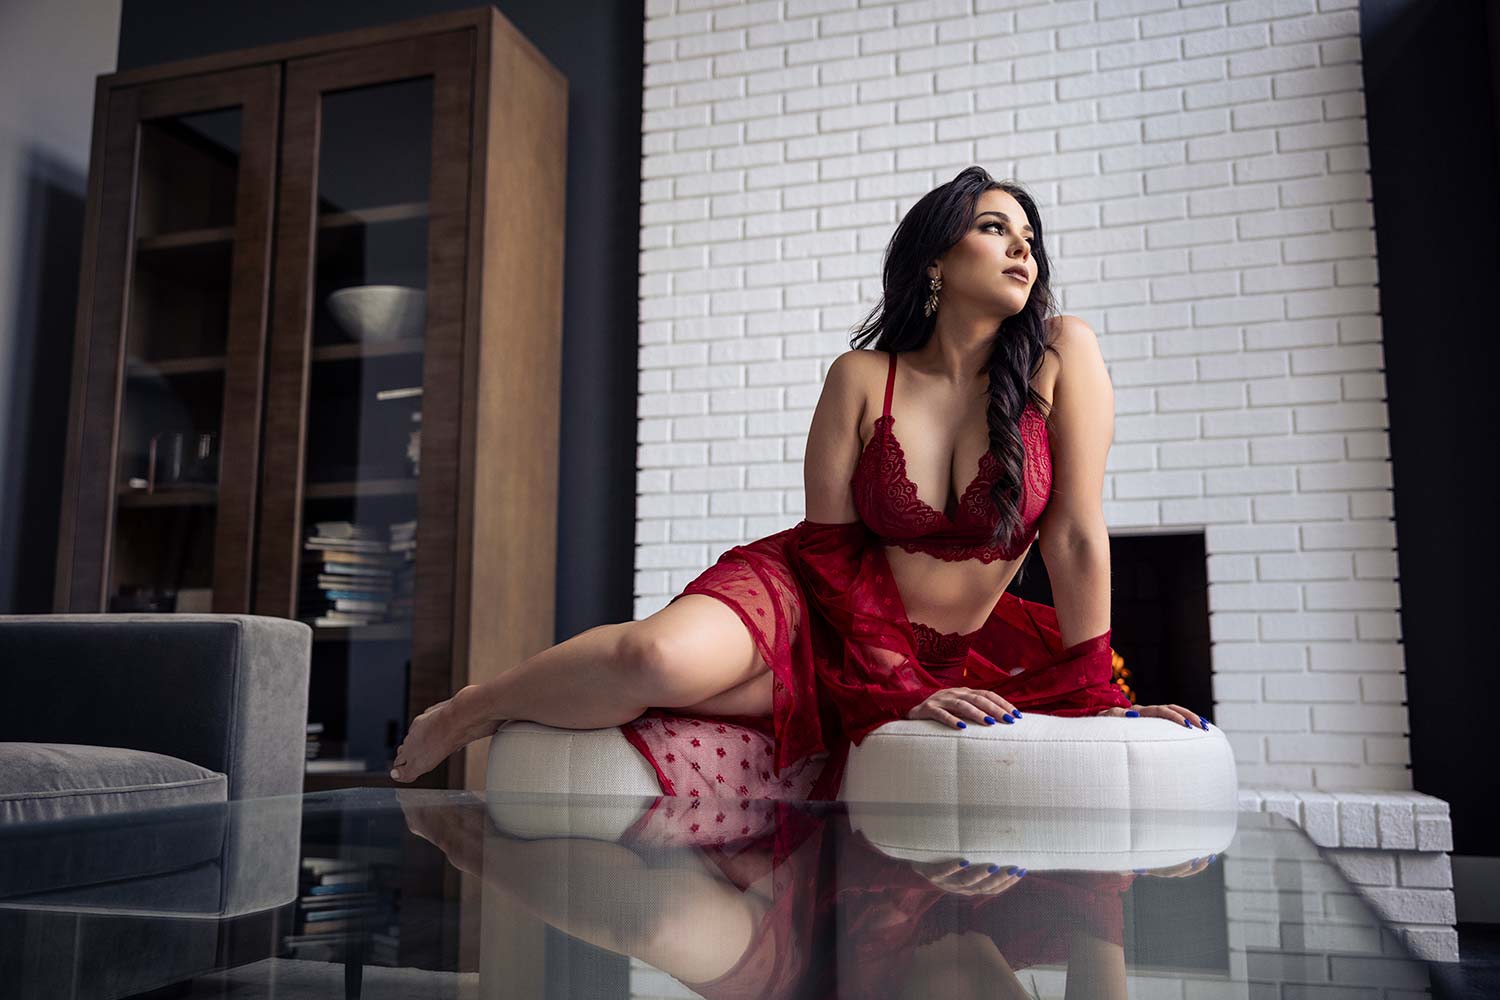
The last pose I want to show you is on their side. This would be more of a full body shot. If she’s wearing a robe, have that draped across her midsection if needed. Brandy, I love this messy hair look. Don’t mess with that side too much. This one, just clean up that side a little bit. Yep, so I can see that eye on camera right.
For this one, it’s going to be the same thing. I’m going to get this wide shot here, trying to pick up some of the reflection.
Oh, this is beautiful. I’m getting really nice reflection here. Brandy, clean up that hair under her neck. I know, look, you guys are watching. It’s these little things. I don’t want to fix that in post-production. Right there, either you fix it, hair and makeup fix it, your subject fixes it, but I don’t want to be cleaning that up in Photoshop. I’m going to change my angle so I’m not square. I can see a little bit of this fireplace there.
All right everybody, that is a wrap. Hopefully you’ve learned something from that. Like I said, these are five easy poses to get started with with your client. Remember, your average client, if you’re really a boudoir photographer, is not a seasoned model who’s comfortable in their own skin. This is our job, your job, to get them comfortable and this is a great set of poses to get you started, get them started, and start making some epic images for your clients. We’ll see you in the next video.

