
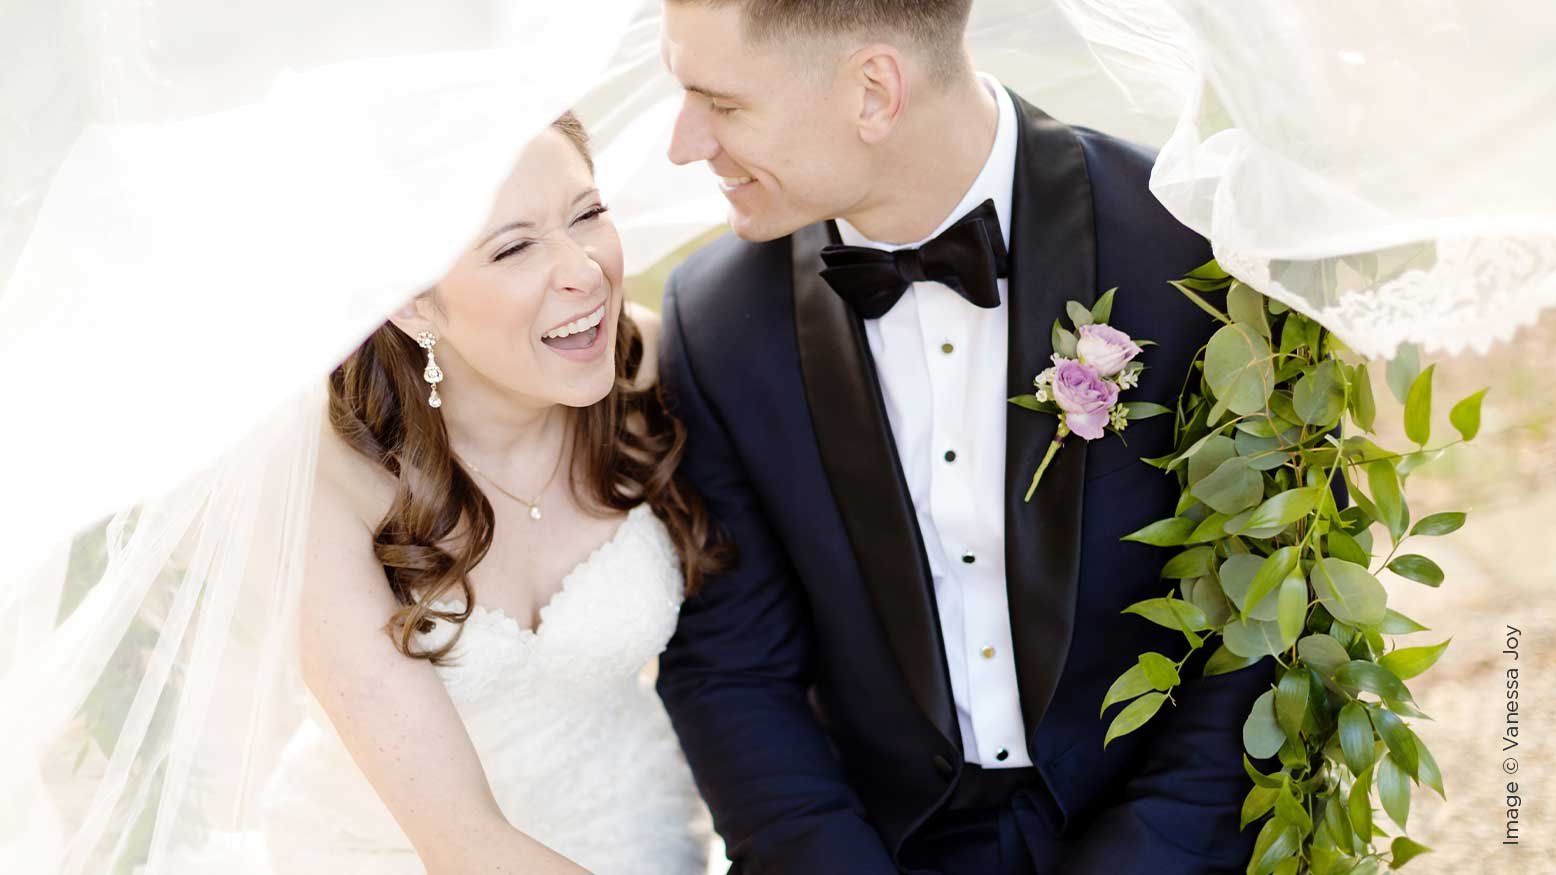
5 Rules for Better Photography Pricing with Vanessa Joy
If you’ve ever heard me speak about pricing, you’ve probably heard me lament about one chronic problem I see in the industry. I’ll always say I know so many amazing photographers – crazy talented ones that I’ll admit I’m just a wee-bit jealous of. But just because they’re amazing photographers doesn’t mean that they’re making a living as photographers and putting food on their tables. I see entirely too many starving artists in our industry.
The problem can usually be narrowed down to business skills, although sometimes a bad personality peeks its nasty head in. But even if the marketing is good and the business sense is great, some serious bankruptcy-causing mistakes can be made in the pricing area. Let’s take a look at the basic structures of pricing so you can avoid common pitfalls.
1. Psychology
First, when you’re creating pricing and packaging, you want to play to human psychology. What does that mean? It means that you want to list your highest package first. What that does is lets people look at the top-of-the-line package and wow them in a way that almost price-shocks them. After that, your offerings below your highest package don’t seem so unobtainable. And then if you have a client that wants everything, they’ll see that all the options below that first package don’t include everything they want, so they’ll end up going with the first one.
Keeping psychology in mind, you’ll want to make sure your pricing and packaging is easy to read and easy to understand. The last thing you want is your client glazing over when you bring up your collections. Stick to three or five collections and use an easy-to-read font and a very simple format. This is especially important if your pricing is online because it will be read on mobile devices.
2. Do the Math
Second, when you’re creating your packages, you can’t be lazy. You do have to do the math. To create some rough estimates on what your pricing and packaging should look like, your prices should be three to five times your cost of sales. That’s a good starting point anyway.
Let’s just say your cost per job is $1,000. Cost per job is your cost of sales plus your cost of business. Obviously, and especially if you’re a wedding photographer, it may be a little bit higher than that. Your cost of sales includes your second photographer, what you pay for post-production and album design, and other costs. Then you have your cost of business, like studio overhead, your online galleries, your website, and marketing. Take your total cost of business for the year and divide it by the number of jobs you photograph and you’ve got a cost of business per job.
If your total cost of sales and running a business is $1,000, then the minimum that you should be charging for your wedding packages is $3,000-$5,000. Again, this is a rough estimate, so make sure to actually do the math. Don’t just create some packages and throw some numbers out there and have no idea what your costs are or how much profit you’re making. That’s a fast track to bankruptcy.
3. Don’t think you’re rich
Third, when all of that money starts coming in, it might seem like you’re making a ton of money. Trust me, you’re not. Like I just articulated, you have a huge cost of sales and cost of business. On top of that, you have taxes to pay. If you’re a freelance photographer and you’re working for yourself, you don’t get taxes taken out of your paycheck. You have to prepare for the end of the year by saving the money and perhaps putting it in a separate account and forgetting about it. You’ll be happy you have it stashed away when you have to pay your taxes at the end of the year. Or, you can pay estimated quarterlies, which is what I do. I pay a little bit every quarter so that it’s not such a huge bill at the end of the year. Definitely work with an accountant for things like this. I recommend working with a bookkeeper as well to keep everything on track.
4. Don’t Give It All Away
The fourth element of pricing to think about when you’re creating the packages you want to book is to create packages that have everything that the client wants. For me, that would be digital files, full day package, and a wedding album. However, do not have those must-haves in every single package. There won’t be any incentive for a client to book higher packages if they get everything they want in the lower packages.
My lower packages (which you’re welcome to see at www.vanessajoy.com/wedding-collections), you can see collections D and E have almost nothing in them. They have only eight hours or less of coverage and a small wedding album. Neither of them include digital files. Only collections A, B, and C have those digital files, full day coverage, and nice size wedding album. As you go higher in my packages, you’ve got parent albums, larger albums, and the engagement session in there too.
Price your packages so they’re more advantageous for the client as they go higher. Meaning they offer a bigger discount over the a la carte pricing that you should have listed below your collections.
5. Don’t Stand Still
Fifth and finally, the best piece of pricing advice I have ever been given, I’m going to pass on to you. I wish I knew who gave it to me because I would thank them up and down. This advice helped me quadruple my business in the first few years.
Anytime someone books your highest package, raise your prices, because they would have paid you more. When a client books your top-notch collections, it’s a really great indication that it’s time for you to move up a little bit and either your clientele or photography skill, or both, are getting better.
Don’t panic! You can raise your pricing through little baby steps. It can be just $100 here or $250 there. However, the method of raising your prices every time someone books your highest package will really help elevate your business, even if it’s just by a little bit here and there as you go.
I hope this gives you an overall picture of how to create or alter your photography pricing. I have a free short video on this at www.BreatheYourPassion.com/money. You can also check out Behind the Shutter on YouTube and see this month’s edition of ShutterMag for more on this topic.


