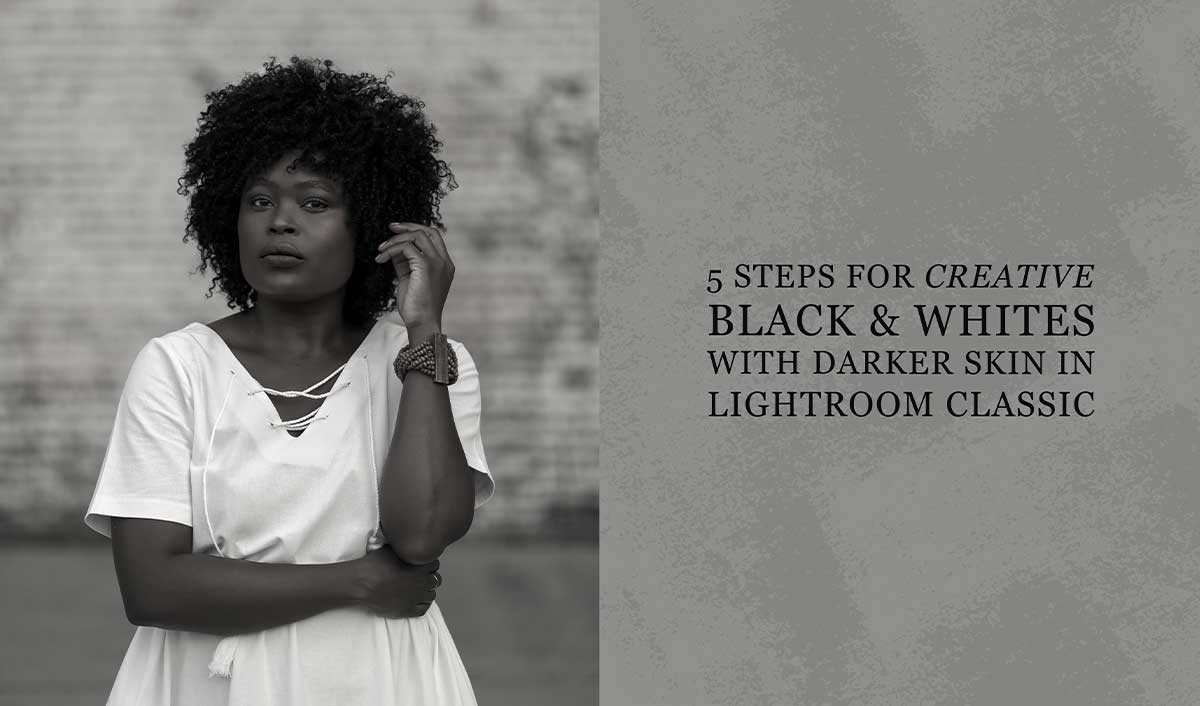
5 Steps for Creative Black & Whites with Darker Skin in Lightroom Classic with Dustin Lucas
In a digital world, it’s easy to forget about shooting for Creative Black & Whites images since we can easily convert later. When shooting in color, it’s hard to focus contrast and tonality and when it comes to post-production, we find out quickly how much impact an image loses once the color and all the tonality are gone. Well, the editing can certainly enhance a black & white photo, even though in most cases I truly prefer the color version.
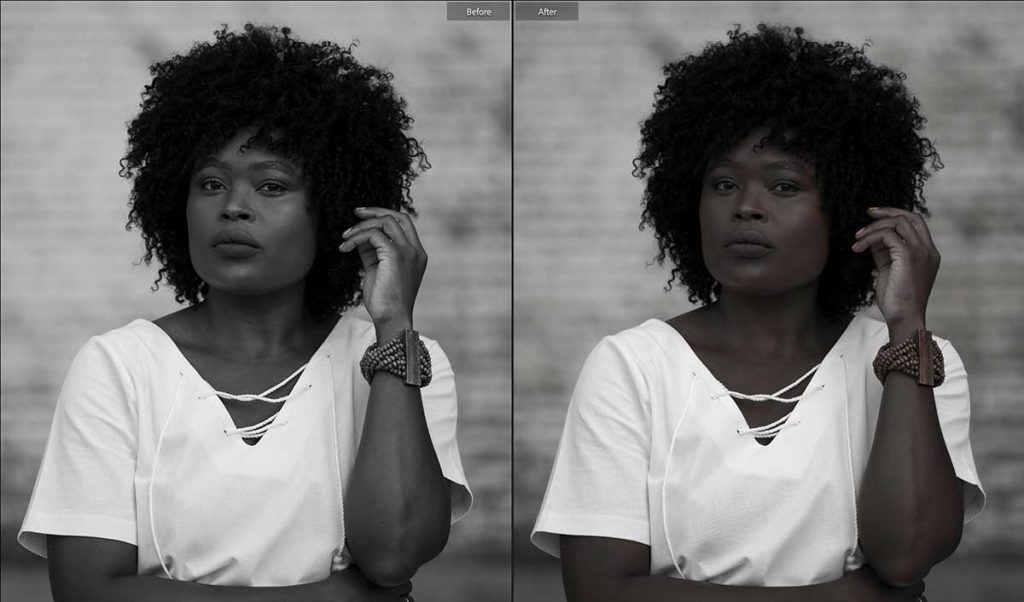
In this article, I want to take you through five steps for creative black & white editing with darker skin tones in Lightroom Classic. It is vital I maintain a natural skin tone complexion without compromising my creativity. It all starts with a technique to drop vibrance and saturation instead of converting to monochromatic. From there, I like to tweak the tone curve to bring back some dynamic range. Burning down the background and dodging the subject is a vital part of my creative edits. Next, we will get up close and retouch the skin. The last step is the final touches to make sure we hit every detail.
Step 1: Don’t Convert to Black & White
Most of us strike the V key to quickly convert images to black & white. There’s absolutely nothing wrong with that, nor is lowering the saturation to -100 better. What I like to do is start by dropping the Vibrance to -100 to see what color and tones are left. Now, to get a more true black & white image we can start to lower saturation while maintaining this creative look. The main reason I like to use this technique is so I can still manipulate colors and get a really unique black & white style.