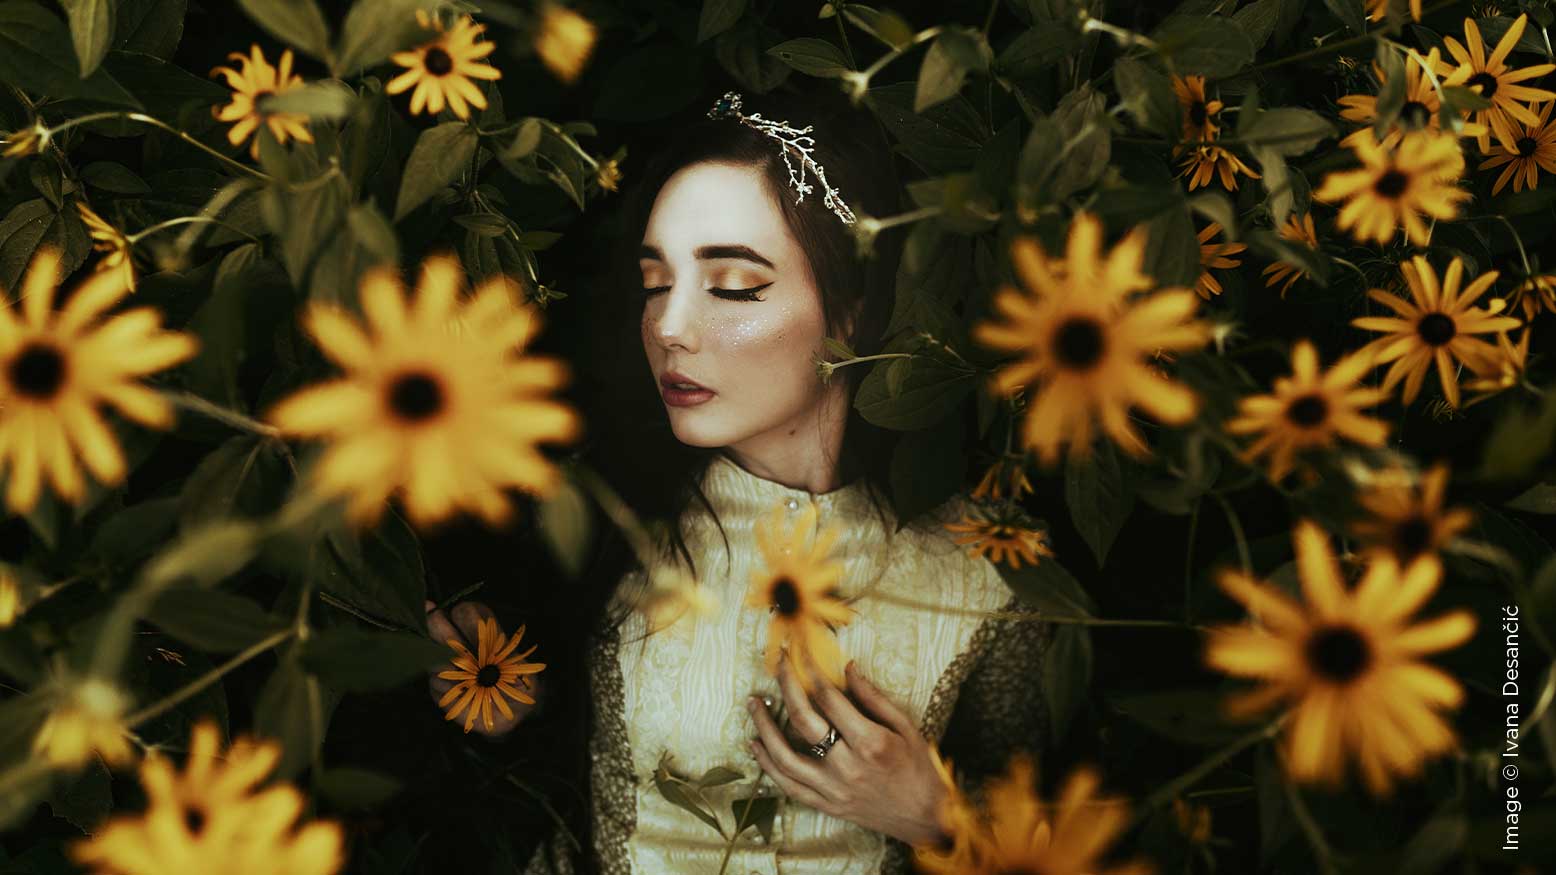
5 Steps to Enhance Your Post-Production with Ivana Desancic
I am well aware that post-production can be intimidating and sometimes even overwhelming. That is exactly how I felt at the beginning, when I first started learning about Photoshop and practicing my skills. On the other hand, it is a great tool for unlocking your creativity and bringing your photography to the next level. After I realized the difference post-production can make, I never looked back, and spent days exploring new ways to improve my work and my skills. Still, all those skills can be futile if you do not think about the post-production process before you even take the photo. That is why the next section is an extremely important step in my creative process.
Thinking beforehand
Whenever an idea pops up into my head, I write it down or sketch it. My work usually involves compositing, so if I have props that match my vision, I will photograph everything under the same lighting conditions and same perspective. Sometimes, my ideas involve wild animals or other elements that I am not able to photograph in person or under the same conditions. In those cases, I will go through Adobe Stock, looking for images that could suit my idea.
I cannot stress enough how important it is to pay attention to perspective and lighting conditions. If those things do not match, your composite will not look realistic. After I am satisfied with all the conditions and I have enough photos that I can work with (I usually take around 150, even though I’m going for one final photo), I move on to the post-production process. Note, it is a good idea to create a consistent workflow that you will follow almost every time you edit. That way, you can streamline your post-production process, and be more effective and more confident in achieving good results every time.
Adobe camera raw and first steps in Photoshop
After I have chosen the image I like the most, with the most suitable pose, facial expression and light, I open it in Adobe Camera Raw, where I work on some basic adjustments, such as brightness, contrast, shadows, temperature, etc. I would always make sure that in the “Lens Correction’’ tab, your options for “Remove Chromatic Aberration’’ and “Enable Profile Corrections’’ are checked. That will remove all the distortion your lens could create. These are the only steps I use Adobe Camera Raw for—everything else is done after I open the photo in Photoshop.
I always start by duplicating the original layer, because that allows me to correct any mistakes I might make while editing. It is always a good idea to break up your editing into smaller steps and create a new layer for each step you take, since that way your editing will be non-destructive. Moving on, I open the Filter drop-down menu and select Liquify. That opens a new window, where I can reshape my subject if needed and work on hair volume. Then, I move on to retouching, where I start with the Frequency Separation technique. That allows me to work on texture and colors on separate layers. On the high-frequency layer (texture), I work on blemish removal, and on the low-frequency layer (colors and tone) I use the Lasso tool to select different areas on my subject’s face and body, and blur them out with Gaussian Blur to soften the transition between highlights and shadows.
Composting
My compositing always starts with cutting out the photographed props or animals and moving them onto the main photo. After I put them in the right position, I start working on shadows to make the composition realistic. In the beginning, this was the hardest part for me. It took a lot of trial and error to figure out what details to look for and how to draw realistic shadows. The way that works best for me is to select the Eyedropper tool and take a color sample of one of the existing shadows in the photo. That way, I can make sure that the shadow I am drawing will match the colors of the existing shadows.
I draw the shadows using the Brush tool, set at 100% Opacity, and a really low Flow, usually around 5%. I split the shadow into a couple of layers, making sure that it is fading out toward the edges, giving the object of the shadow a 3D feel. In order to make sure that the light of the composited images matches perfectly, I adjust highlights and shadows using Levels and Curves. The next step is working on matching the color tones. I usually do it with different color adjustment layers, such as Selective Color, Curves, and Color Balance.
This is the longest part of my editing process, because all these steps are crucial, and I have to go through each of them every time I am compositing in order to achieve the most realistic results. Compositing is also my favorite phase of post-production, since it lets my limitless imagination run free, and it gives me an opportunity to create things that would not be possible otherwise.
Dodging and burning, and color toning
There are so many ways to dodge and burn in Photoshop. One of them is using the Dodge and Burn tool, but that tool cannot be used on an empty layer, making it destructive editing. That is why my favorite technique is to just open a new layer, set the blend mode to Overlay or Soft Light, and paint the highlights with a white brush and the shadows with a black brush set at 100% Opacity and Flow around 5%. On most occasions, I use the Dodge and Burn tool three times during my editing workflow, since my style involves exaggerated highlights and shadows. That also contributes to the painterly feel of my photos. Another possible technique is to use the Curves layer, bring the brightness up or down (depending on whether you are working with highlights or shadows), convert the layer mask to black, and then paint with a white brush with really low Flow over the areas you want to enhance.
Color toning is probably the most fun part about editing, at least in my case. I also believe that it is a crucial step if you want to enhance your photos. There is so much you can do with colors. You can change the entire mood of the photo just by using color adjustment layers. Since there are so many color adjustment layers, you can explore each of them and see which ones work best for you. The ones that suit me the most are Selective Color, Color Balance, Curves, and Gradients. When I decide on the mood I am going for, I go through each of those color adjustment layers and tweak the colors until I am satisfied with them. One of the best pieces of advice I can give while working with colors is to take frequent breaks—your eyes can get tired and accustomed to everything on your screen, which increases your chances of overlooking mistakes, such as improper skin tone. Ten-to-fifteen-minute breaks are more than enough for your eyes to rest and come back with fresh perspective.
Finishing touches
After I think that I am done editing my photo, I leave it for a couple of days, and then come back to see if I might have missed something. People have a tendency to overlook small mistakes and details in the first day of editing—you saw the photo so many times that your brain is expecting to see the same things over and over again. Coming back allows you to have a fresh perspective and see what else needs to be fixed. That usually includes more work with light and colors, and possibly adding or taking things away. In my case, I know I am done editing when all the additional adjustments I make don’t contribute to the quality of the photo. That is when I move on to my final layer, which is Sharpening.
Again, like many other things in Photoshop, there are different ways to sharpen. My favorite one is to create a new layer, open the Image drop-down menu and select Apply Image. Then, I desaturate that layer and change the blend mode to Soft Light, and after that, I open the Filter drop-down menu and select Other/High Pass. You can set the value according to your taste, but I usually go for somewhere between 2 and 4.
That sums up my editing workflow. Remember, there are so many techniques you can use, you just need to figure out which ones work best for your editing style. I hope you enjoy your editing as much as I do.


