
5 Ways to Speed Up Your Lightroom Classic CC Workflow with Dustin Lucas
Want more information on this article? Get access to video content and additional supporting images. Launch the November 2017 issue of the magazine by logging in or signing up for a free account. Shutter Magazine is the industry’s leading professional photography magazine.
After shooting a wedding or any eight-hour-plus event, I dread spending countless hours working in Lightroom. Lightroom can be a huge time suck: waiting for my memory cards to ingest, waiting for each Raw to load for culling, waiting for adjustments to render in the Develop module. Are you struggling with the same post-shoot stress? If so, this article will forever free up these worries and let you get to work—at the pace of your computer’s speed, of course.
My first instinct when Lightroom is acting up is to check my Adobe Creative Cloud app for an update. Lo and behold, I discovered multiple updates and a brand-new version of Lightroom just after I filed this story, so I had to go back in and add fresh content.
Welcome to Lightroom Classic CC
The first thing I noticed was two versions of Lightroom listed in my Creative Cloud app. Install Lightroom CC or Update Lightroom Classic CC? Do not install Lightroom CC if you intend to keep older versions of Lightroom installed. Instead, click on the Update All option. In the pop-up box, click the arrow next to Advanced Options and uncheck the box next to Remove Old Versions.
For now, we will skip installing the new Lightroom CC app since I will be discussing this in a future article. Wait for everything to update, and we’re ready to go.
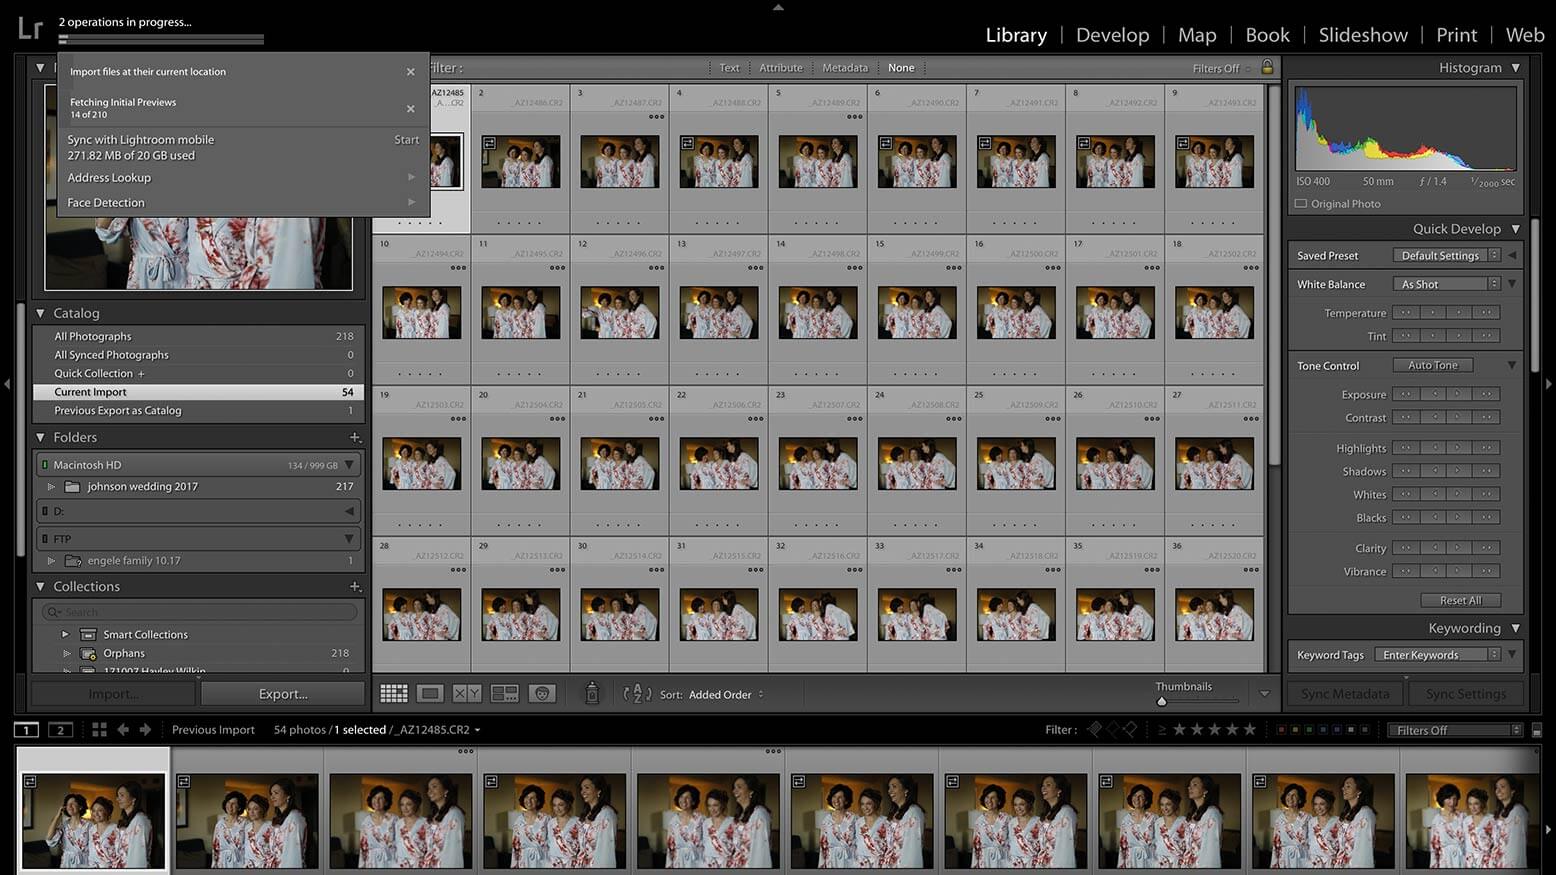
Open our newly updated Lightroom Classic CC and get to work. Luckily, the import module has not changed, and it all starts with building Previews. These are the lifeline for preparing your catalog to work in. As many of you know, culling in Lightroom can seem like the dumbest choice an editor can make. I will set you up with the right workflow to make this as painless as possible. From Previews to Preferences, these simple settings can make all the difference, whether you are on a $500 or $5,000 machine. Starting with your ducks in a row is essential to saving you seconds of load time per image, which adds up when you have thousands of images to go through. Managing your time in Lightroom means managing your workspace and multiplying your efficiency.
Let’s jump right in to prepping your catalog with Previews.
1. Prep With Previews
Regardless of where you ingest your files, you should back up Raws to an external offsite source. It depends on your computer’s power, choice of port, hard-drive speed and ports, Internet speed for network and offsite drives, etc. I don’t have a magical solution to shave time during memory card ingest other than to invest in at least USB 3.0/3.1 devices and for Mac users to save via Thunderbolt. You should be working on fast drives while importing into Lightroom.
Let’s move on to some key choices to make when importing images into your main catalog.
Let’s assume you work in a single master or main catalog for all the work you shoot this year. (I will come back to catalog management later in the article.) When you open the Import module, you’ll notice a panel called File Handling on the right-hand side. Drop this panel down, and we have Build Previews as our first option. When I started working in Lightroom, I had no clue what these options meant, and was always told to choose Minimal to save time importing the images into Lightroom. That option is great if you’ve preselected your images and do not need to edit in the Develop module. Why even bring them into Lightroom, not the case for most of us using Lightroom.
My standard process for importing images into Lightroom requires me to go have a coffee or a beer while I wait. Follow these steps to save time: Choose 1:1 in the Build Previews dropdown options and check the box next to Build Smart Previews. These two options are crucial for fast culling and heavy-handed editing. Your images will import and automatically build 1:1 and Smart Previews.
The reasons you should do this are simple. When you cull, you need to zoom into actual pixels (1:1) to check that your subjects are tack-sharp. If you are working on a slower machine, Smart Previews helps with performance and portability, and in the end, you get speed, speed, speed. To give you an idea of how long this process takes, I was able to instantly import 10 Canon Raw files from my MacBook Pro SSD and wait 20 seconds for the Smart Previews and 40 seconds for the 1:1 Previews to build simultaneously. That’s pushing almost six hours to wait on 5,000 files. Once this is done, you’re ready to get set up to select.
Why not use Photo Mechanic before importing into Lightroom and save all the hassle? Well, Lightroom Classic CC frees you from having to wait hours to start culling. Instead of building 1:1 and Smart Previews when importing your images, choose Embedded & Sidecar. Import and preview building takes only 30 minutes for 5,299 Canon 5D Mark IV Raw files. I love that you can start selecting as it’s building because it builds three per second. A job like this would take me two to three hours to select the best of the best.
Here is a crucial point about using the Embedded & Sidecar previews: They may look different than your Raw due to in-camera settings. They are not as detailed and sharp as 1:1 Previews, and when you are ready to edit in the Develop module, you have to generate a standard preview.
Let’s jump into selecting from Smart and 1:1 Previews to see the difference in my workflow.
2. Set Up for Selection
I live by the workflow to create separate catalogs per shoot when I am ready to start working on the images. I name these working catalogs and save them directly on my local SSD to maximize performance. Here is how to do it. Select all the Raw files in the folder, navigate to the menu bar and choose File < Export as Catalog. In the dialog box, you have three things to do: Name the catalog, choose the destination and include files/previews. Make things simple and organized by naming your catalog like this: “date_clientname_EVENTNAME.” Store it in a new folder named “YEAR_Working.” It should look something like this when you set up your file management structure.
For the check box options below, you’ll notice the default options automatically have “Export selected photos only,” “Export negative files” and “Include available previews.” We need to check everything except “Export negative files.” Exporting negative files is useful if you want to make copies of the original Raw/JPEG files and store them in the new location with the Lightroom catalog and previews. You’ll notice that we can Build Smart Previews at this stage, which is nice if you are missing them or forgot to build them at import. Not to worry. This will correct that for you, but you cannot build 1:1 Previews while exporting as a catalog. This has to happen before or after, and, since we built both types of previews at import, this export-as-catalog process is super quick so we can get started culling.
Let’s open the working catalog and begin culling this event. You’ll notice that cycling through image-to-image is fast when we are zoomed to fit. Even when we zoom to 1:1, there isn’t that pesky “Loading” message where our image preview pixelates. I do notice some lag when we cycle faster and get farther into the catalog. To make sure we optimize our catalog, we’ll check out some catalog and general Lightroom preferences, but first let’s compare the 1:1 to embedded previews on quality and speed.
Right out of the gate, my 1:1 Previews lack tonal density and look unprocessed, while the embedded previews look saturated and have more tonal density. This is to be expected as I am comparing a Raw to an in-camera processed JPEG. It’s interesting that the embedded JPEG has minimal artifacts and pixilation, which comes into play when zooming into an image during selection. There is little lag with the embedded previews, but is that enough for you to make the transition? You have ask yourself if you want to save time up front or at the end.
You can jump into culling during import from embedded previews, but you have to generate standard and 1:1 Previews when going into Develop to edit. That saves you time upfront. If you want to select, edit and export consecutively, stick with Smart and 1:1 Previews build at import. It’s your workflow, choose previews wisely.
3. Preferences Equal Performance
Continuing from my Smart and 1:1 Preview workflow, open your catalog preferences from the menu bar and choose Lightroom < Catalog settings; or hold Option and Command while striking the comma key. These settings allow us to determine how our catalog processes certain functions in the background while we work in Lightroom. Mind you, these default settings can hurt your performance and are reset back to defaults whenever you make a new catalog and/or export as a catalog. Let’s go into the File Handling tab and review our options. Here you’ll see that Standard Previews are mentioned, which we haven’t yet discussed.
Standard Previews are the automatically generated previews that Lightroom constantly is running in the background until all changes have been applied to the image previews. That doesn’t sound bad—we don’t have to do anything to generate them. Any processes running in the background can reduce performance, so it’s important that we adjust the size and quality. First, you need to determine the long-edge dimensions of your monitor. My Retina screen is set to 1920×1200, so we need to choose an option right around 1920. That requires me to click on Auto (3840px) and set it to 2,048 pixels. Almost half the size needs to be generated since we built 1:1 to handle zooming into our image.
As for the Standard Preview quality setting, I always go with low because these are always running in the background and you simply do not need to waste performance here. The main thing you need to remember is that whenever changes are made to the image in the Develop module, they have to be automatically generated. So if you sync multiple images at once and continue moving through the catalog, you want there to be as little lag as possible. Automatically Discard 1:1 Previews usually stays at the default setting of After 30 Days. The last setting I make sure to uncheck is in the Metadata tab: Automatically Write Changes Into XMP. This is another useless process that runs in the background and is hailed by backup fanatics.
Let’s move on to general Lightroom preferences, where we can start to make additional performance tweaks. In the same menu bar dropdown, choose Preferences or hold Command and strike the comma key. You’ll notice there is a performance tab for everything we need. When Lightroom implemented this tab in its past updates, the issues surrounding it were terrible. I remember having one of the early 5K iMacs that ran so slow I had to boot up my older iMac (non-thinline). Even unchecking the Use Graphics Processor didn’t make much of a difference when cycling between images trying to make basic corrections. This feature supposedly got better and is geared more for Retina, 4K and 5K monitors, but I have yet to receive any increased speed from keeping it checked. As far as I’m concerned, it will be forever unchecked.
Next, increase Camera Raw Cache Settings from 1 to 100GB if you have the disk space. Check the box for the Use Smart Previews option for the Develop module. This is what was promised over and over again, and it has finally been rolled out as an enhancement. I got the same efficiency out of Smart Previews because I knew I needed to disconnect from my originals. Keep this setting checked at all times so you can keep Raws connected, gain a performance boost and negate having to relink files to save XMPs. It’s a great update for Lightroom users…finally.
Another useful tip is to Optimize Catalog whenever you close it. This option can be checked in the backup catalog dialog box along with Test Integrity when backing up. To turn on the catalog backup pop-up box every time you close Lightroom, go back into Catalog settings in the General tab and choose Every Time Lightroom Exits as the Backup catalog setting. In the Backup catalog dialog box, you must choose an external location to back up to. If you are saving backups on your local drive, this is a Lightroom 101 mistake. Last but not least, check the Generate Previews in parallel option, which I leave at default settings.
4. Manage Your Catalog(s)
The biggest decision to make when you start working in Lightroom is to continue working from a single master or main catalog, typically a default titled “Lightroom Catalog” when you first open the program. Many take this approach and wonder why their Lightroom catalog runs really slow over time. It’s because you have hundreds of thousands of images in one place, requiring Lightroom to index files, generate previews and continually purge the Raw cache. Save yourself some time and aggravation from your main catalog getting used and abused over time.
If you create a separate working catalog per shoot or session, you can quickly cull and apply heavy develop settings without the massive slowdown. Once you are finished selecting and editing, you can import this working catalog back into your main, or what I call the archive, catalog. This is a similar process to Exporting as a Catalog. Open your main catalog and choose Import From Another Catalog. Select the working catalog file and wait for Lightroom to scan for duplicated images and changes made to the images. Once the next dialog box pops up, select all files and see if any new files were found; choose what to replace on the current files. I recommend replacing only the metadata and develop settings, and unchecking both options below this section.
In your main catalog, you will be making changes to your Raw files like renaming, custom ordering from capture time sync, exporting files and publishing to client proofing sites. Make final output changes in this catalog to keep everything organized. I also duplicate my Lightroom application to allow me the flexibility of keeping multiple catalogs open. This becomes very handy as I’m exporting files in the archive catalog and starting to select in another. It’s simple to duplicate: Go to your applications folder, right-click the Adobe Lightroom Classic CC icon and choose Duplicate. Now you can double-click it so it opens another copy of Lightroom. Save it to your dock. I’ve been able to keep three copies running at once without corruption. Be careful how many duplicates you run, which may affect reliability.
5. Multiply Your Efficiency
As you start to generate a laundry list of presets, be aware that your Lightroom catalog has to create previews for each image in the Navigation panel of the Develop module. Adobe recommends purging presets when you get into the thousands (since these can rack up fast if you constantly transfer presets from older versions of Lightroom) and updating the third-party ones you’ve purchased. It’s not a major concern for most, but this is useful for those preset hoarders out there.
Something I recently came across was how Adobe recommends the order of specific Develop settings to maximize accuracy and performance. If you touch up your images in Lightroom with the Spot Removal tool, this is best done before making any other Develop adjustments. I save any necessary pixel manipulation for Photoshop once I’m done in Lightroom. It is important to apply certain settings to your images globally before editing.
Lens correction is a common starting adjustment best applied prior to editing in the Basic panel for exposure and tone settings. Why is it so important? It changes the appearance of the image by correction distortion and vignette. If you prefer the vignette, this can be applied at the end and adjusted per lens. After making your Basic panel adjustments, apply Sharpening and Noise Reduction.
There is an awesome plugin called Bulk Develop Settings created by Jeffrey Friedl that allows you to apply bulk Develop settings with parameters based on ISO, exposure and shadow recovery values. This includes Luminance Noise Reduction, Color Noise Reduction, Sharpening Mask, Contrast and Clarity. This is worth checking out because of its ability to adjust in response to how you increase ISO, exposure and shadows recovery. All of these things will increase the noise in your images.
Final Thoughts
Taking the time to understand Lightroom by building Previews and changing Preferences can be the game-changer for your workflow. For some users, the lightning-fast capability to ingest and cull images right away with Embedded Previews might be their new favorite import option.
Lightroom has to create previews at some point—for others may as well build the bulk of them up front to prepare for selection and other tasks. Remember, every change you make to your images in Develop requires Lightroom to rebuild image Previews. Speed is something many Lightroom users seek, and many come to realize it’s way faster than Adobe Camera Raw, so they either deal with the workflow hang-ups or jump to another culling program. Hopefully the changes in Lightroom Classic CC keep your images organized all in one place.
Learn Lightroom and take the time to set up your workspace so you can finally save time editing.


