
A Post-Production Workflow for Same-Day Sales with Lori Poole
Many successful photographers will tell you that in-person sales (IPS) is the key to higher sales in the portrait business. Clients are never more excited about their images than the first time they see them. The in-person meeting allows the photographer to demonstrate the value of printed products, and to help the client choose product options that best suit their needs.
IPS = Race Car. Same Day Sales = NOS
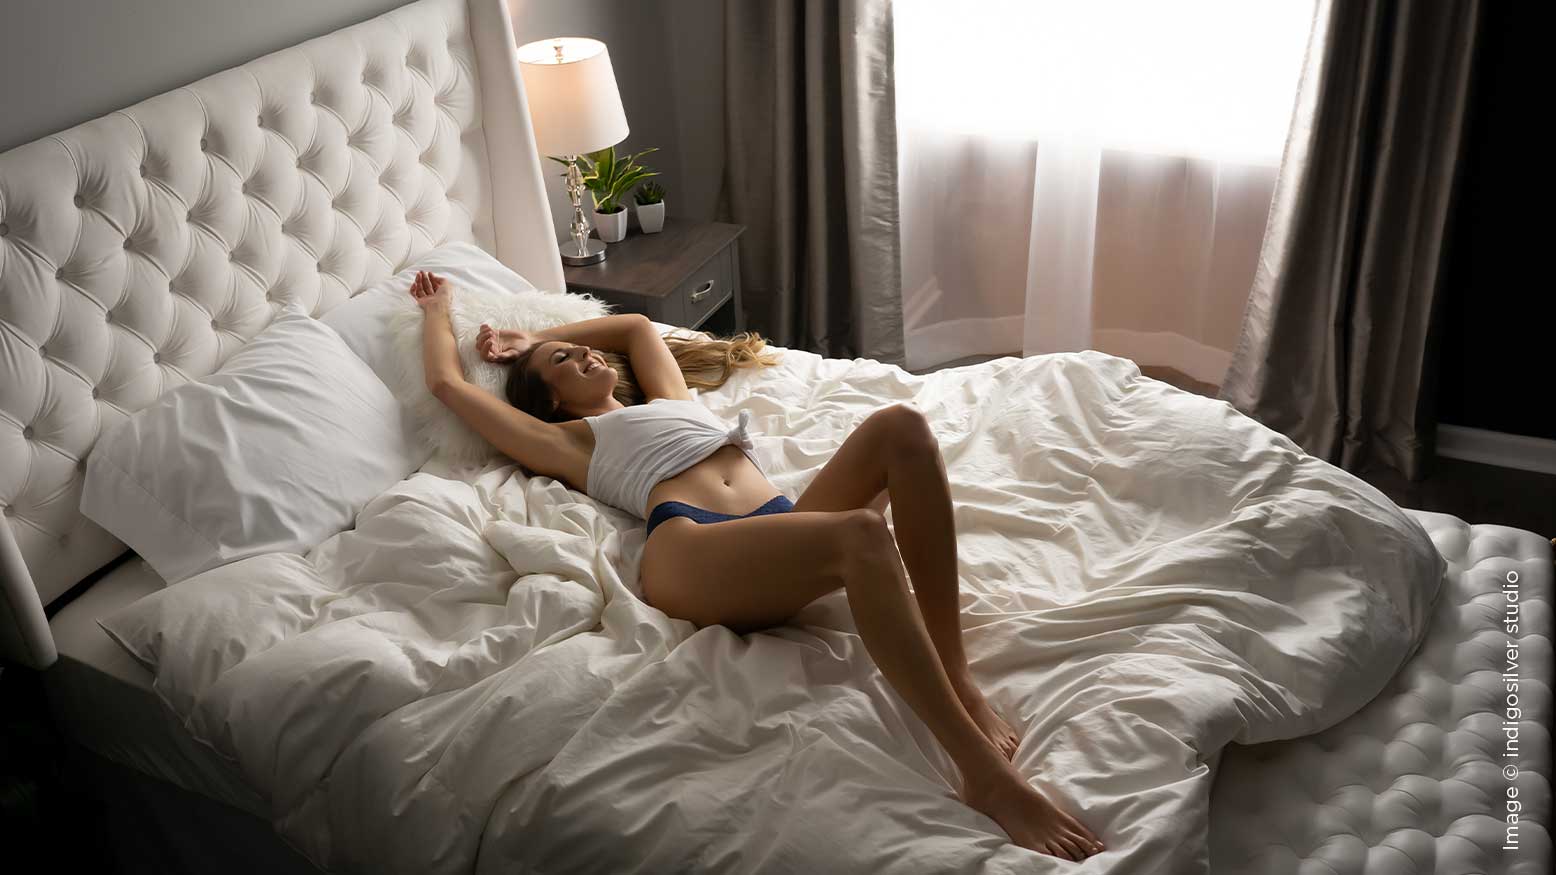
The success of IPS can be amplified, unlocking even bigger IPS averages, by conducting the sale on the same day as the portrait session. Last year, I switched from IPS that occurs a week or even a few days after the session to IPS the same day as the session. This instantly boosted my boudoir portrait sales by over $500, with no changes in my pricing. My theory is that it capitalizes even further on the excitement and the experience of the portrait session.
In addition to increased averages, same-day sales benefits you, the photographer, by keeping your workflow on track. Most of us creatives wait until the deadline to get anything done, so why not set your “download and edit” deadline to be right after the shoot? Let’s be honest, there’s no real reason you need two weeks to proof a set of images, other than the fact that life and work get in the way. So don’t let them. Get it done now. Keep your to-do list and your stress level to a minimum.
Same-day sales also improve the experience for your client. They give the client the near-instant gratification of seeing their images the same day they were created. They decrease the turnaround time between the shoot and the order delivery, which may even allow you to serve last-minute clients that your competitors turned away. They remove the requirement that your client come back to the studio for an additional appointment. All of this adds up to happy clients who will sing your praises and send you referrals.
Once I tell photographers all the benefits of same-day sales, the next question they ask is, “How does it work? How do you get the images ready so quickly?” It’s important to note that you do not need a team or an assistant to accomplish same-day sales. With the exception of hair and makeup styling (for which I subcontract a licensed hair and makeup artist), I complete this entire workflow on my own. If you do have an assistant, your same-day sales will be that much easier!
First, I’ll share what a typical shoot-and-sales day looks like, so you have a frame of reference for timing. Then I will share with you some tips for crushing a same-day sales workflow.
What Does a Typical Shoot/Sales Day Look Like?
Here’s what my boudoir session days look like:
9:00-11:00: Client in hair and makeup
11:00-1:00: Boudoir session
1:00-3:30: Client leaves for lunch. I download, cull & process, and prepare for IPS (and scarf down lunch at my desk)
3:30-5:00 Client returns for IPS
As you can see, I have a limited amount of time to process the images and get them ready for sales. For boudoir sessions, I do a minimal amount of Photoshop work that adds about 30 minutes to my workflow—essentially, using Liquify to smooth bulges in the skin created by the elastic in lingerie. Non-boudoir sessions, therefore, can actually be completed in less time than shown above. Here are my top five tips for speeding up your workflow for same-day sales.
1. Get It Right In Camera
I know you’ve heard this soapbox speech before. But it’s important to note that same-day sales are probably not a realistic option for photographers who require a lot of Photoshop to produce their final product. For example, fantasy composites are not a good candidate for same-day sales. The obvious aside, a quick workflow depends on solid photography. That means that the photographer should be paying attention to light quality, exposure, posing, and background distractions before clicking the shutter.
Technology can be your friend here. If updating your gear allows you to achieve a more consistent exposure, if it keeps you from blowing out your highlights due to increased dynamic range, or if eye-focus allows you to nail more shots, it’s worth considering an upgrade.
Whether from improved photographic skills or upgraded gear, stronger images in camera will require less post-production, thus making same-day sales easier to achieve.
2. Make Use of Import Presets
The more you can automate your post-production workflow, the faster it will be.
As you grow to define and create your style, you’ll likely apply some of the same edits to every image to achieve that style. For example, for my editing style, I apply the following stylistic adjustments to every image: White Balance, Tone Curve, Vignette, Noise Removal, and Sharpen. Since these adjustments are applied to every image, I can actually create an import preset to apply them to the images as they are imported into Lightroom. This drastically reduces my processing time.
The remaining tweaks for correcting the image, such as Exposure, Highlights, Shadows, and Crop, will be hand-adjusted per image after the images are culled. However, even applying the stylistic adjustments upon import saves time.
To figure out which adjustments you can apply upon import to achieve your signature style, start with a pen and paper. For the next several shoots, write down every adjustment you make. Do you see any patterns? Any adjustments that you are doing consistently should be considered for an import preset. While this may seem like a hassle to take notes while you edit, taking the time to do this now will save you time on every shoot in the future.
3. Cull In, Not Out
Once your images are imported (using your preset, of course), the next step is to cull. Do not do any further correctional or stylistic adjustments until your cull is complete. Jumping back and forth between culling and editing slows down both processes.
Many photographers struggle with indecisiveness while culling. They are hesitant to make image choices for their clients. It’s important to remember that you are the artist, and effective sales rely on your ability to cull shrewdly, decisively and quickly.
Here is my favorite technique for efficient culling: In Grid mode, select all images that are similar in pose and crop. Switch to Survey mode (keyboard shortcut “N”), to view just those images on the screen. Mark only the best one to three images with a Pick flag (“P”). Revert to Grid mode, then move on to the next set. This process of keeping only the best images is referred to as “culling in.” This is in contrast to rejecting the weakest images one by one until you run out of reasons to keep rejecting (“culling out”). Because culling in requires only one to three decisions, it is much faster and more decisive than culling out. You’ll also find that your entire proof set becomes stronger when you keep fewer, but better, images.
Continue culling until you finish the set and have reached your target number of proofs. Then proceed to apply any final corrections in exposure or crop.
4. Skin-Retouching Filter
At this point, your images should be proof-quality, and ready to show your client. As a matter of fact, if you would like to reduce your post-processing time and get your client back sooner, you can skip this tip altogether.
I prefer to put an extra bit of polish on my images, particularly for boudoir, when I know clients can be extra critical of themselves. This finishing touch can be provided by a skin-retouching filter to even out skin tone and smooth skin texture. I run the Imagenomic Portraiture plugin for Lightroom as a batch on my entire proof set. This process can take 20-30 minutes when run at the highest quality. However, the software runs unattended once started, which allows me a quick break to have lunch at my desk. The resulting images not only make a better first impression during IPS, but they also reduce my retouching time once the order has been placed.
5. Repeat After Me: No Photoshop
OK, I know, I already admitted that I spend about 20 minutes doing a quick Liquify as needed for lingerie elastic in boudoir portraits. It’s a special exception, one I don’t make for any other form of photography. What I do not do is a full retouch. Wrinkles, blemishes and other flaws are all left alone for same-day sales. First, there simply isn’t time to fully retouch your entire proof set if you’re doing same-day sales. And second, time is money. Even if you’re not doing same-day sales, it doesn’t make sense to retouch images the client isn’t going to buy.
I actually explain this to my clients at the beginning of each IPS: that the images have not yet been retouched, only color-corrected, and that that’s because it doesn’t make sense for me to devote that time to images they may not purchase. They understand. They say it makes sense. And I assure them that any image they order in a printed product will get the full retouch that they see in my portfolio. And then we begin the sales process.
An Efficient System for Same-Day Sales Success
As in all aspects of running a photography business, success relies on creating an efficient system. Get the images right in camera to reduce the need for post-production. Automate what you can. Use technology to your advantage. And find a system that is based on speed. Do all of these things, and you can easily shrink your post-production to a timeframe that allows you to conduct same-day sales.


