
Advanced Beauty Lighting with Michael Corsentino
Want more information on this article? Get access to video content and additional supporting images. Launch the November 2017 issue of the magazine by logging in or signing up for a free account. Shutter Magazine is the industry’s leading professional photography magazine.
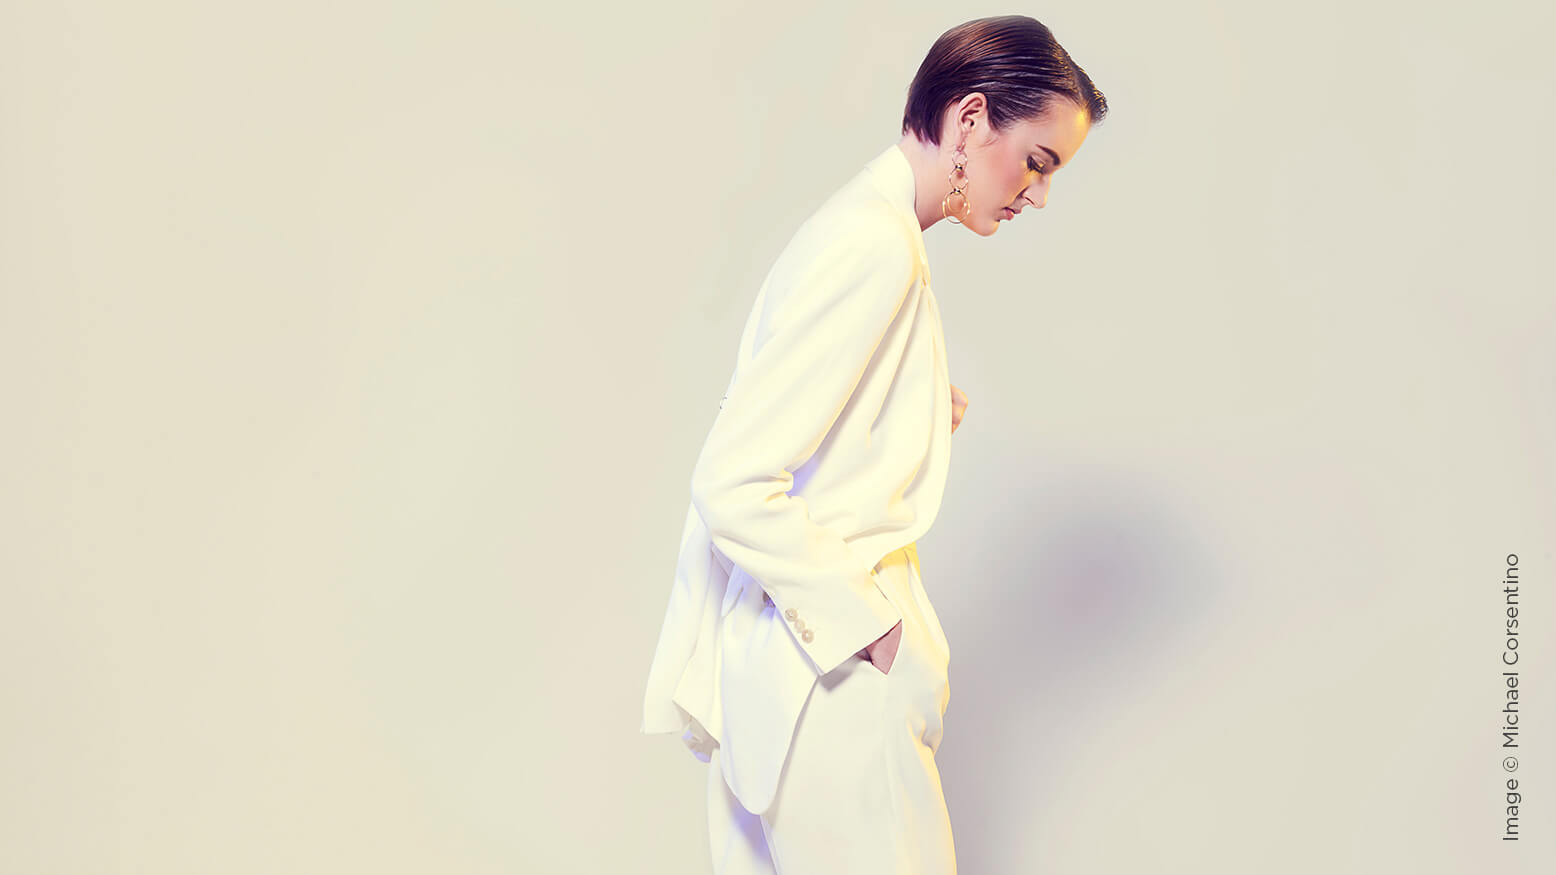
I covered the basics of beauty lighting several months ago. This month I take you on a deeper dive into beauty lighting. We’ll look at a more advanced setup I used recently to produce two killer looks for the same model.
Calling it advanced belies how simple and straightforward this setup of a key and multiple accent lights actually is. I call it advanced because anything outside the use of one light seems to be categorized that way, but don’t let the term intimidate you. Let’s start with the basics.
There are constants in beauty lighting: a strobe with a beauty dish acting as the keylight, a reflector or second strobe to fill in the shadows from the keylight, and classic clamshell lighting. Add a stellar creative team, additional accent lights to amp up the look and maybe some colored gels for that extra wow factor.
Keylight
My go-to keylight for beauty and lots of other jobs is a Profoto strobe paired with a Mola Softlights 22-inch Demi Beauty Dish, with or without its companion diffusion sock. I’ll throw on the sock when I want extra-soft light. Since the keylight for beauty lighting is used very close to the subject, a 500-watt/second strobe provides more than enough power to shoot at f16 and a 100 ISO setting. These are the settings I typically use. 100 ISO creates a nice clean file, and f16 delivers the front-to-back detail you need without any of the lens aberrations that you can get at smaller apertures.
The height and angle of the keylight are critical settings when determining the amount of catchlight you want in your model’s eyes. Using the strobe’s modeling light makes it easy to find the sweet spot for the keylight. You’ll want the key directly in front of and above your model, angled down approximately 45 degrees.
Fill Light
Clamshell lighting employs a fill light source below the keylight to open up shadows cast from above. This can be another strobe modified with a softbox or octabank, or a white or silver reflector. I chose a white reflector because I wanted a softer look than a second strobe would provide. I also used an adjustable three-panel Lastolite Triflector, one of my current favorite tools for clamshell fill light.
Accent Lights
Adding the three accent lights and gels is the X-factor that makes these images pop. I placed one strobe on either side of the model and one overhead to create a more interesting, layered and polished effect. The keylight and fill reflector go a long way, but they can take an image only so far. The strobes take the image to a new level. The strobes used for the left and right accent lights were the Profoto 500-watt/second B1 airheads, and the overhead hair light was a 400-watt/second Elinchrom Quadra strobe powered by a Quadra power pack. I like to use these super-lightweight strobes for overhead accent lighting because they’re easy to use on boom stands. All the lights were triggered when metering and shooting using PocketWizard Plus III radios.
Accent Light Modifiers
For accent-light modifiers, you’re limited only by your imagination. There are a few tried and true pieces I use. For soft accents, try small to medium strip, octa and softboxes. To create harder light with increased contrast and a tighter beam of light, try small silver reflectors. You can add a honeycomb grid spot to the front of the reflector to further constrain the light to a specific area. The same is true for softboxes and other tools, except these grids, known as egg crate grids, are made from soft fabric.
For the two looks pictured here, I used a 7-inch silver reflector on each of the two accent lights positioned on either side of the model. This produced a specular (contrasty) light with a fairly confined spread and a directional beam of light. I’m also using a strobe fitted with a small square softbox overhead for a softer hair light accent on top of the model’s head.
It’s fine to mix both hard and soft qualities of light in the same image. There are no rules. Let taste and creativity be your guide.
Working With Gels
Gels add drama and mood to beauty images, from subtle to bold statements. Here I’ve opted for a soft and subtle look. I’m using gels to add color and tone to the accent lights. They can also be used to add color to the light illuminating the background.
I choose gel colors that complement each other and the model, wardrobe and accessories. I think about the mood I want to create, and choose colors that support that vision. These can be primary or secondary complementary colors. You can also think in terms of shadows and highlights, and choose different colored gels for each.
For these images, I used two 12×12 gels in the color of 15 Deep Straw (for the light, warm color), and 4990 CalColor Lavender (for the darker blue/purple color) from Roscoe’s Digital After Dark and CalColor kits, respectively. I placed one of the gels on each of the two accent lights positioned on the sides of the model. We taped them to the front of the 7-inch reflectors being used to modify the light from each strobe.
Beauty Lighting for Full-Figure Captures
Switching to full-figure captures for both looks was easy with a few tweaks. I removed the Triflector fill reflector and relied on the white floor in my studio for fill, moved the keylight back and to the side and added a strobe with a strip box under it to add fill light on the figure. Even when I’m shooting beauty, I like to add variety and options for editorial layouts, and so my stylist can use them in her portfolio. Call it beauty/fashion.
Post-Processing for Beauty Images
With beauty images, the quality of the retouching is paramount. You’ll likely spend more time retouching beauty images than any other type of photography. I’m a fan of Retouching Academy’s Beauty Retouching Panel Photoshop plugin. This useful tool handles much of the heavy lifting and repetitive tasks needed for professional retouching.
When I’m working with gels, there are typically a few additional steps I take in post to finesse the colors. These involve the application of masked Hue and Saturation Adjustment Layers, which I use to paint in increased localized color saturation for the gel colors.


