
Better Sales Through Variation with Scott Detweiler
Most of the articles I see on increasing sales revolve around pricing strategies, approaches to marketing and, especially, in-person sales because of their immediate and considerable impact. But these articles don’t get to the heart of why we have trouble increasing sales: There might not be enough sellable images.
Consider a random sequence of 10 photos from one of your recent sessions. Open those files. How many of those 10 pictures are genuinely unique? If Jimmy is smiling in one (and in focus), how many similar photos do we require? We need to present the client some options for each pose and expression, but we must also learn not to belabor a pose and know when it is time to move on. As you gain experience, you will find that you know when you have nailed a shot with a few options and need to move along to the next major scene. In collections or packages where there is a time limit or a specific number of outfits, we want to end the day with as many unique permutations as possible in the shortest reasonable timeframe.
Let’s define what I mean by a “sellable image.” That is an image that has no other competition in the sales presentation, and purchasing it will not cause another photo that is “close” to be thrown out for a slightly different expression or pose. Hypothetically, if your entire sales presentation is 100 percent sellable images, you could sell every single picture, and that would probably set some sales records. Unfortunately, subtle variation will need to be part of each session, if only to catch Mr. Angry Eyes at his best when he accidentally smiles, but we also need to show off his epic and well-known RBF. Assume from here on out that we know we need a few expressions in each scene, but we are going to limit ourselves to just a few shots.
Keep the Options in Check
All too often, I see photographers plant themselves across from the client and bang on the shutter button as the client sits there making minor adjusments. Standing in place and shooting happens more often with a backdrop, as folks tend to feel limited and don’t ponder how to make more variety. Each of those poses might not be much different from the other, and in a sales session, it will become apparent as a few prints seem to cover the vast majority of the image diversity.
Time is of the essence, and if you drive your sales packages based on session duration, you are fighting against the clock to get as many workable, sellable images as quickly as possible. Luckily, there are a few simple strategies you can follow to increase your unique image count and capitalize on that shiny new pricing folio you are handing the client.
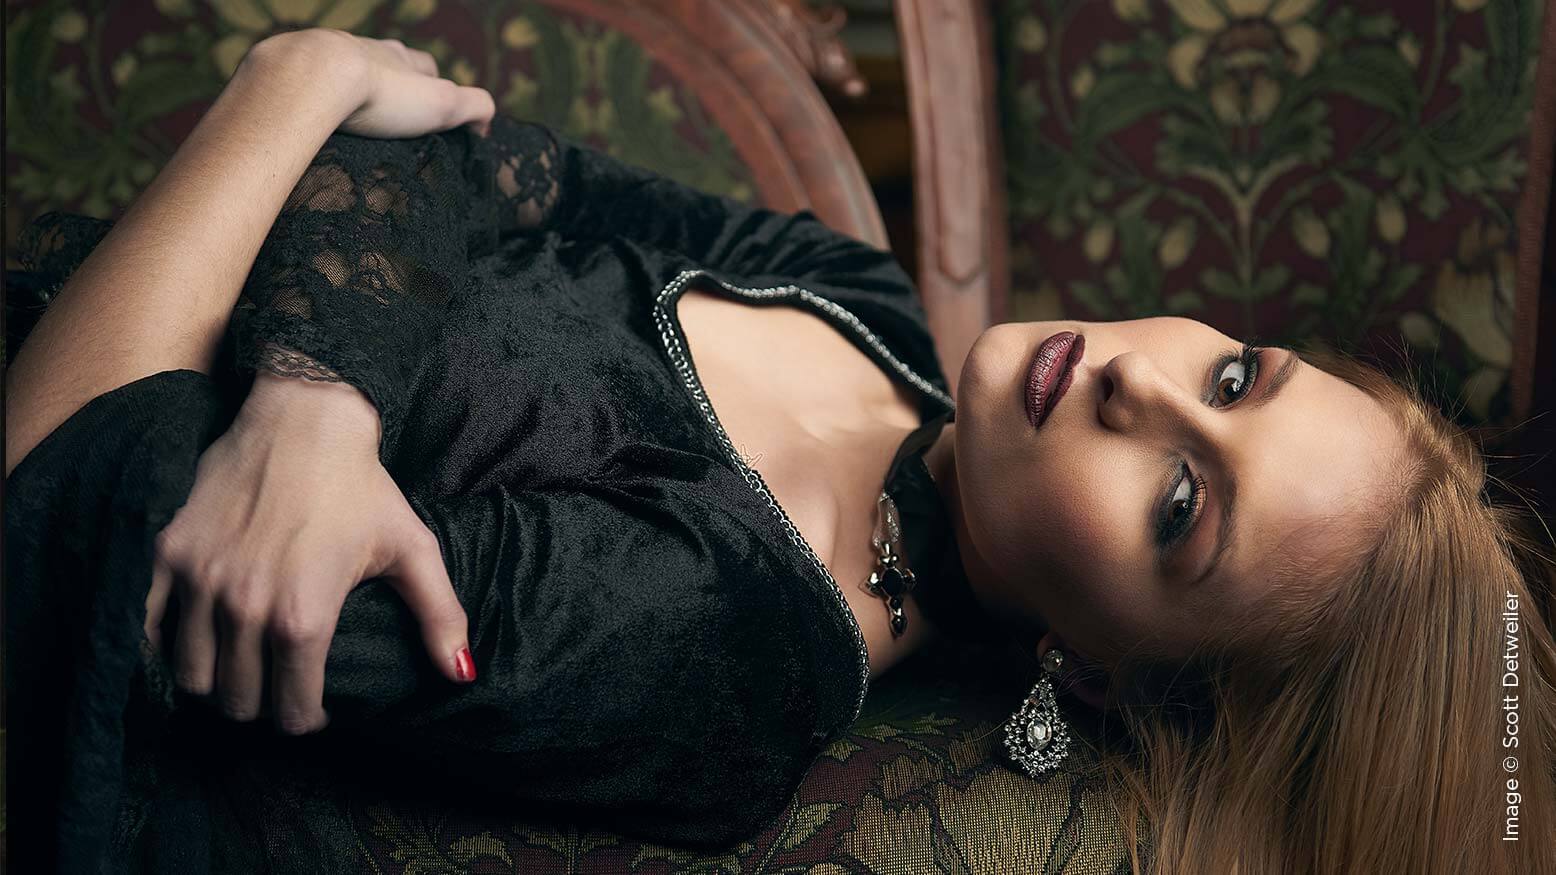
Creating Variety
In an ideal universe, we want to get as many sellable images in the shortest amount of time. Moving to a new set and changing clothes takes a while and can eat into the session time. What if we could get unique shots without those significant changes?
Imagine a situation where you have Jimmy the high school senior in his favorite red T-shirt. How many unique images of Jimmy can you devise in 10 frames and in the shortest amount of time? Most of us can do this by moving him around the park. Here is Jimmy sitting on the grass, leaning on a tree, climbing another tree, reading a book. All of these are great and unique, but they also take a long time. Can we increase the number of sellable unique images in other ways, or combine all of them to create a pile of sellable photos?
The Z
The Z pattern is an exercise that is typically performed outside the studio. With a paper sweep or backdrop, it doesn’t work as well, but can be done if you are mindful of the edge of your paper and you remember you can rotate the model (funny how often people forget this!).
Start with your camera in landscape and take a shot with the subject in a scene that features the landscape or building where the model is seated. For example, if they are standing next to the St. Louis Arch, your shot would encompass that structure or a large part of it. Next, move to the right (or left) and zoom in, catching a three-quarter shot of the client. By moving to the side, we are changing the background of the photo. The next shot is another few steps to the right; now you are zoomed into something like a headshot. We can repeat this process, but changing our camera to portrait orientation and framing the images differently than on the first series of shots.
In another example, imagine shooting a high school senior on location on a farm, a typical scene here in Wisconsin. You can capture a bunch of unique sellable pics with a minor positional shift from a field in the background to one with an abandoned barn to one where the sun is over his shoulder. These can all be captured quickly depending on where you decide to set up your shot. By thinking ahead and knowing you will want to aim for a unique background in your images, you can find the optimal places to shoot.
I call it a “Z” because I might also add in some low-angle shots, where I am shooting up at the client. This angle, otherwise known as a “hero shot,” is pretty decent when combined with power poses. It’s excellent for executives. Or, if you have the kind of wicked clouds often associated with sirens and people running to storm cellars, get some low angles to catch that incoming storm while holding onto your light stand with an iron grip.
We should end up with at least three landscape and three portrait images, all of which are sellable, and all shot in well under a minute. If you are in a place with 360 degrees of freedom, you could repeat this process until you get dizzy. I also tend to work in a few shots that have the sun behind the client, which often results in a lovely silhouette or one that adds interest when combined with a strobe. Don’t forget some options with a macro, which are beautiful choices for boudoir, brides and newborns. I repeat this Z series for every new location, and even in the same area if there are plentiful options available. I do this for most of my sessions, and it works amazingly well for boudoir.
Working Both Sides of the Light
When looking at a typical portrait, we have learned to identify some basic lighting patterns that should fall on the face. The split, butterfly, loop and Rembrandt are common and pleasing on human faces. If you don’t know these terms, now is a perfect time to look them up (or catch a portrait lighting class at ShutterFest).
Each lighting pattern offers a very different view of the same face. And each pattern also has broad and short versions. For example, we can shoot the Rembrandt lighting pattern from the lit cheek (the broad side) or the one in shadow with just the triangle of light toward us (the short or narrow side). Both work, but one is much moodier than the other. The key here is that they both look incredibly different and only require us to move to the opposite side of the client. If you are working the Z series, you will end up with a variety of both.
Not all clients enjoy the narrow/short side of the light, but I have seen sales soar because clients love it. This is especially true in boudoir and newborns. For newborns, the narrow side is well suited for black-and-white macro shots of lips and toes. The light doesn’t need to move, and we don’t have to wrestle a sleeping baby; we can just get off our butt and move to the narrow side of the set.
The client doesn’t need to be facing the camera in every shot. Every so often, I find myself shooting the back of the client. I have sold large prints of clients walking down paths with their dog and other poetic images that don’t even show their face. Think of them like book covers, and realize these are potential sales you might have been overlooking. Making an easy artistic choice for such a huge difference should be low-hanging fruit for image variety.
Planning your shooting in this way can easily double your total sellable images, which should have a direct impact on the final number at the bottom of the client invoice. Shoot for as much possible variety as you can without moving, and you can increase your sellable images without increasing your session times.


