
Branch Out With Beauty Retouching in ON1 Photo RAW 2018 with Dustin Lucas
Shooting and editing Raw files is a major part of my workflow. Editing in a Raw processor is a must for me, and I am always trying new programs from software companies that are always seeking the edge with new capabilities. From a beauty retouching perspective, there has always been such a dependency on Photoshop’s layers. Working in Lightroom, the closest thing I get to layers are local adjustment brushes and editing pins. These lack in skin retouching, requiring me to export the Raw file to another program just to smooth skin.
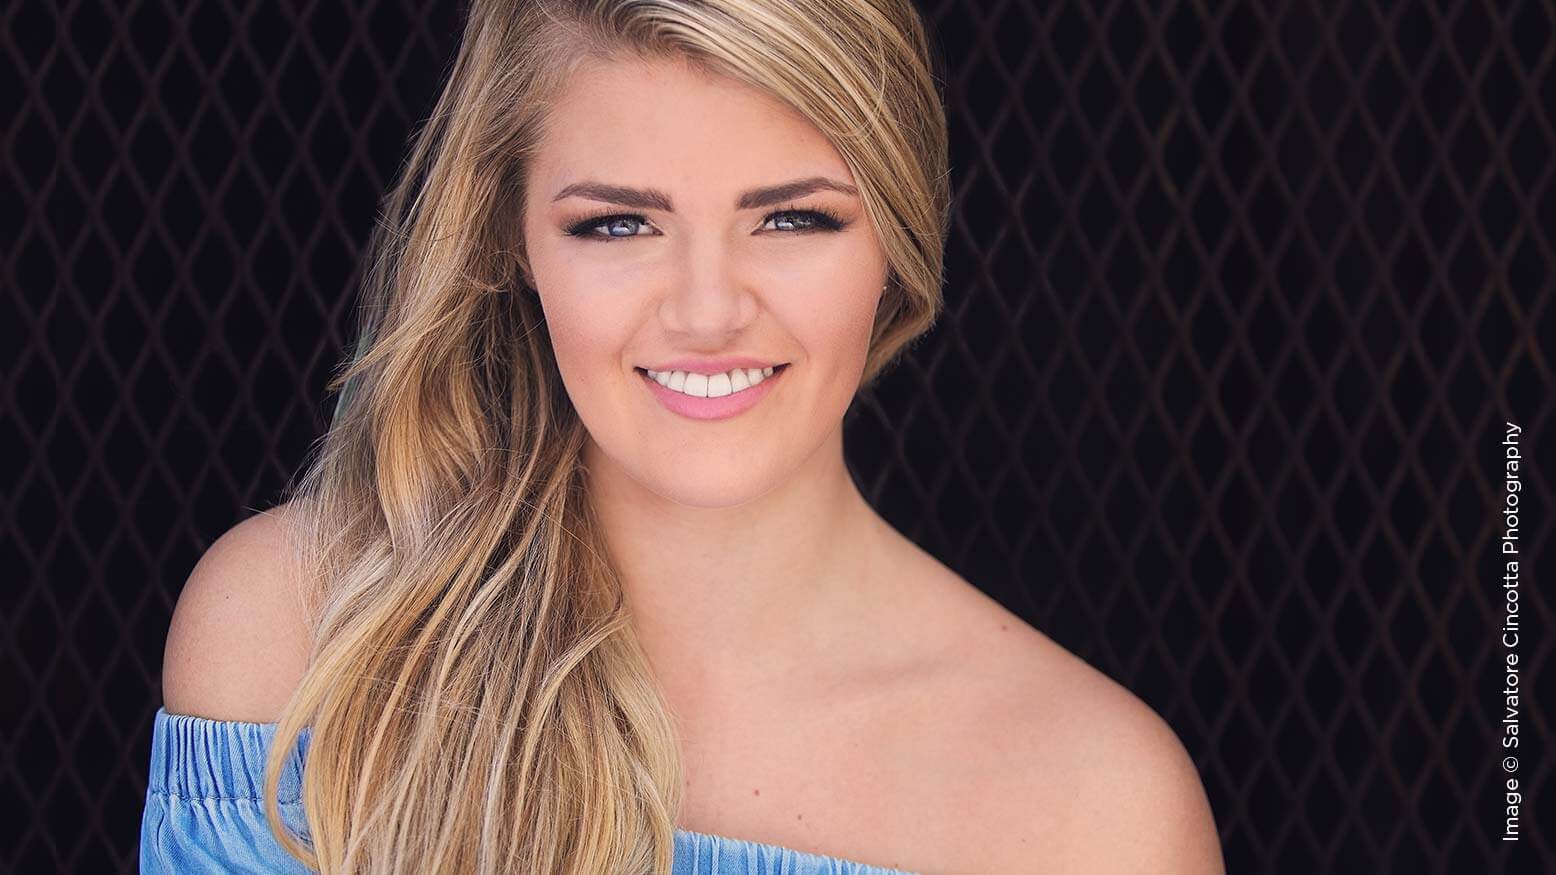
On1 Photo RAW offers a nondestructive Raw processing alternative for retouching.
I love On1 RAW’s ability to retouch skin directly on my Raw files. I no longer have to export into Portraiture or Photoshop right away to clean up skin. I can also layer multiple adjustments and even mask in the effects to fine-tune things.
Basic Toning in ON1 Develop
First things first, I need to adjust my Raw image to get a little more dynamic range for the skin tones. Navigate to the image we want to edit in Browse, highlight the file and click Develop from the right side panel. Begin adjusting the image to increase density with the white and black points. For this type of adjustment, I need to use Histogram and Show Clipping. At the top of the right side tool panel, select Levels to display the Histogram and then hold Alt while striking the J key for Show Clipping.
As we can see, this Raw portrait is quite flat, meaning it lacks density. Lifting the whites and lowering blacks until we see some clipping with the red overlay gives us a solid total image density. This is a bad direction for skin tones for this type of close-up portrait. Instead, let’s use the Midtones slider to slightly brighten her skin without adding blotchiness. This tool is useful for skin tones in cases where we are evenly lit and just need to boost the midtones.
Lower the black point slider to bring back some depth, but use caution—her eyes will be affected heavily by this adjustment. As a final tonal adjustment, we can add some whites to give her skin luminosity. I would stay away from Exposure in this case because it shifts too many areas of the image. If the image was underexposed in totality, use the exposure slider to compensate.
Basic Color in ON1 Develop
Color is so important here. We may fall short if we only adjust for skin tones with Temperature and Tint. Let’s start by looking for a neutral color in the background with the Color Picker tool. Clicking the background makes the image way too cool and purple, which is not going to be useful. Instead, stick with the As Shot white balance to start with, and then use the Color Adjustment tool, which is similar to the HSL panel in Lightroom.
In addition to separating colors to adjust hue, saturation and luminance, we can use the Range slider to increase or decrease this effect based on color range. This is useful if your subject’s skin tone matches something in the background; otherwise, I would keep it at 0. The Color Adjustment picker falls short when it’s used to adjust a single color versus multiple colors for skin tone adjustments. The Target Adjustment tool in Lightroom can pull reds, oranges and even yellows when you click on the skin..
At the end of the day, we want to make sure unwanted colorcasts are removed and the skin retains attractive levels of saturation and luminance. Make sure you are working in a calibrated environment to adjust for this. If you rely solely on predetermined settings or straight daylight balance (5,000 to 5,500K), adjust for reflective colorcasts on the subject’s face. This becomes more obvious when your subject is posed facing a red brick wall or sitting on green grass.
Purity is another useful color tool in dropping saturation in larger tonal groups that are broken down into highlights or shadows. Drag this slider to the right to desaturate the color ranges. Once we have the skin tones dialed in, we can move into the Skin Retouching tool.
Skin Retouching Tool
In Develop, add the Skin Retouching tool to adjust this effect on the entire image. At the default settings, you will notice the image shifts slightly warmer, with more red/magenta tints; it’s also softer and has less midtone contrast. Zooming in at 1:1 pixels, or 100%, we can see the major changes by toggling the “before” Preview by striking the “\” key.
Let’s dive into the sliders and how we can use them here. First, let’s look at the Blemishes slider.
I find that the blemishes slider is more distracting to skin when used above 50 because it softens lines rather than removing blemishes like the Healing brush. If we leave this at 40, we can move to smoothing, which is the most common feature here. This tool starts at 20; moving it to the right makes the subject’s skin soft and unrealistic. Remember, when retouching skin, you should be subtle with these sorts of effects. You want people to look like themselves.
I like how the Shine tool fills in brighter, less saturated areas with skin-toned recovery. It works like Highlight Recovery, except it blends color tones rather than turning white tones to gray. This image does not distract with shiny spots, but to even out the lighting, I like to add a shine value of between 25 and 50.
Evenness is an interesting tool. It acts as a split-hue adjustment for the skin and shadows. This slider simultaneously reduces red blotchy skin tones and green casts in the shadows. I assume this tool was intended for images white-balanced toward green tint to reduce redness of the skin.
It’s challenging working with these adjustments because they are being applied to the entire image. Use the color range tool to select the desired skin tones and adjust the range in which this effect is applied in the image. My major issue is that the background gets softened as well as her hair. That is why we need to add layers and move into the Effects panel. From there, we can start to brush in the skin and reduce the risk of softening those aspects of the images meant to stay sharp.
Once we are in the Effects panel, we can click Add Filter and choose Skin Retouching. You’ll notice the default settings are applied. For now, we will focus on masking. To access the mask option, click the box to the left of Skin Retouching in the panel. You’ll notice familiar sliders like Opacity and Feather. Density is an interesting tool that allows us to mask out areas slowly for a more balanced edit. To start working our mask, click the View option. It’s simple to adjust skin tone masking with the Color Range tool. By moving the slider to the right, we restrict the range of the colors kept.
Now strike the B key to access the Mask brush and strike the X key to switch the mode to Paint Out. Once we get to a solid point, click on View to start fine-tuning the edge of the skin where it meets the hair. Once the settings are to my liking, I need to add Sharpening back into this image; this can usually be accomplished by lifting the Amount slider in Develop. You can see the difference masking makes in these two previews.
Attention to Detail
When we move back into Develop in the Details panel, we see Sharpening and Noise Reduction. In the Details panel, use Sharpening in a similar way you would when applying Input Sharpening in Photoshop, driven mostly by UnSharp Mask. I tend to add more detail here versus applying other types of sharpening in the Effects tool. I set this to 100 and apply a subtle amount of noise reduction because this image was properly exposed for and shot at a low ISO of 100.
If we need more sharpening, we can’t lift this any higher, and I do not want to add structure because we just softened the skin. Another option is to go back into the Effects panel, choose Add Filter and then the Sharpening filter. We have three options for sharpening: High Pass, Progressive and UnSharp Mask. I love that I can hover my mouse over presets to see the effects before choosing them. This is a must-have feature, and you’ll notice a few include “portrait” in their name. Use the skin slider to protect these tones by dragging it to the right. It makes it easy to sharpen the details while keeping the skin virtually untouched.
We can’t forget about the hair, eyes and teeth, which are just as essential as the skin. Go back into Develop and choose the Local Adjustment tab. Click on Add Layer, click More to choose a preset and then let’s choose Toothbrush. We can already guess where to use this adjustment: The effect of painting on the teeth is a bit too much. Lower this to .5 and rename the layer “Teeth-Adjustment.”
Now for the lips. Click on Add Layer to slightly brighten and add saturation to the lips once we’ve painted our mask. The same goes for the hair: Layer to add some brightness, contrast, vibrancy and structure for a little more punch.
Lastly, I want to burn down the background and dodge the subject to keep the focus on the subject. I love the nondestructive aspect of the edit so far, and the fact that I can turn effects on and off for everything we’ve done. As a bonus, all this work has not bloated my hard drive with a heavily layered PSD file.
Now we are ready to use the Retouch brush to remove any remaining unwanted blemishes and distractions on the skin. To access this tool, strike the R key. At this stage, we should create a Virtual Copy to keep our Raw file nondestructive. Go back to Browse, select the image, hold Command and strike the single quote (‘) key. This allows us to keep our previous nondestructive edit separate from the pixel-manipulated version. The Retouch tool works similarly to the Spot Heal brush in that it samples surrounding tones/pixels and replaces the undesired details.
This tool is great for blemishes, makeup lines, bags/wrinkles under eyes, skin flakes, etc. I can even remove cross hairs on the face and forehead to speed things up. Flyaway hairs are another story. I can rely on the Clone brush to quickly remove these distractions. Strike the S key and then choose where to sample from by holding Option and clicking an area of the image. First, I want to remove the distracting yellow object to the left because it should be easy to match up with the repetitive grate behind the subject. The same goes for removing some of the flyaway hairs. In situations where there is not a large area to sample from, you may need to shoot a plate shot to composite with—or spend hours clicking, cloning and sampling.
Final Touches With Photoshop
Lastly, I want to straighten this image and take it into Photoshop for some quick body shaping. Much like in Lightroom, I can Edit In another program by saving a copy of the file. I open it directly in Photoshop, process the image further and, when I save in Photoshop, the image updates simultaneously in On1 RAW. This is necessary when organizing/processing Raws and using plug-ins and other applications for specialized processing. To do this, go into Browse, select the image or images you want to edit in another program, navigate to File in the menu bar, click Send to Adobe Photoshop and wait for the process to complete.
With the image open in Photoshop, I like to do a quick transform technique to slightly thin my clients. This works only with continuous backgrounds and is not intended for every image. First, I duplicate my base layer by holding Command and striking the J key. I rename it to whatever tool/adjustment I am making, which in this case is “Transform.” Activate the Transform tool by holding Command and striking the T key.
Then I can superthin the subject by holding Option while moving on the center point to pull both sides at once, but this looks overdone. Instead, let’s pull the left side to give a bit more room from the edge and apply some minor body shaping. Photoshop’s Liquify tool offers another subtle adjustment to remove some camera distortion or unflattering perspective, but nothing to change the subject’s natural appearance. Again, we can remove these body-shaping adjustments with a click of the mouse since we duplicated our base layer—I always recommend doing this.
Now this image is ready for more creative toning applications that I’ve built into actions. I’ll do some subtle eye work, including softening the shadows and brightening the cheeks. I think we are there.
The Results
ON1 has stepped up its game with RAW 2018. Users can now access adjustment panels built specifically for portrait retouching. We can pile on Layers to customize our images while retaining the efficiency of a Raw processing program. The Retouching brush fixes the majority of distractions with a single click, and the Cloning tool fixes those flyaway hairs. What more can you ask for? As a Lightroom user, I am looking to implement ON1 RAW for portrait work, especially for retouching.
You should always use the latest products and keep trying out new software. With ON1 RAW, you have the full flexibility of working within other programs while keeping everything organized in one place, which is huge for anyone’s workflow.


