
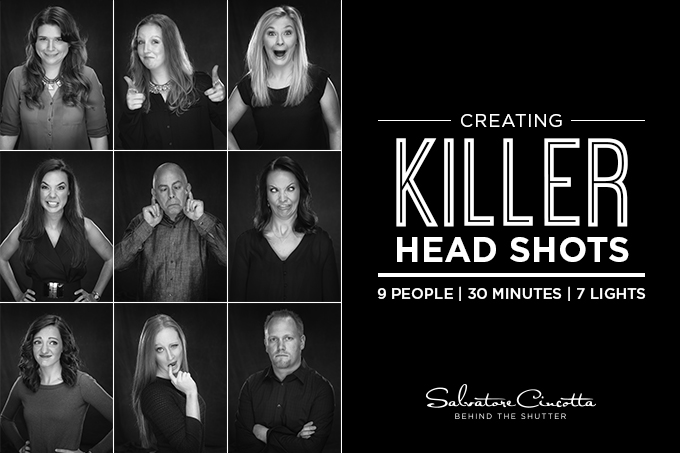
Creating Killer Head Shots
Everyone needs a good head shot, right? The funny thing is, as photographers, we are usually the last ones to get a good portrait. I know for myself, I hate getting in front of the camera. I last about 5 minutes and then I quickly lose patience. Today, we promised the team great head shots and dammit we were going to deliver.
We went with a studio shot and wanted to keep Photoshop to a minimum. Lighting and posing was going to be the differentiators for the shot – not some fancy Photoshop skill.
We have been using Profoto for quite some time now and they are a huge part of our lighting arsenal. This day, we used a 7 light set up. (See diagram below)
The best part? 100% wireless. I know the Profoto B1 is typically touted as the portability king for on-location, travel, etc. We use the B1 almost exclusively in the studio. There is literally been no need for us to use the more powerful units. Best of all, keeps the clutter and cords to a minimum. I can’t tell you how many times I have had my foot catch a chord and slam the light to the ground. A recent trip to Prague comes to mind where I was shooting in a studio and tripped over the chord and slammed the light into the ground costing me $800 USD to fix the flash bulb.
Bottom line, we needed to be fast and efficient on this shoot. Time is money and I wanted to get back to work. We set this up in under 30min. Lighting, backdrop, metered, and multiple portraits. Many lights? Yes. Hard? No.
Lighting Equipment
7 Profoto B1s
Profoto Octabox
Profoto 1×4 Strip
Profoto Grids
Profoto Beauty Dish w Grid
Camera Equipment
Hasselblad H5D-50c
Hasselblad 100mm
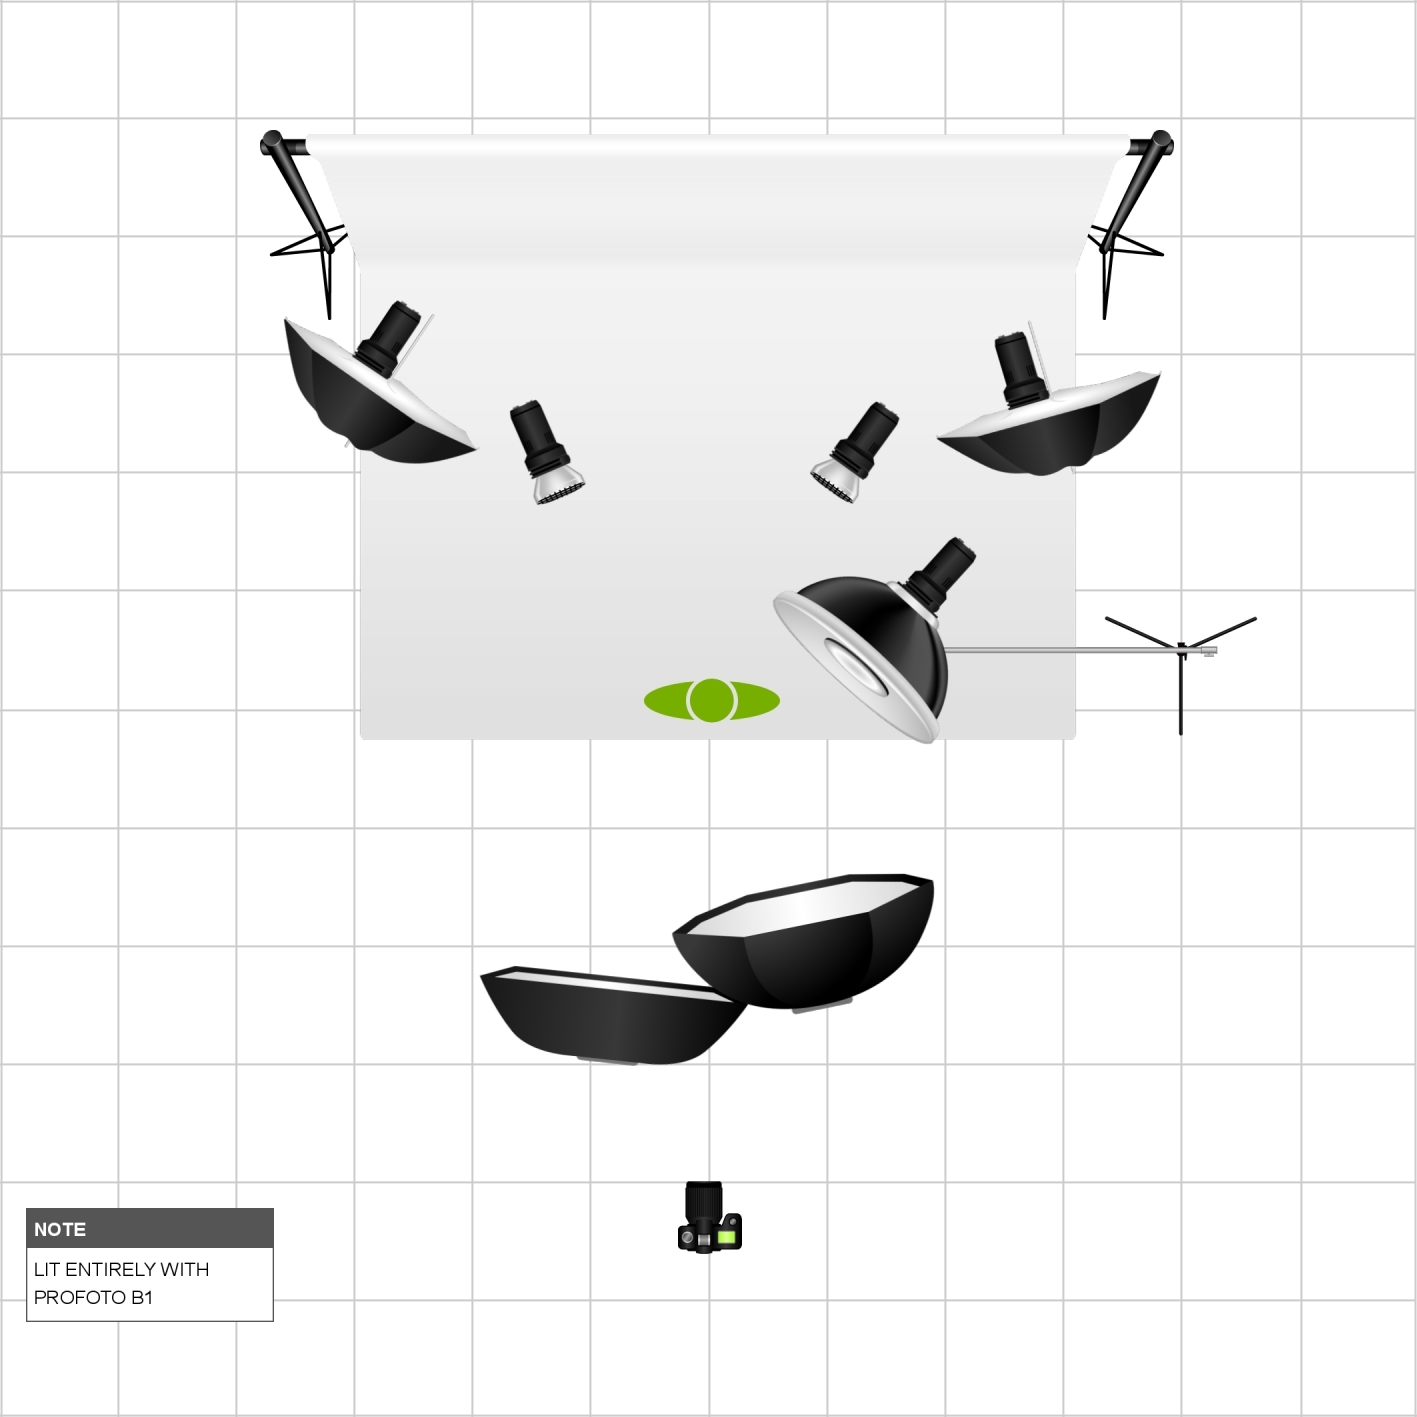
Let’s break down the diagram. All strobes were the Profoto B1
Main lights had an Octobox up top and a 1×4 Strip on the bottom to fill in the shadows and provide more even lighting. Power – f8
On the back drop, we had two B1s with small umbrellas firing into the background. We used the umbrellas to soften the light and void hot spots in the back drop. Power – f4
In addition, we had two 20 degree grided B1s firing into the subject to create a nice edge light and separation from the dark background. Power – f5.6
And then finally, we used a B1 and the Profoto Silver Beauty Dish on a C-Stand above the subject for some hair lighting. Power – f4
As for the camera, many of you know I love medium format. The details are incredible. Previously, I had been using the Phase One IQ250 and honestly, just very disappointed with the results. One of biggest challenges with medium format, in general, is the single focus point. This forces you to focus and recompose. And the results can be complete crap. I left the Phase One platform for this very reason. Sorry, I want my images to be tack sharp.
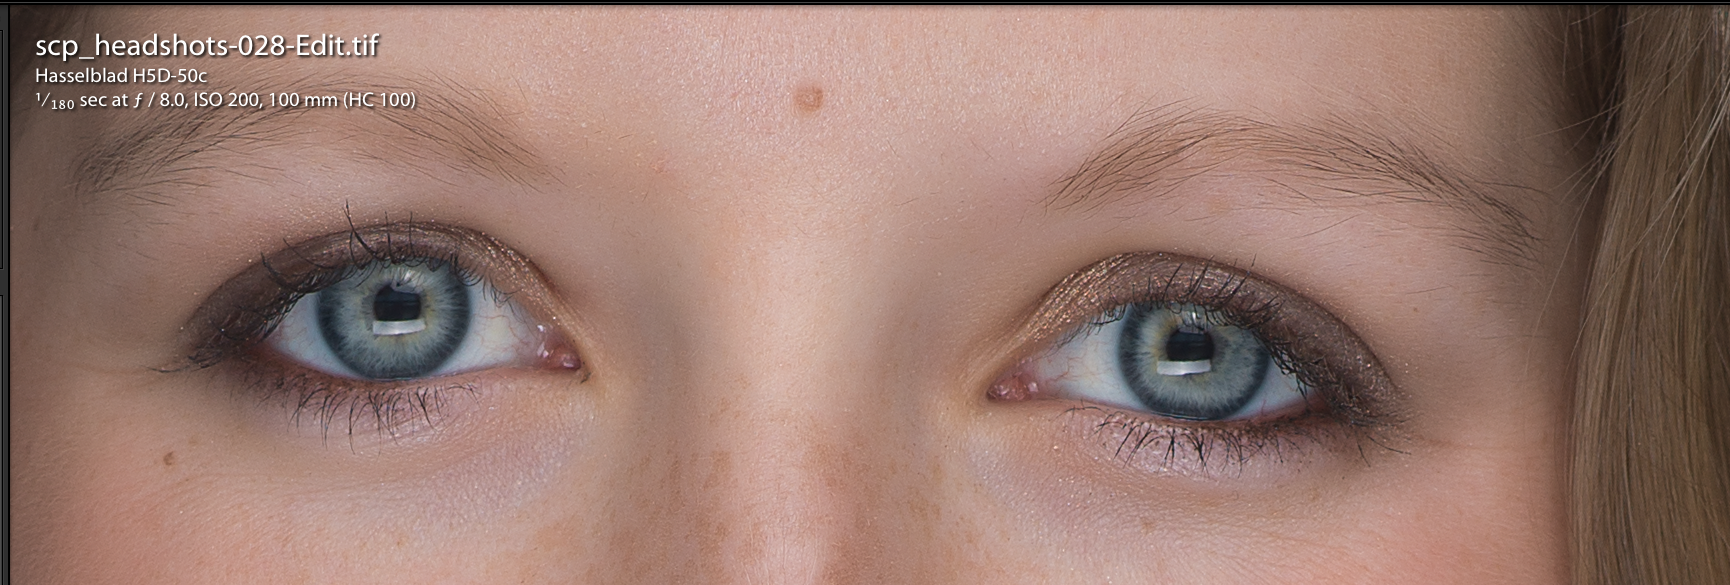
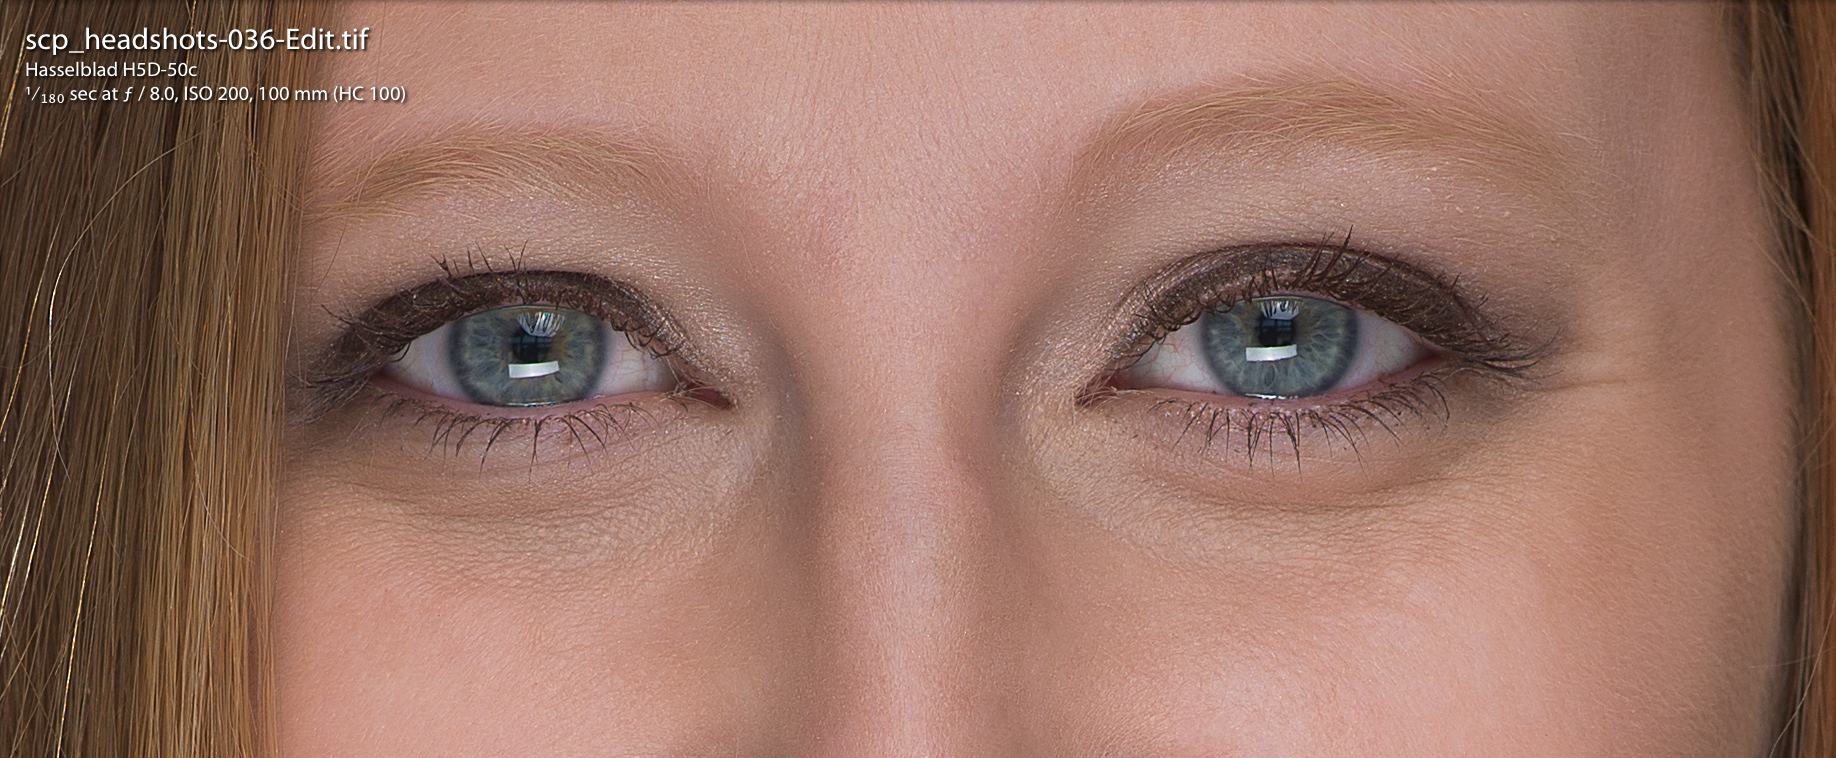
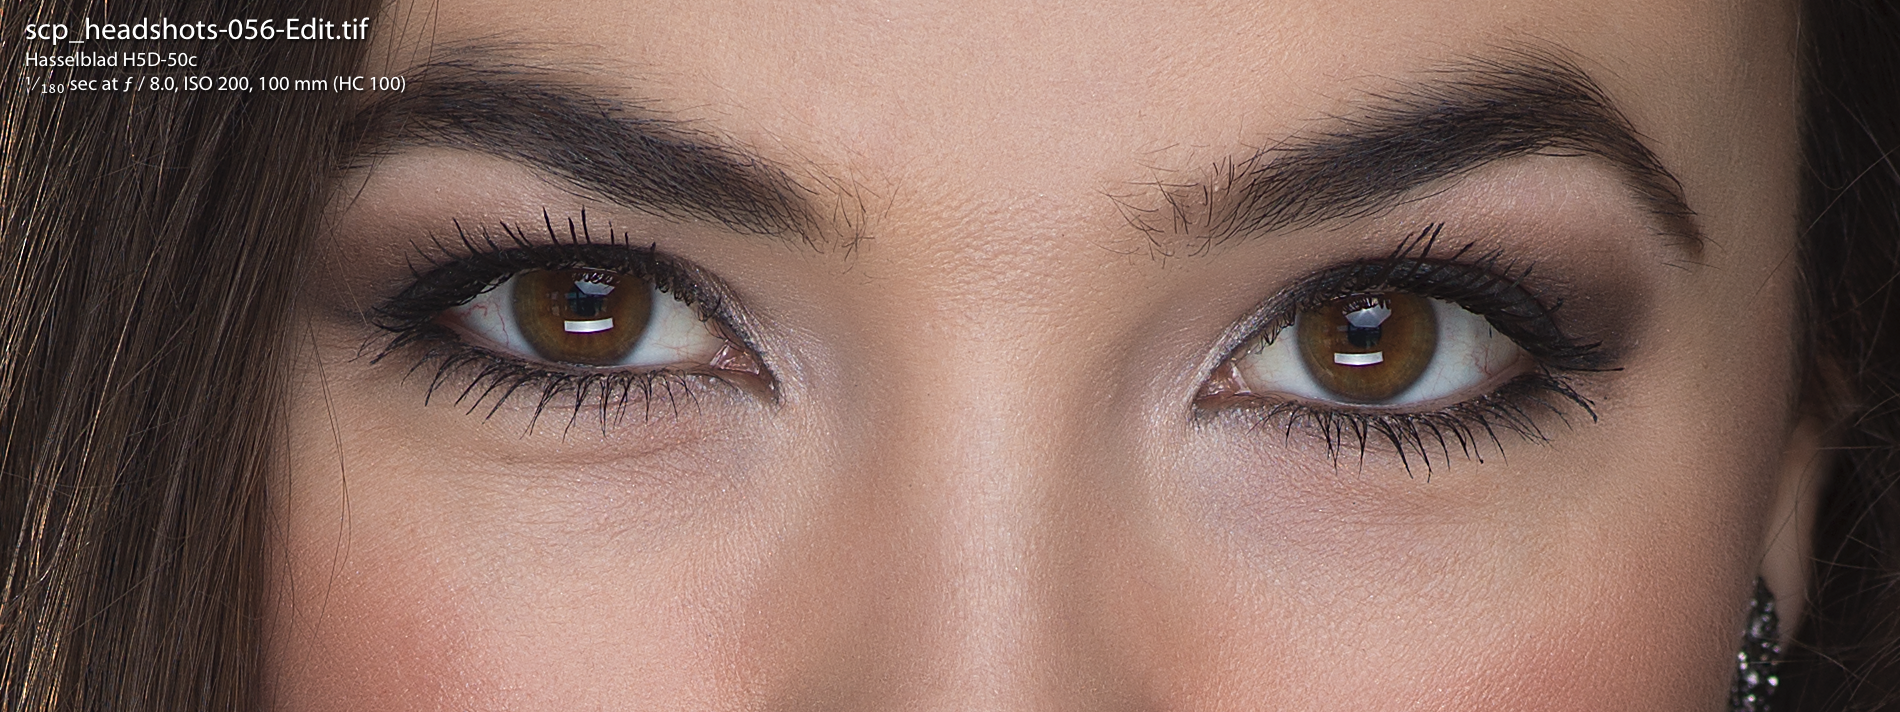
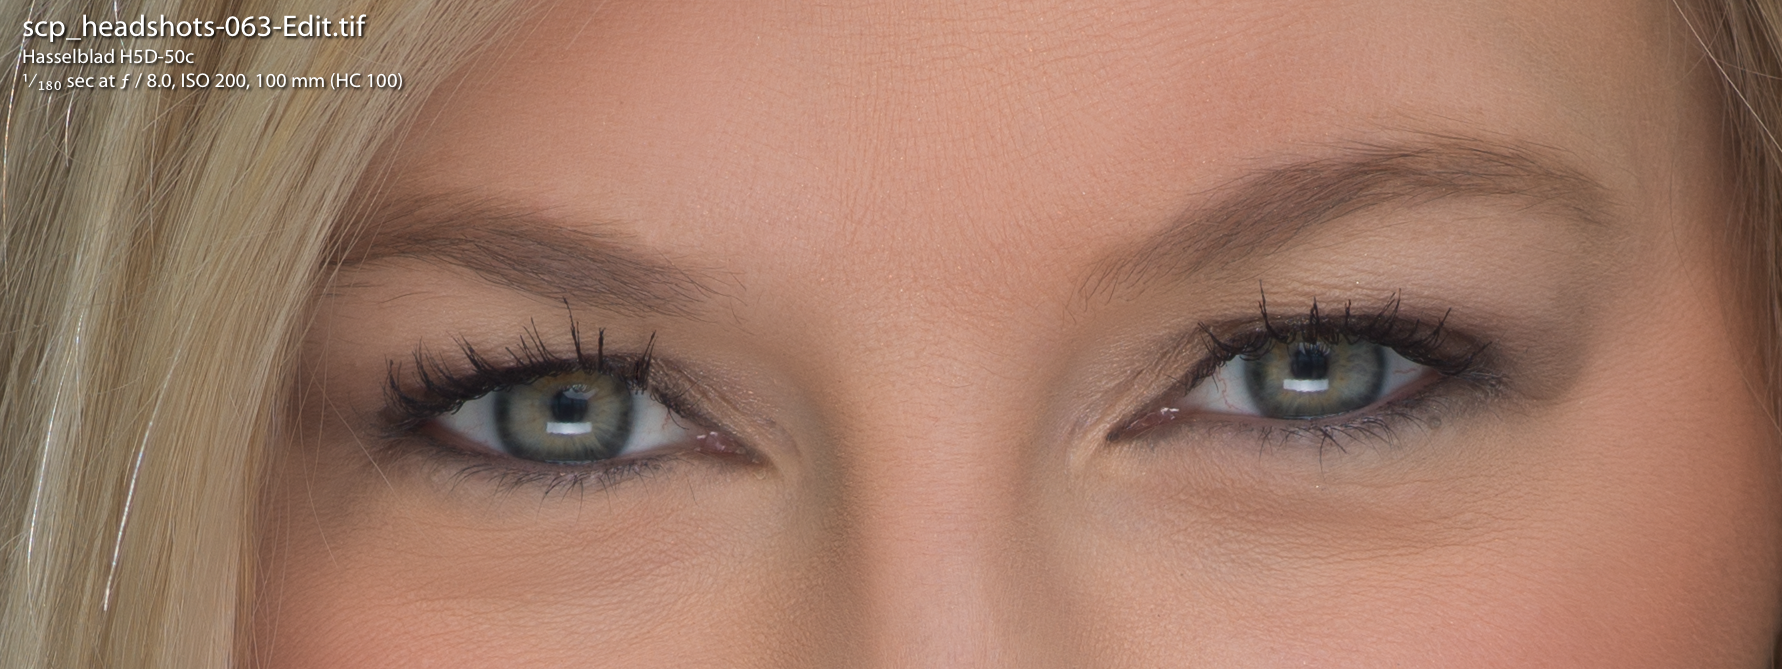
Enter, Hasselblad. Just incredible. I was blown away from the first frame. This camera kicks the IQ250 in the ass. Sorry. Just reality. If you are going to pay this much money for a camera – the images have to be tack sharp. To see my point – check out the ZOOMED IN shots of each image below. The images say it all. I could not get consistent results with the Phase One IQ250 – so, I made the switch. The Hasselblad comes standard with the True Focus system which locks in on your focus point and maintains focus as you recompose. Life changing in the world of medium format.
To understand the conversion here and why focus is so important. I was shooting a 100mm lens on a 645 back @f8. This is the equivalent of shooting a 60mm lens @f2.8 on a full frame DSLR. So, if you are focusing and recomposing your shot, you are almost guaranteed it will be soft. The numbers get ugly fast if you want to shoot wide open on the medium format platform. For example, if I had shot this at f2.8, if would be the equivalent of roughly f1.6 – literally nothing would be in focus. Hasselblad True Focus makes this system a reality for anyone considering a medium format camera in my opinion – especially if you are considering using it for weddings and portraits.
Click to view larger.

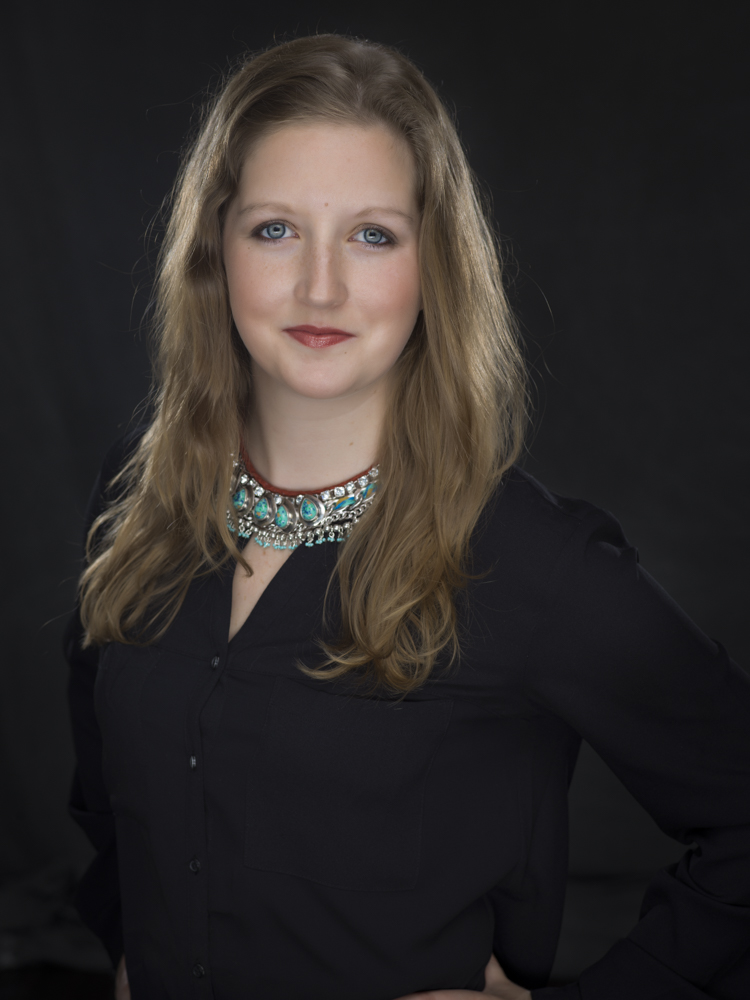
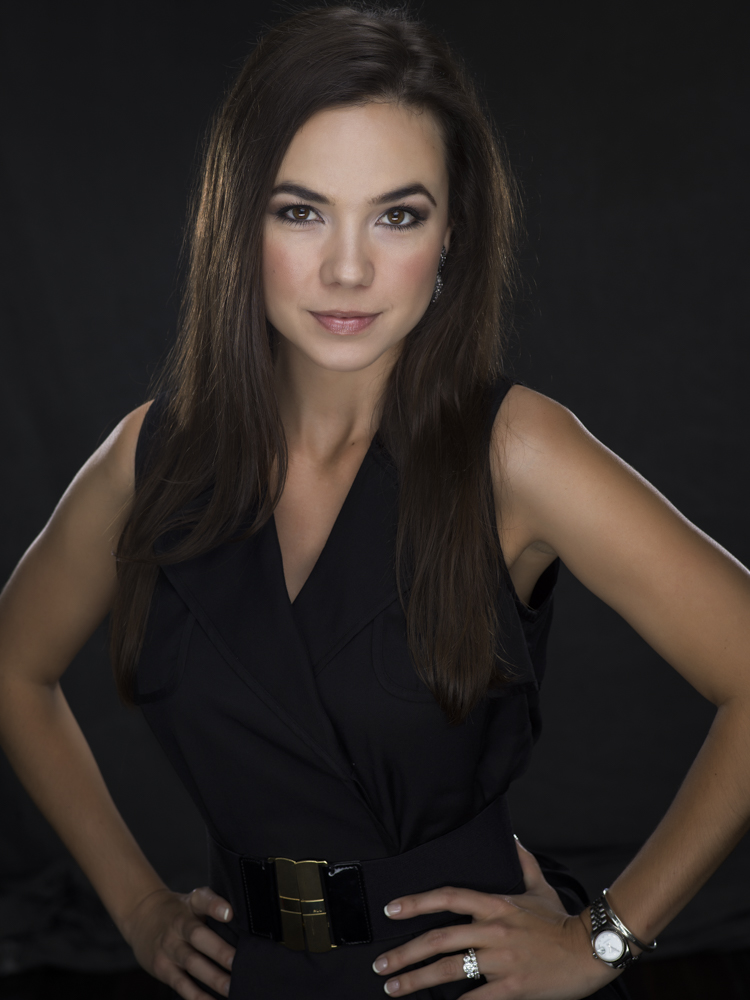
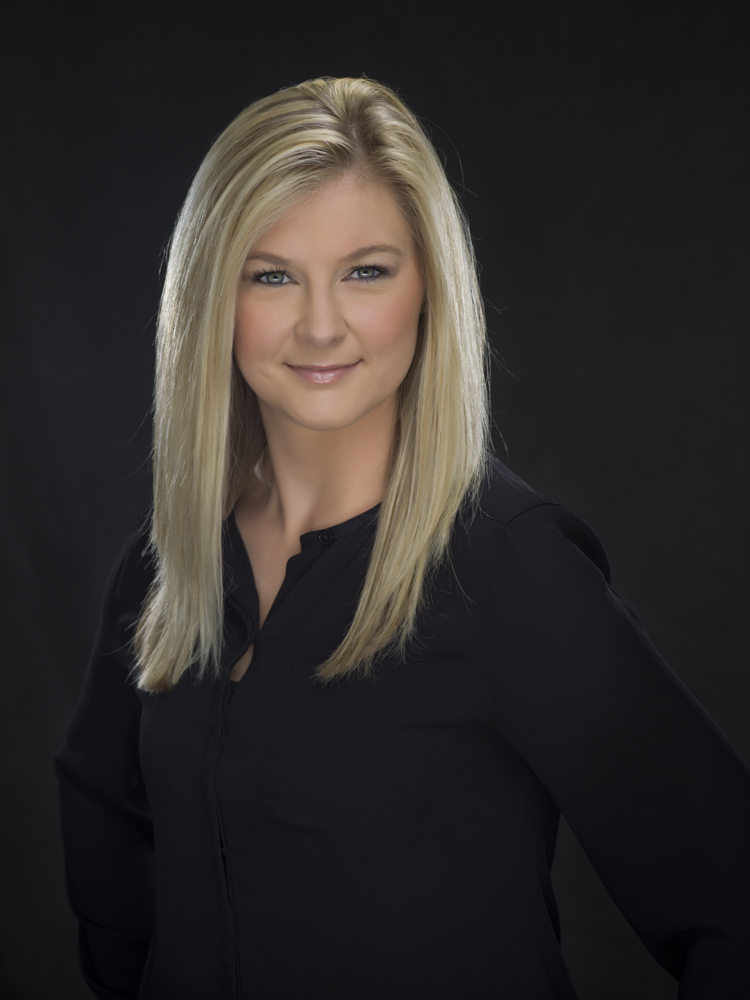
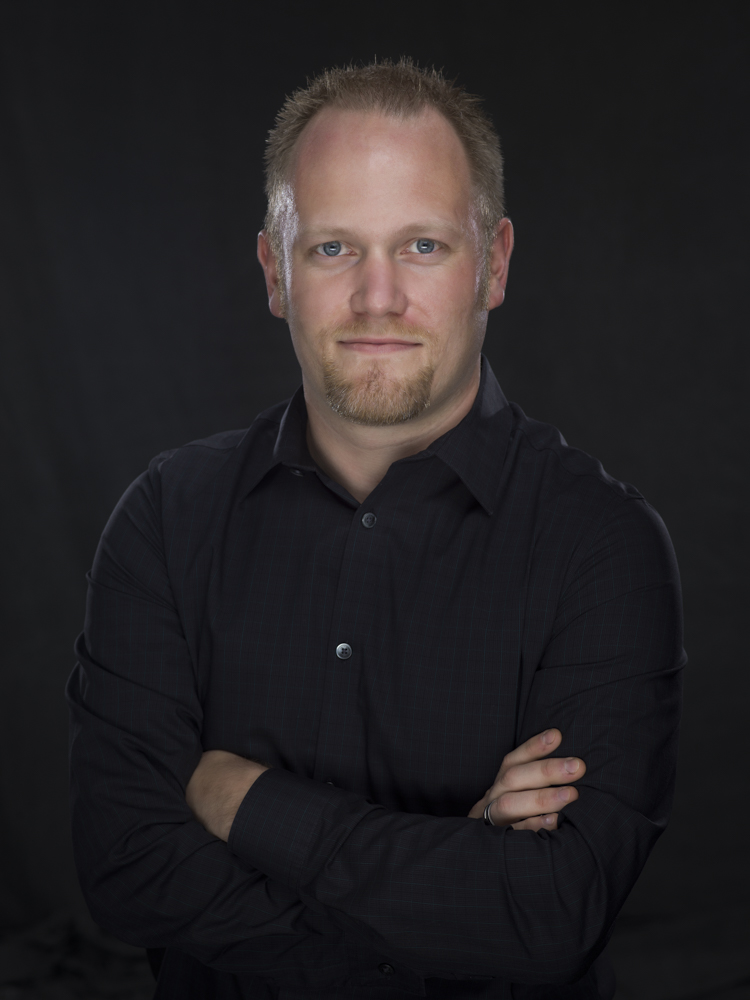
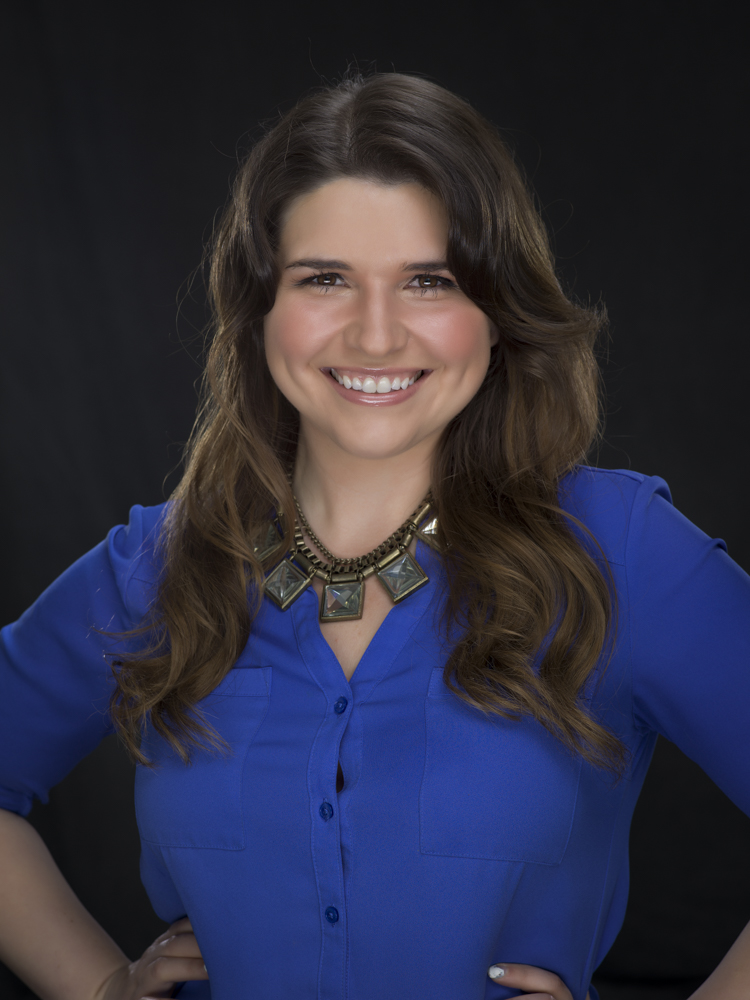
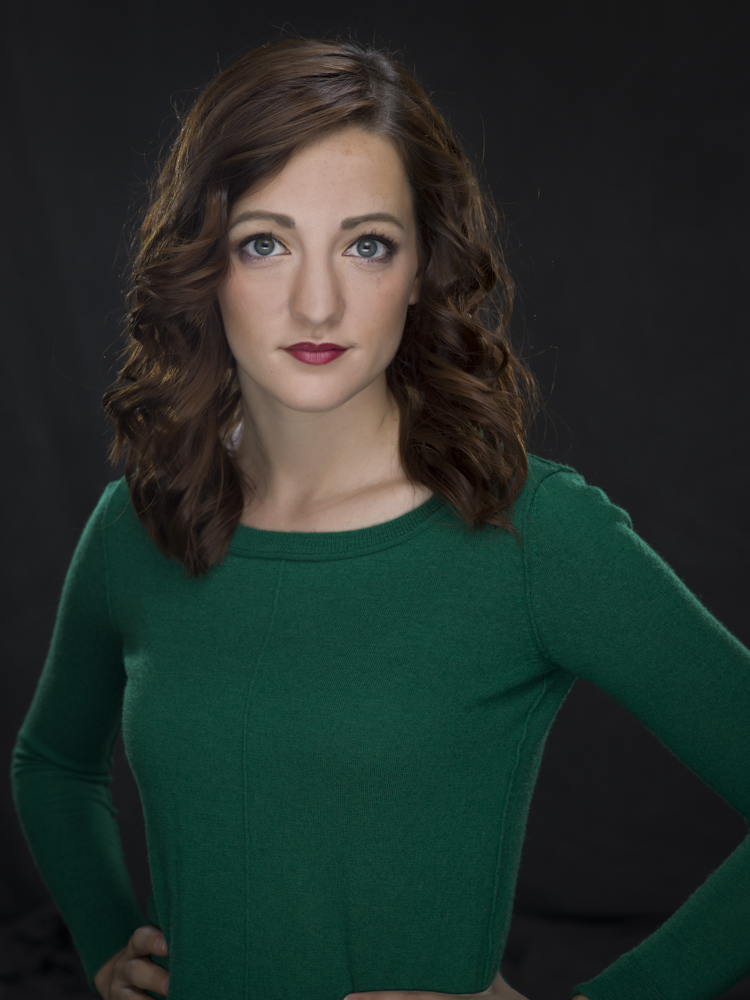
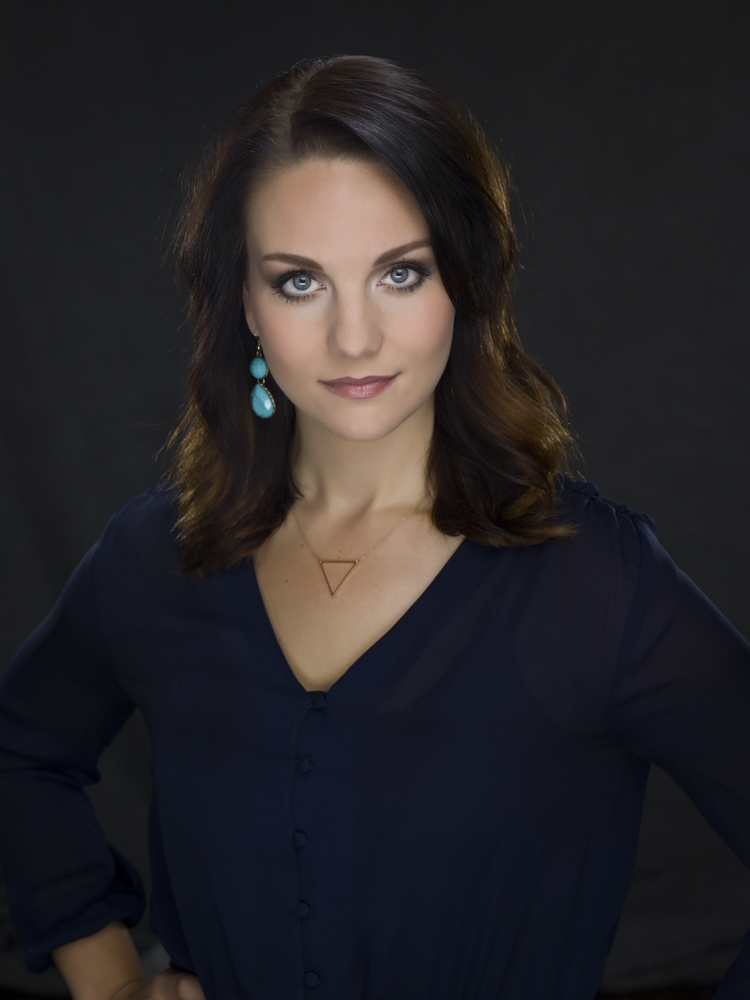
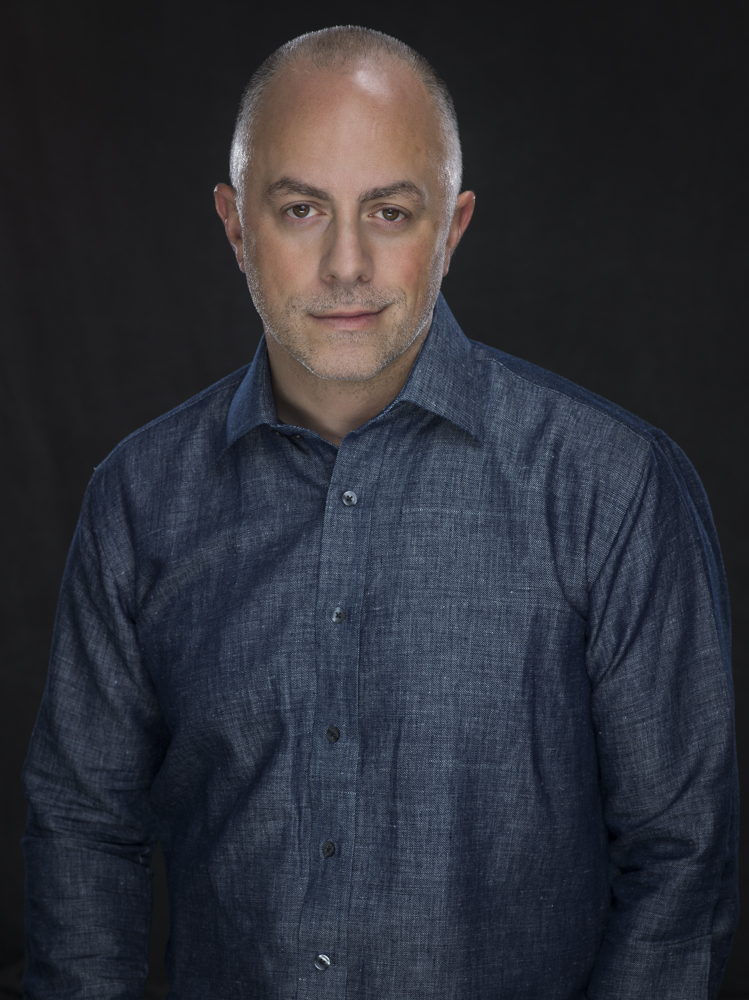
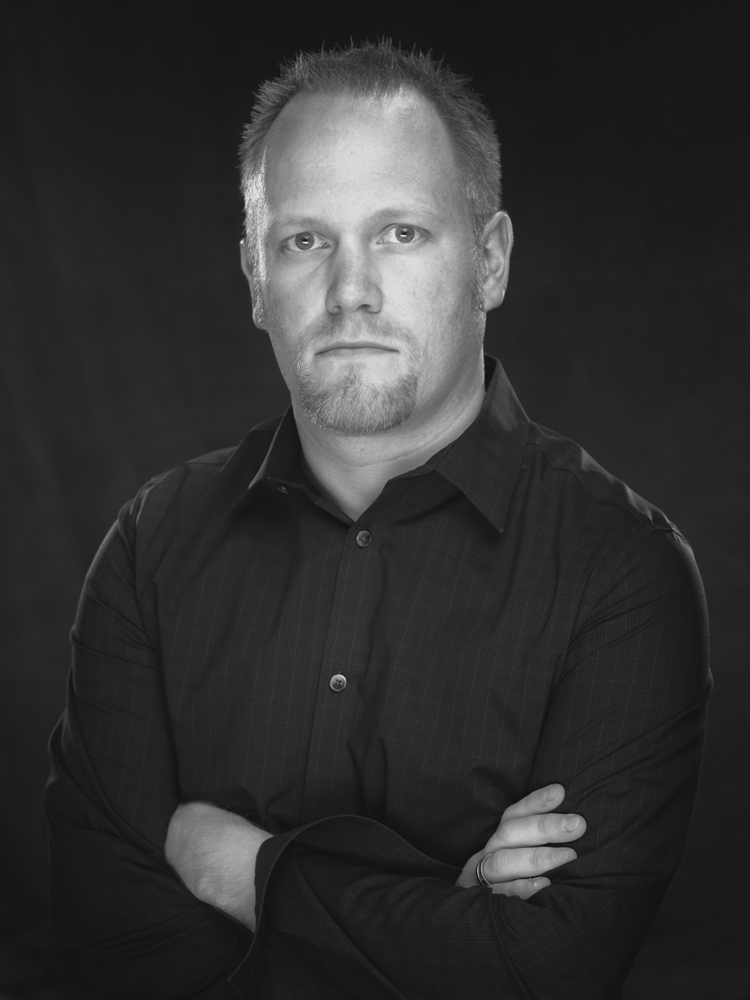
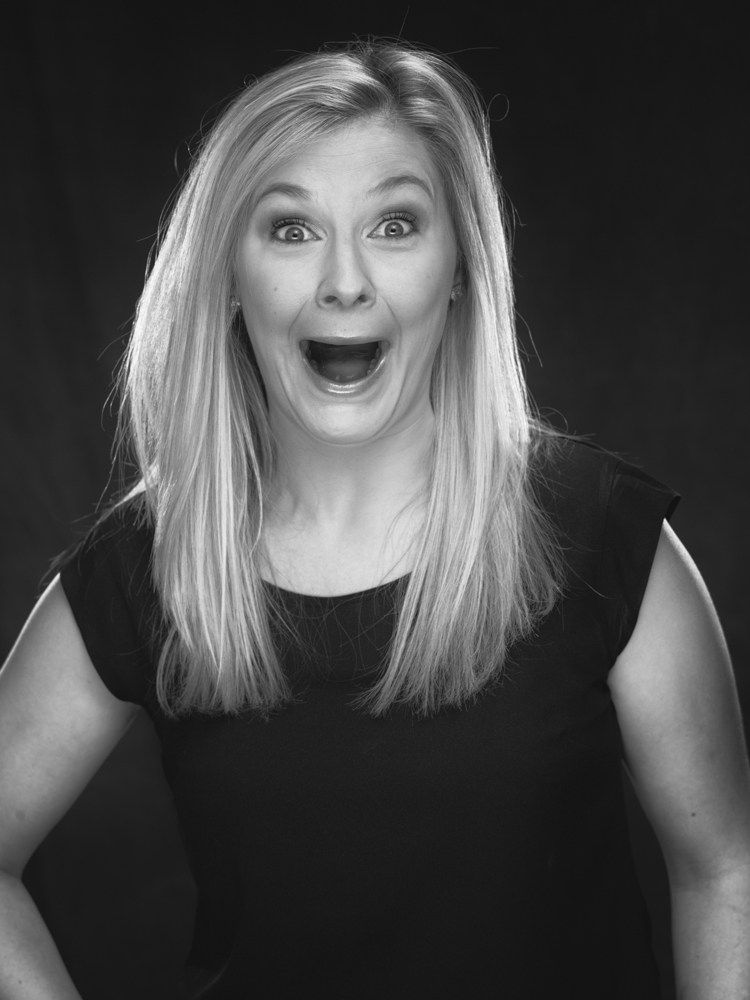
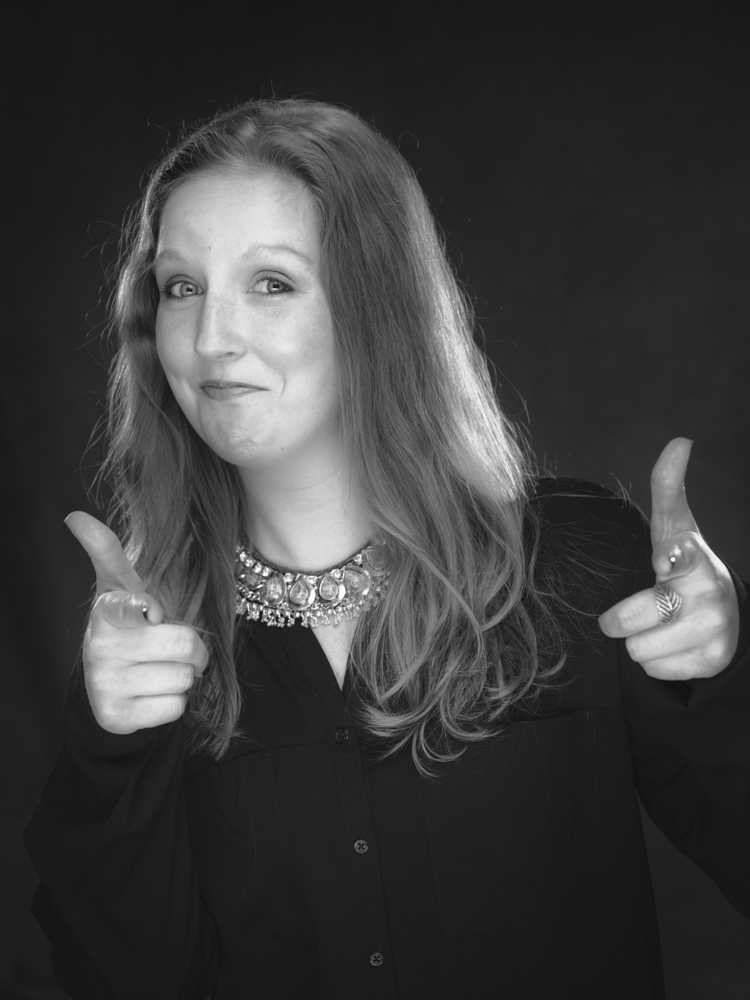
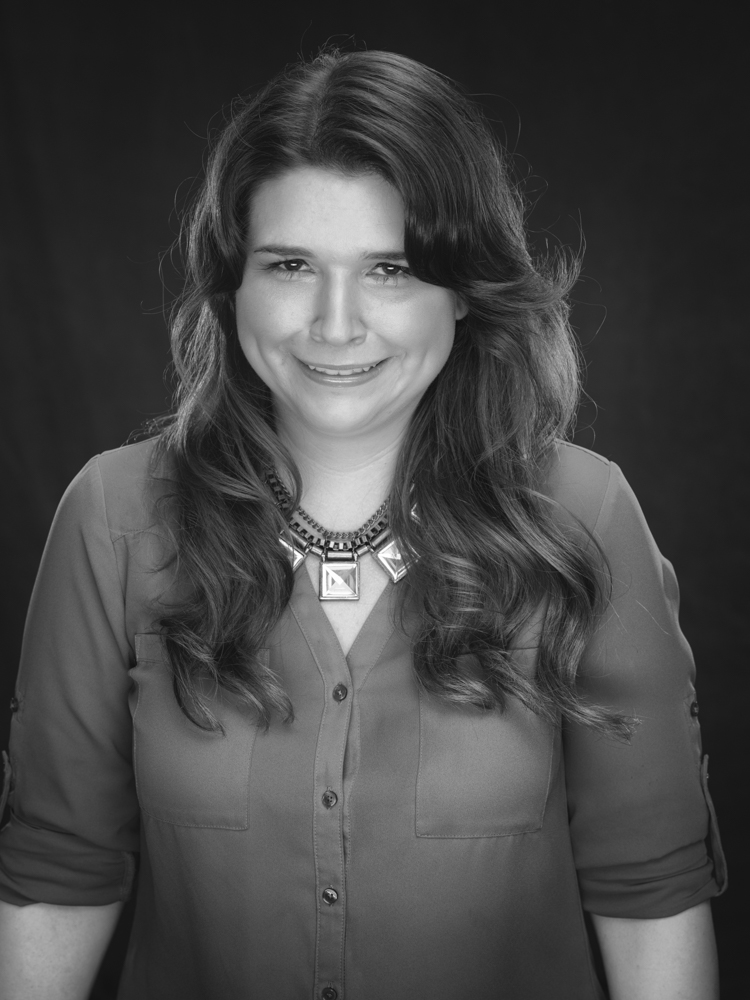
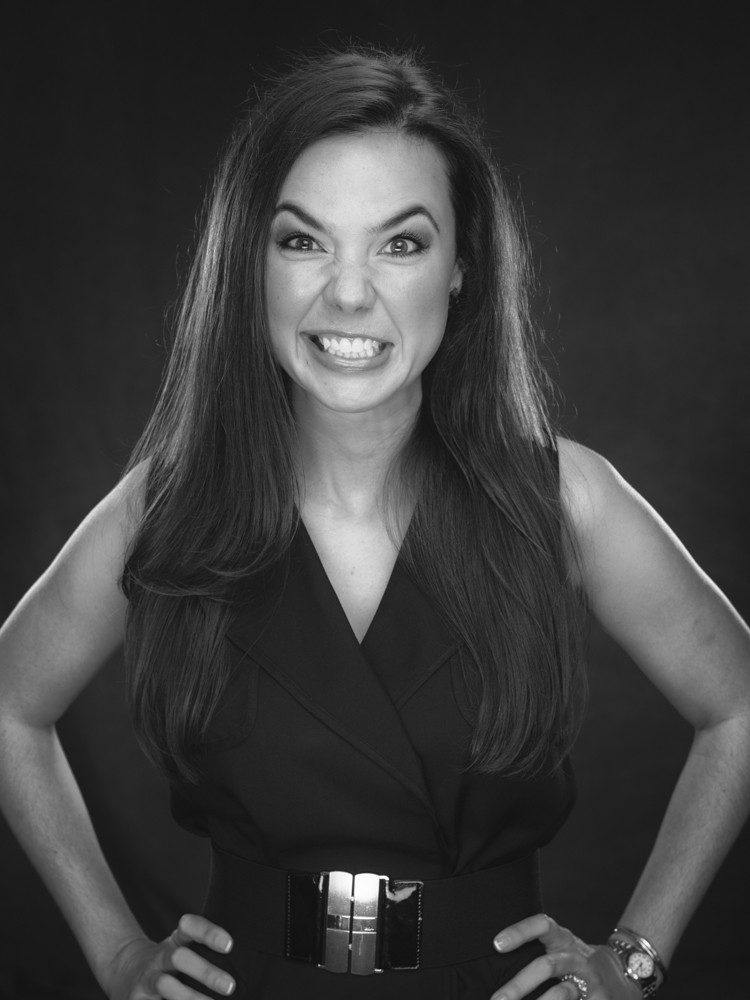
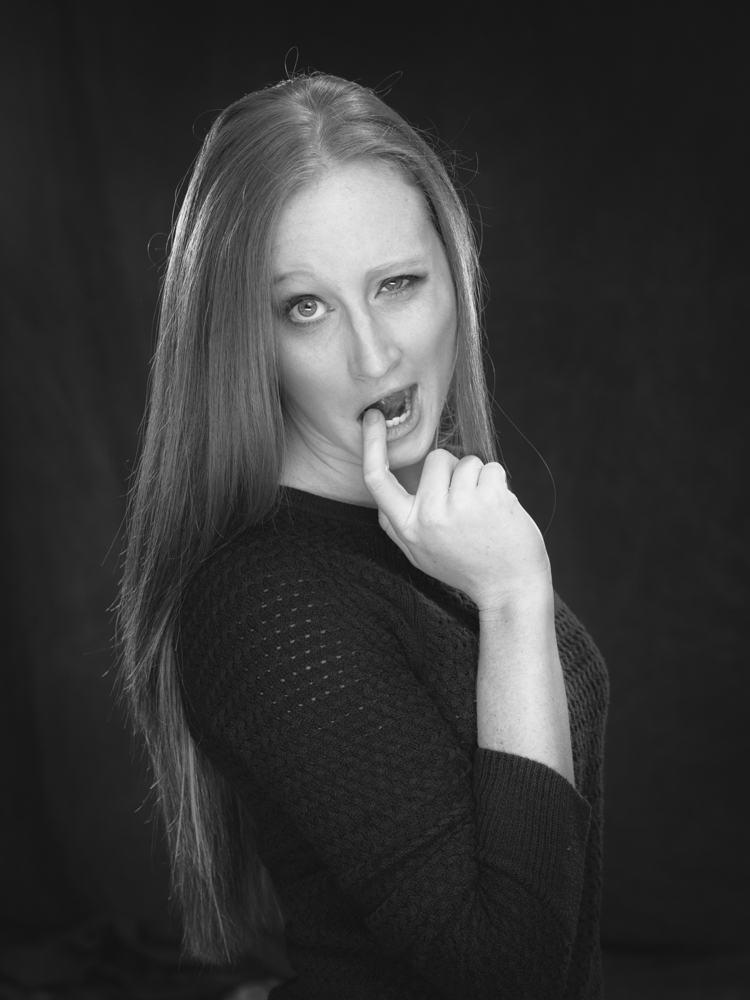
Final Head shots for the team.

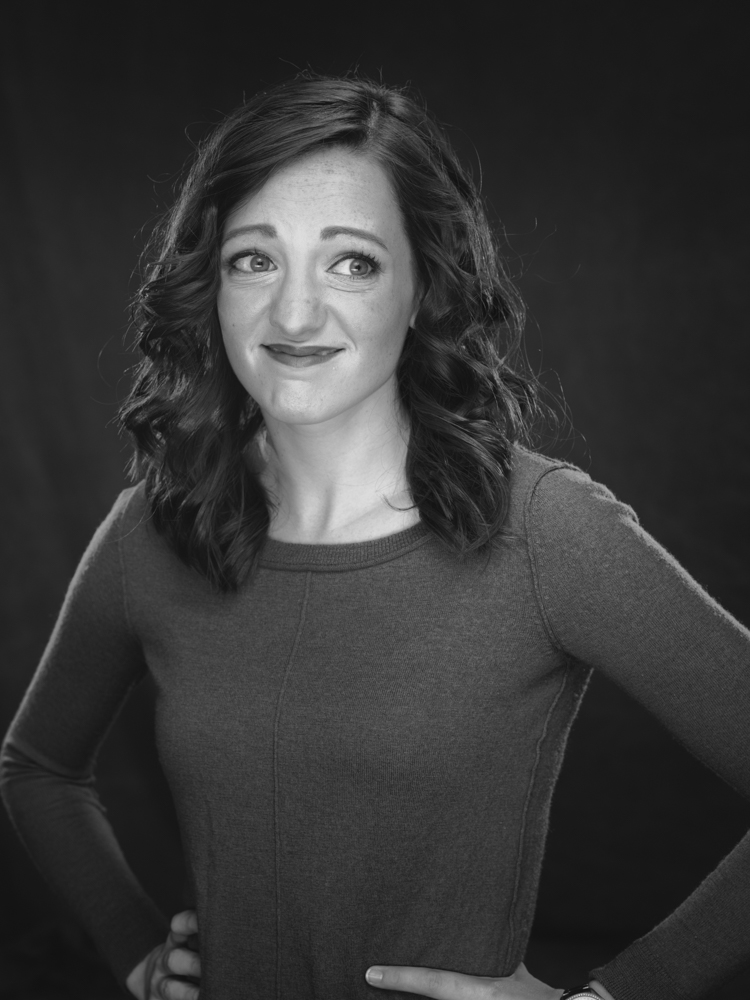
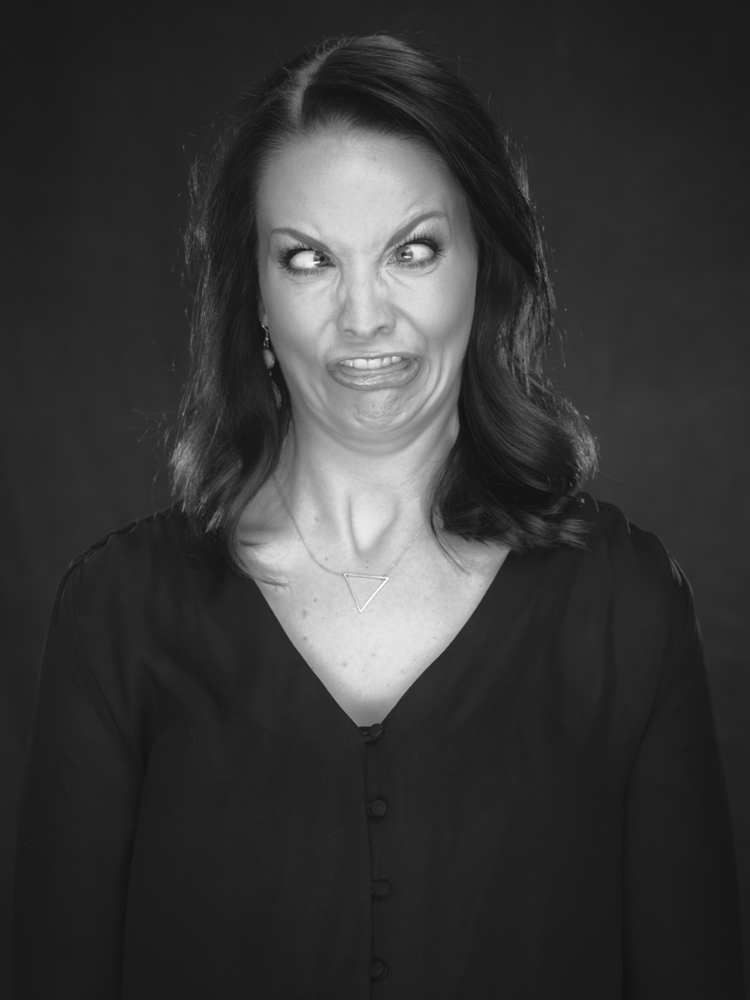
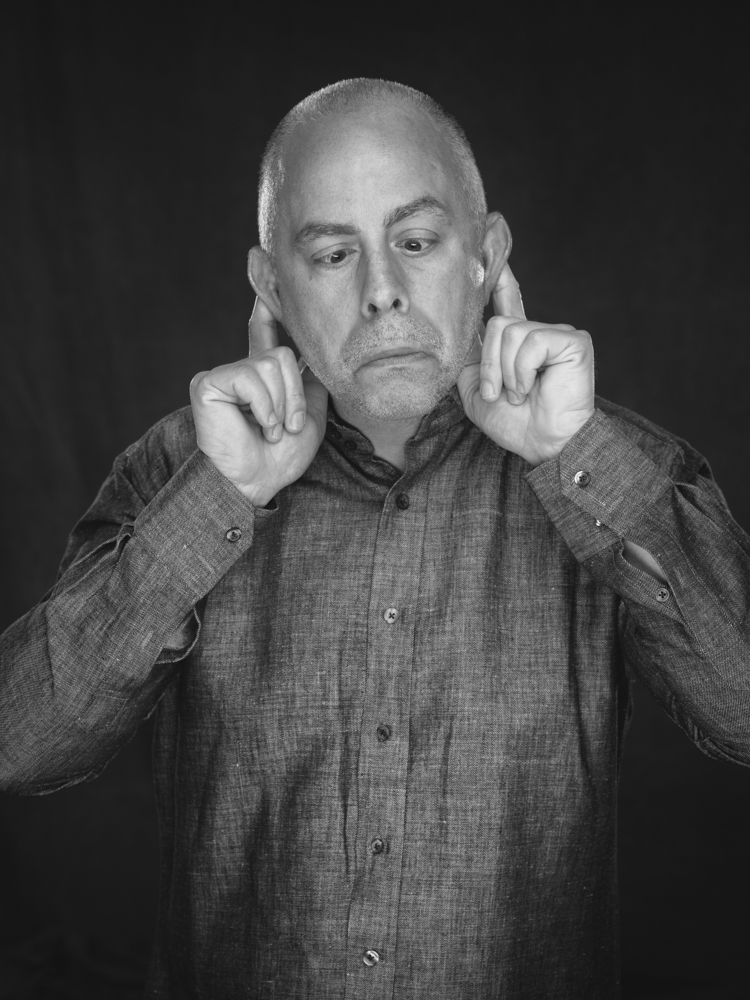
The outtakes.
Of course, what fun would it be if we didn’t do something a little silly to showcase the various personalities on this dynamic team.
Now get out there and update your head shots… we can all use a fresh look.
I hope you enjoyed this article – share it if you did.


This Post Has 7 Comments
And how much does that setup cost?
About $60k
Wait so if the background is dark in the photos, what were the background lights illuminating?
The background lights stop the background from blocking up to complete black. Placing only one light would leave a gradient across the image.
What do you use to create your lighting diagrams?
we use a program called lightingdiagram.com – awesome product.
You can also use Sylights on your smartphone.