Final Cut Pro X Workflow for Videographers with Rob Adams
Since 2013, I’ve been on board with Apple’s revamped, re-tooled and redesigned (from the ground up) version of their hallmark video editing software, Final Cut Pro X (FCPX). When it first debuted, it was panned (hard) for having most of its professional functionality stripped from its predecessor, Final Cut Pro Studio. Earlier versions of the software were very similar to today’s Adobe Premiere, but Apple took a hard turn towards the unconventional when they remade Final Cut. No longer a traditional non-linear editing (NLE) platform, Apple completely re-coded the software to be built on a database system utilizing keywords and metadata for fast organization and logging. Since then, more and more pro functionality and features have been added back in, and now Final Pro X stands once again among the big kids on the playground as a robust and formidable editing application. Those who abandoned the platform out of frustration and fear of the unknown have been slowly starting to migrate back toward using FCPX for professional applications.
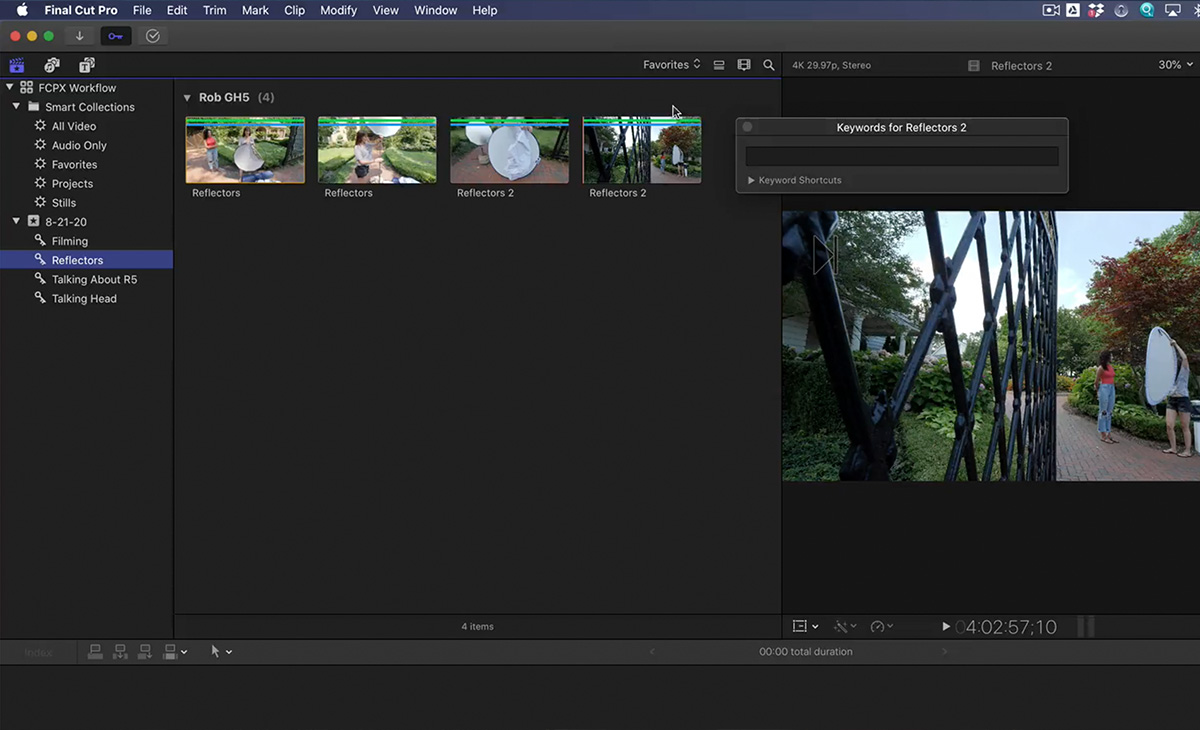
As an editor, I have grown along with the software. I’ve learned to love it and make it work for me in ways that have increased my speed and efficiency as a video editor. Here, I will walk you through an entire editing workflow to illustrate the power of FCPX as a handler of today’s resolution-heavy RAW video files. Understanding FCPX takes some mental gymnastics because it requires you to think in terms of pre-production first and editing second. It also requires you to think in terms of “connected clips,” which I will explain soon enough.
Empty your mind of everything you know about traditional NLEs and allow yourself, as Yoda says, to unlearn what you have learned. If you’re new to the field of video editing, this will be more like learning a new language at a young age as opposed to trying to learn Mandarin at age 35 on your first trip to Shanghai. Let’s dive in.