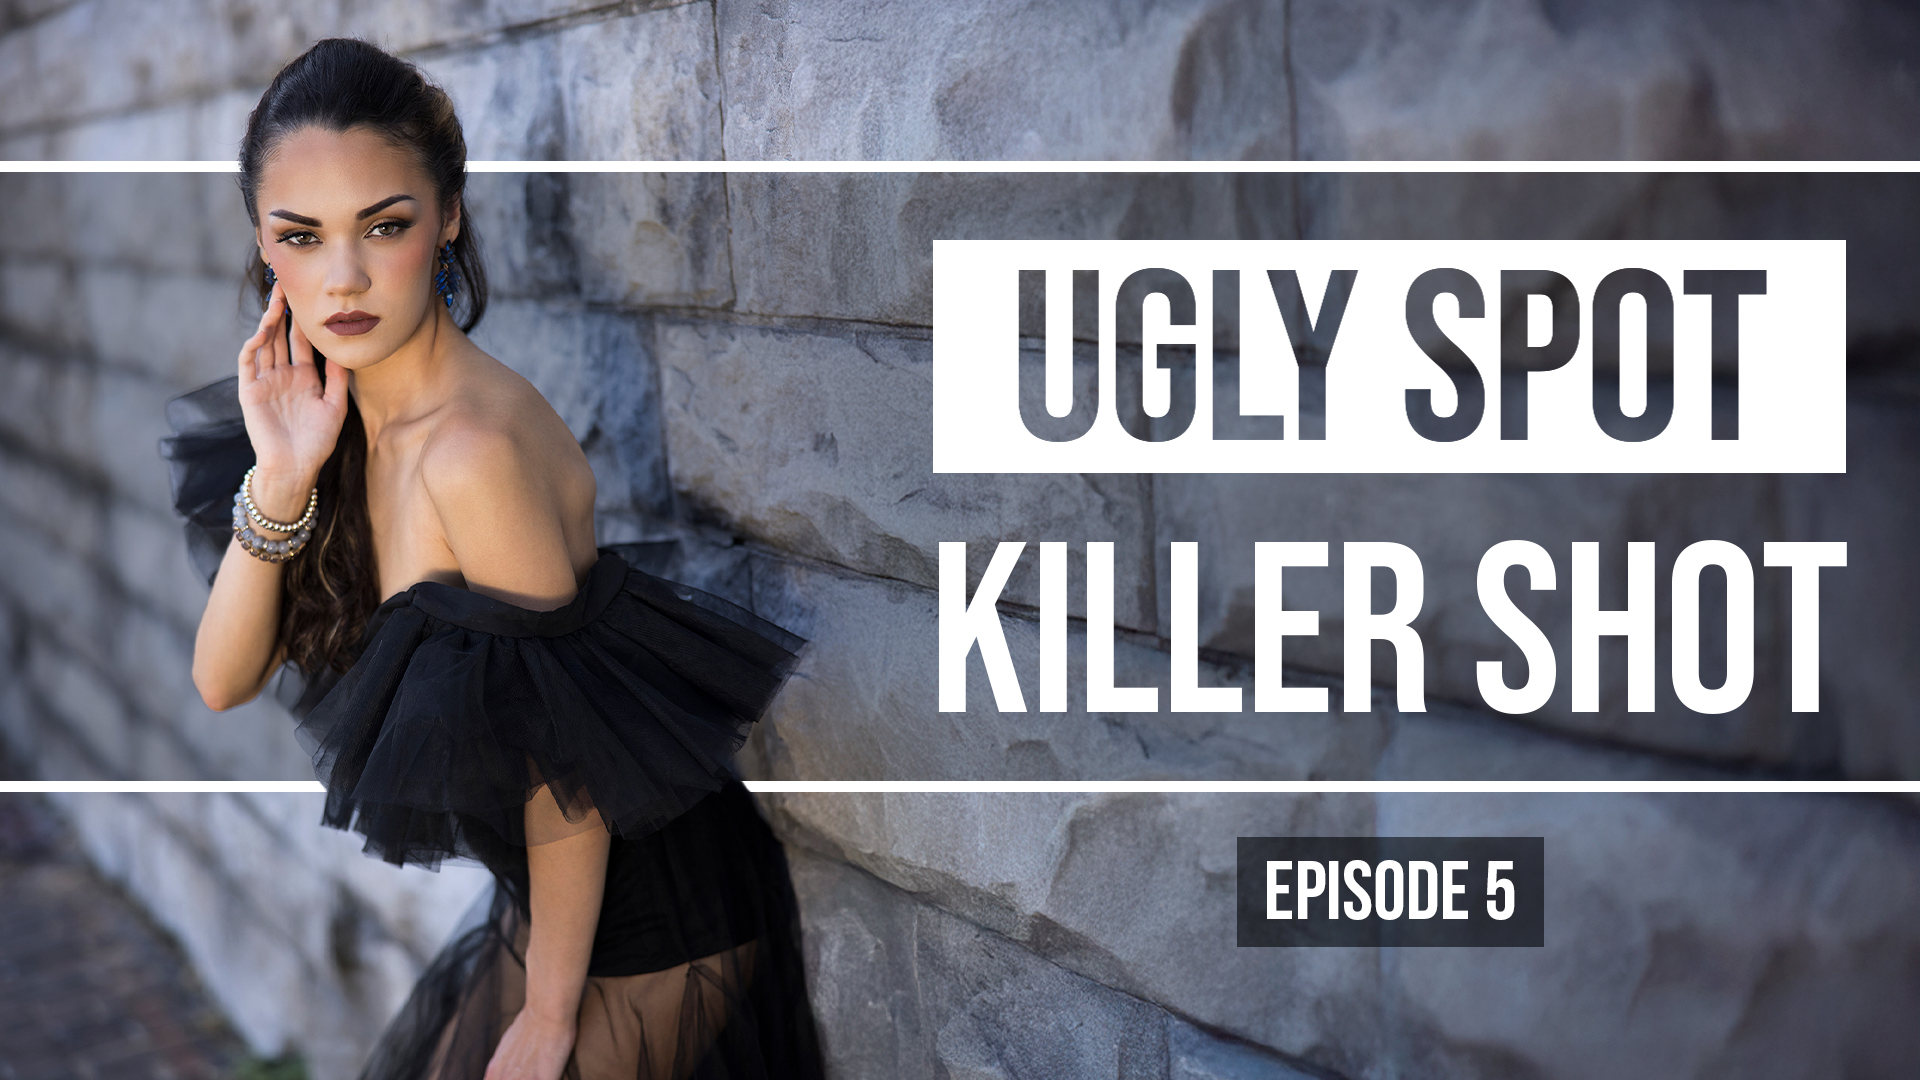
If you’ve ever wondered how to photograph and edit creative portraits that grab attention, evoke emotion, and leave a lasting impression—you’re in the right place.
In this behind-the-scenes breakdown, we’ll explore everything from camera settings and lighting to the editing workflow used to produce polished, client-ready images. Whether you’re a seasoned portrait photographer or just getting started, this guide will walk you through the complete process of capturing and enhancing creative portraits that stand out.
Equipment Used:
Camera: Canon EOS R5
Lens: Canon RF85MM F1.2 L USM
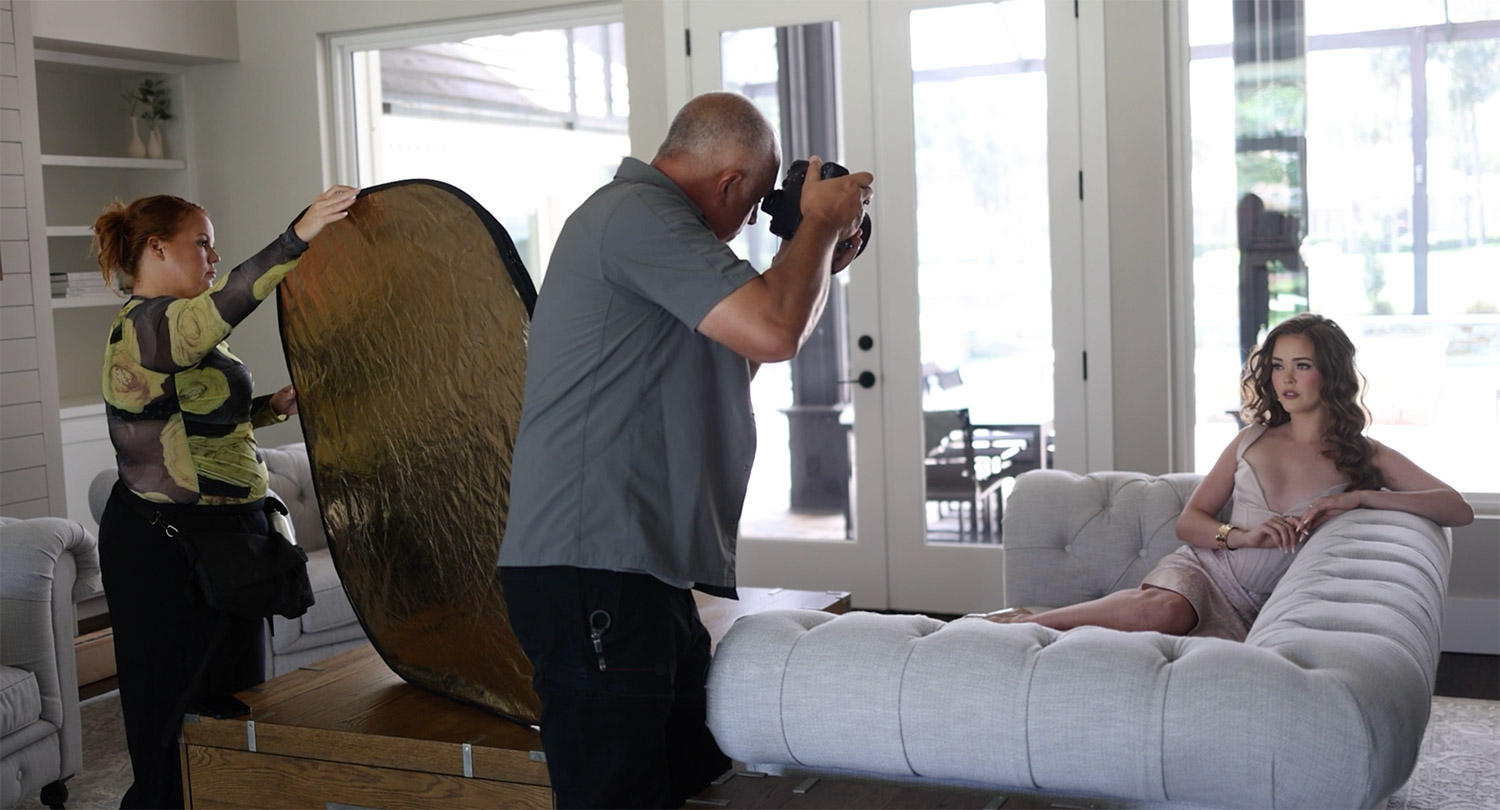
Light: Natural Light with Silver Reflector
Team:
Photographer: Sal Cincotta
Model: Violet Deardorff
Hair & Makeup: Brandi Patton, ReFine Beauty
Step 1: Start With the Right Gear and Mindset
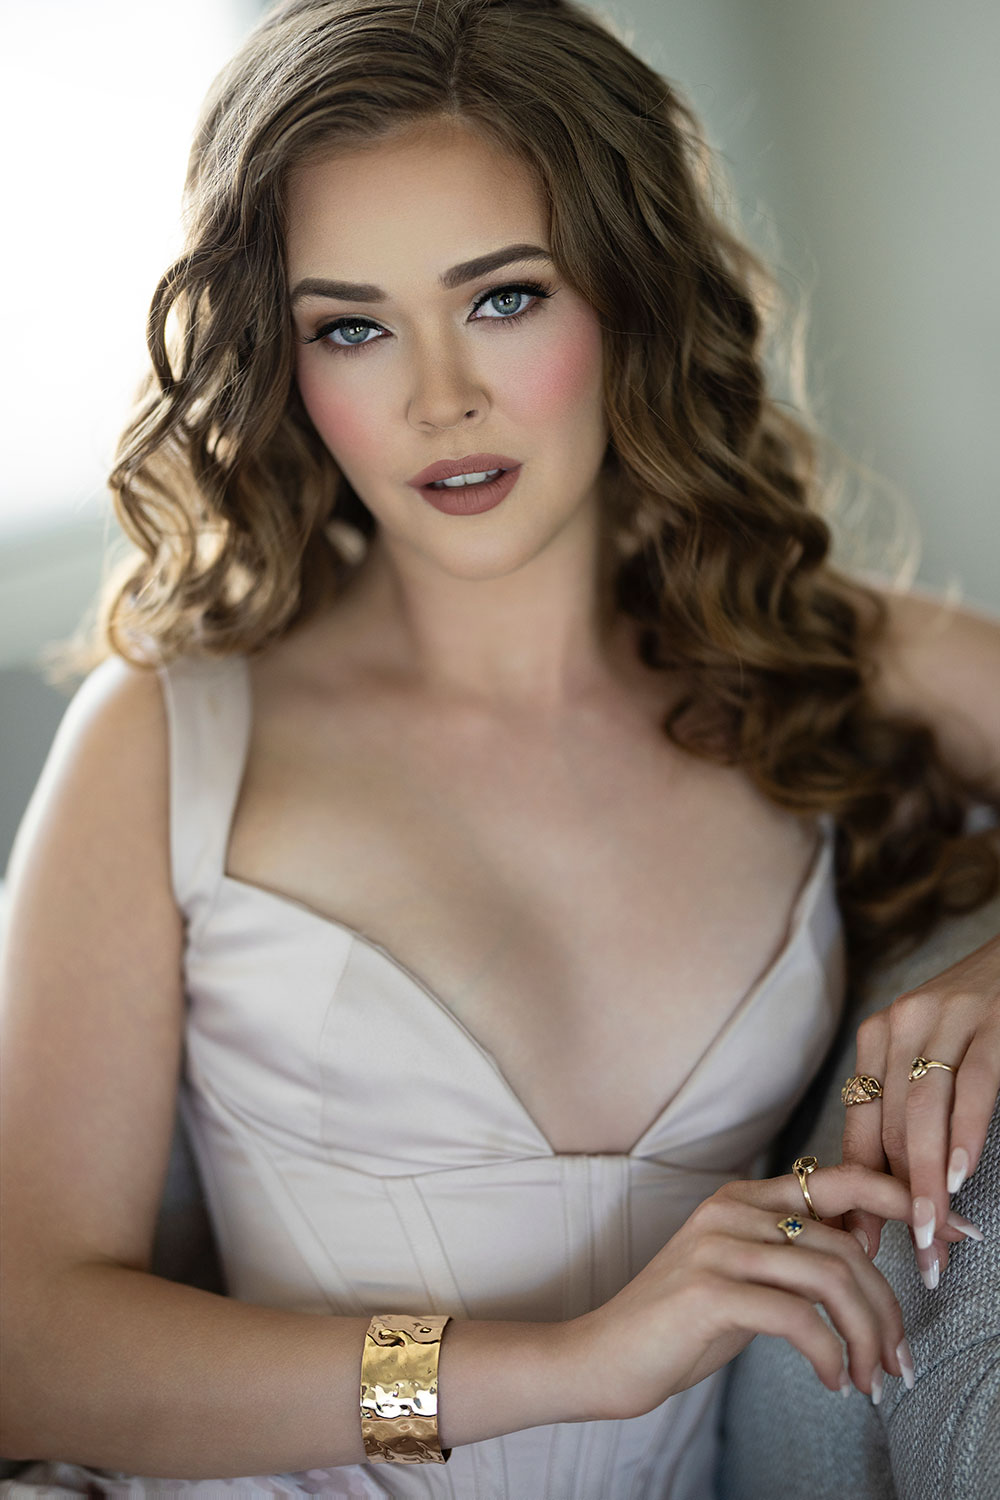
Creative portrait photography starts with having the right tools—and knowing how to use them. For this session, we used the Canon EOS R5 paired with an 85mm f/1.2 lens. Why such a wide aperture?
Most fashion or portrait photographers shoot at f/5.6 or higher for detail, but we prefer to shoot wide open at f/1.2. The shallow depth of field directs attention to the subject’s eyes and softly blurs everything else, creating a dreamy, artistic look that feels natural and emotive.
If you don’t have a 1.2 lens, no worries—anything in the f/1.8 to f/2.8 range will still give you that creamy background and keep the focus on your subject’s face.
Pro Tip: Your viewer’s eye will always gravitate toward two things—the brightest and the sharpest areas in an image. Make sure that’s the face and eyes.
Step 2: Make Use of Natural Light (But Modify It Like a Pro)
You don’t need expensive lighting gear to shoot creative portraits indoors. In this session, we used available light from large windows and simply added a silver reflector to bounce some fill light onto the model’s face. This small adjustment made a massive difference—especially in overcast conditions.
For subjects with darker or warmer skin tones (e.g., Black, Hispanic, Indian), opt for a gold reflector instead. It brings out warmth and flatters skin beautifully.
Step 3: Capture a Range of Portraits
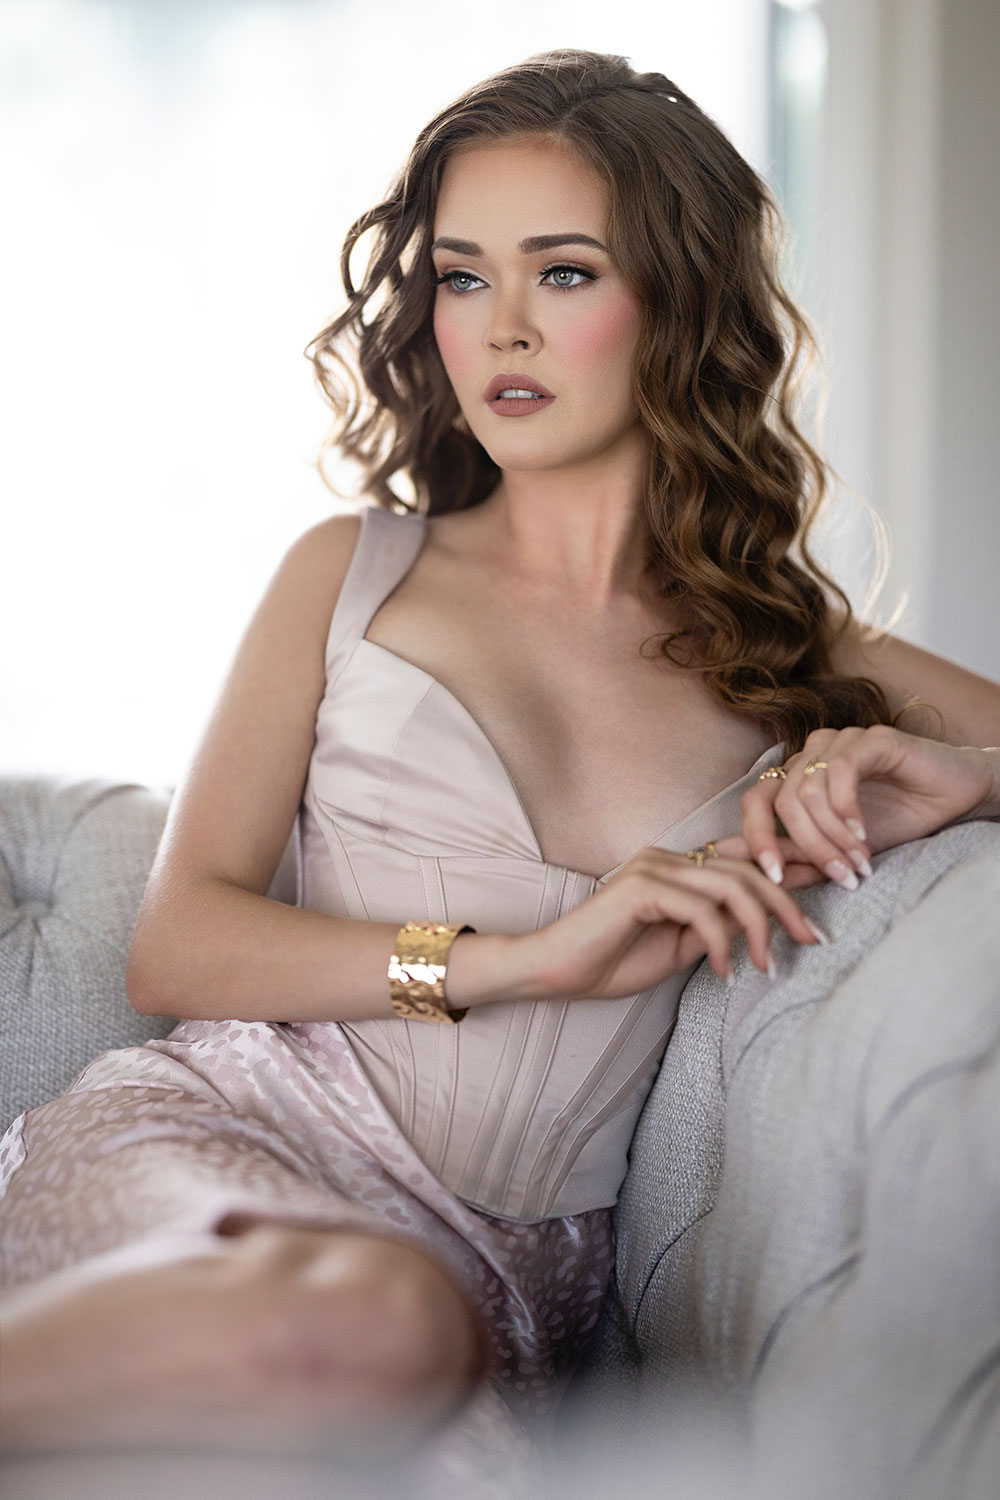
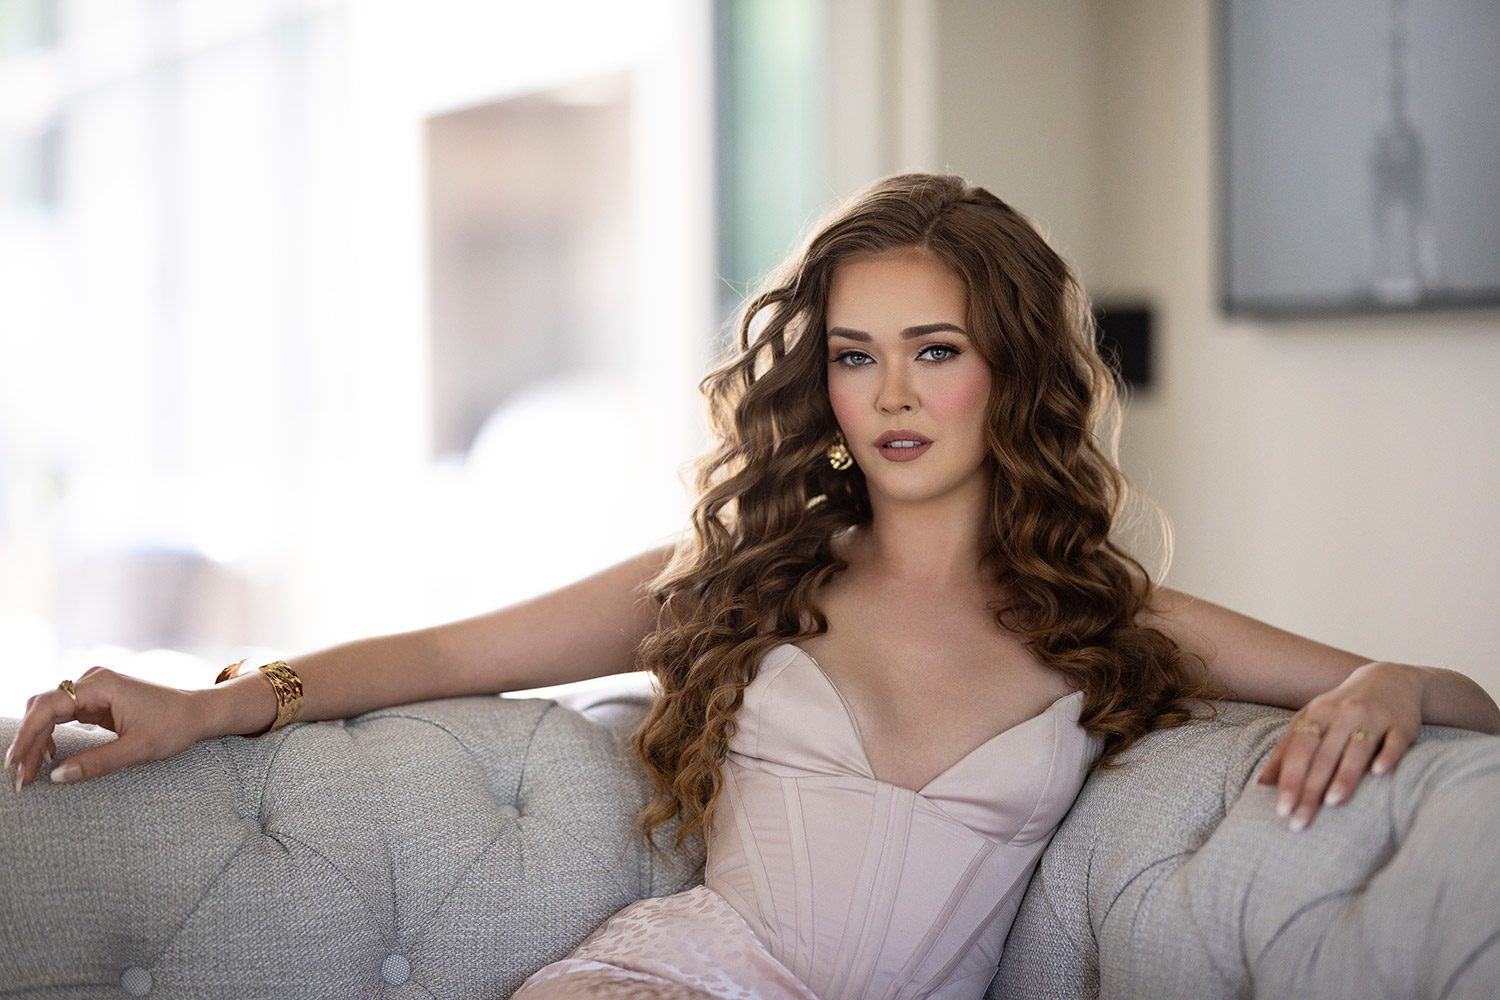
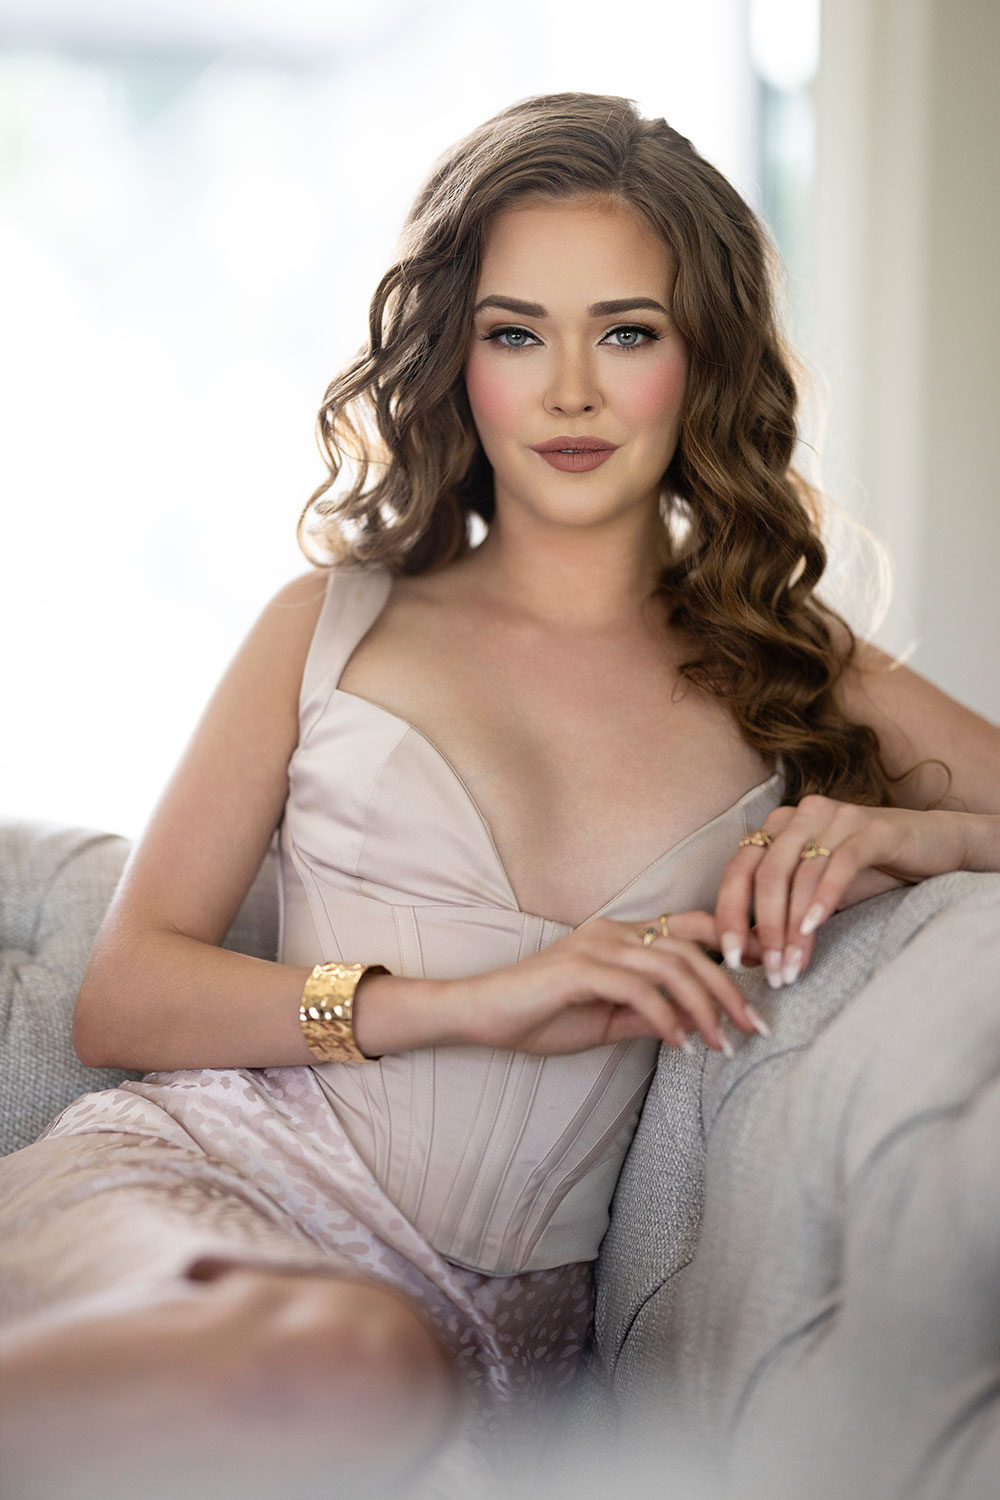
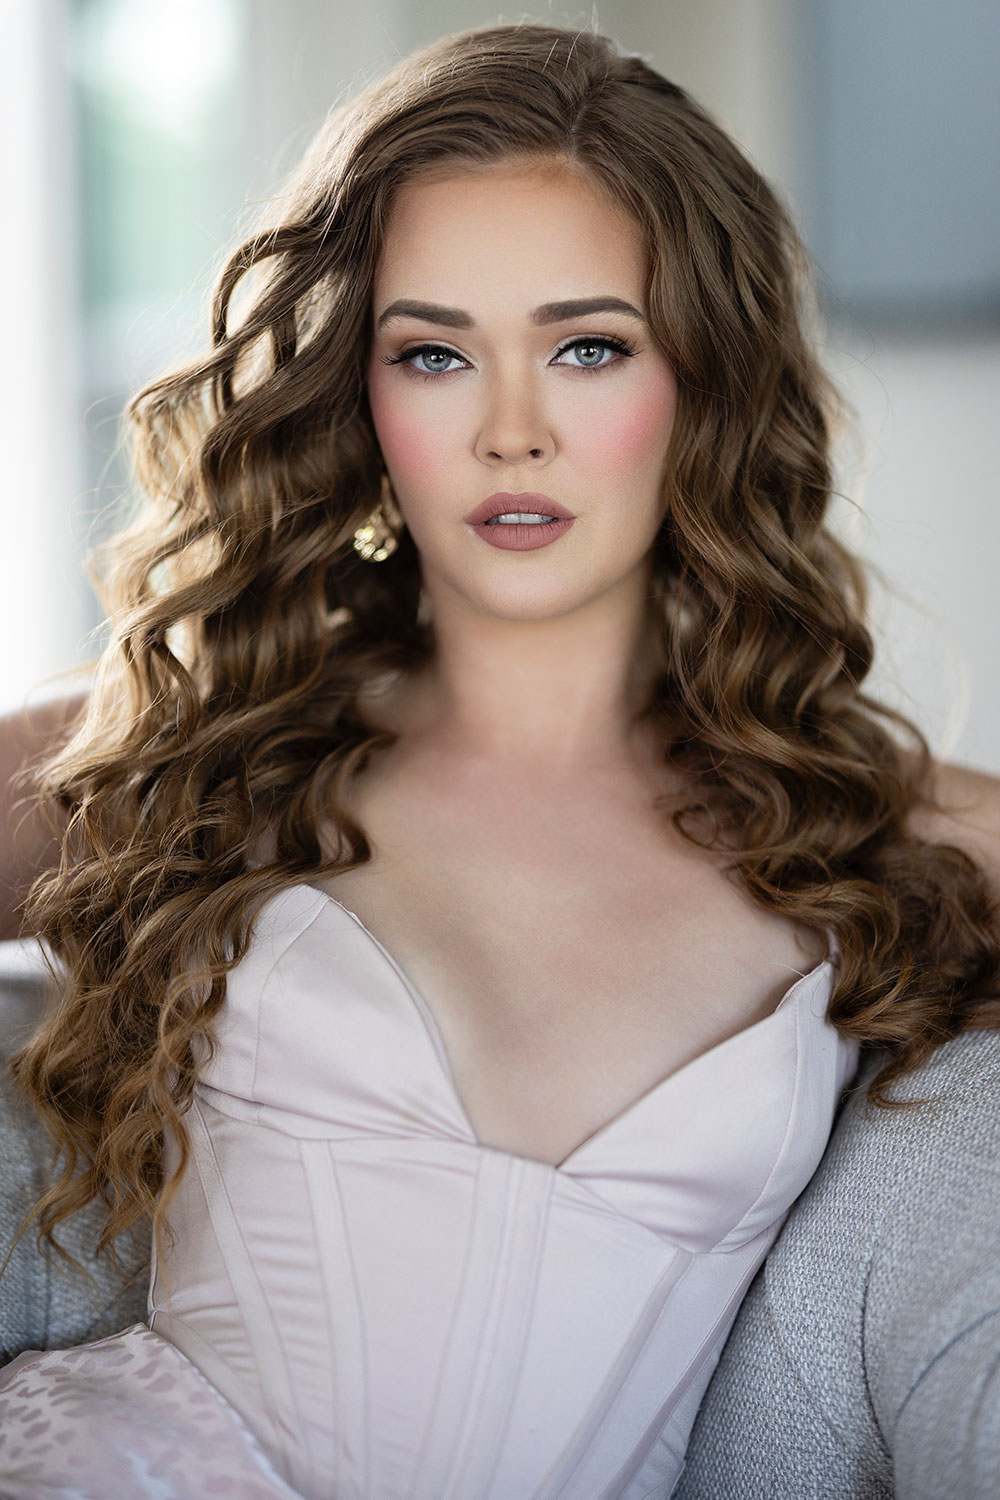
Think beyond the standard headshot. Aim to capture a variety of angles and compositions:
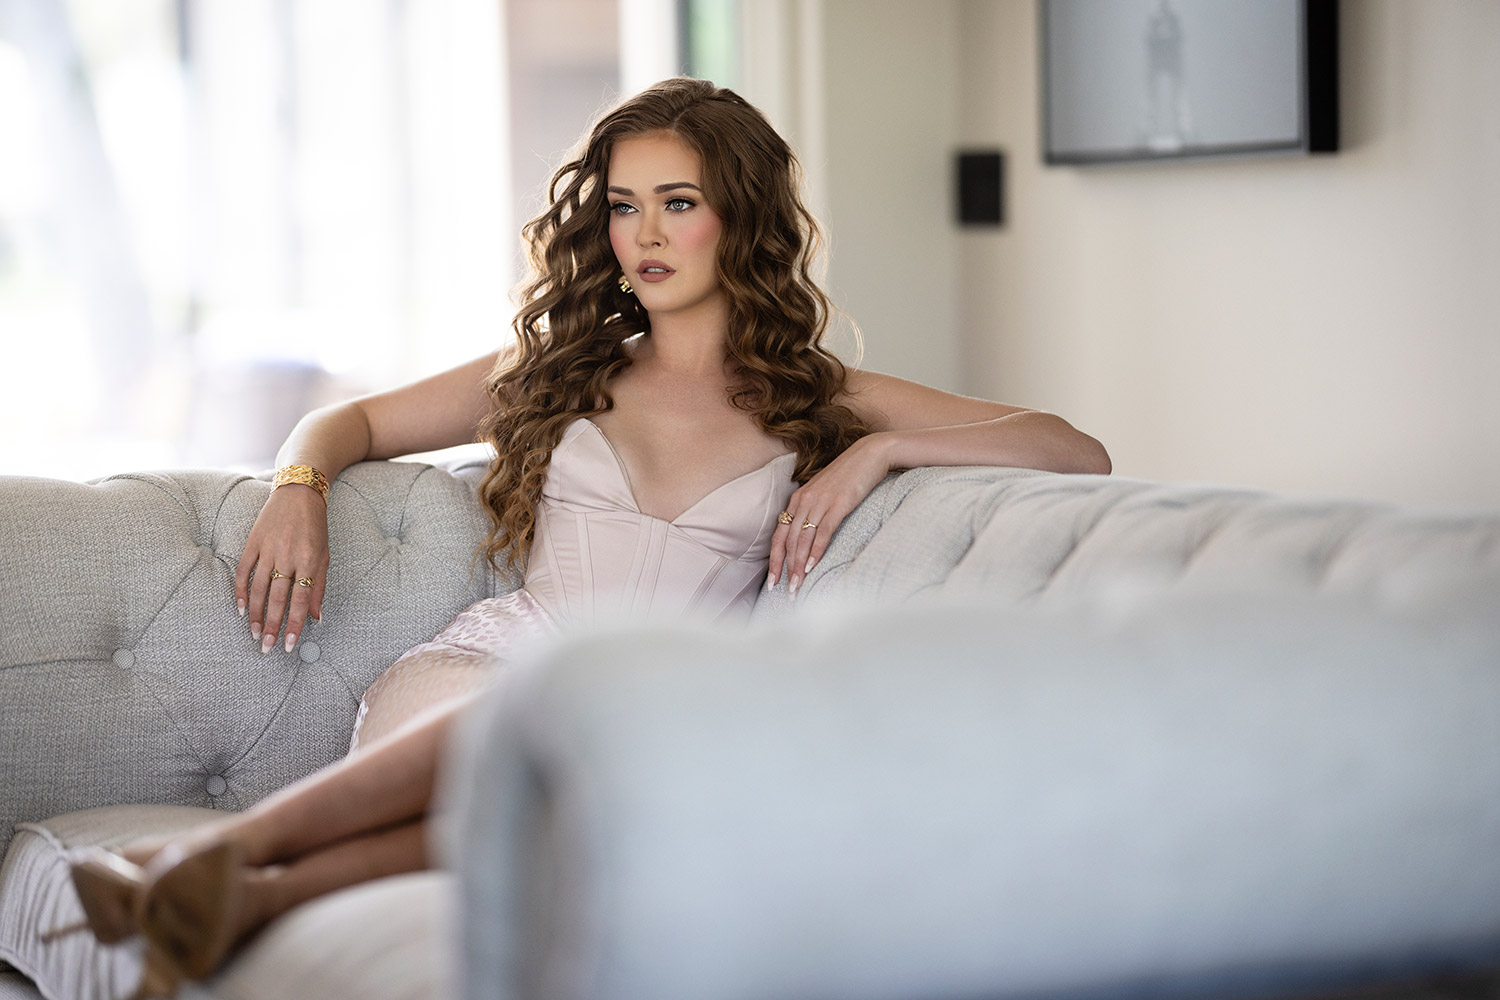
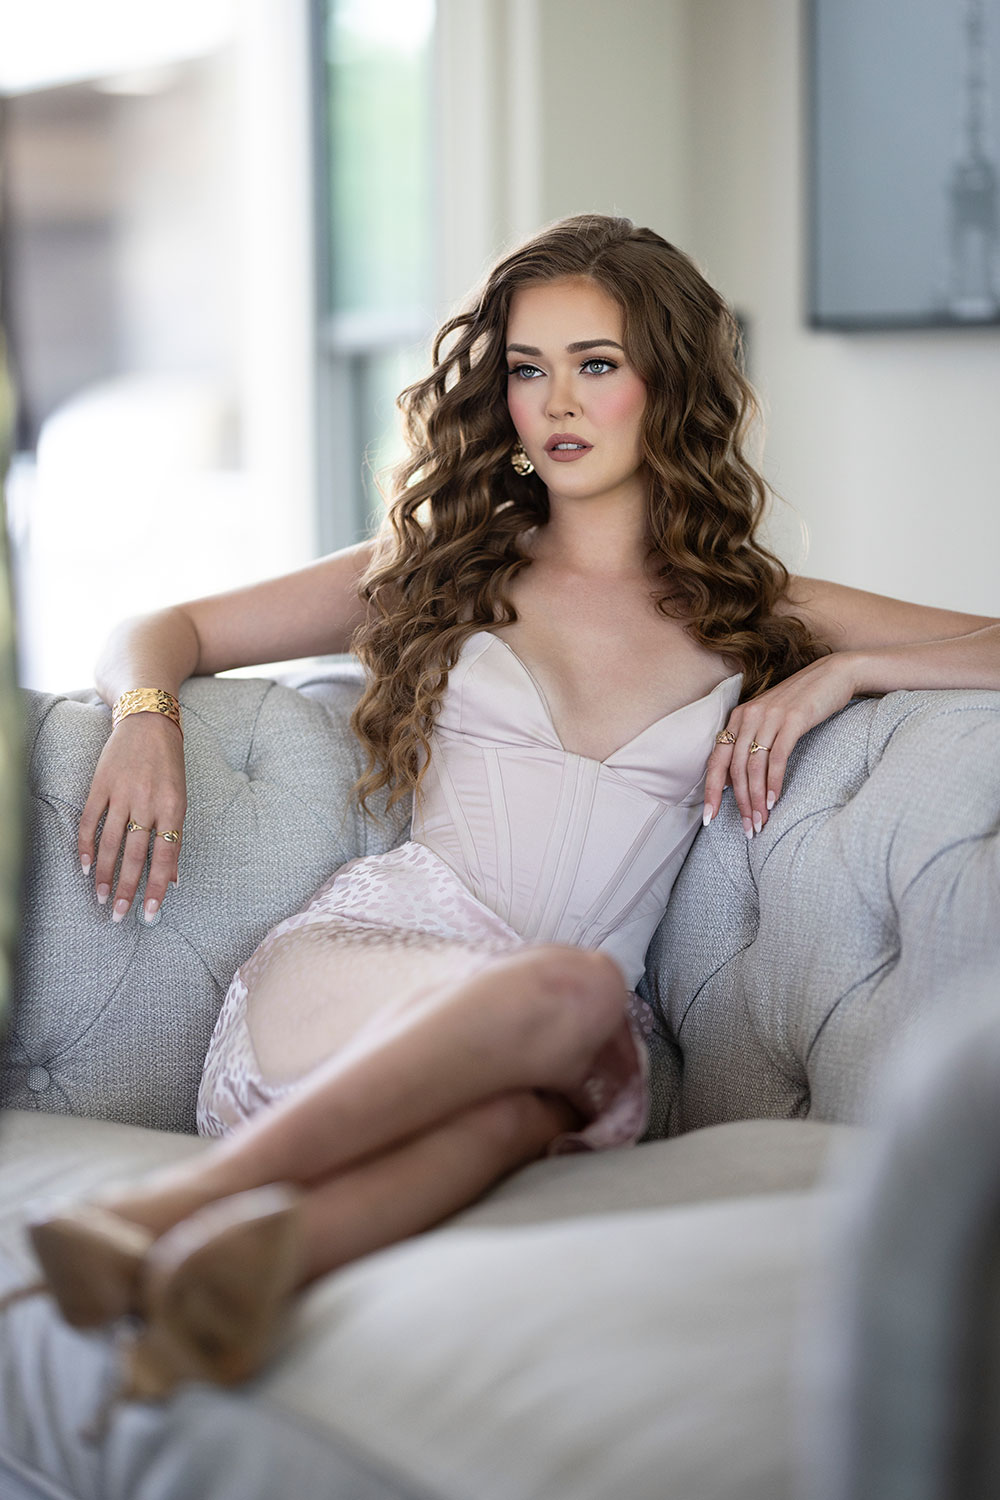
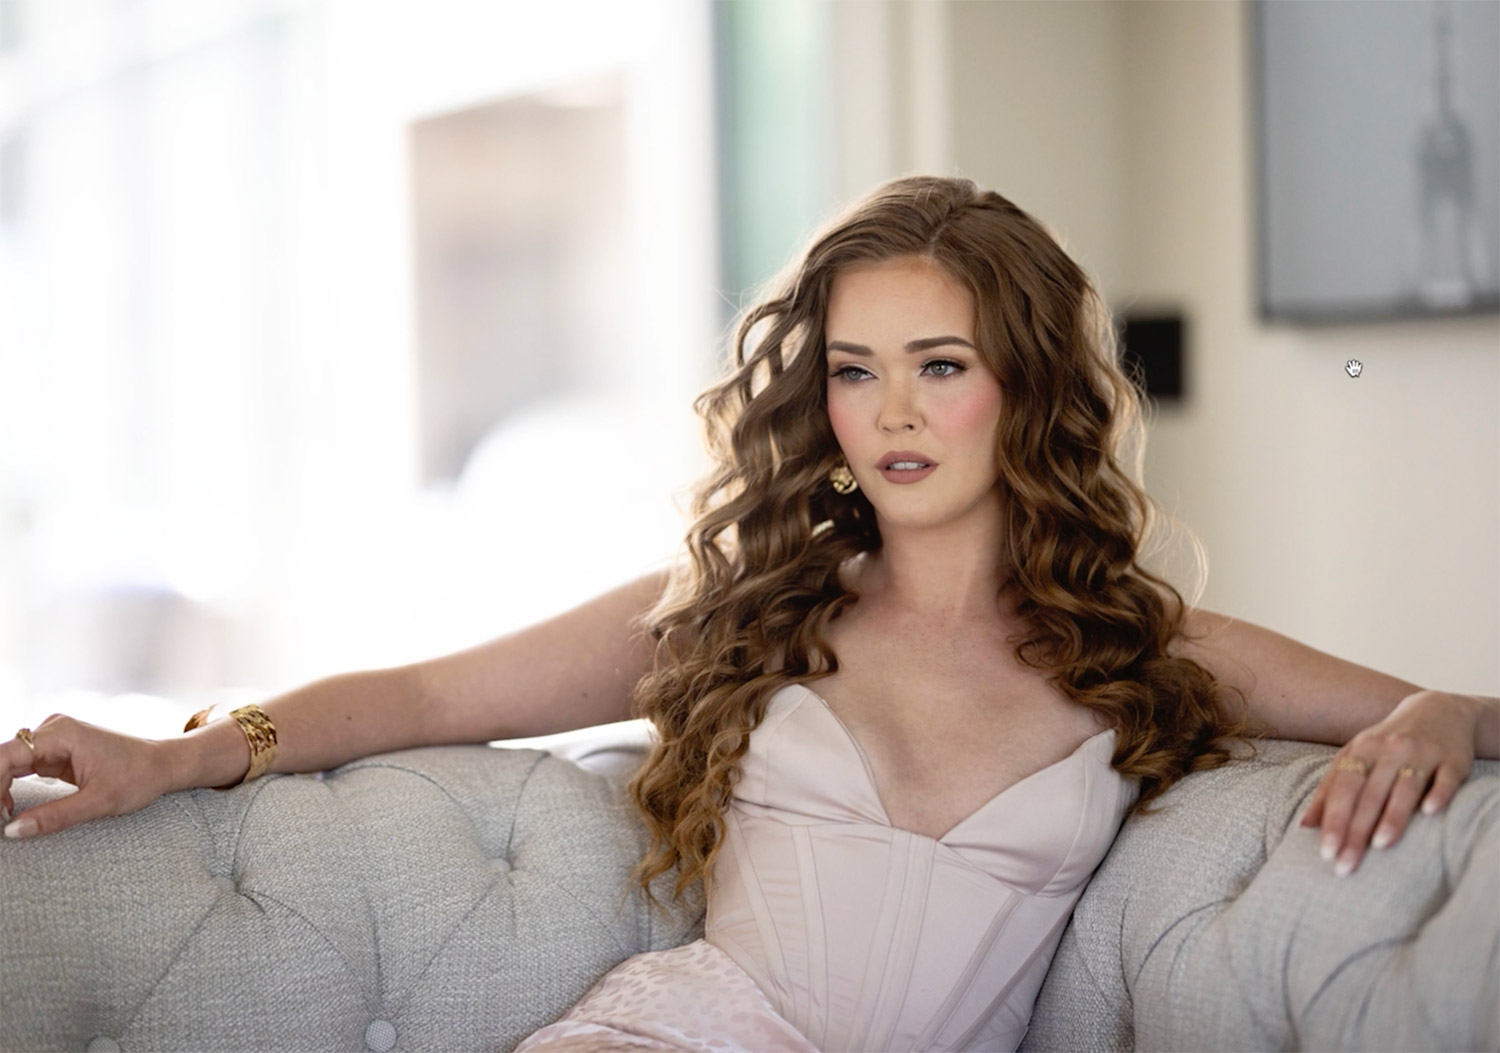
Full-Body Portraits
Settings: f/1.2 @ 1/200, ISO 400
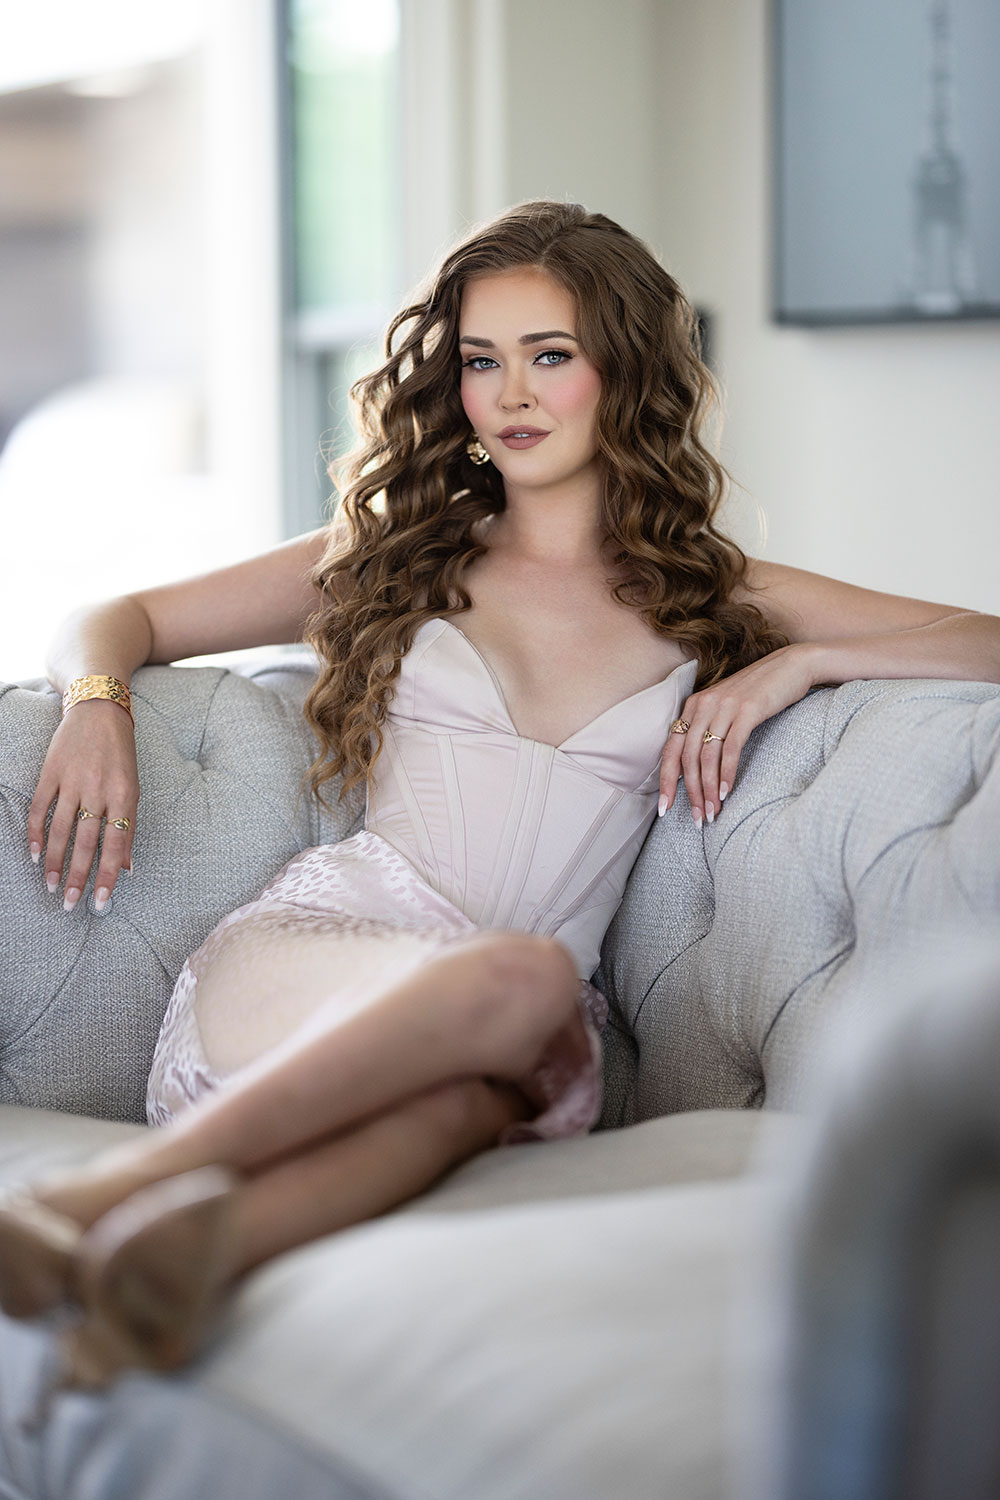
Mid-Shots
Settings: f/1.2 @ 1/200, ISO 400
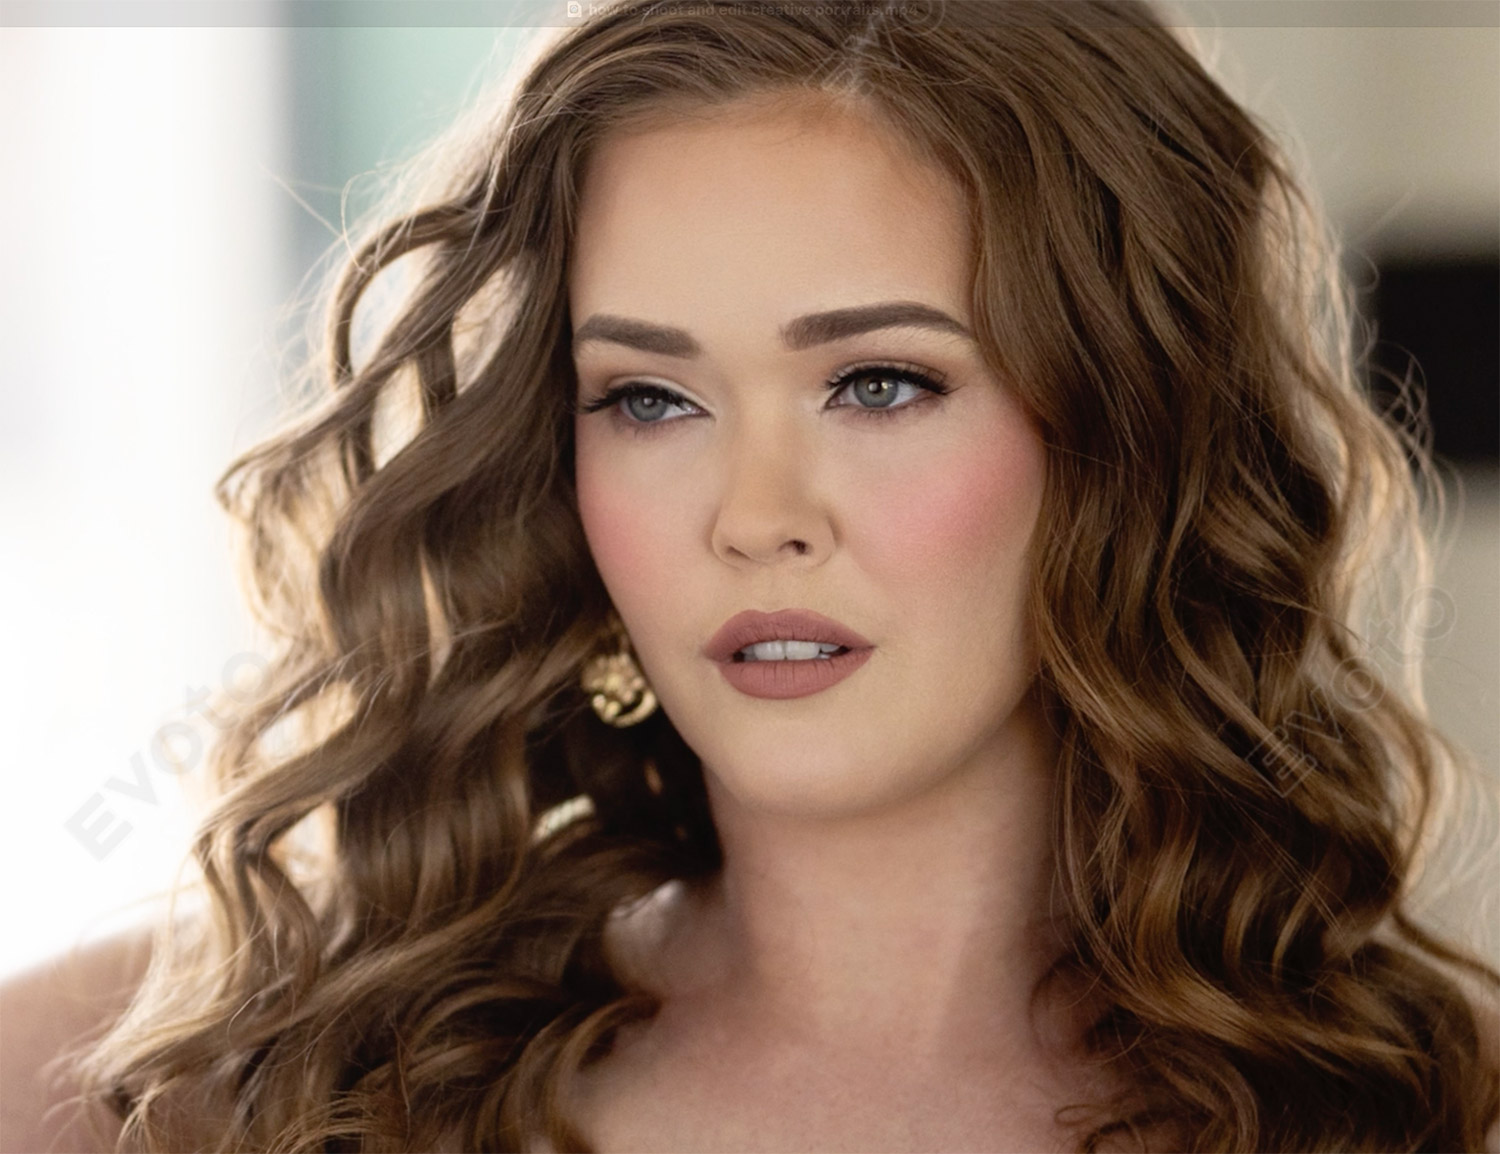
Tight Close-Ups
Settings: f/1.2 @ 1/200, ISO 400
This gives clients more to choose from and helps build a dynamic portfolio that showcases versatility and creativity.
Step 4: Editing Creative Portraits - The Real Magic Happens Here
Once the shoot wraps, it’s time to polish and stylize. For this edit, we used Evoto AI, an intuitive photo editing platform designed for portrait retouching and creative stylization.
Here’s how to streamline your editing workflow:
☑️ Start With the Basics:
Color correction (before anything else).
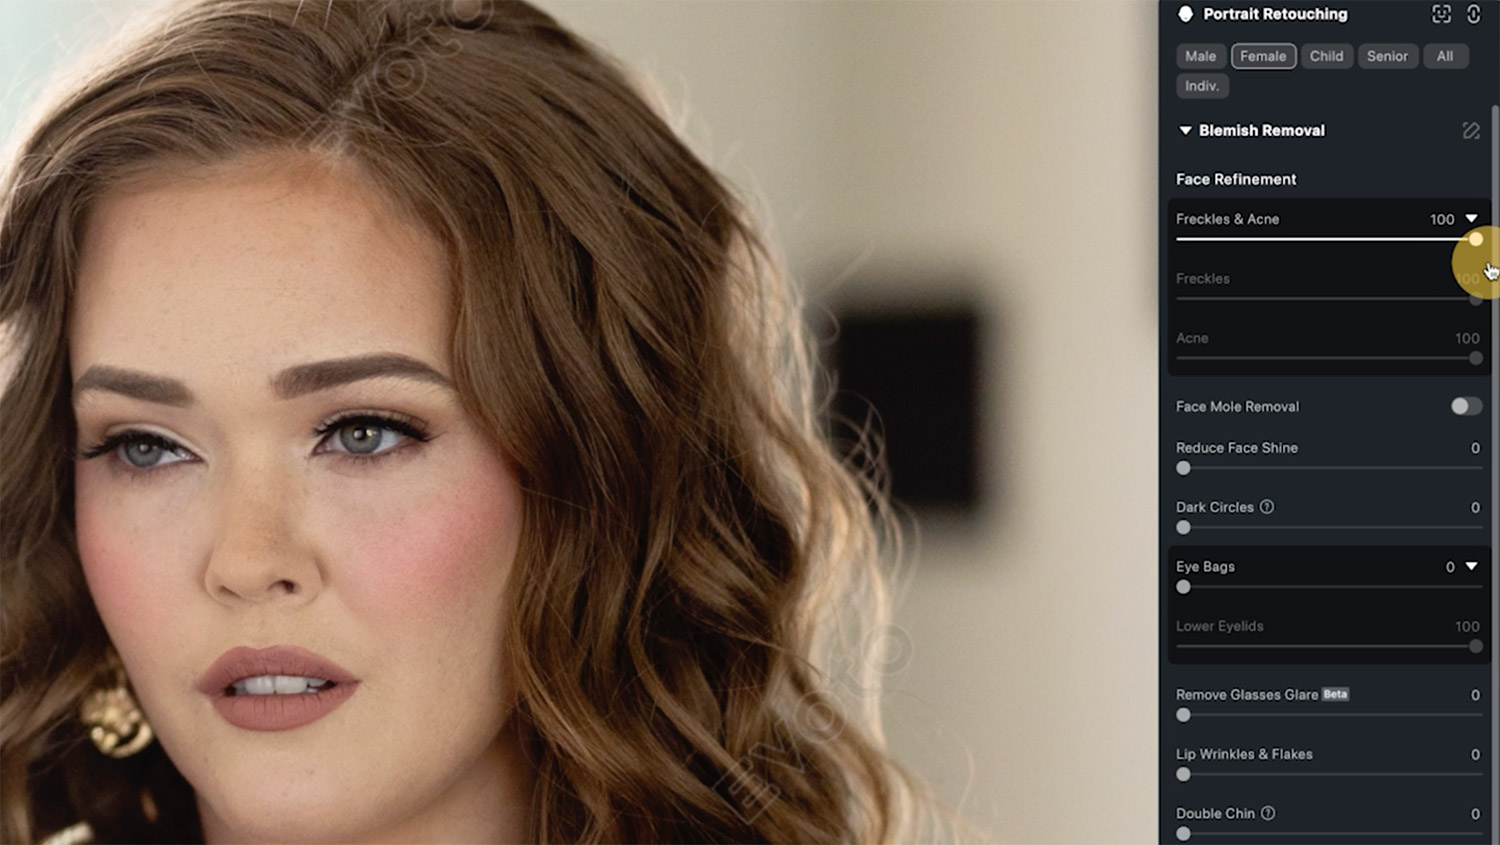
Use the freckles + acne tool to clean up skin without losing natural features.
Gently reduce eye bags and dark circles.
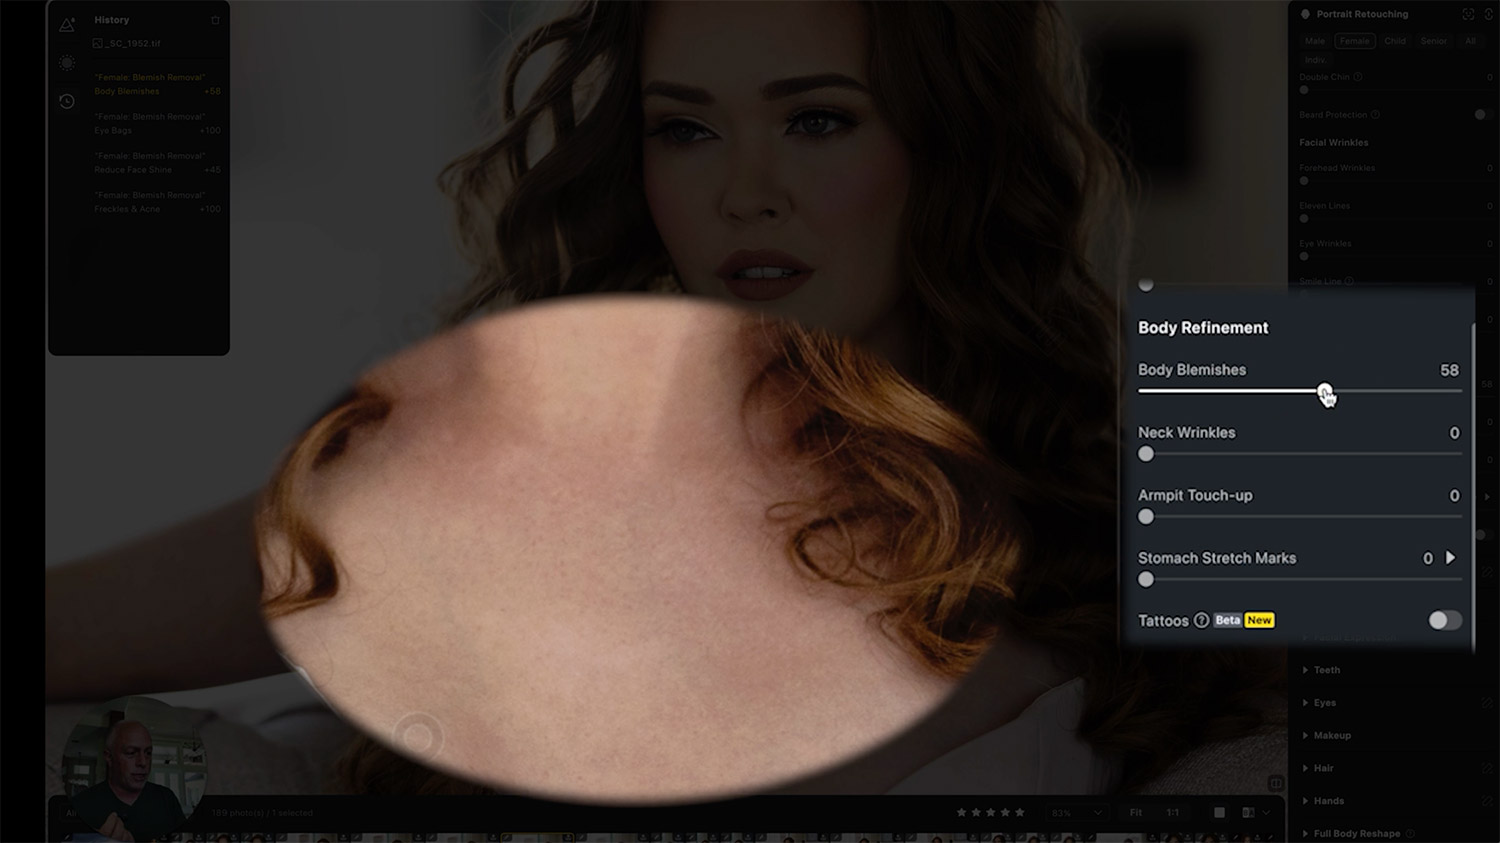
Apply body blemish removal to match the face and neck tones.
☑️ Skip the Over-Editing:
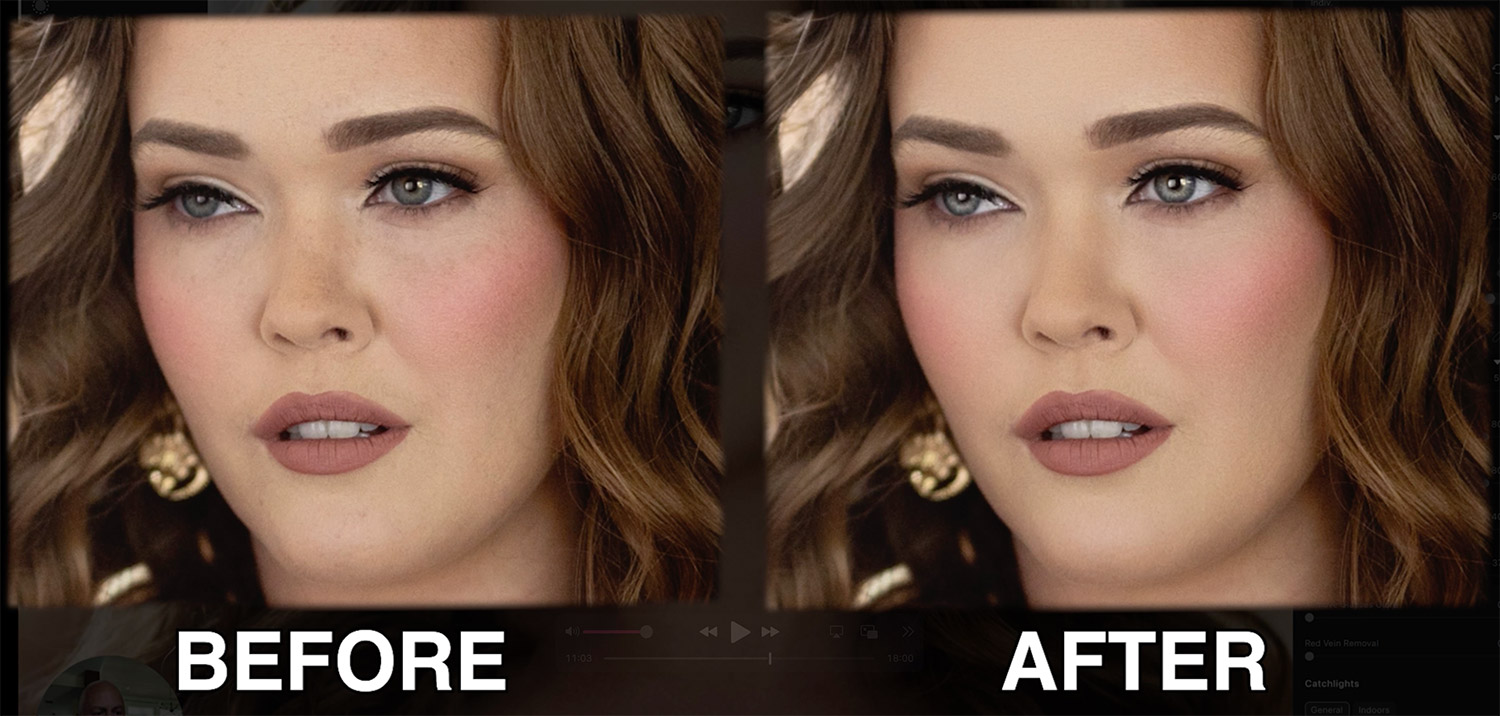
We didn’t use much skin softening. Good lighting, shallow depth of field, and professional makeup go a long way. Avoid making clients look “plastic.” Leave subtle texture and lines—they’re human.
Face Refinement
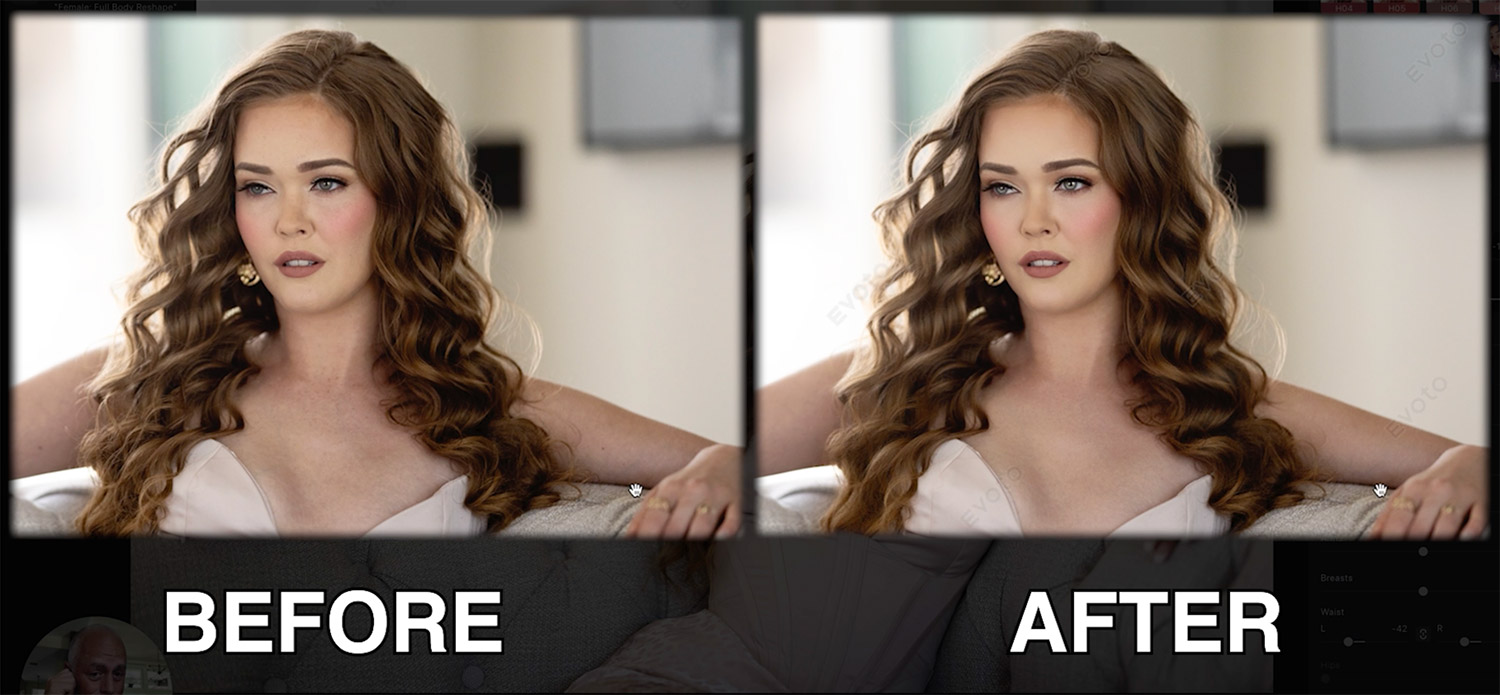
Body Refinement
Step 5: Add Depth With Sculpting Tools
Evoto’s dodging and burning panel adds subtle yet powerful facial sculpting. It mimics the effects of makeup contouring and enhances the natural structure of the face by:
Brightening highlights
Deepening shadows
Defining cheekbones and jawlines
These minor tweaks can dramatically elevate your portrait work.
Before
After
Step 7: Apply Subtle Makeup Adjustments
Even if your model had professional hair and makeup, you can use Evoto to slightly enhance:
Eye makeup
Lip color
Facial contouring
Hair volume and shine
These subtle touches help combat any flattening from lighting and maintain a polished look without going overboard.
Step 8: Stylize Your Image With AI Color Grading
Here’s where you take your creative portraits to the next level.
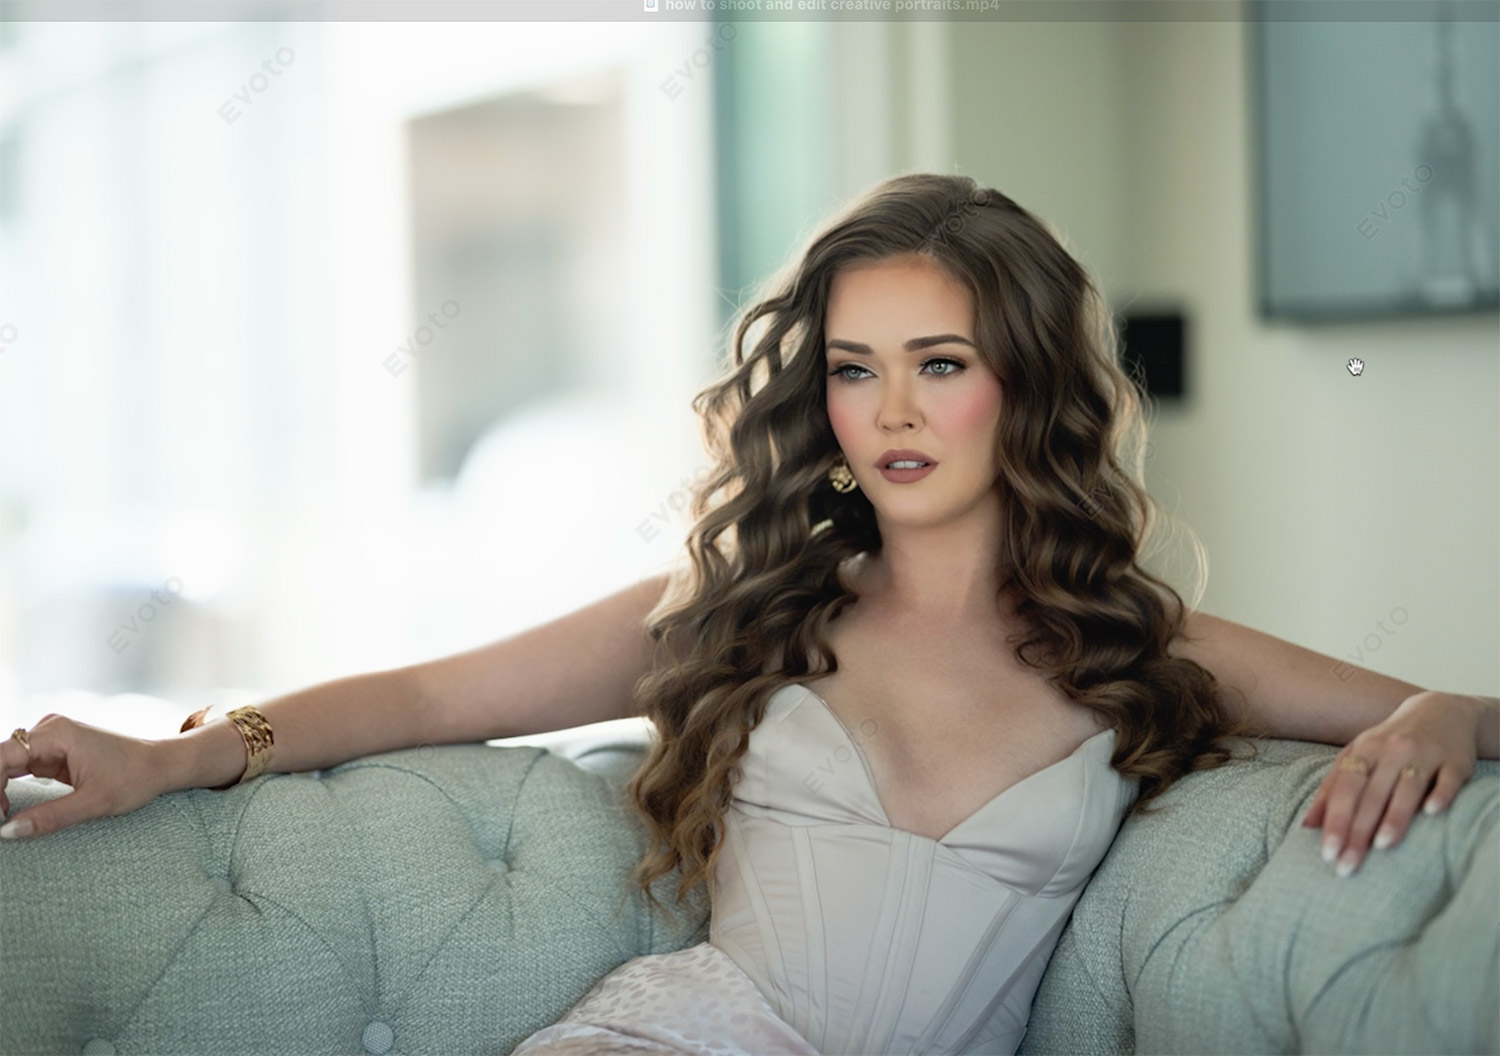
Using Evoto’s AI Color Adjustment, you can upload a cinematic color palette—like a LUT pulled from a movie or a Pinterest reference—and apply it to your image. It’s a game-changer.
For example, we applied a Dunkirk-style LUT and dialed it back to taste. The result? A moody, cinematic portrait that feels like a movie still. You can warm it up, tone it down, or create multiple versions to showcase different styles to your clients.
Before
After
Step 9: Sync Edits Across the Entire Shoot
Here’s where the real time-saving happens. Once your look is finalized, you can sync your edits across the entire gallery. Whether you’re working with 5 or 50 images, this ensures a cohesive look and saves you hours of manual editing.
And with Evoto’s per-image pricing (as low as $0.07 per photo), it’s not only fast—it’s affordable.
Final Thoughts: Find Your Signature Style
When learning how to photograph and edit creative portraits, the most important thing is to develop a look that reflects your brand. Editing is subjective. What matters most is that your clients love the results and that the final image is something you’re proud to put your name on.
Whether you’re going for dreamy and soft or edgy and cinematic, every choice—from how you shoot to how you edit—should align with your creative vision.

