
How to Rock Your Styled Shoot with Jewels Gray
Want more information on this article? Get access to video content and additional supporting images. Launch the July issue of the magazine by logging in or signing up for a free account by clicking here. Shutter Magazine is the industry’s leading professional photography magazine.
My big thing is styled shoots. I love them. I love coming up with a unique concept, obsessing over the details, styling the models and working with vendors for a cohesive design.
They also give me a chance to shoot something I want to shoot (as opposed to weddings where I have no control over the timeline, lighting or weather), and they let me practice new poses and lighting ideas.
Getting Started
When I started out on my own, I didn’t have a full wedding to show. I had always been a second shooter, so I had a lot of detail shots and candids. I didn’t have the wide money shots and portraiture to complete the collection. Styled shoots gave me something to show potential clients what a full wedding collection might look like. I still use the first one I ever did as an album studio sample.
Putting them together can be a daunting task. It can take months, but they’re totally worth it, from building relationships with vendors to getting those photos published.
What’s Your Concept?
First you need to come up with a concept. What inspires you? Is there something or somewhere you have always wanted to shoot? Perhaps you’d like a good excuse to get on a venue’s preferred list. Or maybe you just want to do something crazy and different. I am inspired by unique locations, fashion and movies.
So You Have An Idea—Now What?
I would start with research. Has this concept been done before? If so, what did you like and dislike about it? How can you make it better or different? Obviously, you wouldn’t want to copy something someone else did. Put your twist on it. I wanted to do Bonnie and Clyde themed shoot at last year’s ShutterFest. I love the styling of that era, their story, and all the details you could incorporate were awesome (guns, money, vintage car). Sure, it’s been done, but I haven’t seen a Bonnie and Clyde shoot that I was in love with; many aren’t complete shoots with a tablescape, flowers and props.
Making It Happen
At this year’s ShutterFest, I wanted something killer for the Rock Your Styled Shoots hands-on class. Last year I did get to do Bonnie and Clyde, but it rained buckets the afternoon of the shoot, so we didn’t get to use the Model A I had lined up. I love using old cars as props, so I take advantage of every opportunity to incorporate one into a shoot. I was more determined than ever to make it happen this year.
This year, I wanted to execute an idea I’ve had for several years, something ’60s mod/Elvis and Priscilla. I love rock and roll, big hair and lashes, and could easily pull the styling together. I also found out that May 1 would have been Elvis and Priscilla’s 50th wedding anniversary, so it was perfect.
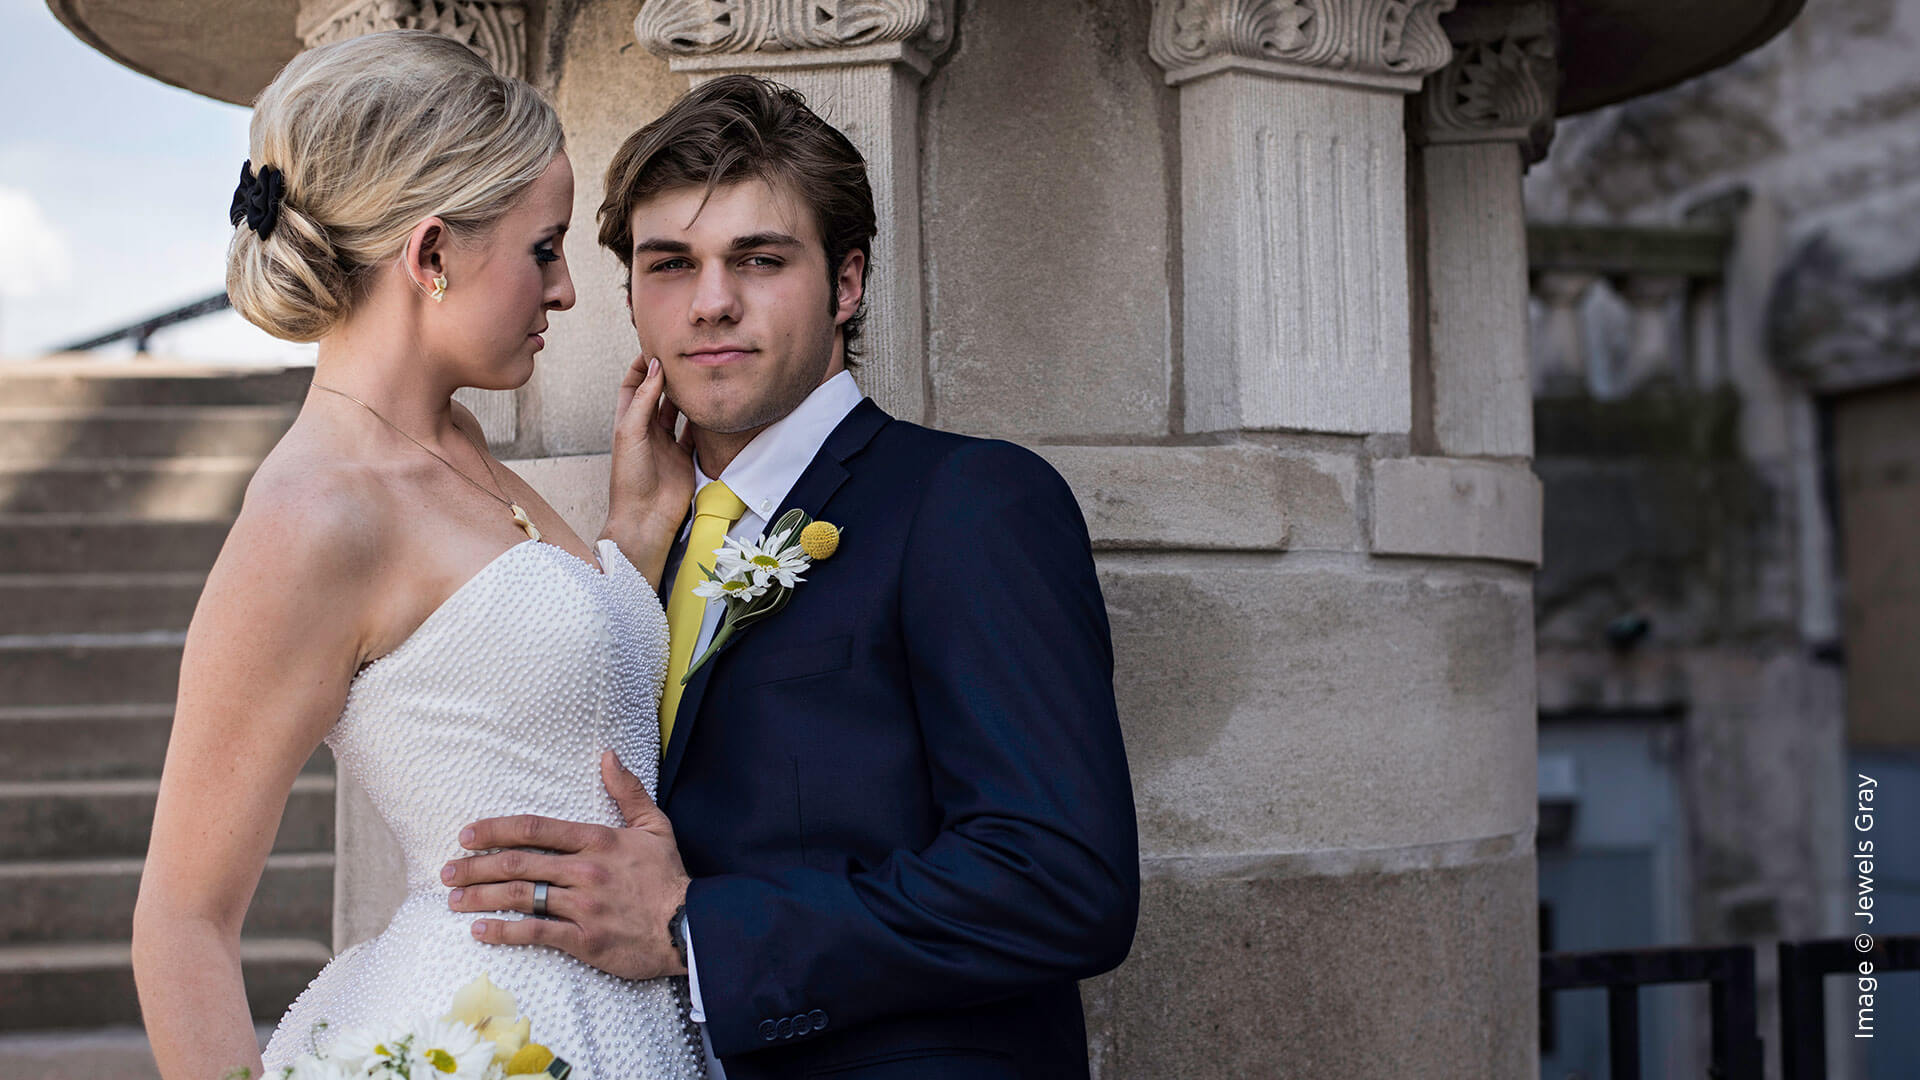
The story is that Johnny and Presley eloped and had a courthouse wedding, small and intimate, just the two of them. Later, they wanted to throw a party for their friends and family. The Union Station Hotel in St. Louis had all the perfect locations to tell the story—from the blue suede couch in an atrium to the natural light of the reception setup, the steps out front simulating the steps of a courthouse, to the grand archway where we parked the car, setting the tone of the shoot.
The logistics of putting it together were challenging, since I am in Denver and ShutterFest is in St. Louis. I had to put together my team of St. Louis vendors. I made a list of the ones I wanted to work with, and asked if they would be interested. A couple of them passed, but eventually I got everything I needed. Some of the smaller stuff I brought with me, but that’s not possible with some things (cake, flowers, table, chairs).
Benefits for Vendors
The benefit for vendors is that they get to show off their work, gain exposure for their business and get professional portfolio shots of their product. By tagging and linking to your vendors, you’re building a relationship with them, and they’re getting value. Inbound links to their websites help their SEO, and every time the shoot gets published, you’re both getting inbound links and, hopefully, leads.
Start Here
The first place to start compiling your ideas is Pinterest. It’s an incredible resource for collecting your ideas. I make a board and start pinning anything and everything to it that might work for the shoot. Then I start refining it by deleting those pins that don’t necessarily work together. Sometimes I invite other collaborators to pin to the board; that way, you both see your ideas in one place so you can make them more cohesive.
Next, build your team. Make a list of the vendors you want to work with—your dream team. When you ask if they’re interested, be enthusiastic. Sell them your concept and brainstorm how to make it work. If they’re too busy or not interested, that’s okay, don’t get discouraged. Just move on to your next choice. Involving a planner is always helpful because planners help you with coordination and logistics of the shoot; it also gives you a chance to work together and build a relationship for future business. Building those relationships and providing a good experience will bring more referrals, and that is the best form of marketing.
The Shoot
Executing the shoot can be an all-day affair, and sometimes multiple days. It snowed on the day of our Gold Rush shoot in Colorado several years back, so we had to do the outdoor portraits two weeks later. Thankfully, the models were down, and we shot at the Colorado Railroad Museum (which wasn’t initially planned), and the pictures turned out awesome. Again, flexibility goes a long way.
Make a list of the shots you want to get so you don’t forget. I also find it helpful to have a cheat sheet of poses, compositions and lighting I want to try. These images will be in the portfolios of your vendors, so get some killer shots for them. The shop that provided the dress and formalwear still uses my images in its marketing and has a huge print in its showroom.
Publishers
Publishers love details, the more the better. So my workflow on the day-of is to shoot wide, middle, tight, horizontal and vertical. This gives publishers options when they put their spread together. I also try to incorporate multiple elements of details into each shot. If I’m shooting a tablescape, I don’t just shoot the place setting by itself. I have the top of the chair in the foreground and the centerpiece in the background. This gives your image depth and makes it more interesting. Next, narrow in on the place card and use the top of the plate in the foreground or off to the side, and use the flowers in the background. If you start with your wide shots and work your way down to all the tiny little details, you’re bound to get lots of variety and not miss anything.
Editing
Now it’s time to get to work editing and polishing the photos. They need to be ready to go to print once you submit them for publication. One of the biggest mistakes I made starting out was not editing the entire collection the same way. We would do a few signature edits, but then the rest of the collection would be kind of boring and less dramatic. Even though the concept was unique and we had lots of details and images to choose from, they wouldn’t get picked up, and this is why. There has to be consistency.
Two Bright Lights
My favorite platform for getting published is Two Bright Lights. It’s efficient and affordable, and makes it easy to track what is going on with each submission. It brings the photographer and publisher to one convenient location. No longer do you have to go to each one, size the collection to their specs and submit them whichever way they prefer (Dropbox, email, zip file). All you have to do is upload the collection, enter your vendor team, include the story/details of the shoot/event and choose which publications you would like to reach. Done. They’re sent all at the same time, and you can easily see which ones are accepted, rejected or otherwise. For more information, visit www.twobrightlights.com.
Reach
Right after ShutterFest, I posted a teaser shot on Facebook and Instagram. I tagged the models, the venue and all the other vendors involved. So far, the reach is over 4,000. That may not seem like a lot, but that’s just from the first image.
Summing Up
The most important element of the entire process is to enjoy it and have fun. I keep a list of shoot ideas on my whiteboard in the office so I can constantly be thinking of the next one. There are a few that have been floating around in my head for a while, and I hope to execute them in the next year.
For more details about the shoot, visit my blog at https://jewelsgray.com/60s-mod-wedding-stlouis-photographer/, and keep your eyes peeled—they may be coming to a wedding publication near you.
Models: Joshua McCall and Stephanie Morrison (a real couple) | Venue: Union Station Hotel, St. Louis, MO | Dress: | Formal wear: Model’s own | Tablescape: | Florals: Artistry Florist & Event Design | Chair Rentals: Weinhardt’s | Cake: The Sweet Divine | Guest Book: | Vehicle: Motoexotica | Hair & Makeup: Jewels Gray | Shout out to my friend who took a load of stuff I couldn’t fit in my suitcase: Vinessa Olp | Special thank you to my lovely assistant Sharon. | Special thank you to my girl Chelsea for being my wheels while in town.


