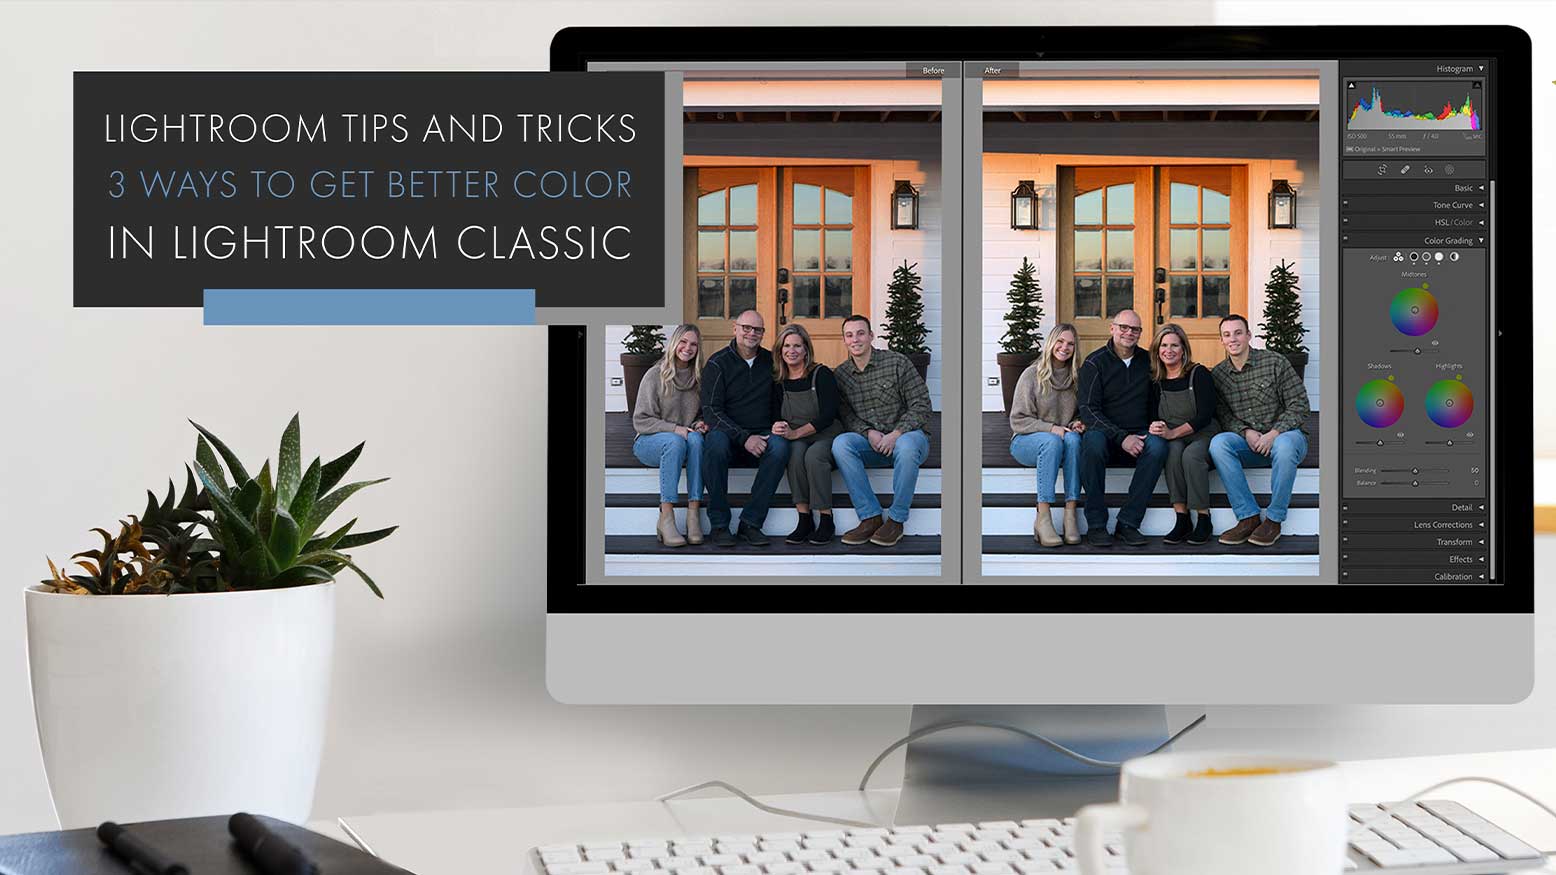
Lightroom Tips and Tricks: 3 Ways To Get Better Color In Lightroom Classic with Dustin Lucas
There are so many avenues for editing color when it comes to Lightroom Classic and it’s easy to get sucked into the minutia of buying presets and profiles. As photographers, we’re always on the hunt for better color and to make our images look the best they can. So how do you get to that place where you are confident with your own editing? You have to start somewhere and develop a system or workflow. Once you have an editing workflow you will start to better manage quality while editing efficiently. That’s where these three tips and tricks to getting better color in Lightroom can help!
Tip 1 is to calibrate your tools from camera to your computer monitor. Tip 2 is to apply the right camera profile to your images to align color in camera with what we see on the screen. Along with applying starting point settings from a preset, we can hit the consistency we need right out the gate. Tip 3 is using the target adjustment tool to dial in hue, saturation and luminance or HSL color by color. These three tips will get you a good base to then white balance your images as you see fit.
Tip 1: Calibrate Your Tools
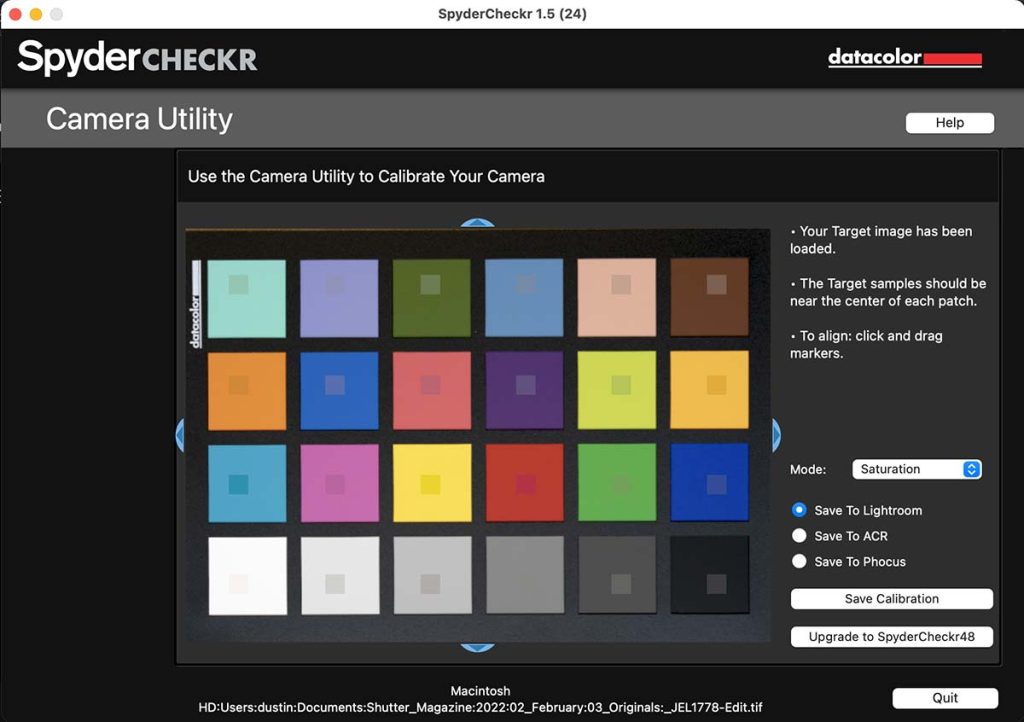
It goes without saying that as creatives we want total control, and you should calibrate tools like your computer monitor, camera, lens, printer, etc. to achieve this. Brands like DataColor and X-Rite provide the necessary tools to do this and, of course, always check your computer’s spec on the best option. I have an Apple XDR screen so I can’t use these tools on my MacBook Pro, so I have an external monitor I plug into to manage my calibration. I will dive into monitor calibration later this year, but for now I want to focus on the Camera Calibration software from DataColor called SpyderCheckr to dial in colors. It’s simple to set up and massively helpful to get you to a standard base for color.
You will first need to purchase a color grid and photograph it in even lighting with daylight as the only source of light. With your purchased color grid you will have software to download and install. Then import the Raw file into Lightroom Classic and make adjustments to ensure white balance and exposure/density are set to the directions of the grid software. Once you create the preset you’ll need to relaunch Lightroom Classic. Now we can apply the new preset created to apply our custom-built HSL settings to get a more consistent result. Now before we move onto Tip 2, it’s important to understand the limitations of using this custom preset. It’s not a one size fits all adjustment for color, and be sure to read the best practices from the company you purchase them from.