
Location Glamour with Nino Batista
Want more information on this article? Get access to video content and additional supporting images. Launch the January 2018 issue of the magazine by logging in or signing up for a free account. Shutter Magazine is the industry’s leading professional photography magazine.
Bedrooms, bathtubs and showers, fancy houses, hotel rooms and pools are all common glamour photography locations that have been used for decades, and for good reason: They work. Shooting “sexy” outdoors conveys a risqué feeling because of its potential voyeuristic appeal. Here are some things to keep in mind when you head outside to create glamour sets or editorials.
Glamour is delightfully pointless. But then, most art is. With its zero practical purpose, glamour photography is about conveying a beautiful sensuality through imagery, whether an obvious editorial type of storyline is present or not. Often, a strong and direct contrast between the subject and the scene (say, “lingerie model in a busy city street”) may create the requisite shock value you’re after, and other times something softer and more connected (“see-through sundress in a rural field at golden hour”) works better.
Regardless of where your vision leads, let’s review some of my observations in the realm of outdoor glamour.
Sell the Location
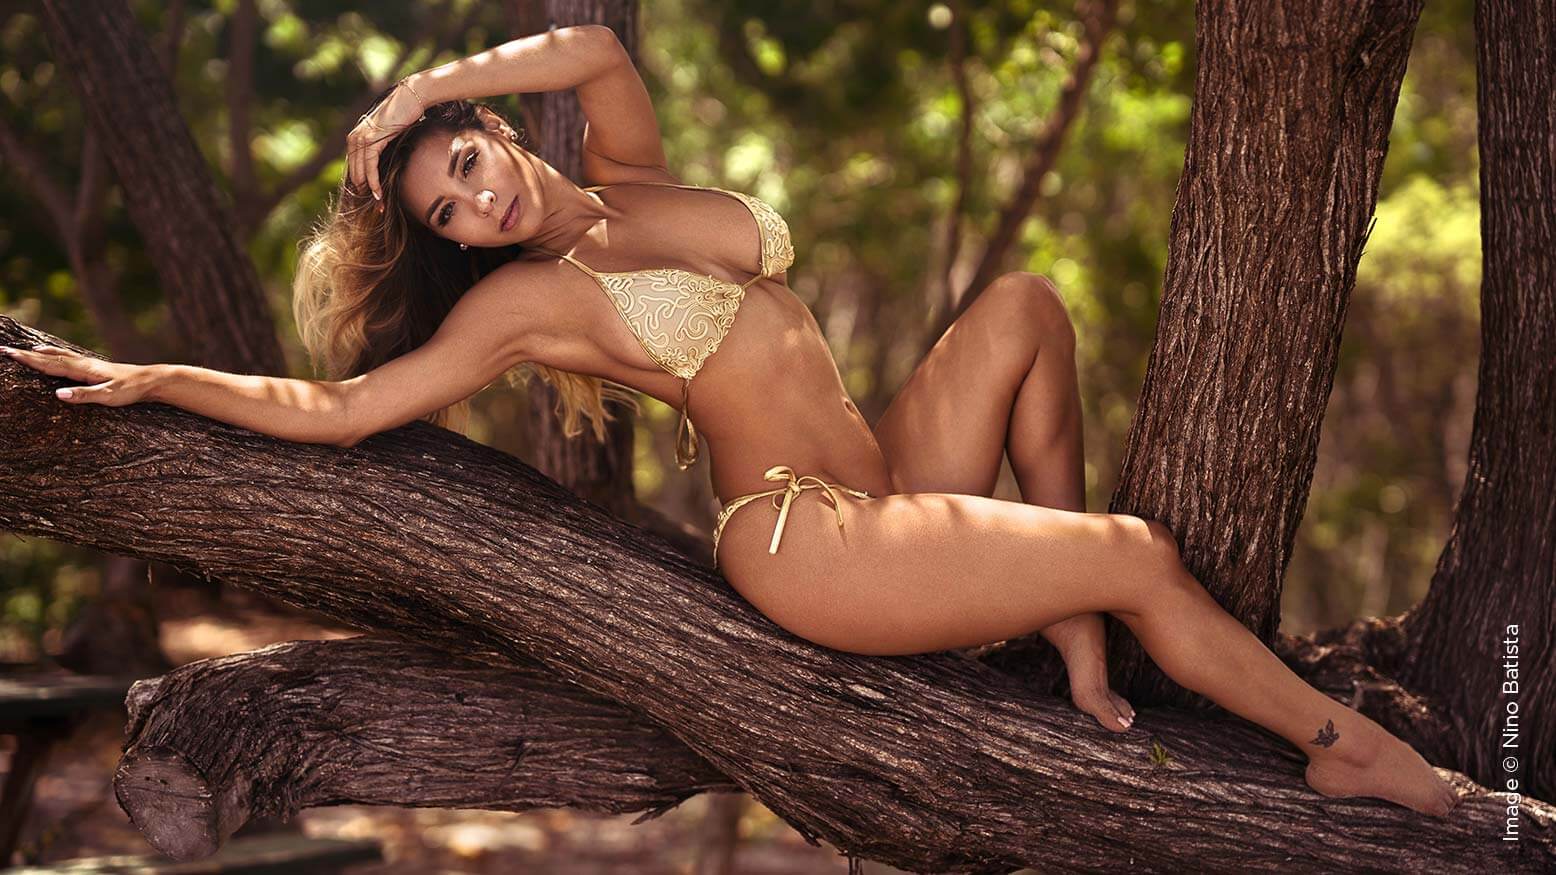
Let’s get right to it and discuss the most important aspect of location shooting: selling the location. No, this isn’t a real estate venture. Think about why you trekked off to your location in the first place. Whether it’s the woods, a wide-open desert, a dilapidated warehouse, a Victorian mansion on the coast or just a cheap motel room, you chose the location for a reason. You have to sell it in your final images. But how?
There are a few schools of thought and different artistic approaches. If you prefer environmental portraits, use wider focal lengths and hyperfocal settings to capture the location in your shots by default. That said, I have always found that shooting wide and hyperfocal can be tricky, and often takes more work to create something stunning.
A key aspect of hyperfocal environmental portraits is styling. Since you’re not exploiting the glorious aspects of camera blur, almost every detail is as clear as ever in your environmental portraits. Leave no stone unturned, and take the time to review the entire scene in detail. The placement of one item can make or break the flow of a shot, either enhancing or disturbing your leading lines, or even the overall geometry of your composition. You’re not hinting at a scene, you’re displaying it—and the set is just as important as your subject. Environmental portraiture is not as easy as it may initially seem, but when it’s done right, it’s stellar.
But what if you want your shots to only hint at the location? From the technical side of things, you may be employing longer focal lengths and slimmer depth of field. This is where I find most of my inspiration and my preferred looks. But one should never just hide behind thin depth of field when shooting on location.
Perhaps you’ve acquired access to a fantastic California mansion to shoot in. You’ve negotiated the details, the costs, and traveled to the place for what you hope will be an epic day of shooting. Maybe you’ve even flown out of state for it. That’s a lot of effort, right up front, and you haven’t even dusted off your favorite lens yet. You would be remiss to somehow accidentally avoid showcasing your epic location if you didn’t consider selling it in your shots.
Hinting at your location, the key elements of it, is crucial when you shoot longer focal lengths and narrow depth of field. If you’re on a beautiful tropical beach, why would you not show it? Or at least show elements of it that clearly showcase where the model is in the shots. Your subject against just a simple blue sky, for example, can be captured almost exactly the same way in your backyard on a sunny day. Or, if you’re at that California mansion, why would you focus on shooting your model against, say, a simple white wall the entire time? You have white walls in your house and studio. You didn’t pop off to Cali to capture what you could have captured down the block, so you need to ensure that your venue augments your subject appropriately in each frame, even when shooting 85mm at f/2.8.
You and your team didn’t scale a mountain in Utah to shoot against a simple tree, and you certainly didn’t fly to Belize to shoot against a brick wall. You wouldn’t rent a mansion so you can shoot against a white wall, and I’m going to guess you wouldn’t go through the trouble of getting an exotic car on set just so you can barely show its sideview mirror off in the distance. Your location is a massive prop that complements your model, so use it wisely. Look at it as a return on investment. Whether you’ve invested money, time or both into a location for a project, illustrating it in your final work justifies your efforts to acquire it.
Sell the Subject
All location capturing considerations aside, you are still doing portrait work, and so your subject should be your number-one priority. Going back to my comments about how your subject and styling complement your scene, it is always best to put some thought into this interplay rather than totally wing it. While some harshly contrasting components can be ideal, sometimes that clash is overpowering and comes across as forced. Or perhaps you are simply artistically bored with some common wardrobe and styling concepts because they match your location a bit too well.
Color
Even when you cannot decide what style of wardrobe you want, think carefully about the color palette of the overall scene. An outfit may not make sense to you in any way except for color, and that might be why it can work perfectly on your set.
Unlike in a studio, you cannot always control the color palette of your location—you have to work with whatever is there at the time. Naturally, having some foresight into where you are going to shoot helps with potential color palettes. Large locations can be a treasure trove of new discoveries, and you never quite know what you may find while shooting. Bringing several wardrobe styling options is important when going on location because you don’t want to get caught in a situation where blue, for example, is part of your vision for a scene and you don’t have anything blue at all. Yes, you can do wonders in Photoshop, but if that one blue scarf is what makes the set work for you, it’s better to have it on hand than have to edit 17 shots with an orange scarf. And you can’t always fully envision a final shot on set when you know you have to fix it in post.
Think carefully about your location when trying to convey to your model the overall vibe you’re after. While a great model will do this on her own, don’t overlook the location’s themes and mood. Soft, gentle posing and expressions may not work on a dark, broken-down basement staircase. Aggressive, angular posing with impassioned expressions doesn’t fit the bill for a naturally window-lit, light-toned bedroom scene. Or maybe these scenarios do work. Don’t compromise your vision. Take into account the character of the scene when deciding how you want your model to pose and emote. Determine how the site speaks to you and what you hope to capture.
And always remember that the tiny details of expression and posing can shift the atmosphere of a scene more than you may realize.
Light the Subject
And how about the light? A lot of us assume natural light is the order of the day when on location, and that’s fine. However, modifying and controlling the light to tailor it to your vision outdoors is tantamount to light control in the studio. Even the smallest details can make a big difference. Lighting approaches are another topic for another day, but making decisions on simple things like diffusion is central to conveying the mood you are after.
As I have said hundreds of times at my workshops, light diffusion can radically change the tone of a shot, even if nothing else in the frame is changed. Super-soft, extra-diffused light has its place, but so does straight-on hard light, whether it’s open sun or a bare-bulb strobe. You can make either work, or choose something in the middle—just don’t overlook how your light affects your shot’s final emotional feel.
There really isn’t any one hard and fast rule about what type of light to use to convey a mood. But there are tendencies toward certain moods with specific light diffusion types.
Direct hard light conveys a mostly serious tone. Whether it’s gloom-filled, strength-driven, desperation-heavy or sexuality-dominated, harder light works well when intensity is the order of the day. Diffused soft light offers more diversity and makes more sense when more subdued emotions are desired. A softer sensuality or a lighthearted sense of fun and playfulness works very well in soft light.
Rather than ask yourself which modifier is best for a shot, consider what type of light you want to use to reinforce the vision you’re after, and go from there. No one light modifier is the master solution to all things, and no one type of light is the only type of light that should be used in any given situation.
There are no big secrets being held from you on lighting. You just need to change your mindset from gear to style, and explore your sets in a manner that allows you to see the light that’s there, how to work with it, how to change it, how to enhance it.
Conclusion
Every location offers a potential avalanche of lighting and mood opportunities if you take the time to see it for what it is, and capitalize on it. You can work with almost any location if you put the effort into it, so don’t assume you’re out of luck if you can’t nail down your dream location.


