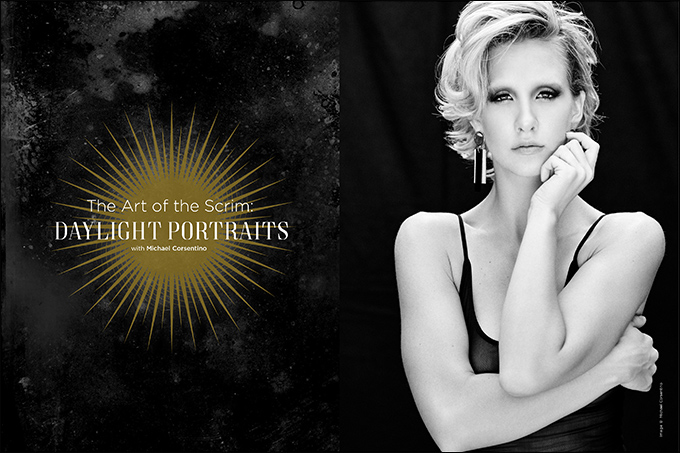
The Art of the Scrim: Daylight Portraits with Michael Corsentino
Want more information on this article? Get access to video content and additional supporting images. Launch the May issue of the magazine by logging in or signing up for a free account by clicking here. Shutter Magazine is the industry’s leading professional photography magazine.
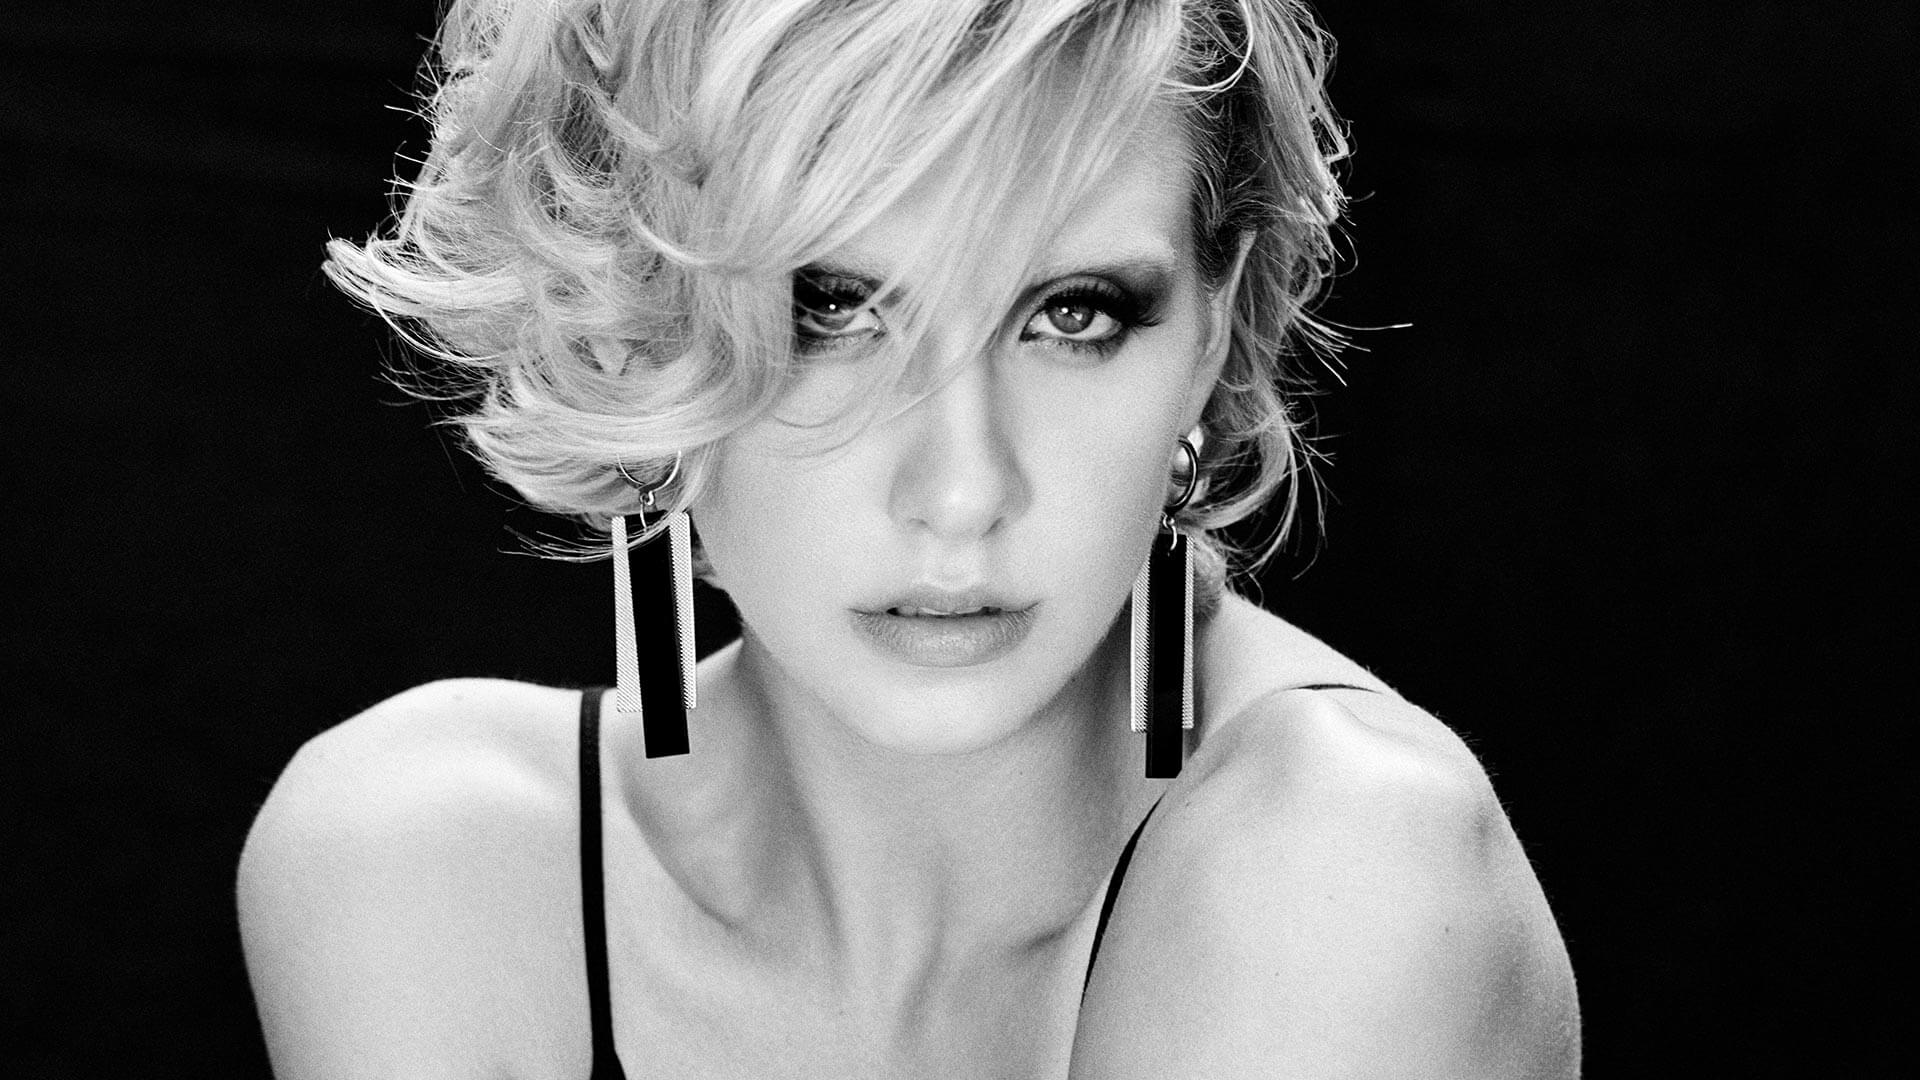
It’s just as important to know when to use strobes as when not to use them. There are things you can do with scrims and natural light that are difficult if not impossible to replicate with artificial light. A case in point is this lovely daylight portrait series of model Willie Demi Spink shot at New Smyrna Beach, Florida.
Scrim and Subtraction All in One
For this shoot, I used a Sunbounce Cage, a five-sided 8×8-foot popup scrim/subtraction panel tent that becomes a portable daylight studio anywhere I go. People always ask why I don’t just shoot my studio-style on-location portraits in a studio in the first place. That’s a great question. The soft wrapping quality of light I can create with a large scrim and the sun is like nothing I’ve ever been able to create in the studio. Scrims are super portable, easily packed onto planes and into cars. I can take my studio with me. I don’t have to worry about electricity, I can capture environmental and studio images during the same shoot if desired, and, as you’ll see, there is no shortage of lighting options available, all without ever powering on a strobe.
Position Is Key
The way in which the Cage or any similar tool is oriented in relationship to the sun plays a key role in the quality of light created. Couple that with the wide variety of ways the Cage can be configured to control quantity and quality of light, as well as its direction and intensity, and you end up with an extremely versatile tool.
For our first look, I worked with the diffusion panel on the right side of the Cage. I did this for two reasons. Earlier in the day, the sun was lower in the sky, providing directional side light. Audra Seay, our talented HMUA, had styled model Willie’s hair flipped to the left side. This meant there would be no shadow cast from the hair when lit from the right. It’s not a hard and fast rule I followed the entire shoot, but for the majority of images, it was the look I wanted.
In addition to the 8×8 diffusion panel on the right side, I used the diffusion panel on the ceiling of the Cage. This created a soft hair light. My assistant simply unzipped the black cover on the ceiling as we were setting up. Each surface of the Cage can be used with either black fabric to block light or diffusion fabric to let light in. In addition to this different-colored background, fabrics can be used to create a variety of looks. Here I used black infinite cloth for a classic portrait look. I also chose black because I knew it would help accentuate the porcelain quality I wanted Willie’s skin to have after the black-and-white conversion was applied to the files. All said, the goal of this first look was to create a soft and directionally lit portrait.
When it was time to move on to our second look—with a more dramatic, flat-lit, specular lighting effect—the Cage needed to be repositioned to make the best use of the sun. When you’re working with scrims, it’s important to determine the path the sun will follow as it rises and sets; plan what order makes the most sense for the looks planned. We also zipped the black blocking fabric back in place. The only open surface, aside from the front, was now the top diffusion panel. The way the scrim is oriented in relationship to the sun has a direct impact on the quality of light created. Our first look was soft and side lit because the sun was coming in from the side at a relatively low position in the sky.
For the second look, the sun was now very high in the sky and had moved behind my camera position. We spun the Cage around to get more overhead light coming directly into the Cage via the top diffusion panel. In this position, we were able to introduce a silver reflector to provide fill light from below and the side. By rearranging the position of the Cage, the rim light on Willie’s hair light was now much brighter; with a silver reflector in place, our dramatic specular look was ready to go.
Fill Reflector
Adding the silver reflector from below or from the side for our second look introduced directional fill and a prominent catchlight in the lower half of the model’s eyes. This worked well in this situation, but you do run the risk of creating an overly harsh and distracting catchlight, so be careful. This can always be softened, along with the rest of the fill light from the reflector, by simply switching to a white-surfaced reflector.
Shooting Tethered on Location
If you follow my work or read this column regularly, you know I’m a proponent of shooting tethered whenever possible. This shoot was no different. Here I used a Nine-Volt laptop table on a C-stand, which provides a stable base on surfaces that aren’t level. To shade the laptop and make it infinitely easier to view the screen, I used Nine-Volt’s collapsible laptop sun shades.
Rounding out my tethering setup were Tether Tools’ 15-foot USB and 15-foot USB extension cables, along with a portable SSD drive for backing up files in the field. Shooting tethered allowed us to see large previews of what I was shooting, check exposures, monitor posing, position Rachel Velez’s awesome wardrobe and accessory styling as needed, and also dial in the black-and-white conversion for the shoot in real time. This way, every image coming up on screen was the black-and-white look used for the finals.
Working With Models
It’s essential that your talent know they can trust you implicitly. This is especially true with nude or implied-nude modeling. Trust is critical for a male photographer working with female models. Models need to feel safe and comfortable. They’re vulnerable, and need to trust that you’ve got their best interests in mind. There needs to be zero “creeper” vibe. That means no awkward jokes, no staring—you need to be a total pro at all times. I also like to have an assistant ready to drape the model in a robe between looks or during breaks. My models understand that I would never publish any capture that they aren’t comfortable with.
Post Workflow
My post-processing workflow started in Capture One Pro 10, where I chose my selects, adjusted exposure and tweaked the black-and-white conversion and digital “film” grain that had been applied in the field. I opened the images in Photoshop CC and retouched them using Retouching Academy’s Beauty Retouch Panel, my go-to. One of the benefits of applying digital grain to simulate the look of Kodak Tri-X black-and-white film stock is that retouching becomes much easier. The grain covers up a multitude of sins.
A Scrim Is a Scrim
Remember, just because you might not have access to a Sunbounce Cage doesn’t mean you can’t get close to the effects I’ve created for this shoot. Scrims and black block panels are affordable, and can also be DIY’d using PVC pipe and a variety of common fabrics.
Want more information on this article? Get access to video content and additional supporting images. Launch the May issue of the magazine by logging in or signing up for a free account by clicking here. Shutter Magazine is the industry’s leading professional photography magazine.