Tips & Tricks to Master Masks In Photoshop with Dave Cross
Here are some of my favorite tips and tricks to Master Masks in Photoshop.
First, let’s cover the basics just in case you’re brand new to layer masks. A mask is designed to be a non-destructive way of hiding portions of a layer, a layer group or an adjustment layer. Layer masks are considered non-destructive because unlike using the eraser tool or selecting and deleting which are both permanent, masks allow you to change your mind at any time. Painting on the mask with black will hide those areas, while applying white paint will show those areas (grey paint will result in partially hidden areas). You can add paint by using a brush and painting on the mask, making a selection and then filling that selection on the mask, or starting with a selection and turning that into a mask. And that leads into…
Tip 1. Make a great selection first
Rather than always adding a layer mask and spending lots of time painting and fine-tuning, in the right circumstances, the better your selection, the better the resulting mask. Take advantage of functions such as Select Subject and Select and Mask to make as accurate a selection as possible and then turn that selection into a mask. You can do that directly in Select and Mask, or with an active selection by clicking on the Add Layer Mask button. You can continue to edit the mask, but starting with a great selection can be a huge time-saver.
Tip 2. Mask a little or a lot
If you are going to add a mask and then paint to hide or show areas, consider how much you have to mask. In other words, if you need to hide all of a layer except for a small area, it would be quicker to add a mask that’s already filled with black and then paint a small area of white to show those pixels. To do this, hold down Option (Mac) or Alt (PC) when you click on the Add Layer Mask button. This will add a mask filled with black (known as hide all mode).
If you only need to hide portions of a layer, add the mask in reveal all mode (by clicking on the button) and paint with black to hide small areas.
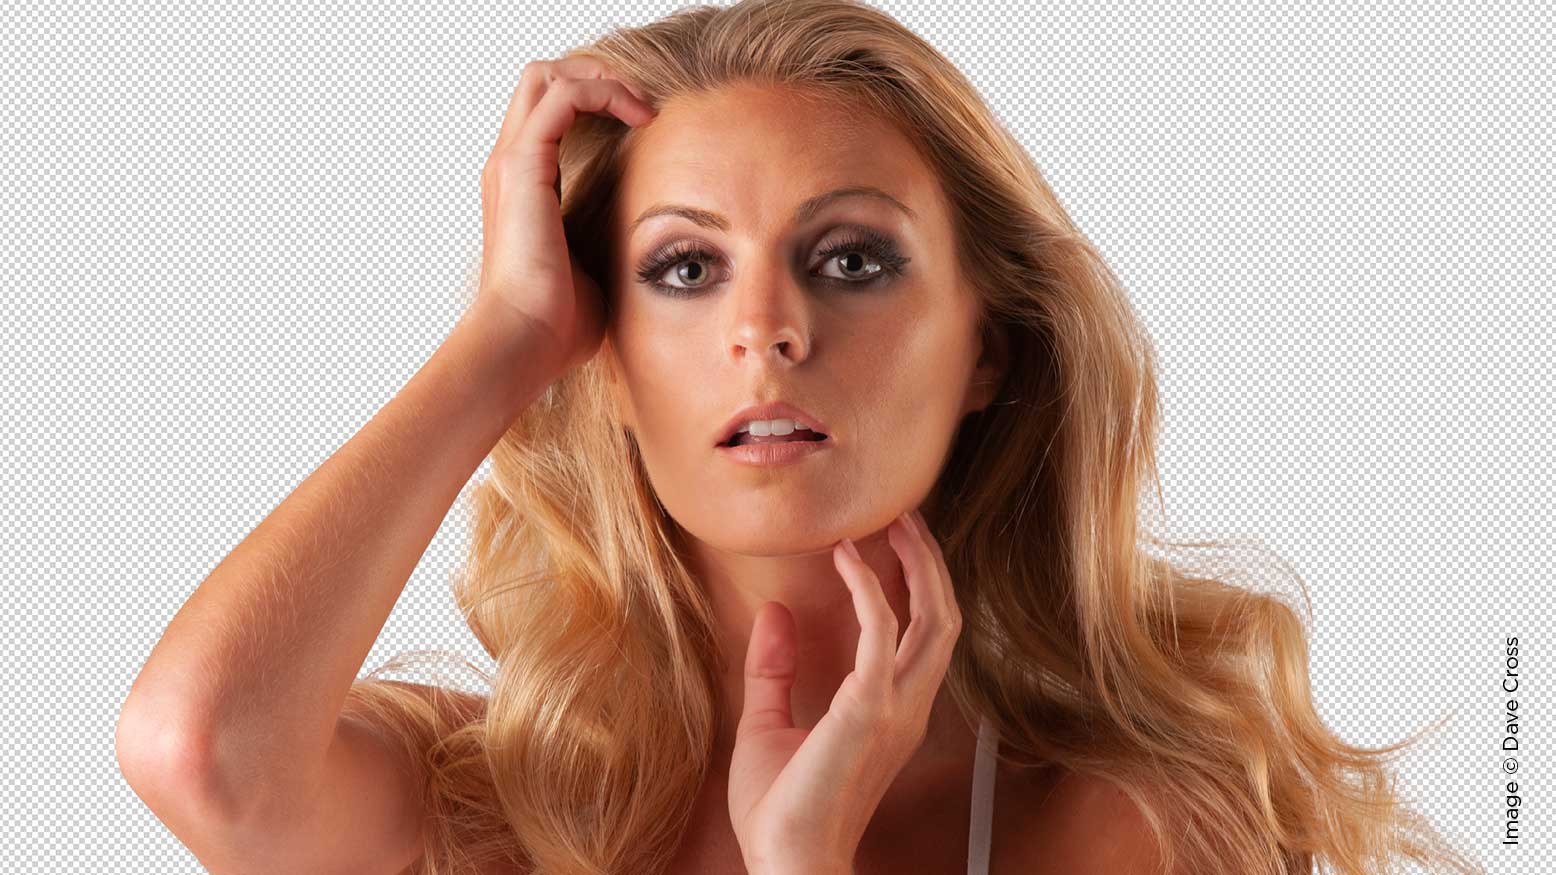
Example: Face Swap
Since we only want a small area to be shown (eyes, nose and mouth), it is easier in a case like this to add the mask in hide all mode (hold Option/Alt and click on the Add Layer Mask button) and then paint with white to reveal just the areas we need.