Transitioning from Natural Light to Studio Light with Vanessa Joy
Want more information on this article? Get access to video content and additional supporting images. Launch the January 2018 issue of the magazine by logging in or signing up for a free account. Shutter Magazine is the industry’s leading professional photography magazine.
Seven years ago, I looked at studio photography as a completely foreign concept. I was a natural-light wedding photographer and didn’t do much else other than the occasional family portrait. Lighting that came from lights, instead of the sun, was totally bizarre to me. I had no idea how to begin to control it, especially when I wasn’t outside.
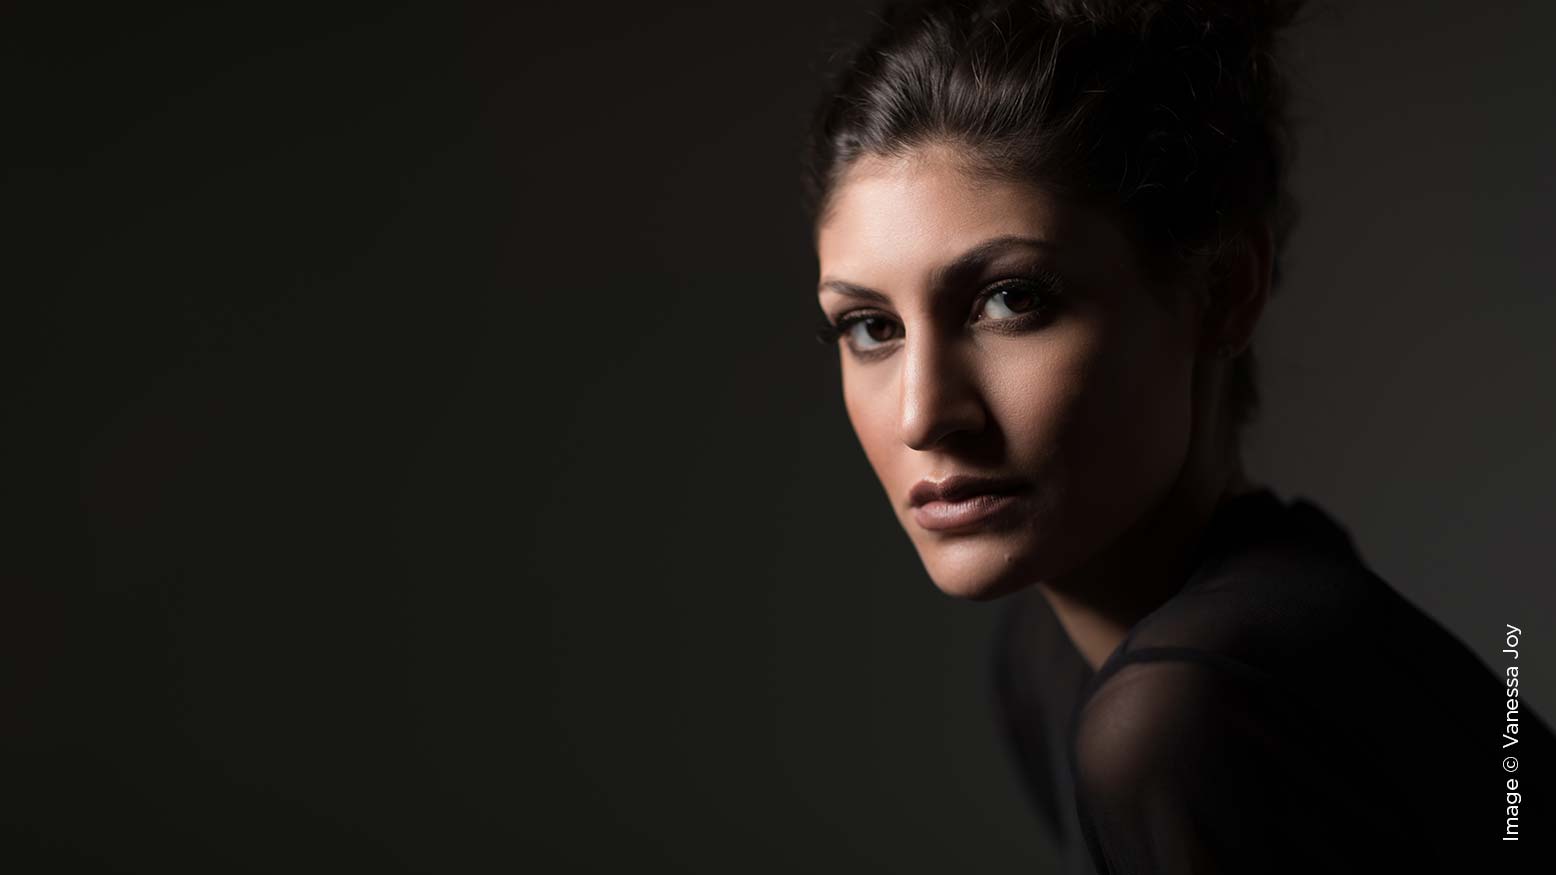
If you’re new to controlled lighting, you’re in luck, because I remember being in your shoes. While I’ve done a good job over the past couple of years learning the headshot business, photography and lighting, the images of the model in this article are all from the very first time I ever worked with a model in my studio. I had a great team on my first run. Jade Bambi was a great model, and HMUA MakeMeUpEva.com helped bring my vision to life.
There are many parallels between natural and studio lighting and photography. Most people who teach studio photography and lighting don’t teach it from a natural-light perspective. When I tried to learn it all those years ago, it became even more confusing than when I started. The old saying “Light is light is light” applies here. In this article, I break down studio lighting in a way that’s easy to understand, from the perspective of a natural-light shooter who painstakingly learned how to light in a studio.
The Same Things
First, understand that studio lights are literally meant to mimic the sun. My Profoto D1’s are round in shape and set to a light temperature of 5600K (same as the sun). The light that’s coming out of a studio strobe is subject to all of the same laws of physics that sunlight is: Light travels in straight lines, bounces off surfaces at an equal angle to which it hit the surface, etc.
There are even similarities in the light shapers that are used on strobes, to the typical environmental elements that we see altering the sun. Softboxes are squares, like windows, and even have diffusers on them that soften the light much like a sheer curtain on a window. I wanted the images of my daughter in this article to be bright and natural, so I used two 3×4-foot Profoto softboxes toward the front of her, and one lighting up the backdrop (see lighting diagram). Anytime you see a light shaper, just think of a window and what would happen to sunlight coming through a window of that shape and size.
The Vocabulary Things
One of the most irritating parts of learning studio lighting was the vocabulary. Everyone I tried to learn lighting from would say things like “feathering the light” and “inverse square law” and expect me to know what they meant. Why would I be sitting in a lighting class if I knew what they meant?
Feathering the light is the easiest of the two. It just means that instead of pointing the light directly at your subject, creating a harsh light, you turn it so it’s pointing just in front or behind them, letting only the edges of the light touch your subject. This reduces the power of the light on the subject and produces a softer-looking light.
Inverse square law is a bit more complicated, but if you’re just beginning to grasp the concept, you don’t need to know all the mathematical details yet. The basic idea is that the farther away your subject is from the light (window or studio), the less intense the light is on the subject. You know this because you know that if you pose a subject close to a window, it lights them more brightly, and if you move them away from it, you have to adjust your exposure because it won’t be hitting them as strongly.
There is a measurable rate at which the light fades away as you move away from the light. This means you can mathematically determine the amount of light that is falling off of your subject based on the distance. But what matters most is that the light falls off more quickly the closer you are to the light.
Before I lose you, let me remind you that you already know this. Here’s an example.
When you put a subject close to a window, the bright side of the face is way brighter than the dark side of the face. It becomes a fairly contrasty image. However, if you move that same subject 5 feet away from that window, the bright side of her face isn’t that much brighter than the dark side. It becomes a much less contrasty image. That is inverse square law happening in front of you.
The Easier Things
One of the great things about working in a studio is the ability to tether your camera to your computer. Being able to see your image on a bigger screen than the back of your camera helps you take better pictures and identify mistakes that you’re making in time to correct them.
I use Tether Tools gear in my studio, and I love it. It’s not as complicated as you might think. All you’re doing is plugging in a long USB cable from your camera to your computer. Then, using software like Capture One or Lightroom, you initiate tethering and load the pictures directly into the software to look at and edit. Eventually you’ll realize that shooting tethered is better because you have so much more control over your image.
Another huge time saver is post-production and editing—not only because your images are now better in-camera because of tethering, but also because you can proof the images with your clients on the spot. This saves you a ton of time as opposed to the regular proofing and ordering process. My www.nj-headshots.com clients are done proofing and ordering their pictures before they leave the studio from the shoot that day. I love how fast and effective the process is.
After image selection, I send the images to my retoucher for the typical skin smoothening and hair fixing. Delivery for these images is as easy as you’d like it to be. I just throw them in a SmugMug gallery, where they can be easily downloaded. Done and done.
If you haven’t given studio photography a try, before jumping in head-first, shadow another photographer. Watching a few of my fellow photographers work in their studios, like Moshe Zusman and Miguel Quiles, was one of the best things I did. Only so much can be learned from articles and online education. Take the time to step into a real studio with true client interaction and hands-on experience.